How To Make A Simple Craft Using A Stencil
I’m so excited to share this simple craft stencil project with you today. You see, this is a stencil that my friend Debbie from Debbiedoo’s created. I think it was a year ago, we were talking and she shared this dream of hers to create a line of stencils. I told her, go for it! She went back and fourth with, yeah, I ‘d like to do it but I don’t know. I believe in going after your dreams. I told her that if it’s something you really want to do, don’t let anything stop you. When she announced that she was finally doing this, I think I literally screamed reading her text! (This post contains affiliate links, please see disclosure policy)
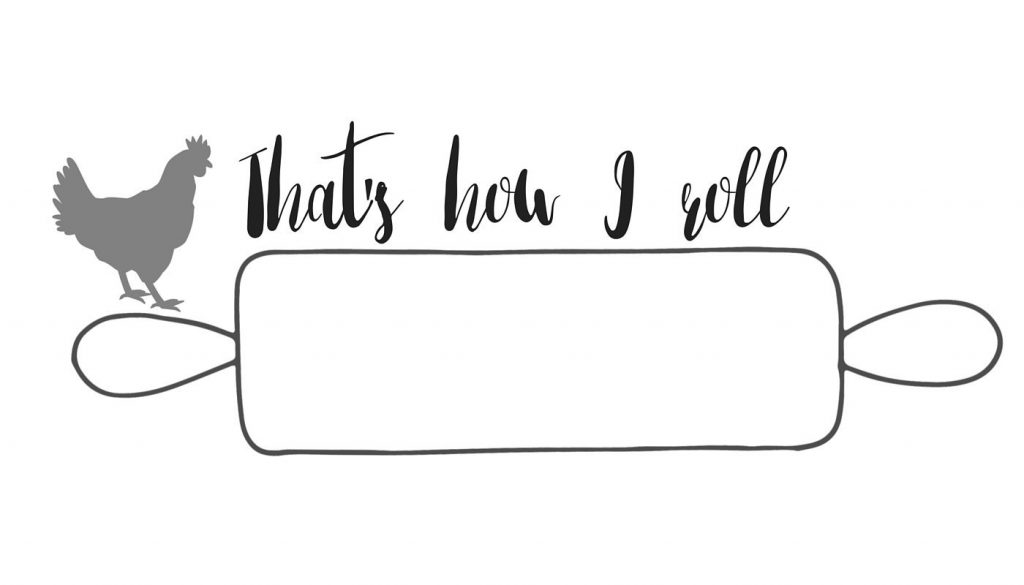
Debbie created several of these stencils, but today I’m going to share this simple craft project using her “That’s how I roll” stencil. Which is so fitting for me as I use this term often. I mean seriously, how cute is this stencil! Today’s project is super easy to do and the great thing about stencils is that you can use these over and over again! Just make sure to keep it clean.
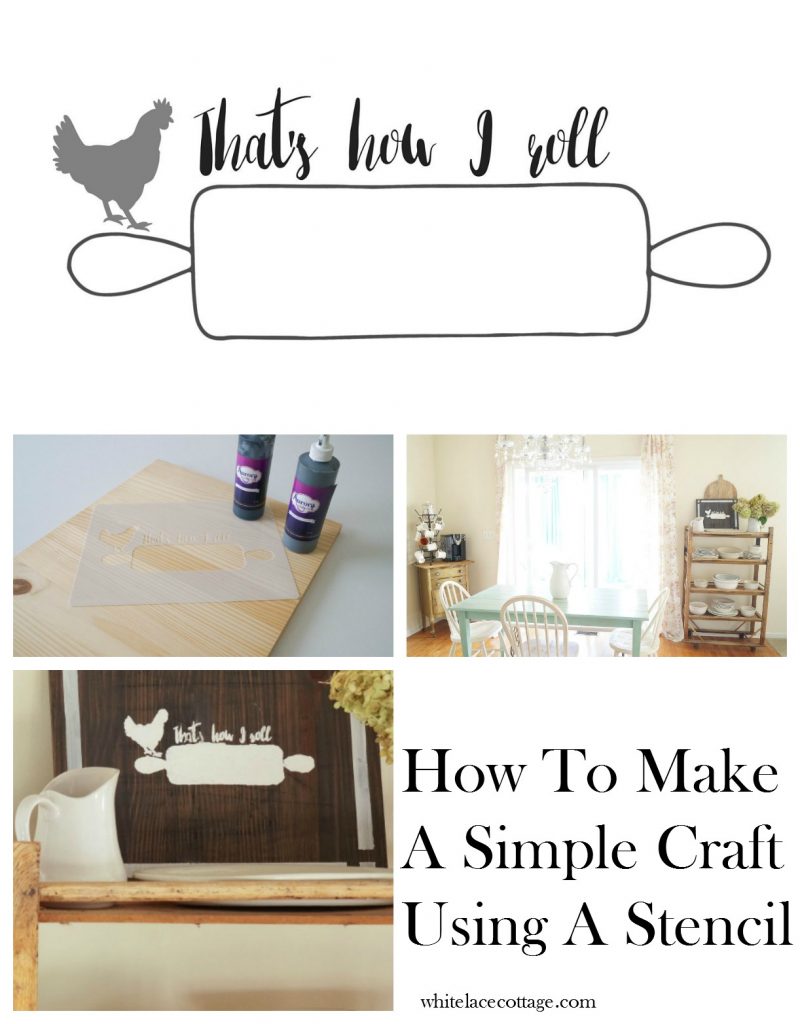
Supplies needed:
Wood board
Gel stain- Concrete Jungle Black Magic
White paint, I used White Lace
Paper plate
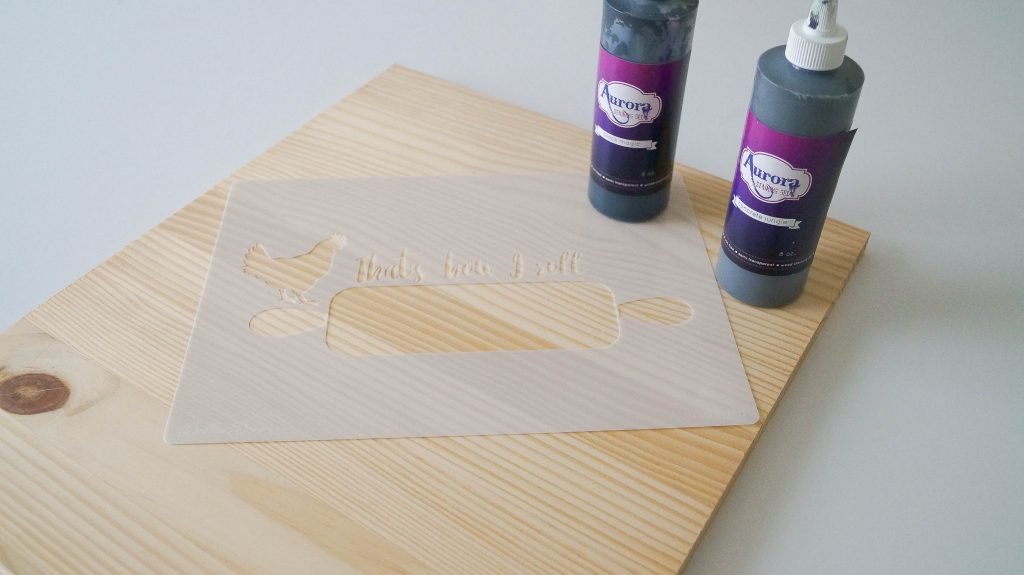
To begin your simple craft project, on a paper plate mix your stain colors, then apply it to your board using a damp sponge brush to your piece. Don’t do what I did. For some reason when I added this directly on to my board it left the mark . I’ve never had that happen before and I’ve used it on bare wood. To be safe, add it on a paper plate. brush it on going with the grain, then using a white cotton t-shirt wipe the excess stain off. I LOVE this stain. It has no odors at all! And they have many colors to choose from that can be mixed together.
Once your piece is completely coated with stain on the front and back you’re ready to start stenciling. You can use paint to do this. But I decided I wanted to add a little texture and dimension. Make sure you use spray adhesive on your stencil before you start. This will prevent your stencil from moving around. I’m going to put a disclaimer in this part, because I didn’t have any on hand, and my stencil did move a bit, and you’ll see that in the final result. But, I was going for a distressed look, so I just went for it.
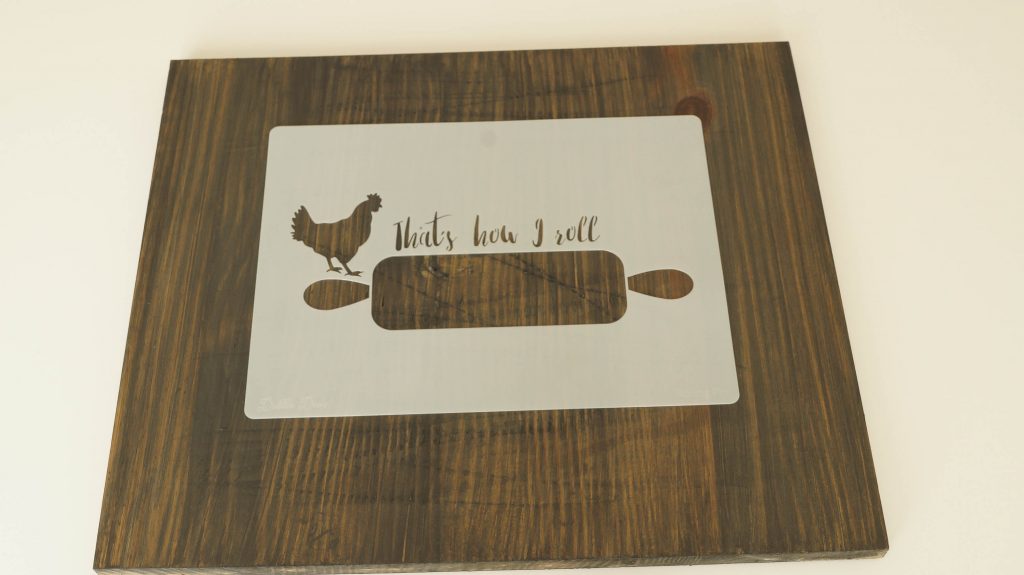
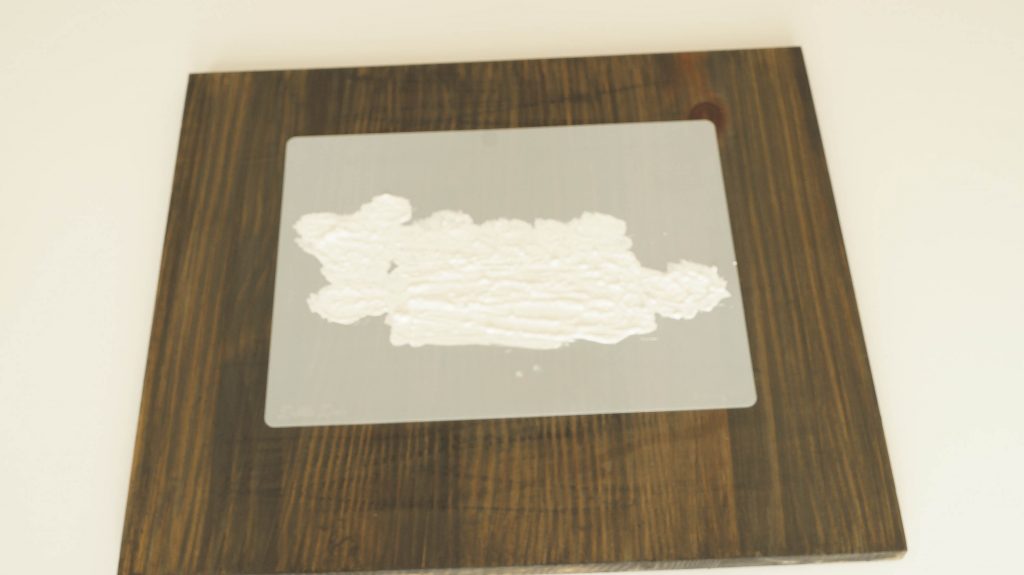
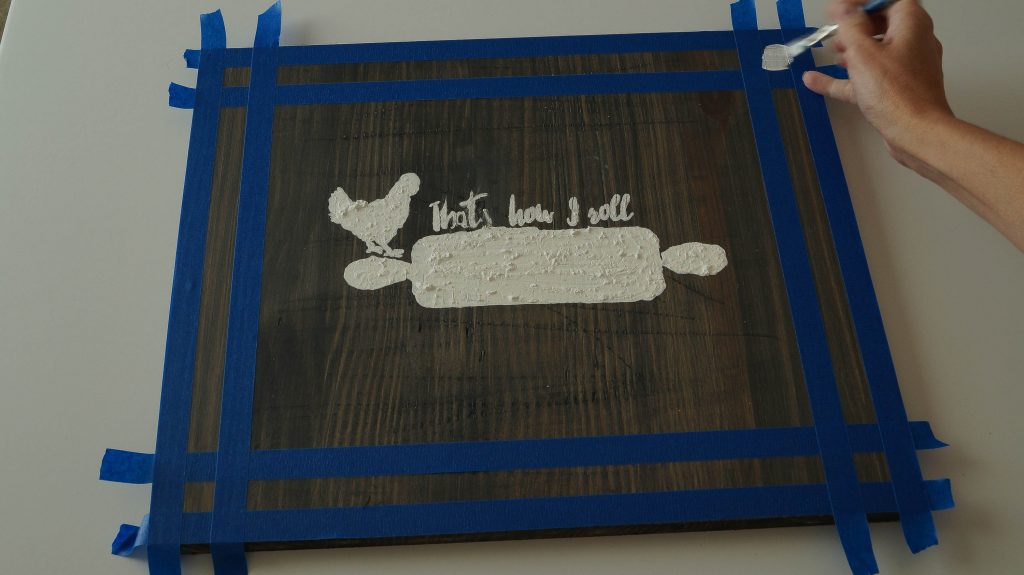
In a container mix your paint, and a little Venetian texture medium. Follow the directions on the package. Mix it well, let it sit for a minute. Start applying your paint mixture onto your stencil. Don’t push to hard or it will bleed. I used an old stencil brush if your adding texture as I am.. Make sure to use an old brush or a disposable one because this mixture will harden and you won’t be able to use it again. In a stippling motion start applying your mixture. Let this completely dry.
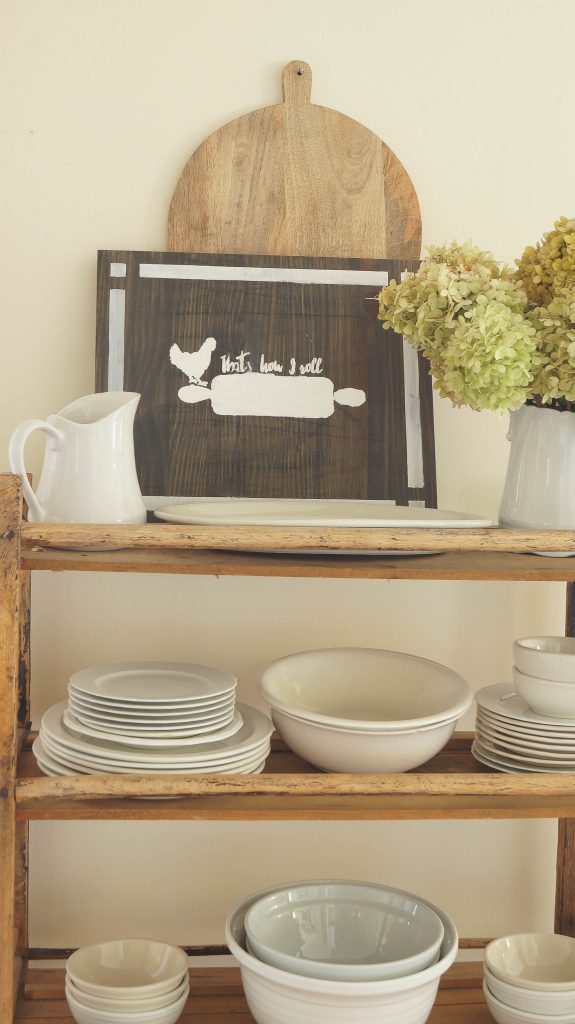
Next, tape off the board using painters tape. I just eyeballed it, no need to measure. You just want to create a frame for your piece of art. Using a paint brush or foam brush paint the inside of your tapped frame. And that’s it!
This is a super easy project. You can use this stencil on a piece of furniture. Think about a little side table that you can add in your kitchen. Or to an apron, and even a decorative kitchen towel. I think that this would be so cute on kitchen curtains. To use this stencil on fabric make sure you use a fabric medium so it can be washed. I just thought of another idea, what about kitchen chair cushions, or pillows!
Tips For Stenciling:
- You can use a stencil brush or a foam roller to paint your stencil. The stencil brushes come in different sizes. Use the brushes that best suite your project. Larger brushes for larger areas, and smaller brushes for details.
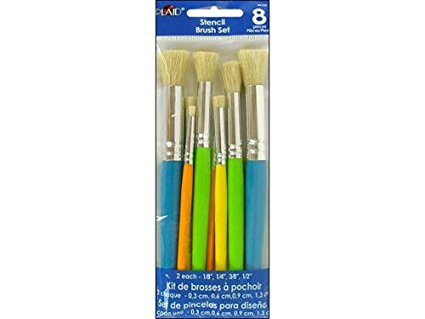
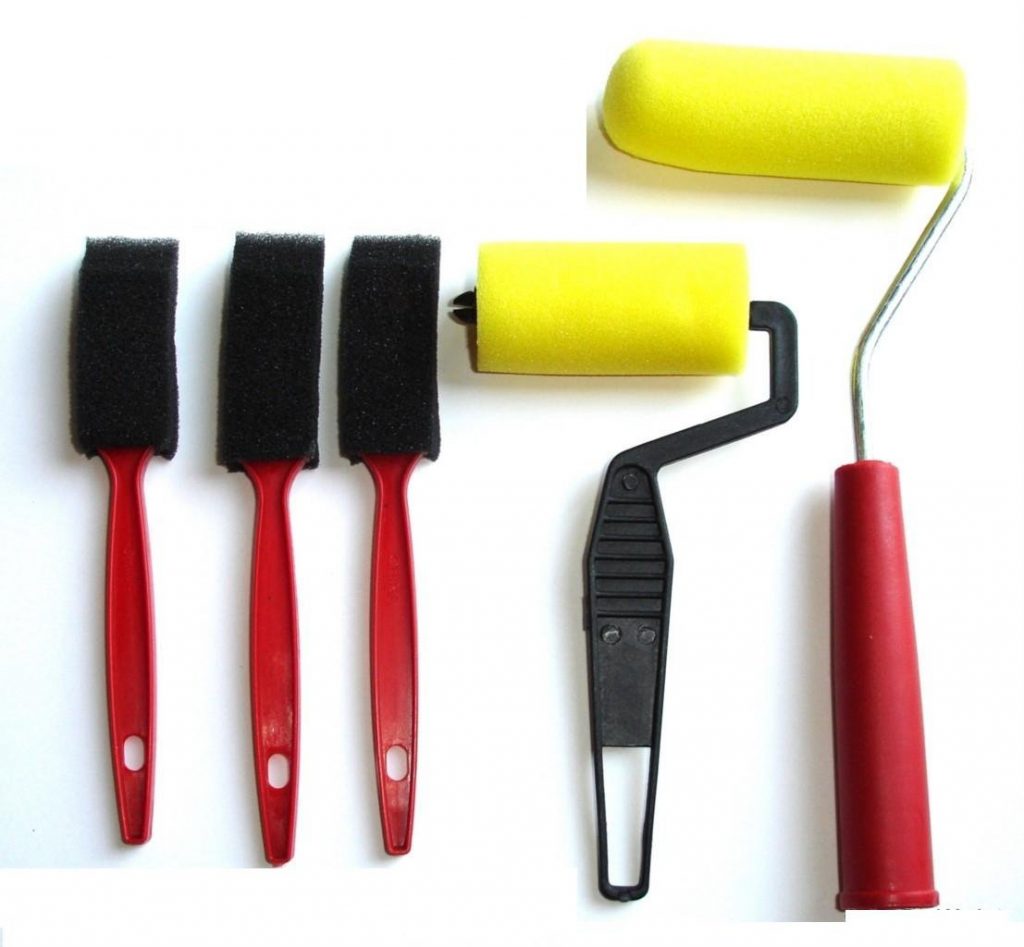
- Use very little paint when stenciling. First dip your brush or foam roller into the paint. Using a paper towel blot off the excess paint. Then apply to your stencil.
- You can use your stencil brush a few ways. Stippling which is an up and down motion or in a circular motion. Either way will work. Just make sure NOT to apply too much pressure to the edges to prevent bleeding.
- If you’re using a roller, apply the paint to your stencil with med pressure to prevent bleeding.
- You can see more tips HERE.
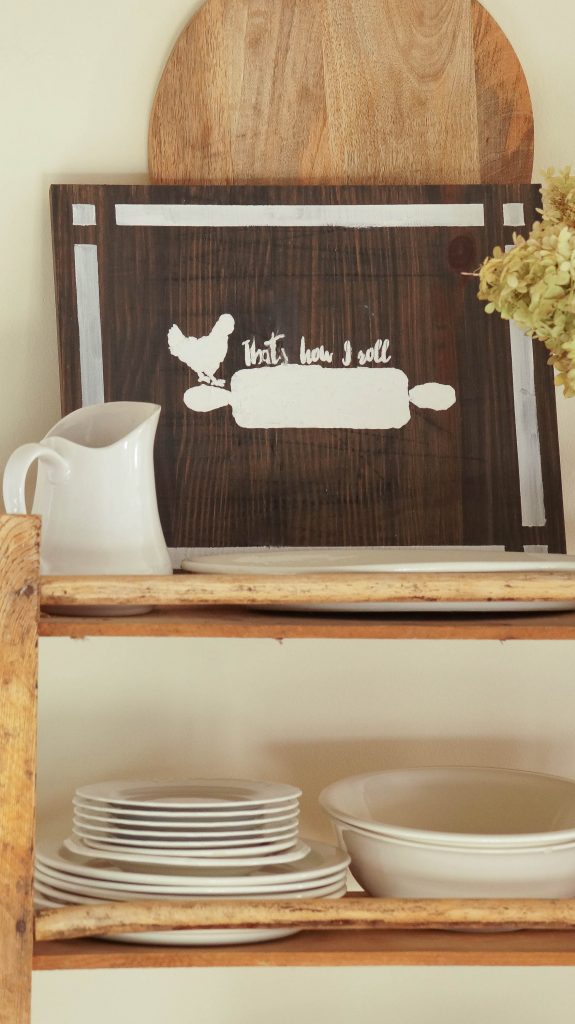
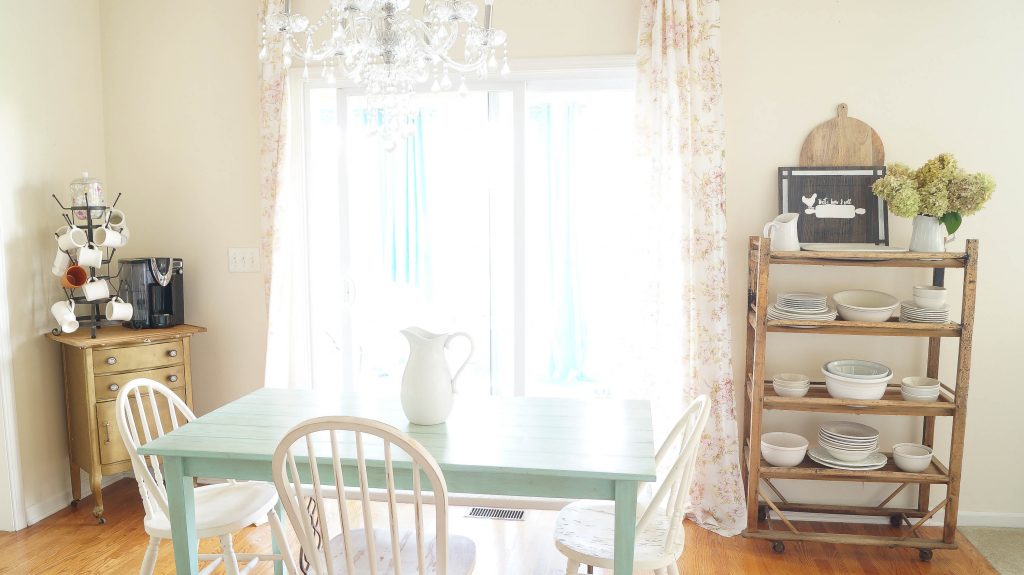
These stencils can be used for so many fun projects. I’ll put the links below where you can purchase this stencil and see the rest of her collection. What ideas do you have for these stencils? Let me know in the comments below.
Shopping Guide:



Concrete Jungle Black Magic Stain * Use code WHITELACE to receive 10% off of your order.
Ann I love the technique you used and something I would have never thought of. I think its super cool! Thanks for sharing. XO You have been amazingly supportive.
A simple project, few supplies, and one I can change easily is often my personal choice! How about just stenciling a chalkboard with white or colorful chalk!
Yes! I’ve done that too. With my gather stencil?
Anne, what a darling project, thank you so much for sharing! I love how you used the Venetian Texture Medium to give it a bit of panache! My youngest sister is a phenomenal cake and cookie baker. She does cakes and cookies for weddings, conventions, community celebrations, all that kind of stuff. (btw, I did NOT get that gene). This would be datling in her kitchen. I’m going to make this for her, she loves distressed, shabby, farmhouse everything. I feel confident I can do this one. Many thanks to you and Debbie!
Awesome! I kept in mind cake and cookie bakers, even though I am either one. Enjoy Judy!
Where do you get your stencils? Very cute project and well done.
Linda she left all the links in the post for the stencils.