Utensil Holder Shabby Style
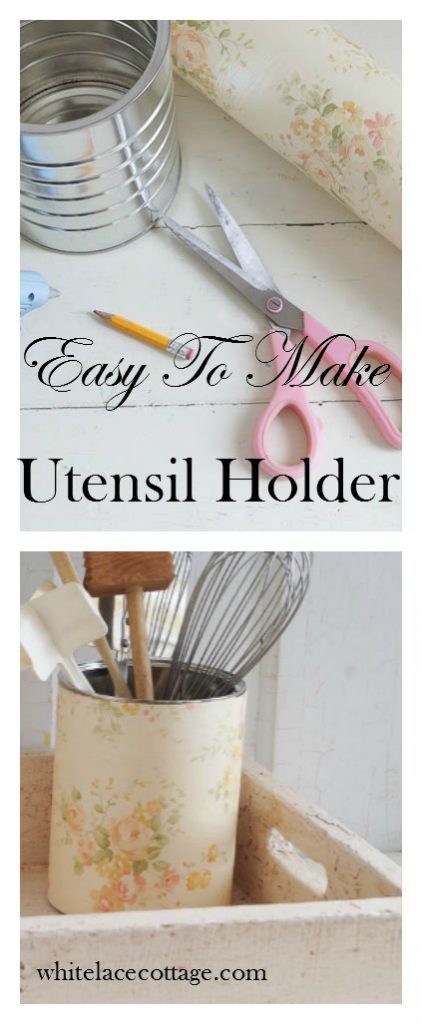
Utensil holder is a must have for my kitchen. I do have lots of drawers, but they are not very deep for all of my utensils. There are so many things that you can use for a utensil holder, like old pitchers, crocks, a wide vase. Well you get the idea. But today I thought it would be fun to make one from a coffee can. Coffee cans, do you remember those? I’m sure most of you have a Keurig coffee machine by now.
(This post contains affiliate links, please see disclosure policy)
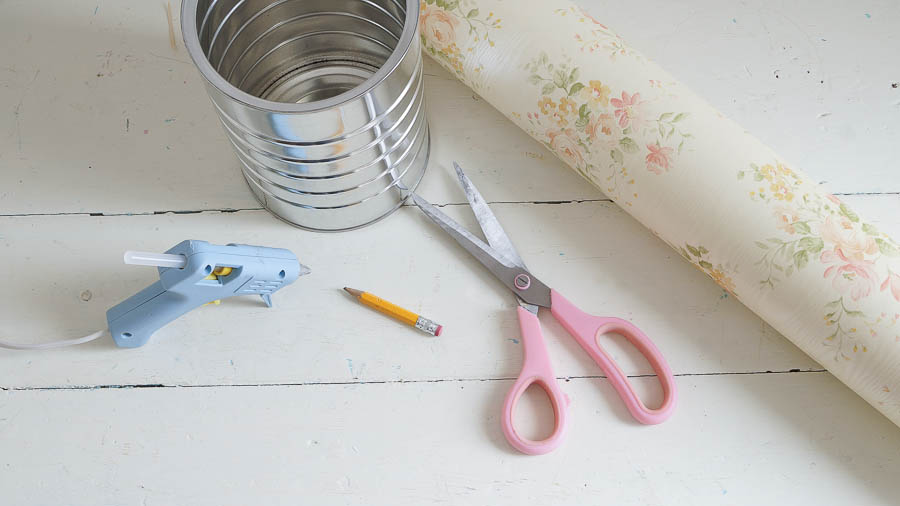
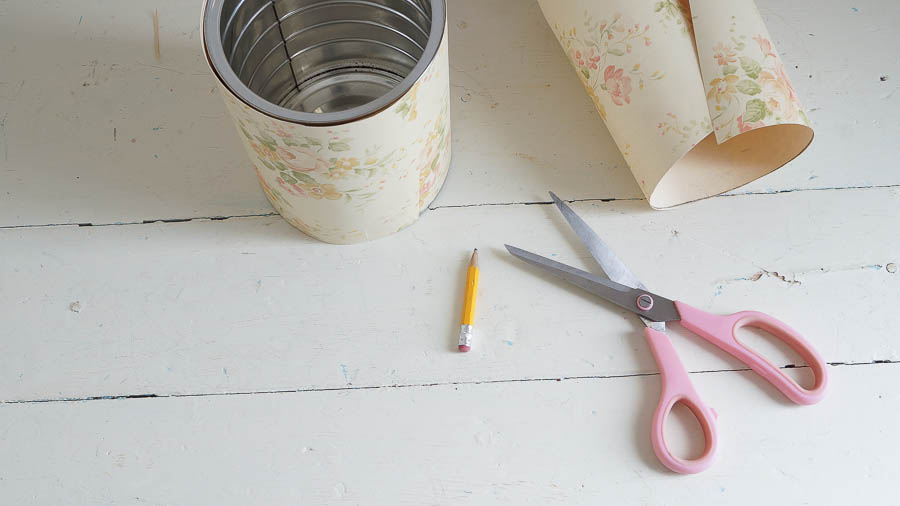
Here is a list of supplies you will need to make your Shabby Chic utensil holder.
- A empty coffee tin or a new metal paint bucket.
- Wall paper (vintage or vintage looking)
- Craft glue or hot glue
- Scissors
- Pencil
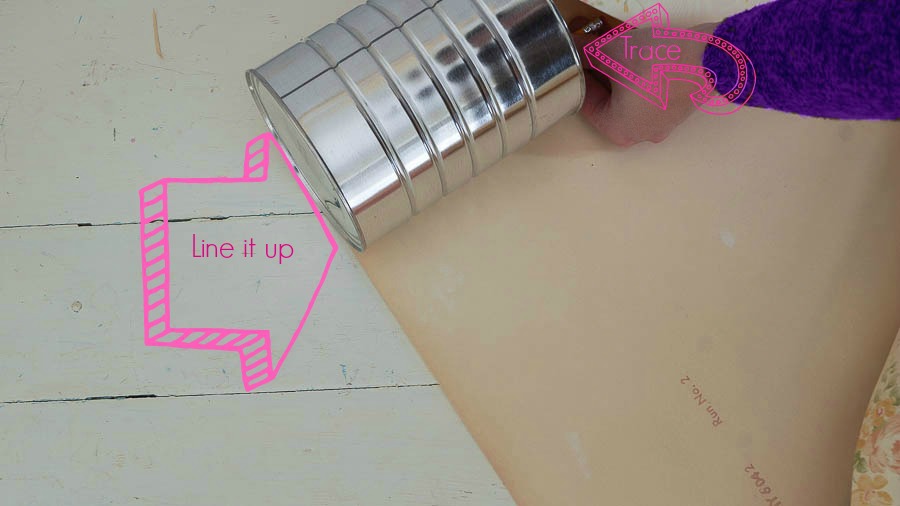
First determine how much wallpaper you will need and cut the excess off of your roll. Then place your coffee tin or paint bucket on to your wallpaper. Line the bottom part of your bucket to the edge of your wallpaper.
While holding your can ( I could not hold the can and take a photo) start tracing your line for your bucket. As you are tracing the bucket, you’re moving the can along the paper. Keep tracing and moving the can until you have a piece that will fit around the can. I made sure to make my piece a little longer. You will see why as you read along.
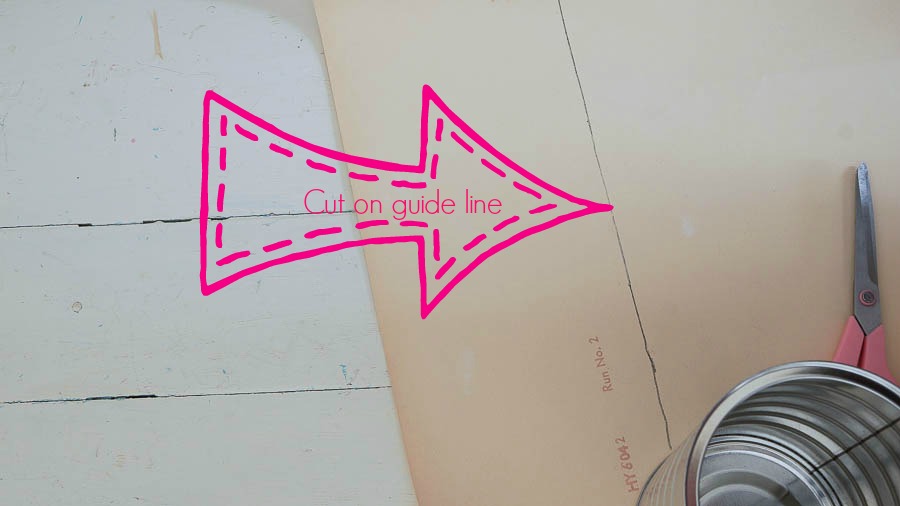
Next, start cutting your piece of wallpaper on your guide line. Now let’s make sure this fits.
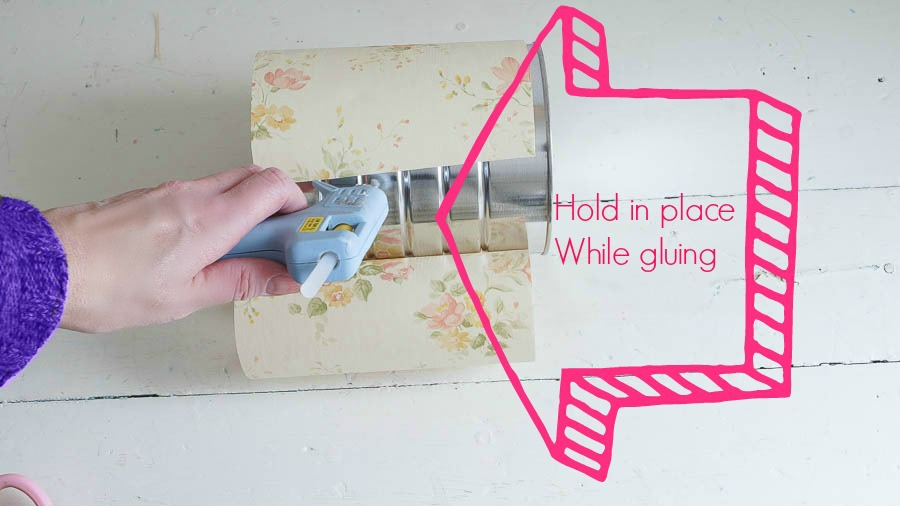
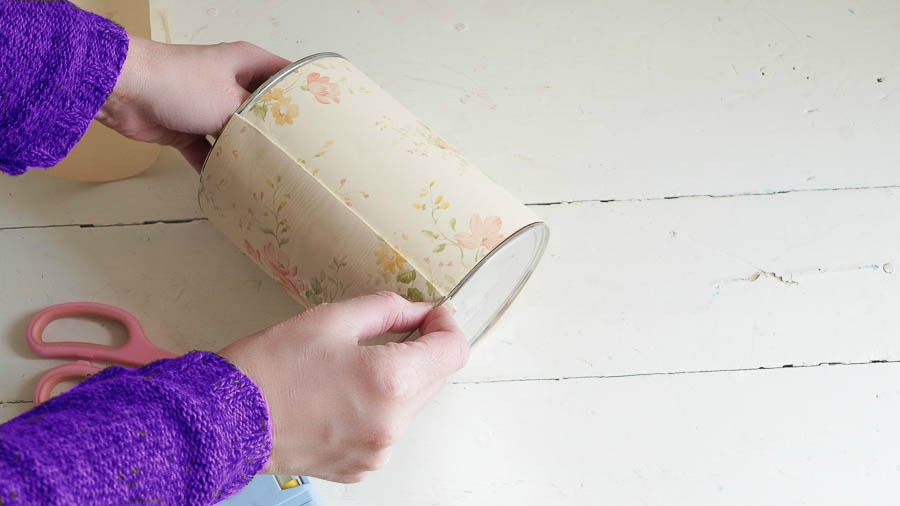
Fit’s great! Next, let’s start gluing. Since I was taking photos, I was not holding the can, but make sure you hold the can. I’ve added glue to my starting point. Then wrapped the paper around the can, adding a little glue as I went around.
If you use hot glue as I did, use sparingly or you will see where you glued your paper. Hot glue does not spread out like a tacky glue does. But it instantly glues and that’s why I love it!
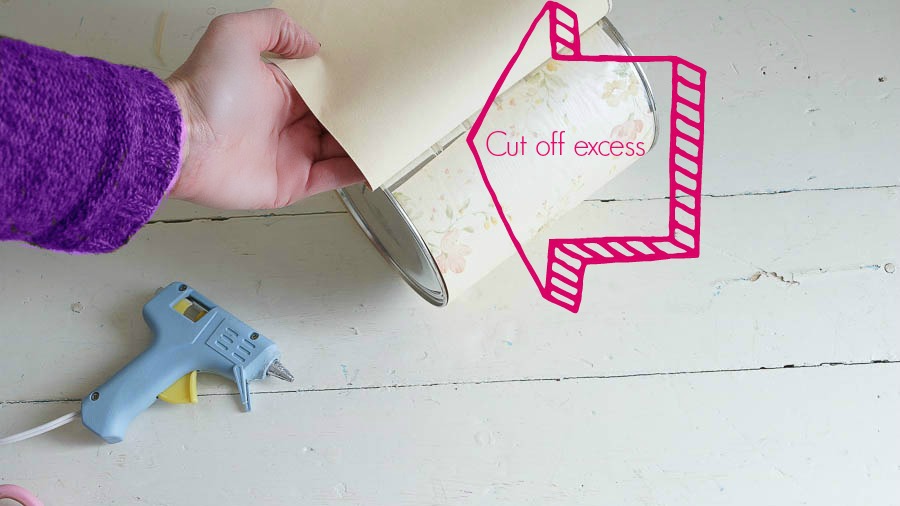
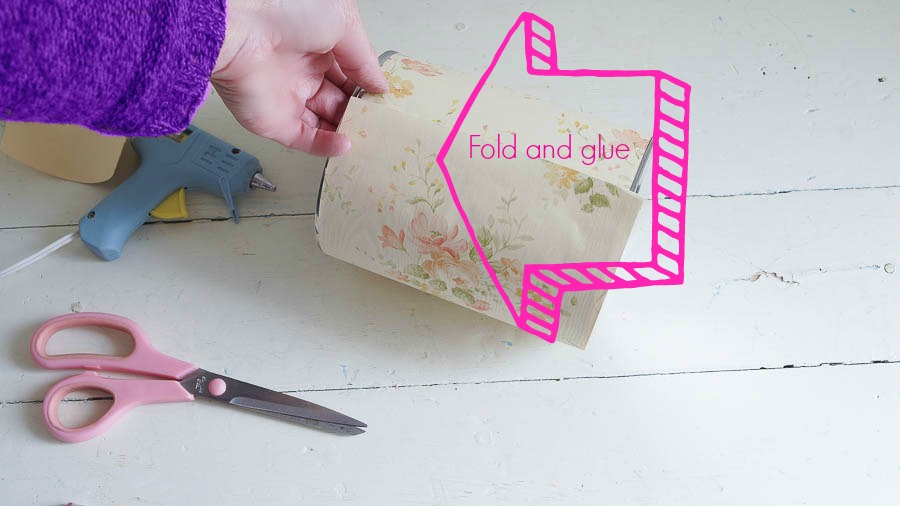
Once you are done gluing your paper around your can, you will have a little excess paper left on. You don’t want to cut all of this off. Keep a little because we are going to fold this to make it nice and clean looking.
After your piece is cut and folded you can start gluing that piece.
Now you can see mine is a little longer at the top and bottom in a few places. Very carefully use your scissors and cut the excess off of the top. On the bottom portion you can use a razor blade. **But use caution** I was careful and I still sliced my finger with the blade.
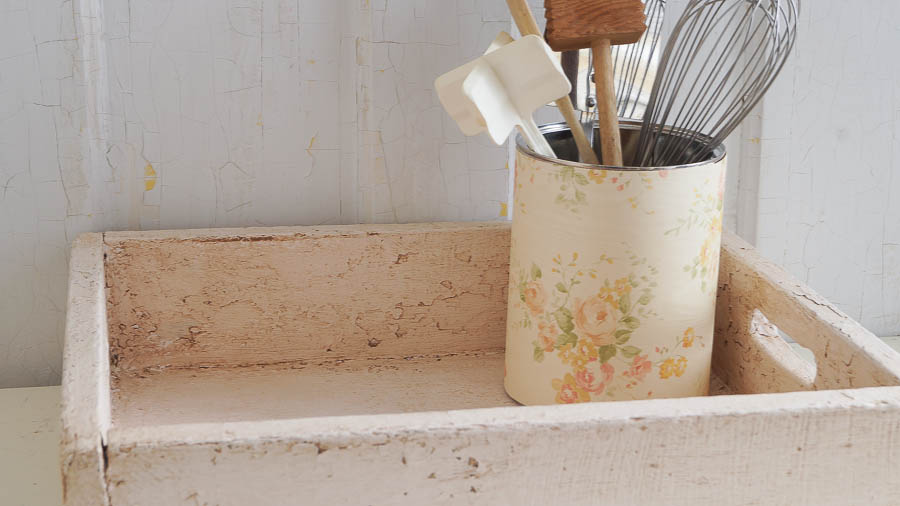
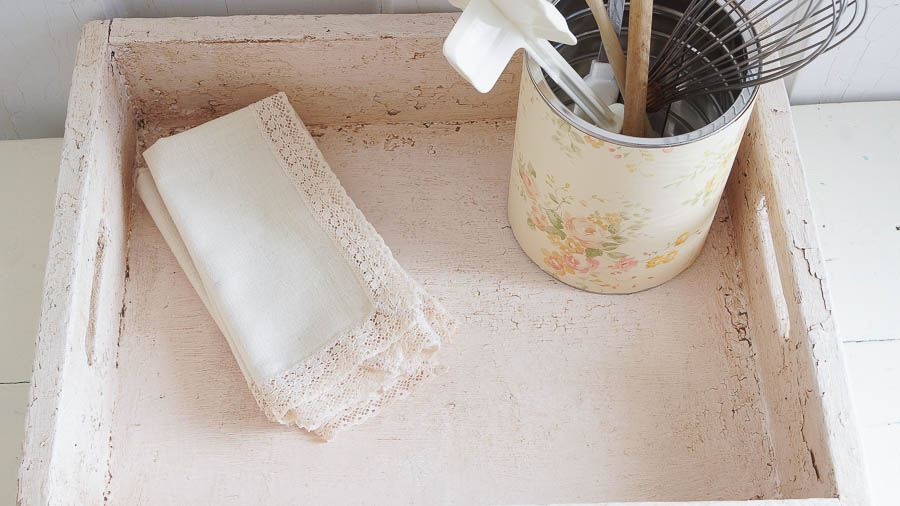
And that’s it! Pretty simple huh?
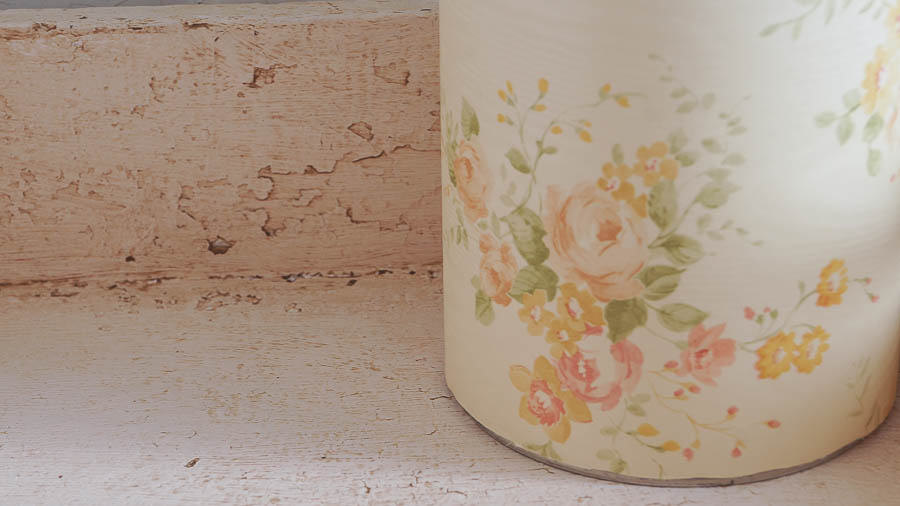
Isn’t this paper pretty! Vintage paper can be hard to find, but I have seen lots of newer paper that is just as pretty. Look for scraps of paper while you are treasure hunting, or at a home improvement store. They often have discontinued patterns and they can be pretty cheap. Another alternative to paper is fabric. Just think of all those pretty scrap fabrics that you can use.
If you’re worried about using a fabric because it may get dirty you can spray on a clear varnish, or add decoupage on top of the fabric. Either of those will help protect your piece.
I shared how I distressed this shabby tote with dark wax to give it an authentic chippy patina. You can read about that HERE. So, you may be wondering how I was inspired to make this. I saw something very similar in Rachel Ashwell’s last book Couture Prairie. She had a pretty coffee tin on her counter, at her ranch kitchen. I knew eventually I would have to make my own.
Do you use a utensil holder in your kitchen?
Shopping Source:
Isn’t it funny how something that is so simple can be so useful and darling at the same time. Jo
Awe, thank you Joanne! Yes I fell in love with Rachel’s and I had to make my own 🙂
That is such a cute idea! I love how easy that was and it turned out so pretty. I use a white pitcher to hold my wooden spoons next to my stove.
Thanks Kelly! I had a white enamel pitcher holding mine. But you know I am a shabby girl 🙂 .