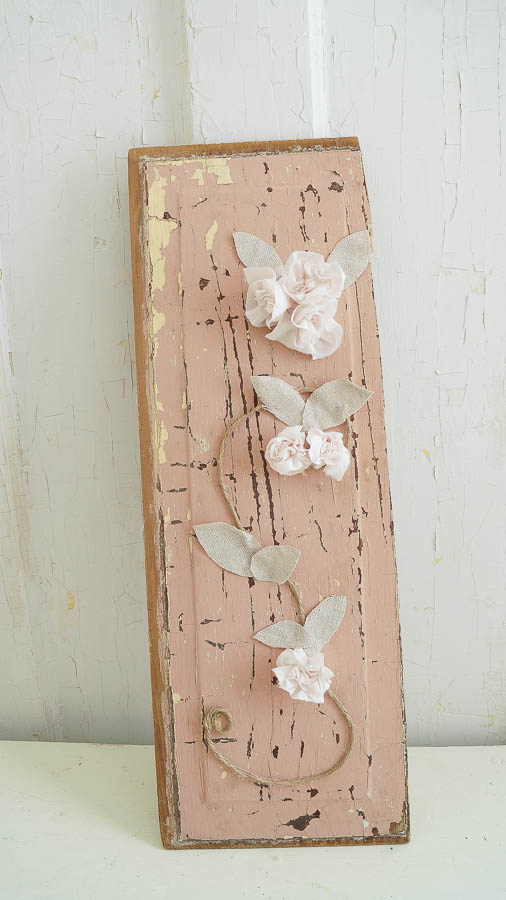
I found this chippy piece of wood and I knew I could make a shabby piece of art with it.
The color and patina is perfection to me.
I know most people think I am crazy for finding the beauty in scrap pieces of chippy wood.
But there is something about imperfection that I love!
I have lots of scrap fabrics in my studio.
As I am shopping at a thrift shop I am always finding new pieces to add to my collection.
Bed sheets are my favorite because you can do so many projects with just a little fabric.
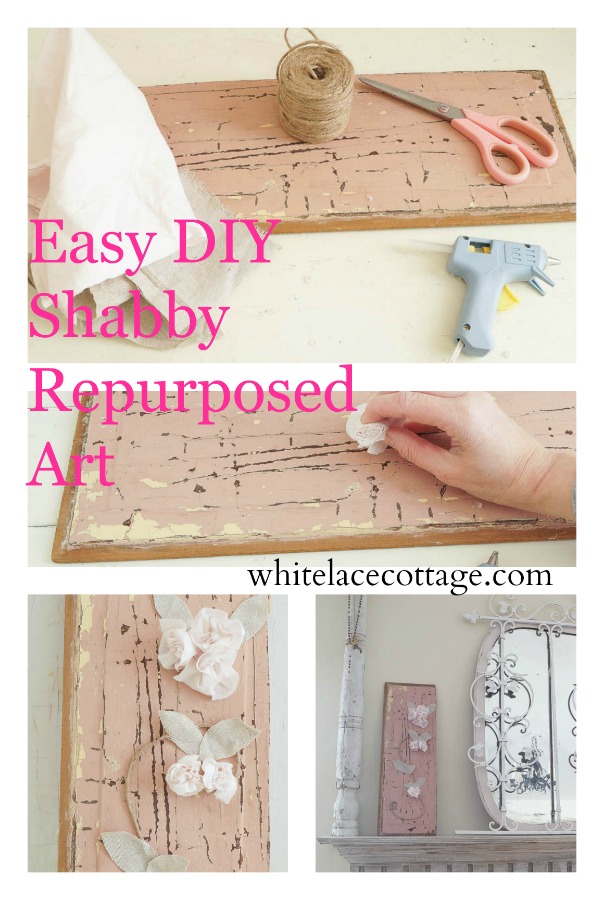
Here is a list of supplies needed for this project.
Scraps of fabric(preferably a cotton sheet)
Scrap piece of wood, with great patina
Glue gun
Twine
Scissors
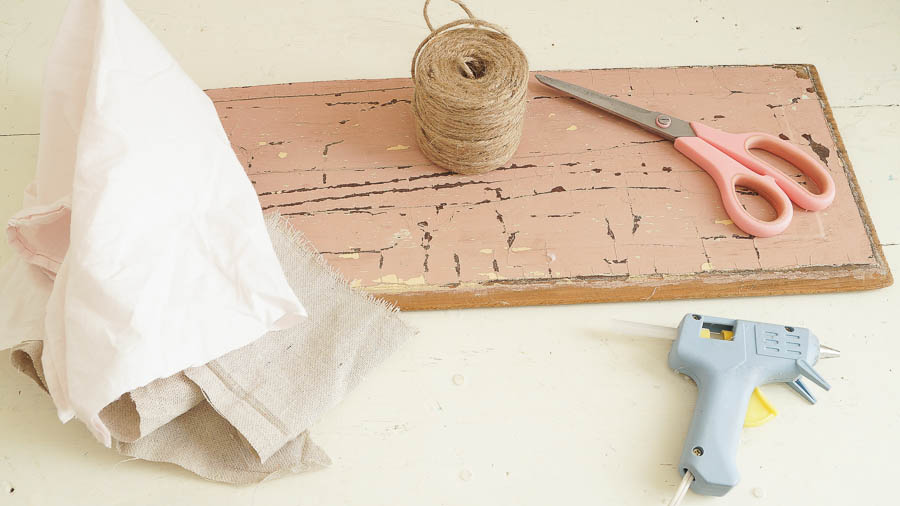
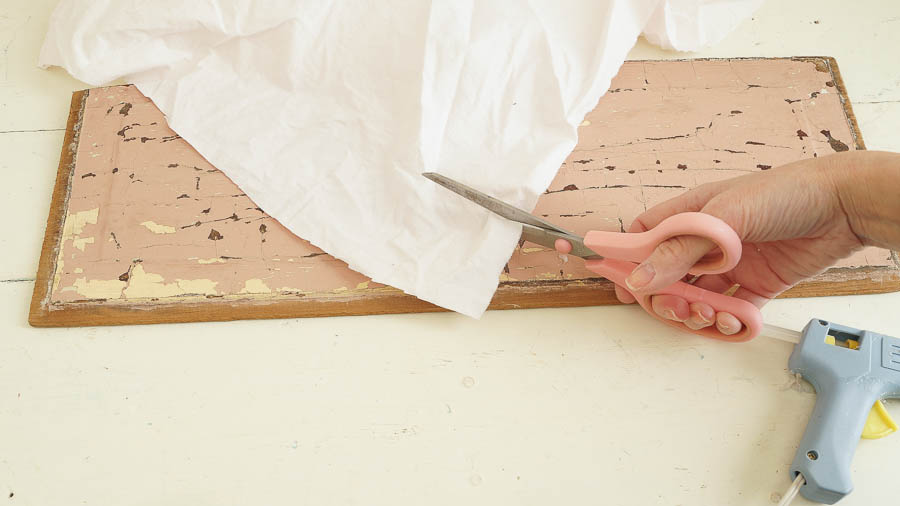
First take a scrap piece of fabric, cut a piece about 1-2 inches wide.
The length is up to you.
It can always be cut smaller if you have too much fabric.
After you start the cut, rip the piece of fabric off.
This will give you a nice feathered look.
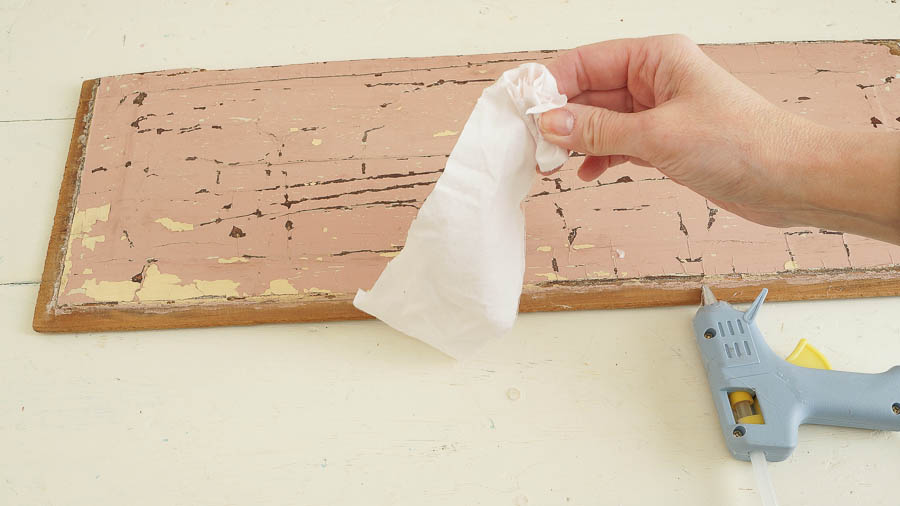
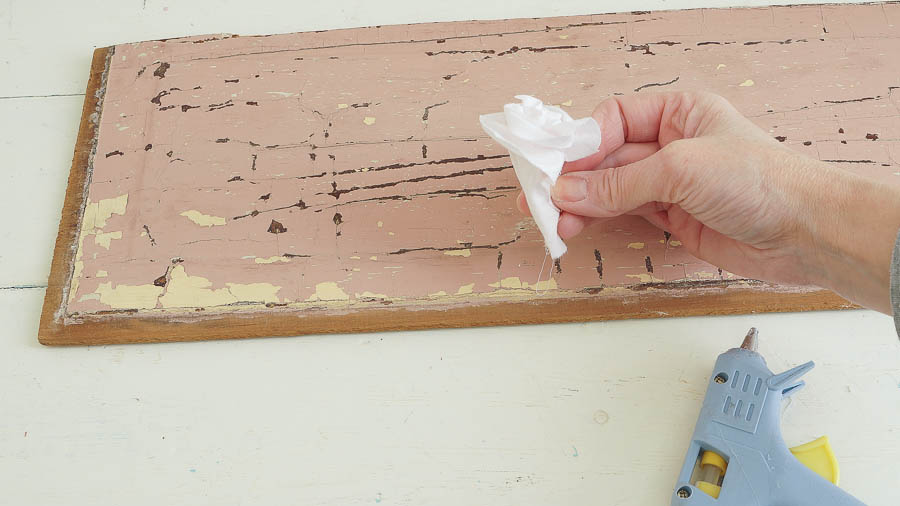
Next, start by bunching your fabric up, and add a little glue.
This is where you need to get creative, but have fun.
This is super easy.
As you are bunching or scrunching your fabric, add a drop of glue.
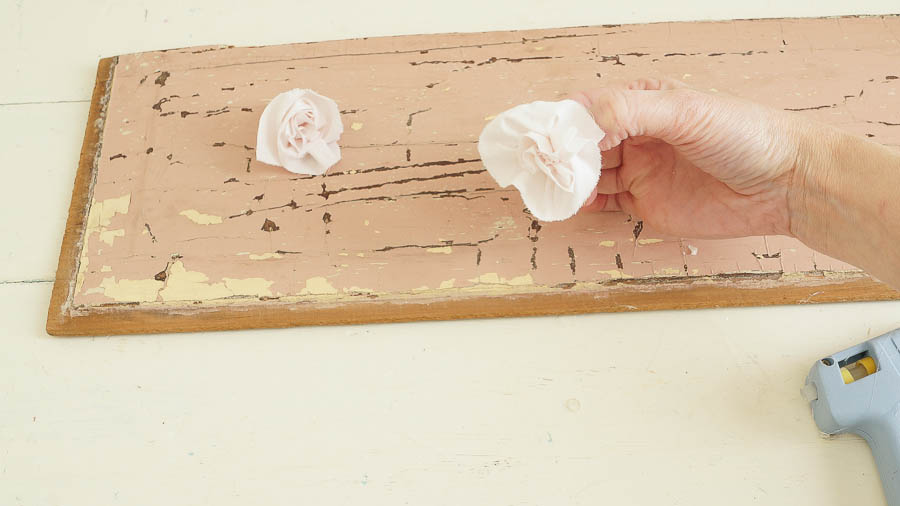
You are sort of sculpting your fabric and turning it into a flower.
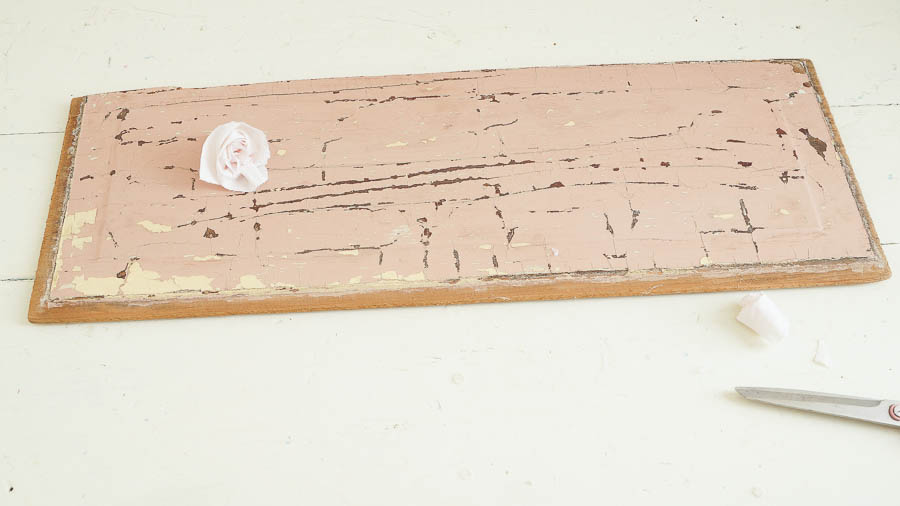
Here is my first one finished.
It’s a little long on the bottom, no worries just cut some of that off.
Then add glue to the bottom and place it on your chippy wood piece.
Make as many of these flowers as you would like.
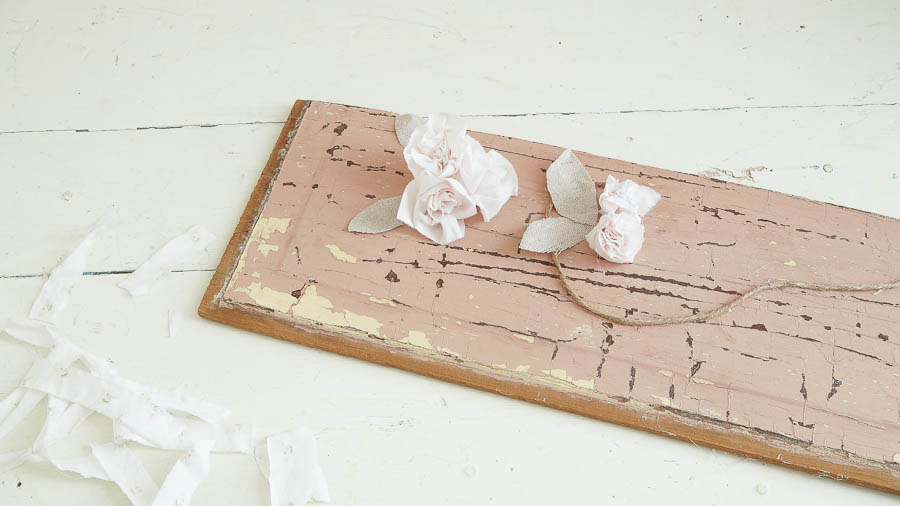
To accent your piece add some vine using your twine.
Just glue it to your piece.
Add a few leaves by cutting leaf shapes out of fabric and gluing on to your piece.
Here is my piece finished Shabby piece of art.
Art does not need to be expensive.
I love finding chippy scrap pieces of wood, I know I will eventually find something fun to do with it.
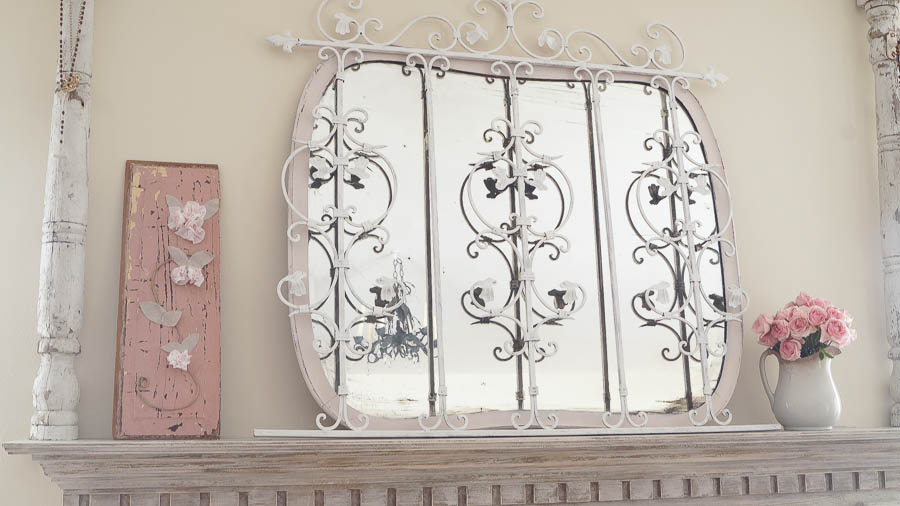
I added it to my mantle.
Along with a pitcher of flowers.
I have had many people ask me if these are from my garden or if I buy them.
And if I buy them, where?
The rose’s I share on my blog are from our local market.
In the summer I try to bring in rose’s from my garden in my home.
But living here in the Midwest nothing is growing outside.
I cannot wait until spring!
************************************
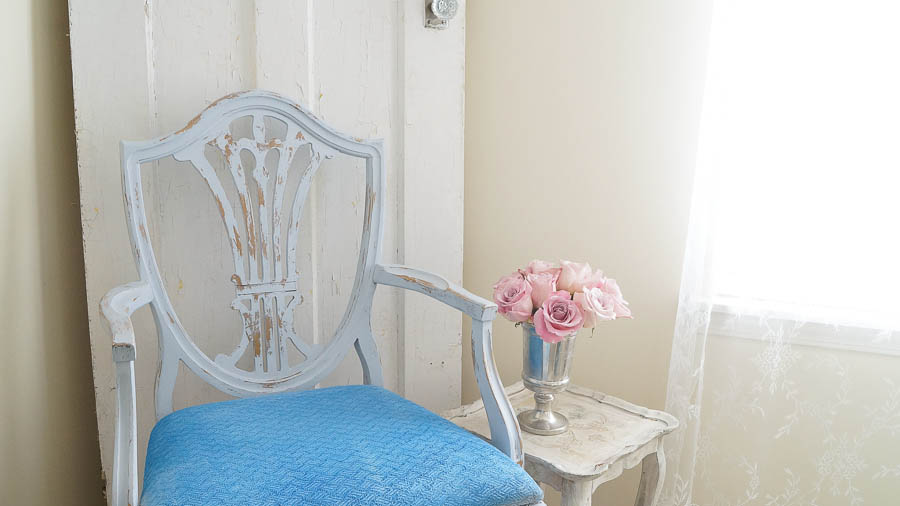
As promised I wanted to give you an update to my painted chair, and tinted wax that I applied on the seat.
Because I love experimenting, and that chair was an experiment.
I had no idea what the final result would be.
I have painted fabric, and applied dark wax and clear wax to fabric without any problems.
So I thought painting fabric and adding tinted wax would be fun option too.
The next day after I posted this, I took a cotton t-shirt and some of the wax was still coming off.
So…..I waited a few more days to let it fully cure.
I tested it again, a little wax was still coming off but not as much.
So……I added two more coats of clear wax letting it dry in between each coat of wax.
Then I waited…………
The results……………… almost perfect.
I still had a little wax come off, but I was really rubbing hard and pushing in on the fabric.
I wanted to be fair about it, and see if this would just come off or come off if I really had to work at it.
And….. I really had to work at it.
But, I have to say I am disappointed that even a little wax was still coming off.
I still want to try this technique again, next time on fabric that is not textured.
You can read the original post HERE.

I’m so glad that you posted about the out come of your chair. I am getting ready to do a pretty large chair with a lot of fabric and I just can’t have the wax coming off onto peoples clothing. Please keep us informed on the process. Thanx so much Anne, loved your post. Jo
Your welcome Joanne!
Love this Anne. It is so cute and chippy and so perfect for your mantel.
Kris
Thanks so much Kris!
Anne, that is really a sweet piece of art. It looks perfectly placed on your mantle..Happy Wednesday..Judy
Thank you so much Judy!
I love this just as soon as i find a good piece of wood i am going to try this.Thank you Anne it is wonderful.
Thanks so much Marlene!