I am thrilled and excited to be a part of the Heart and Home blog hop.
A big thank you to Pamela From My Front Porch To Yours.
I have to admit I am a romantic by heart.
Yes you can tell by the way I decorate my home with touches of pink, and yes roses.
Today I wanted to share an easy DIY project.
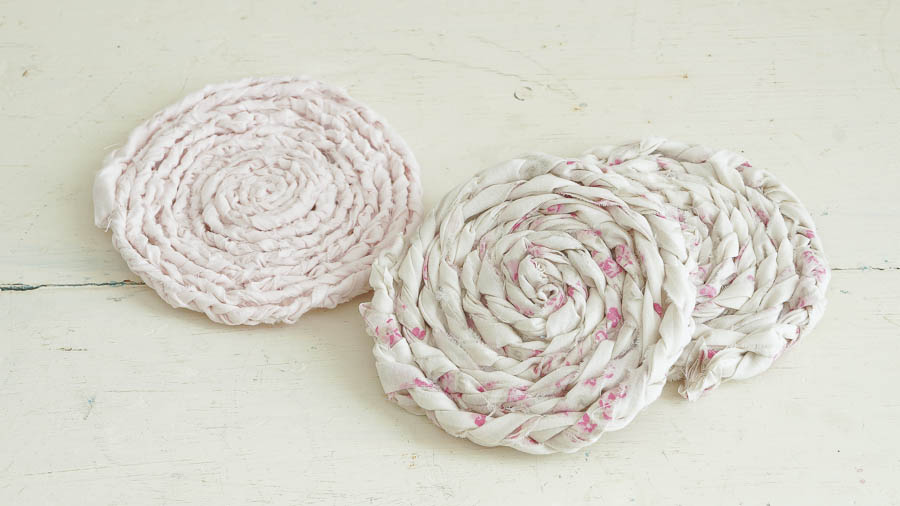
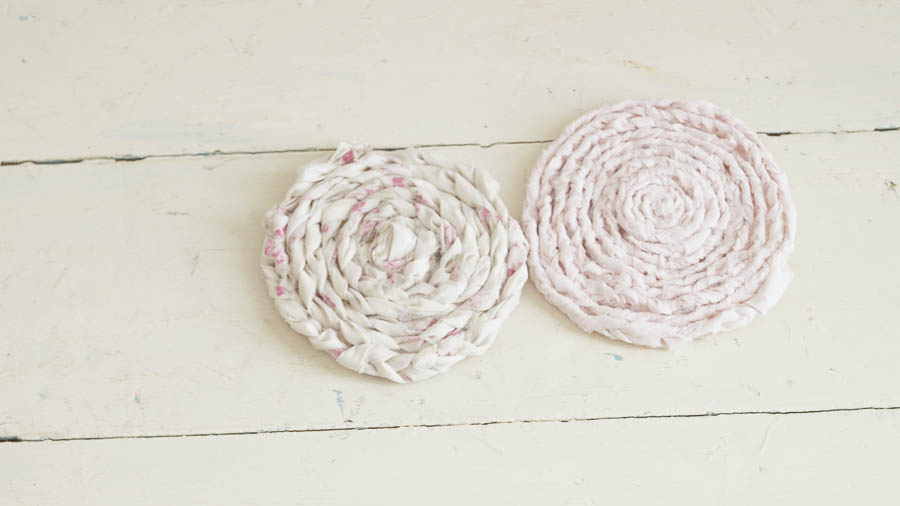
These pretty shabby coasters.
And yes they have pink and rose’s on the fabric.
I can’t believe the price of coasters.
They can be very expensive.
These are super easy to make and very cheap!
They make a great gift too!
You know how I am always finding pretty fabrics at the thrift store.
Usually bed sheets and bed skirts.
Or a pretty curtain panel.
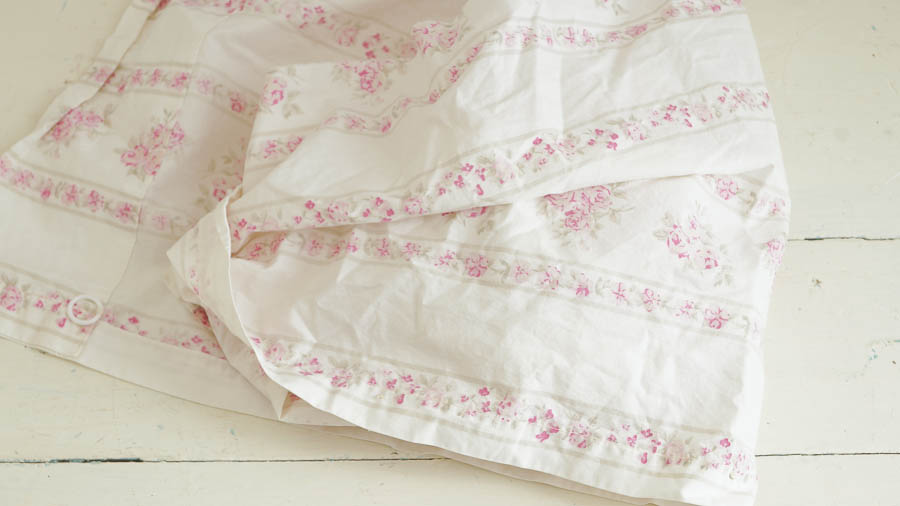
This is a Rachel Ashwell Curtain valance from her simply Shabby Chic line.
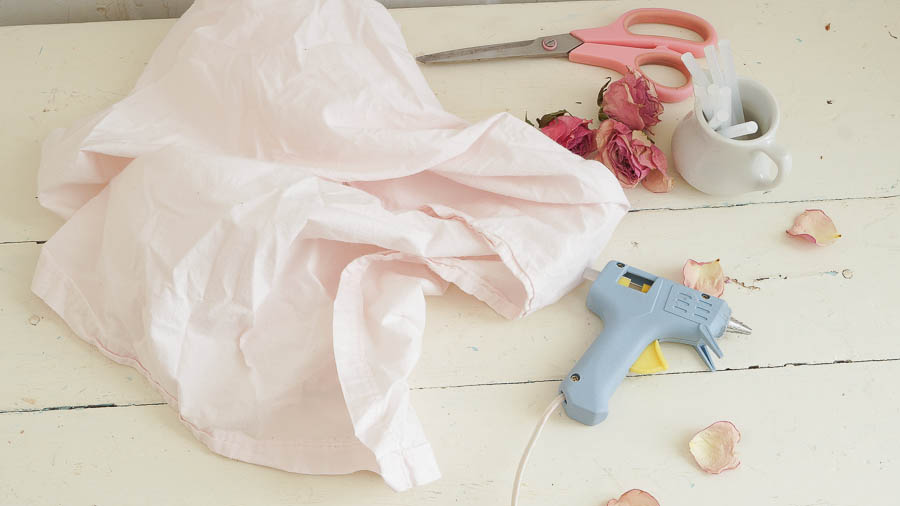
I am also using a pink sheet from that same line.
For this project you will need.
Scissors
Glue gun
Fabric preferably a cotton sheet
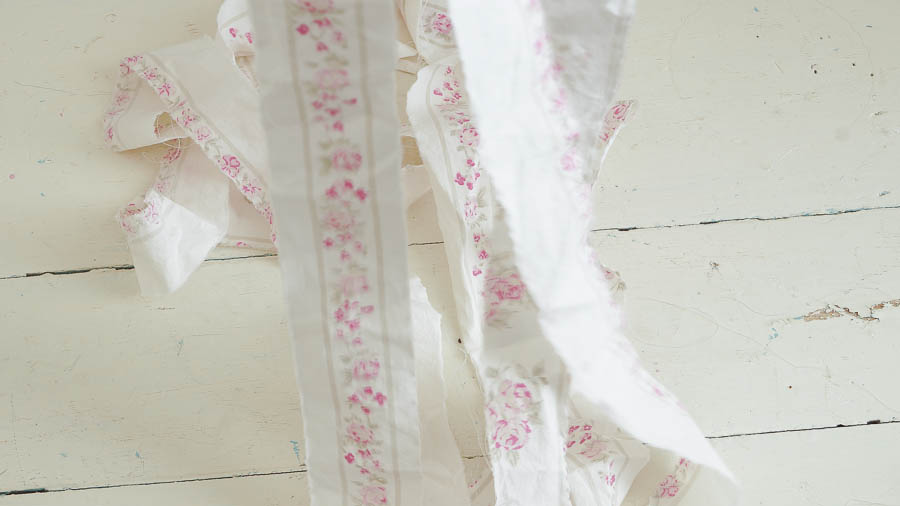
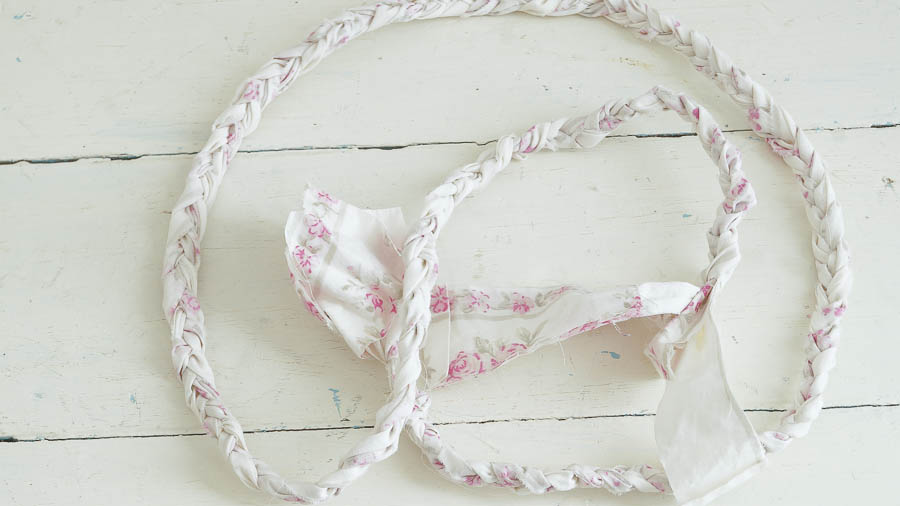
We are going to cut these scrap pieces of fabric into strips, then braid them.
So first determine how thick you would like your braid to be.
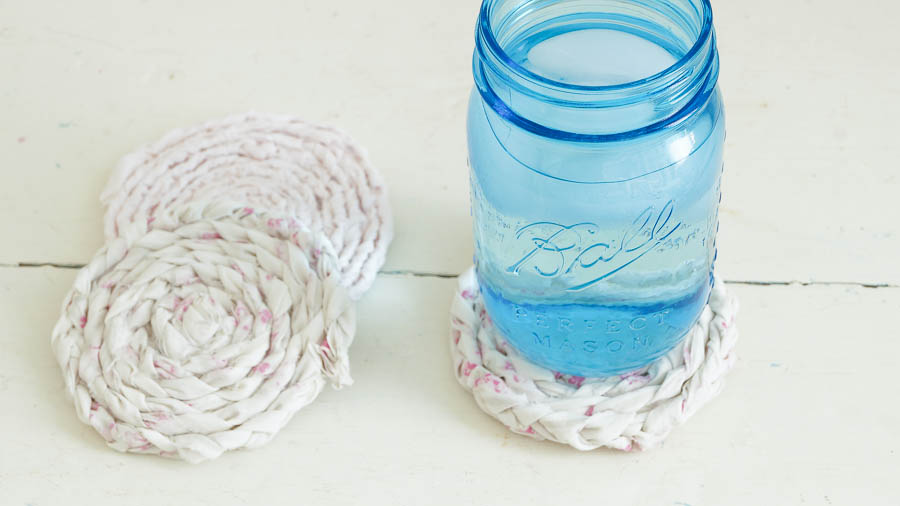
You can see on the left the braid is a little thicker and on the right it’s thinner.
I am going to share how I made my larger braided coaster.
If you would like to make a thinner braid, it’s basically the same directions, except you need to use a thinner piece of fabric.
For my larger braid I cut 2 inch wide strips.
And mine were 4 ft long.
As you braid your piece it will get shorter.
And you can always cut it shorter if you feel it’s too long.
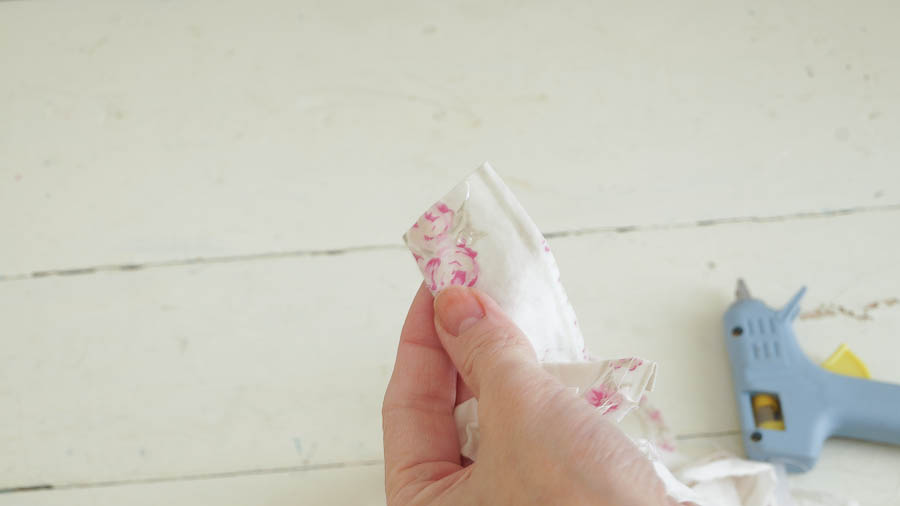
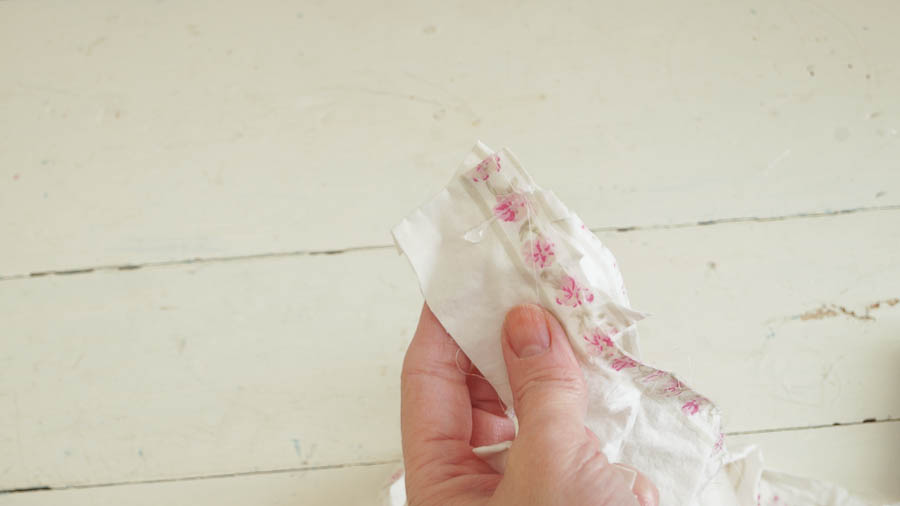
After you cut your three strips dab a little glue on one end.
Then add one of the stripes on top of this piece, repeat this process with another strip.
This will keep your pieces together as you braid.
Wow….I need a manicure….okay don’t look too closely at my hand….yikes!
I guess I need to treat myself for Valentine’s day 😉
Okay….where was I?
Oh yeah…now, let’s start braiding.
If you have someone to help that’s great.
I did not, so I found something heavy to hold the end that we just glued together.
You need to keep it in place as you are braiding it.
Now just start braiding using a three strand method.
As you are braiding make sure to keep the ends free so that they don’t get tangled up.
Now it’s time to start gluing.
Cut off some of the end portion that was glued.
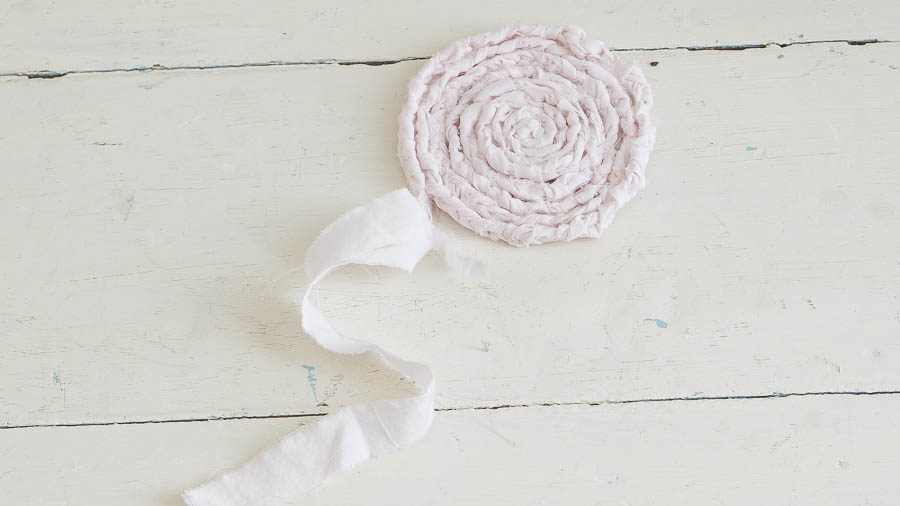
And in a pin wheel or circular motion we are going to start gluing.
As you start rolling, dab a little glue onto your fabric and keep working around and gluing as you go.
Keep gluing and rolling until you get to the end of your braid.
When you get to the end you may have extra fabric, just cut that off and glue.
And that’s it!
This was a very simple project to to do.
I think a glue gun is a must because it dries so quickly.
Now let’s see if it fits.
Yep it fits perfectly!
We use coasters all the time.
Yes I know my furniture is pretty shabby looking, but I hate getting those water marks.
Make sure to hop of over to all of these fabulous blogs below.


Anne those turned out way cool! I need t make some for around here. Thank you for being a part of the blog hop.
Thanks so much Pamela for inviting me to be a part of this fun blog hop.So much inspiration from you all! It’s an honor to be a part of it!
This so reminds me of braiding rugs with my aunt when I was a child….the braided coasters are so beautiful…..so love this idea and a great no-sew project that I would love!….Great partying with you and Happy Ground Hog day too!
Thanks so much Shirley! Yes no-sew 🙂
Anne,
These are super sweet and cute. What a great idea and looks pretty easy to do. Thanks for sharing this with us I might have to take a try at doing this one. Stay warm with all the snow. At least the sun is out today.
Kris
Thanks Kris….yes the sun is out 🙂
These are really cute, Anne! They look so pretty with your sweet fabric.
Mary Alice
Thank you Mary Alice!
these are so cute, anne! tfs:)
Thanks so much Lynn!
Those are really cute, Anne. Your blog did not update in my blogroll today for some reason.
Thank you Kim!
Leaving a bit of braid unglued, then looping and gluing the end back upon the fabric could be an option. The coasters could be placed, loops up, in a little handmade or store-bought box.
Great suggestion Vicki!
Those are super cute, Anne! And just adding a few tack stitches would ensure it doesn’t fall apart if it gets soaked from your drink’s condensation. I use coasters everywhere in my house, and yes, they’ve gotten really expensive! Great idea!
Thanks so much Rita!
Oh, Anne! These little coasters are precious!!! I love that you used what you had and the colors are so you! Valentines Day was made for you!!!! I’ve got to make these beauties! xo
Thanks so much Yvonne!
That is so cute and such a great idea!! I will have to try and make some!!
Thank you Anita!
I LoVe this idea Anne and may have to “borrow” for some upcoming wedding gifts. Thanks for posting and inspiring! xoxo
Thank you Janet <3 .Borrow away 🙂
These are so cute Anne!! I am loving them!
Thanks so much Courtney!