DIY Shabby Inspired Tote Bag
Before I discovered 1Gel decoupage and transfer I found a tutorial sharing a method using Modpodge. I was so intrigued by this! I decided to create a one of a kind shabby inspired tote bag. These tote bags are great to have on hand for shopping excursions, traveling including road trips. (This post contains affiliate links please see disclosure policy)
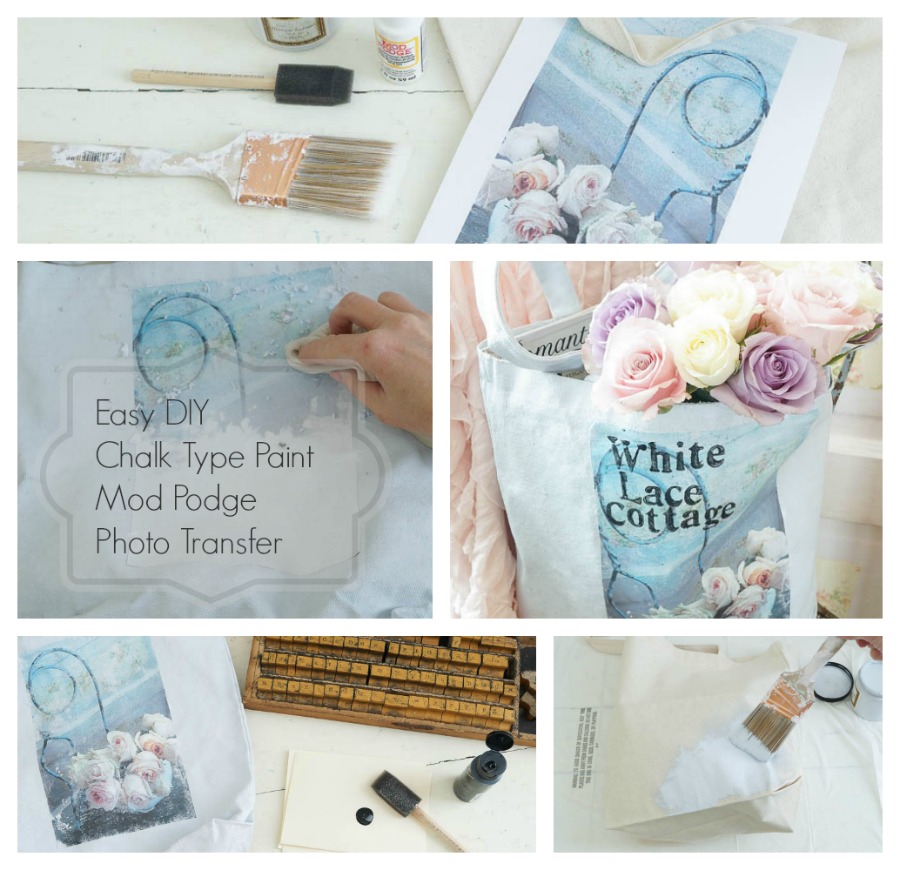
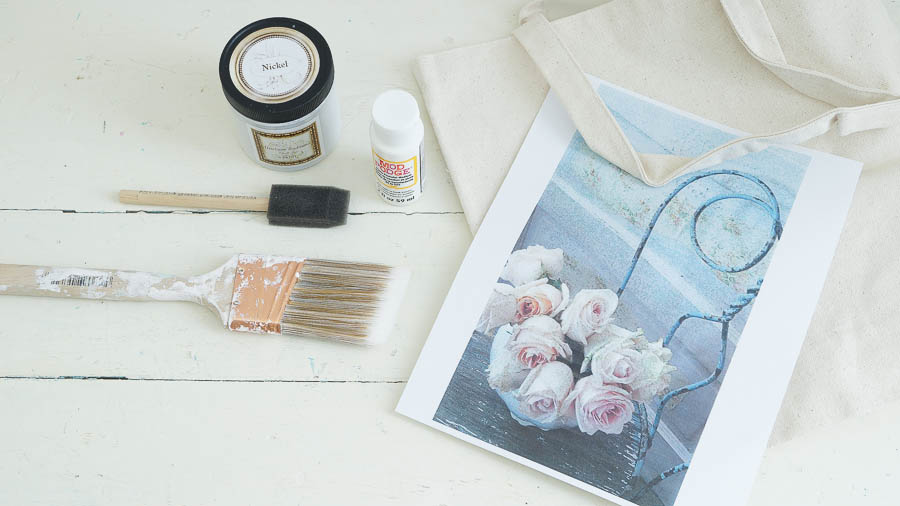
Supplies needed for this project.
- Canvas tote bag
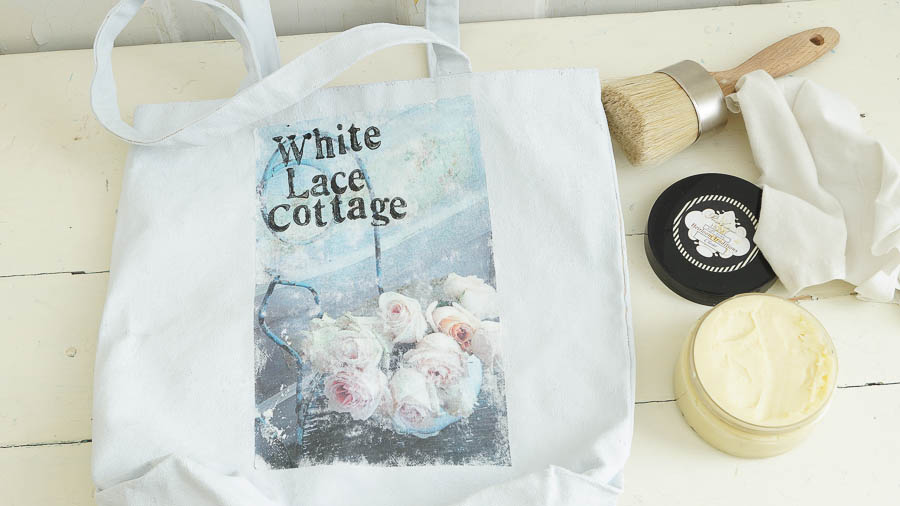
- Heirloom Traditions Paint Nickel
- Mod Podge photo transfer/ sponge brush
- Soft cloth or sponge
- Clear soft wax
- Letter stamps I used vintage stamps. Here’s a vintage set from Amazon
- Black acrylic paint
Laser copy print of a photo ( it must be printed from a laser printer, or it will not transfer)
**After you read this tutorial see the bottom of this post for an update on products used. This project just got easier!**
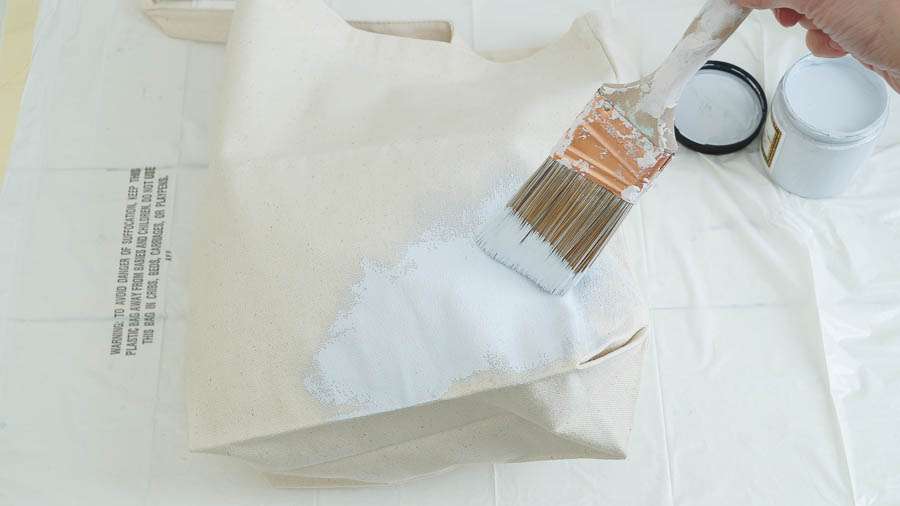
You’re probably wondering why chalk type paint is listed as one of the supplies.Well before I used Mod Podge medium on my bag to transfer my photo I painted this bag first, using chalk type paint. I chose nickel from Heirloom traditions paint. It’s a beautiful grey blue, but looks more on the blue than grey.
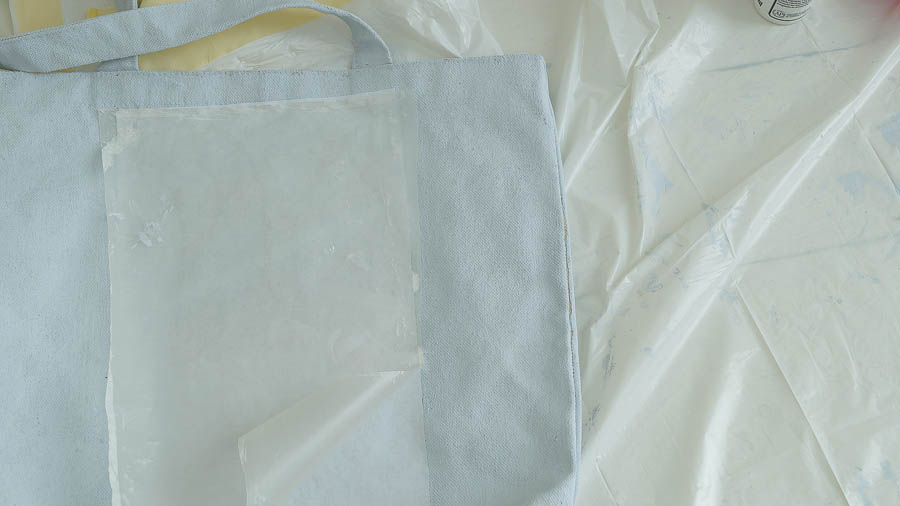
To begin my project I first applied one coat of paint the the entire outside of the bag and straps. I stuck a plastic garbage bag inside just in case this bled through but it didn’t. Painting the bag made the tote feel a little stiff (Heirloom traditions now offers a fabric medium) I’ll get back to that as I have a solution. After the bag was completely dry it was time to apply my graphic. Make sure you cut any excess from your photo that you don’t want on this transfer, as in the edges. Cut off a piece of wax paper one inch larger than your photo. On the directions is says to cut a piece to fit your photo. I did that and realized it should have been a little bigger.
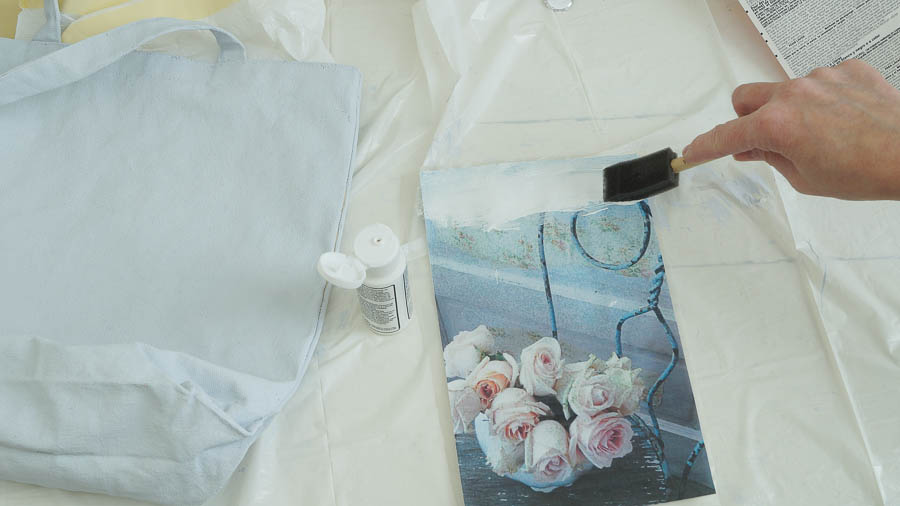 Next start applying your Mod Podge photo transfer on your photo. This needs to be applied thick enough that you cannot see your photo. Once your photo is completely covered carefully flip it over and place it on your canvas bag. This is a little tricky, and mine is slightly off center. Your photo should be placed facing your tote bag, wax paper on top. Now start to smooth this out. I just used my hands. Don’t use too much pressure. Wipe off any excess medium that bleeds through the sides, using a damp rag.
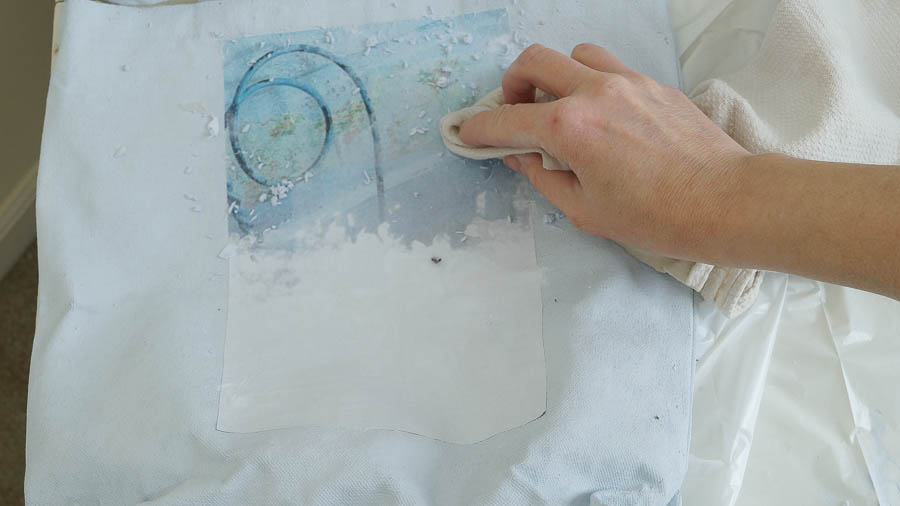
This next step was the hardest part for me because you must leave this sit for 24 hours. Do you know how hard that was for someone like me who likes instant results. It wasn’t easy I kept wanting to peek. In fact I did peek and messed it up slightly so don’t peek. After 24 hours, take a sponge or a soft rag, dipped in warm water and in a circular motion start wiping the paper off of your bag.
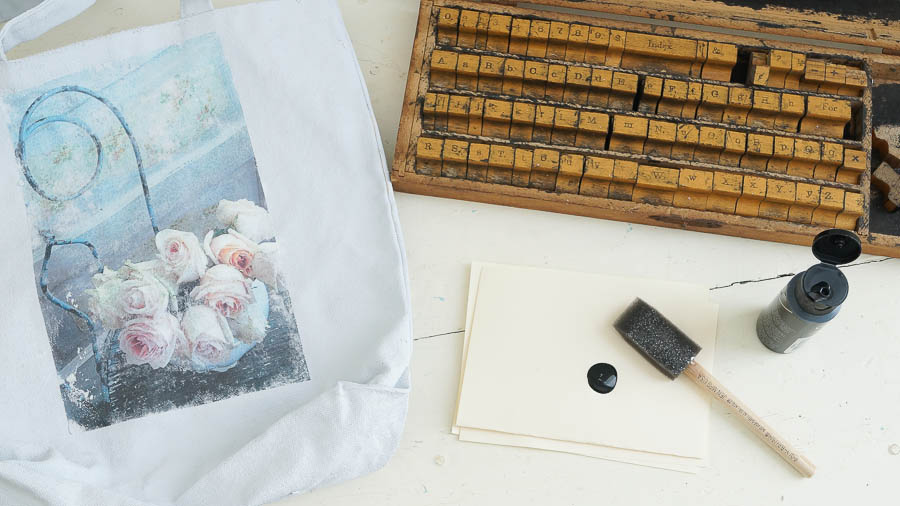
This gets a little messy too, but keep on working until you get all of this paper off. I had to do this step twice. After this was cleaned off I decided to personalize it a little more. So I pulled out my vintage stamped letters, a sponge brush and black paint.
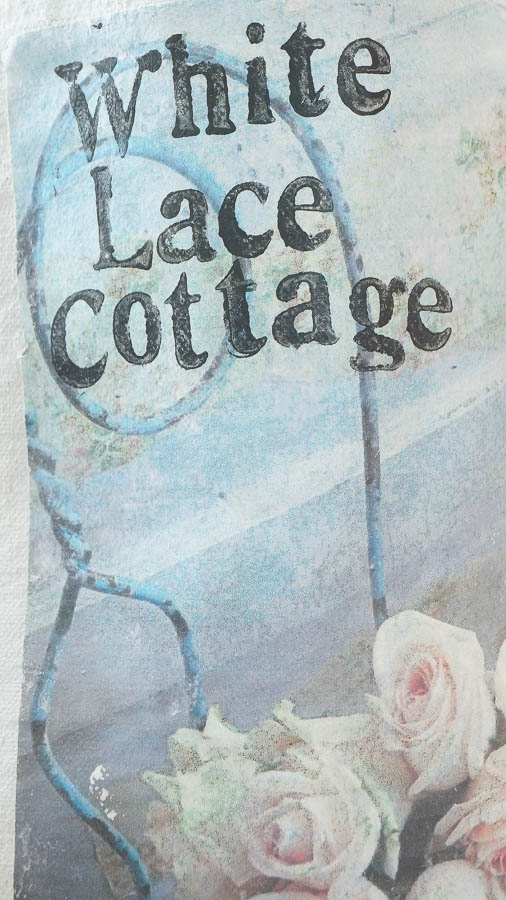
I brushed the paint onto my stamped letters using a sponge brush, then stamped these onto my bag.
After the letters were dry I applied a clear wax to my bag including the transfer. First I used my wax brush but I kept getting lint so I switched to my white t-shirt rag instead.
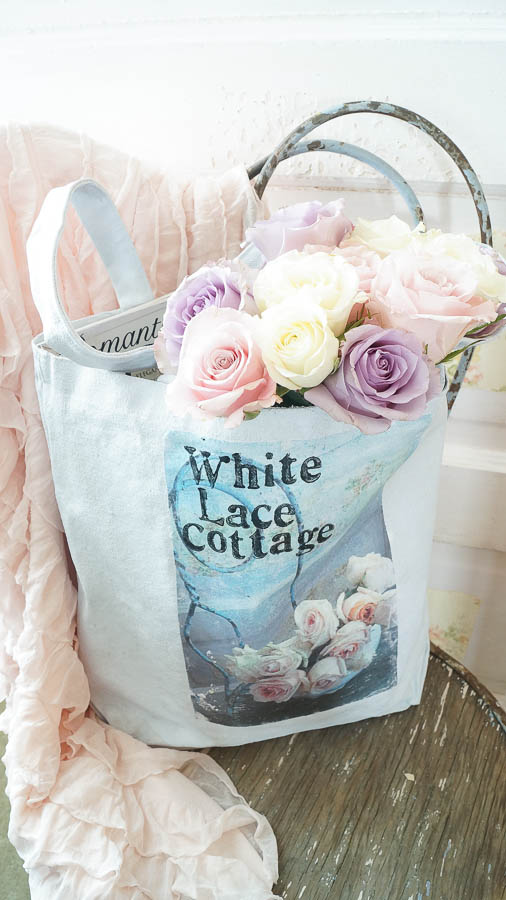
I did apply my wax a little thicker than I do on a piece of furniture. This wax was really getting absorbed into the fabric and paint. Once your wax is dry just buff this out using a white cotton t-shirt. Remember I said that I had a solution for the fabric being a little stiff. It’s the wax. By adding a coat ( or two) of wax. This helped to wax to soften the paint on this bag so it’s not a stiff piece. The paint did crack a little and you know what? I love it! I think it really gives it a fun funky shabby chic look.
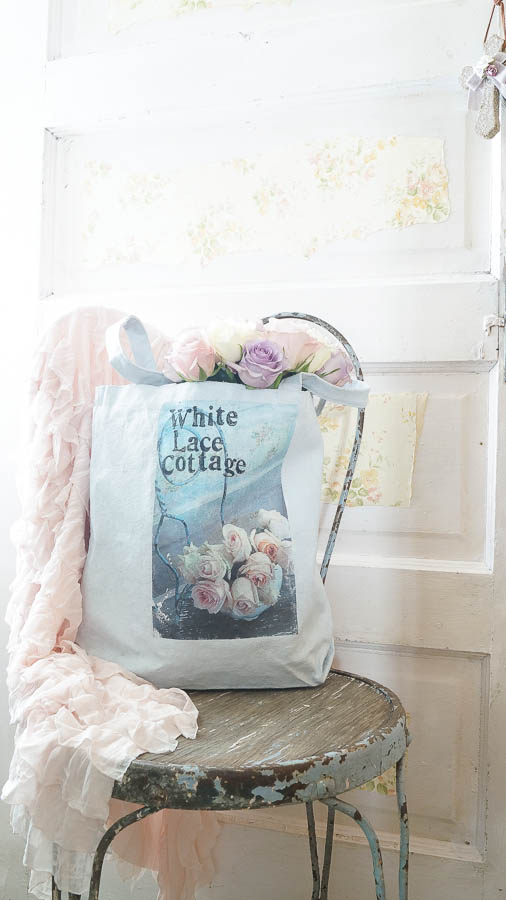
I know I will enjoy using this while I am out shopping. It’s always fun to have an extra little bag with me. Wouldn’t this make a lovely gift for someone too!
Update
Since writing this post for the first time A few things have changed. Instead of using ModPodge on a project like this I would recommend 1Gel from Heirloom traditions paint. You will be able to do several projects with it and it works even better. You can also use any ink photocopy. It doesn’t have to be printed on a laser printer. Another change is that Heirloom Traditions now has a fabric medium called FAB. You can apply the FAB to your bag first then apply the paint. This will prevent the paint from cracking. To seal it just use a waterbased top coat from Heirloom Traditions. No need to wax it.
I love the bag and the print you chose- and I have never heard of the Modge Podge transfer medium either! But wow- seeing your own things in a magazine! How awesome is that?! of course, I’m not surprised since everything you do is beautiful!
Thank you so much Laura! I still can’t believe it. It’s very humbling to have photos that I took in a major magazine! And one of my all time favorite magazines too!
Love this bag Anne. How cute. Congrats on the RH feature. You have wanted to be in this magazine for awhile so I am so glad you finally got a beautiful feature. Congrats. Very sweet.
Kris
Thank you Kris! Yes for a long time.And thrilled they used photos that I took.Wow that just blows me away!
I love the bag you created, I have seen the Modge Podge photo transfer product online, but never seen it used…love it!!! I also love the stamped name on the bag. I have to ask, what size are the stamps you used and where did you find that beautiful set of stamps? I love it, noticed it right away and would love to get my hands on a set of those stamps!! Thanks for the great ideas!!!!
Thank you Sue! I found my vintage stamp set on Etsy a few years ago.The set has 1 inch capital letters and 1/2 inch small letters along with numbers. I love the font on vintage stamp sets.
congrats on your magazine article, anne!! i just love this cute bag idea and will try it soon!
Thank you so much Lynn!
Can you share with us where you purchased mod podge photo medium? Is it different than regular mod podge? Love this tutorial, thanks for sharing.
Yes Stephanie I purchased mine from Michaels crafts. Yes it is different than the regular Mod Podge.Make sure you purchase photo transfer Mod Podge.
Love tbis tote! How clever. Just saw your article that is in the Romantic Homes magazine and it led me here. 🙂
Blessings~
Thank you so much Sandi!
Such a lovely bag . . . thank you for the tutorial! Also, Congratulations on the Romantic Homes feature! I was just reading about . . . so happy for you!
Blessings,
~Wendy
Thank you Wendy!
Anne, I can’t wait to pick up a copy of the magazine to see your feature! How exciting! And I was unaware of the Mod Podge photo transfer medium so thanks for sharing how to do this! I LOVE your bag!
Thanks so much Jane! Have fun creating, that stuff is addictive!
Wonderful project with some materials that are new to me. ❤️ Love the finished product. Can’t wait to start this product!
Turned out very pretty! I was gonna say “Too bad I have an inkjet printer” but then I saw your update. Very cool!
Gorgeous! thanks so much for sharing on craft schooling Sunday!
Gorgeous! Great tutorial! I especially love the picture you choose to use. I’m visiting today from #shinebloghop.
What a gorgeous bag! It is simply beautiful. I have not tried the image transfer on fabric yet but will definitely have to give that a whirl sometime soon! Thanks so much for sharing at the Inspiration Galore Project Party. Hugs, Lisa
This is really pretty. Well worth the effort