I enjoy finding new ways to use chalk type paint.
Yes we have all seen beautiful furniture pieces, and I will be sharing some reveals soon.
But it’s fun playing around and trying new techniques.
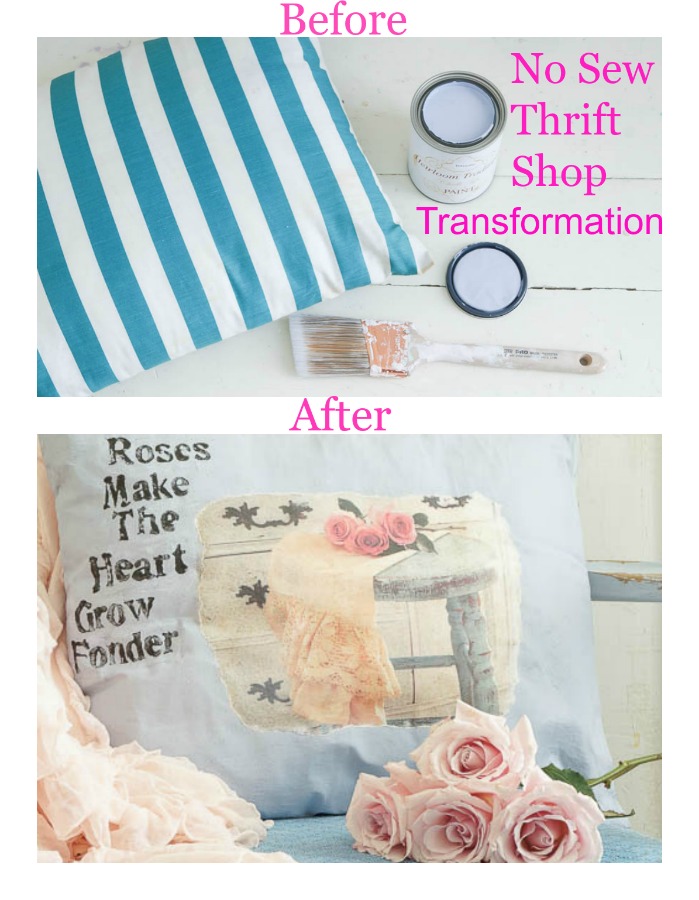
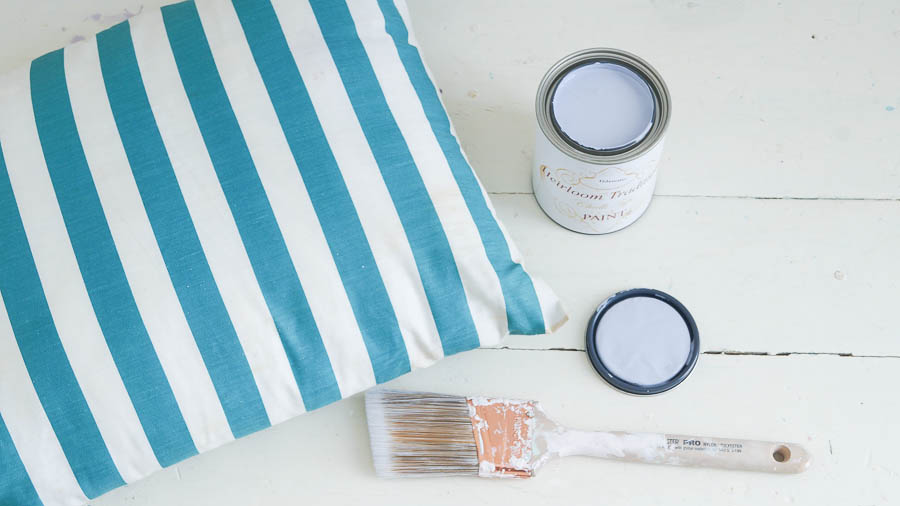
So one day while I was out shopping I stumbled upon an ugly pillow, I knew I would have fun transforming a thrift shop pillow with chalk type paint.
Let me show you how, and share a few tips.
Supplies
– Pillow (try to find one that is smooth and has no ruffles or trim, cording is okay)
– Chalk type paint ( I used Tidewater from Heirloom Traditions)
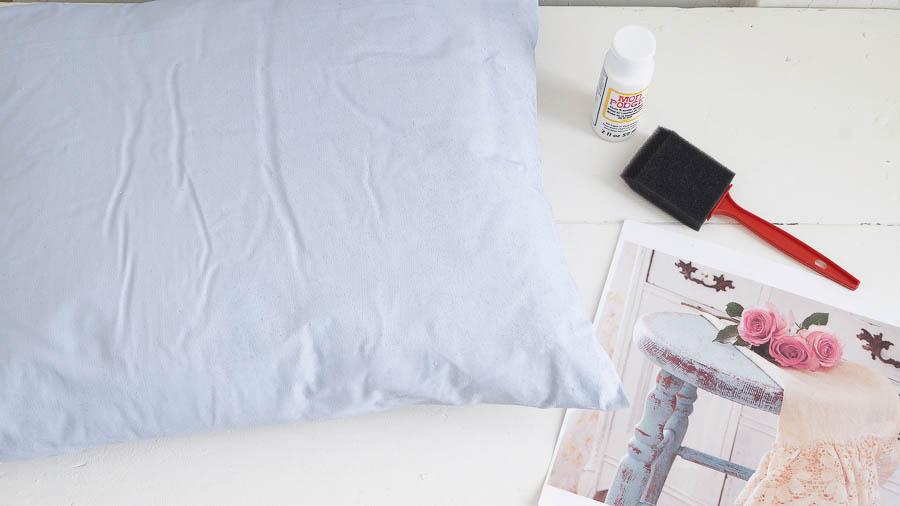
– Photo printed on a laserjet printer
– Mod Podge photo transfer (found at a craft supply store or search on line)
– Foam Brush/ Paint brush
– Clear wax ( I used muddy pond, and clear wax from Heirloom Traditions)
– Cut up white cotton t-shirt
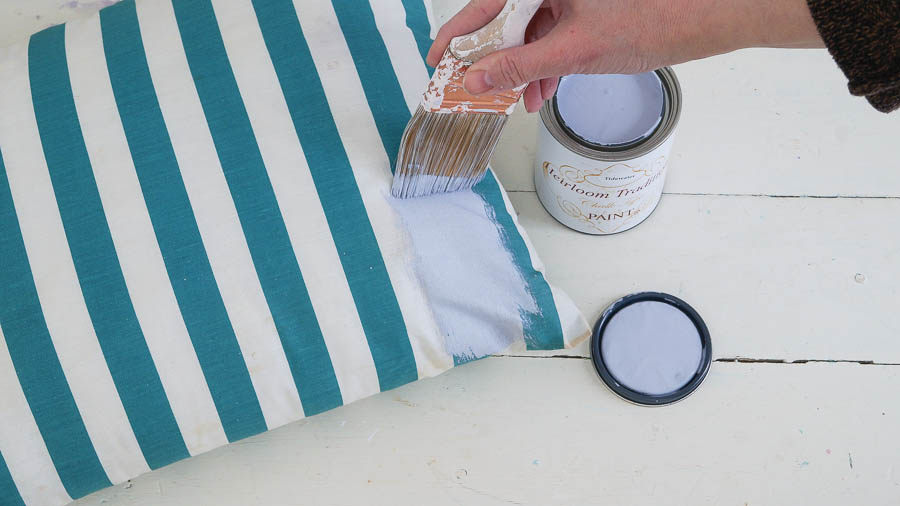
Apply a coat of paint on each side of your pillow, making sure to let each side dry before painting the other side.
-Here’s a tip:
-You can add a little water to your paint to thin it down just a bit, this may prevent your painted pillow from cracking.
I didn’t add any water, imperfections are a part of Shabby Chic style.
This pillow only needed on coat on both sides, but if you still see your pattern through the paint, add another coat to each side.
Once your pillow is completely dry you can start adding your Mod Podge photo transfer.
I shared this recently but I will share it again.
You can click HERE to read more from my Shabby inspired tote bag.
My pillow got a little wrinkled from sitting overnight, no worries.
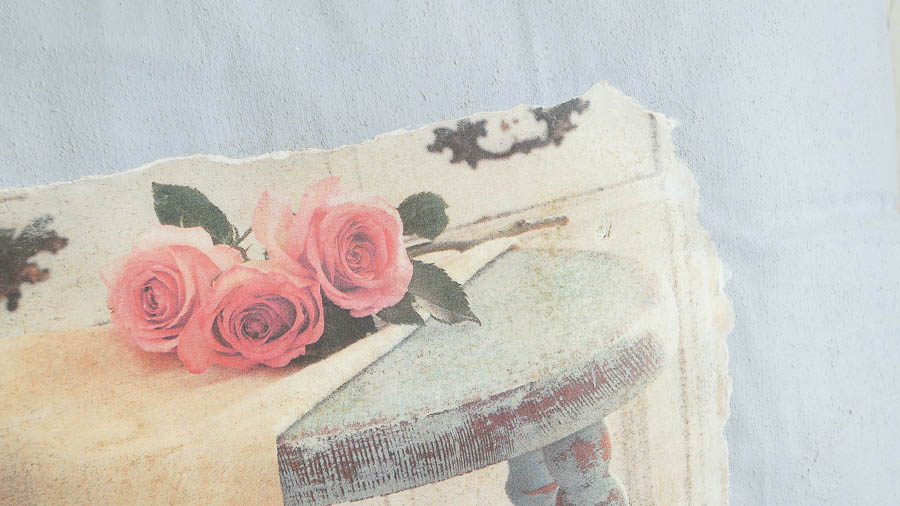
See that photo, instead of using it as it was, I decided to rip the edges off.
I wanted it to look tattered and torn, as though it was taken out of a book.
Cut a piece of wax paper larger than your photo and place your photo faced up on the wax paper.
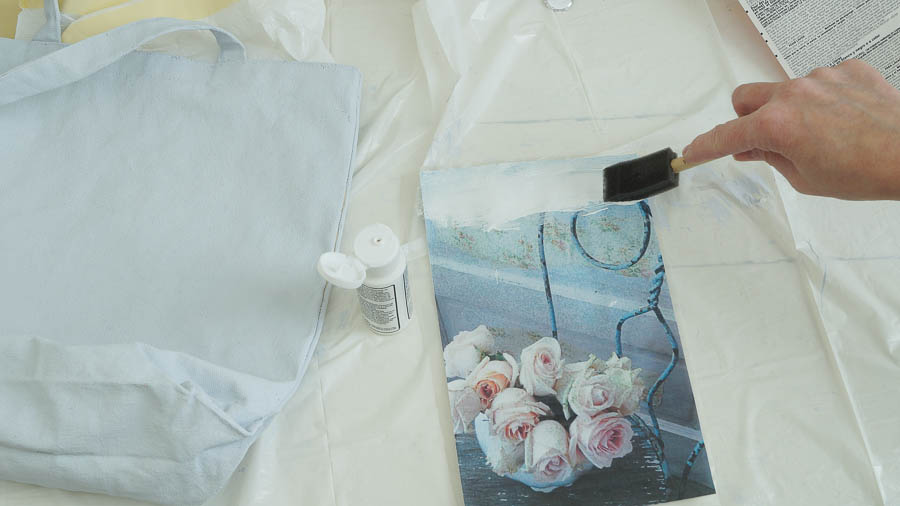
Next it was time to apply my Mod Podge medium, apply this thick so you cannot see the photo.
I used a foam brush that came with the medium.
This is a photo I took as I was applying this to last project, I thought I took a photo for this project, but I forget.
Anyway you get the idea.
Now is the tricky part, pick up your photo and place it faced down on your pillow.
You can’t mess with this once you put in on your piece, so do this carefully.
Smooth out any wrinkles, I just used my hands and made sure to work from the center to the outside of my transfer.
If you get any medium on your piece make sure to wipe it off with a damp rag.
Let this dry for 24 hours.
**Follow directions on the package, I am sharing what I did, see disclosure policy**
Now it’s time to reveal it.
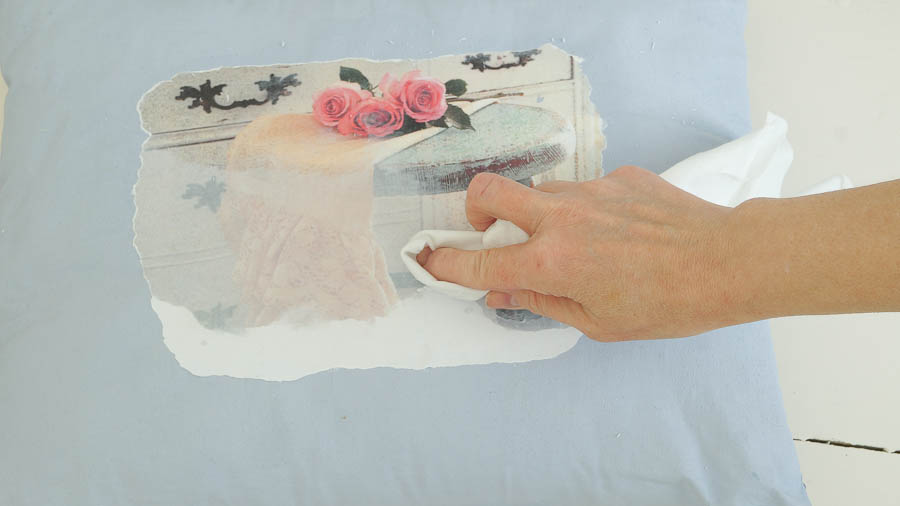
Take a damp cotton rag ( I used an old cut up cotton t-shirt), in a circular motion wipe off the paper.
Don’t press down too hard.
After this is done let it dry, you may have to do this step twice.
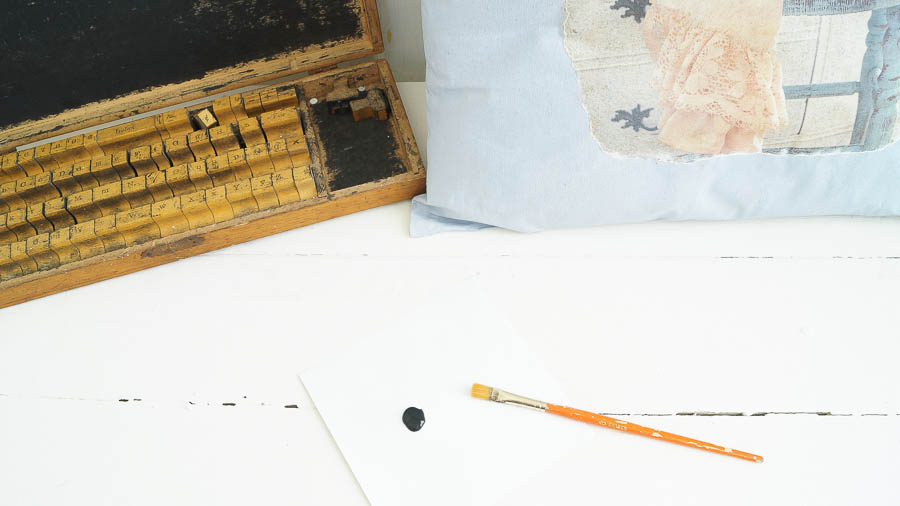
I felt that my pillow needed a little more personalization, so I took out my vintage stamps and black paint.
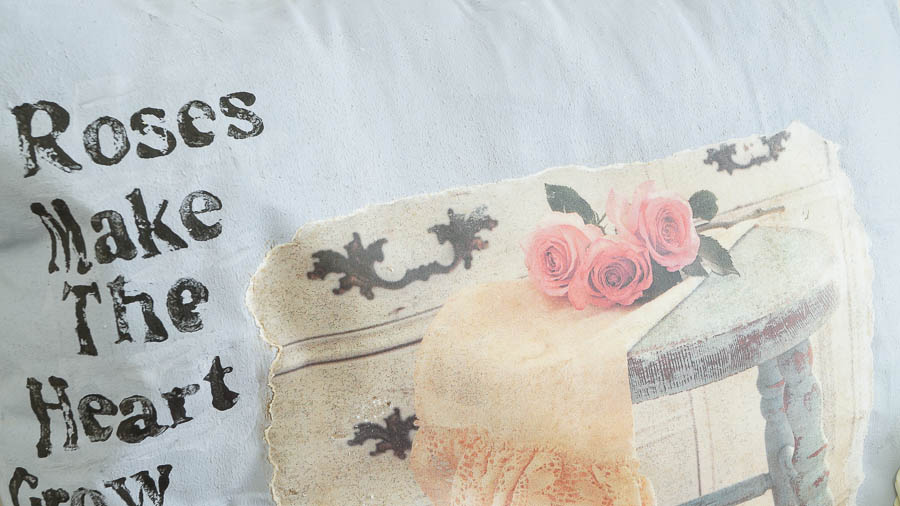
Since I love roses and this photo transfer has roses I added “Roses Make The Heart Grow Fonder”.
To apply the paint to my stamp, I used a paint brush.
If you just dip your stamp into the paint it may get a little messy.
After I stamped my pillow I noticed that some of the outline from my stamp came off and onto my pillow.
This was the ink from my ink pad.
I just took my small paint brush and touched it up.
I love how imperfect the letters are.
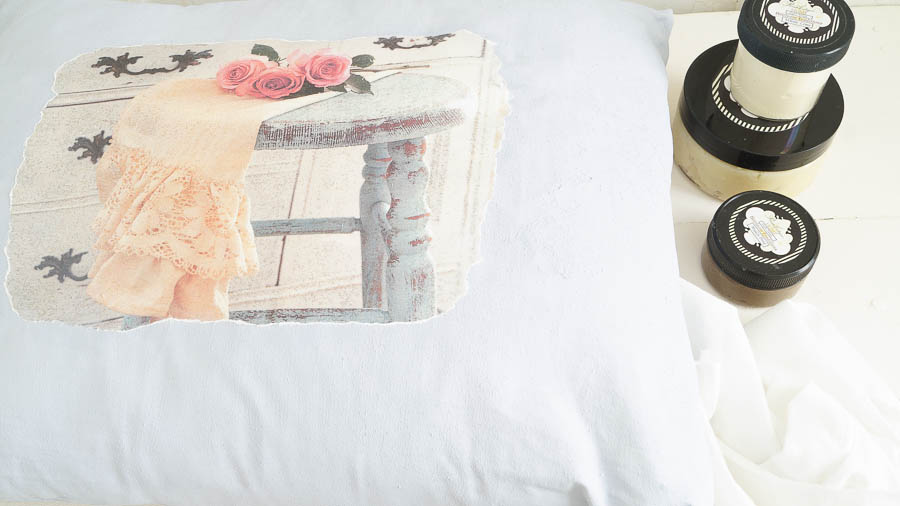
After the paint from my stamps dried, I took out my wax.
Before using clear wax I thought I would use a little tinted wax on my transfer first.
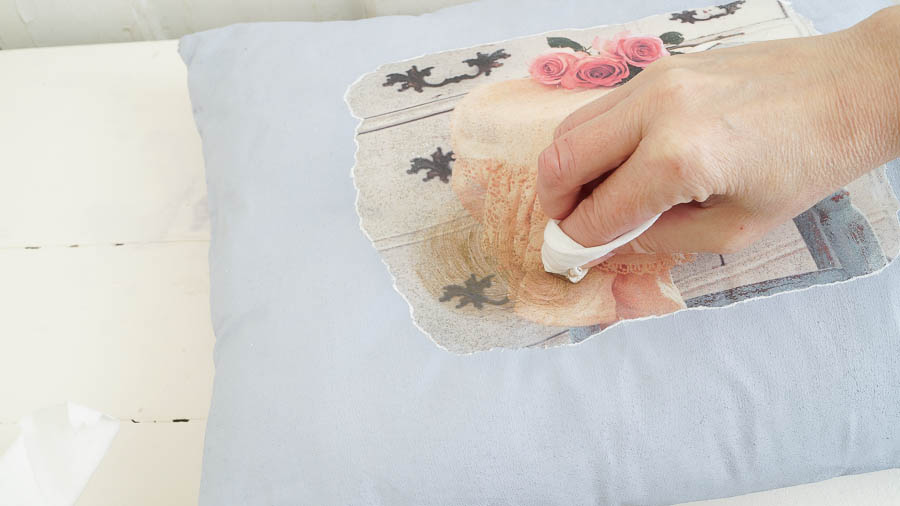
Using my white cotton t-shirt rag I applied just a little Muddy Pond wax to my transfer only.
This gave it a slight vintage look.
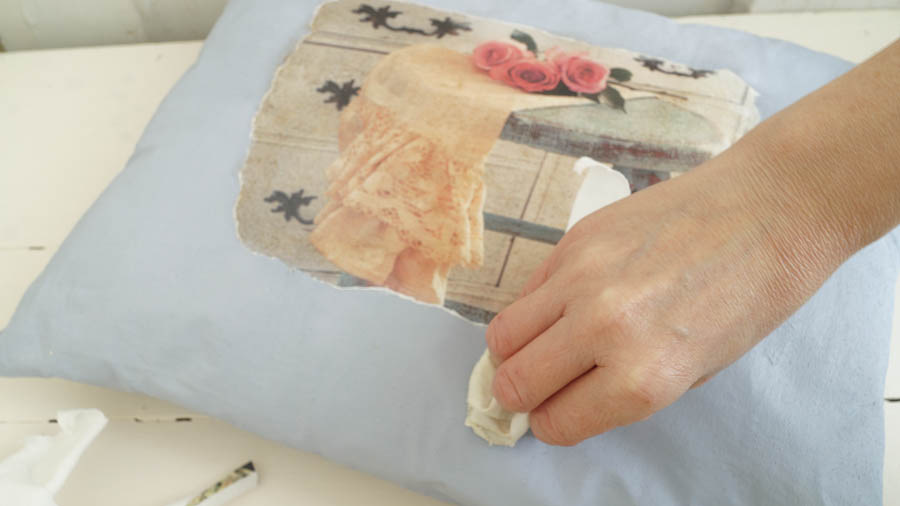
Next I applied clear wax to my pillow, using another cotton t-shirt rag.
-Here is a little tip, make sure to use white cotton t-shirts.They won’t leave lint the way a darker cotton t-shirt does.
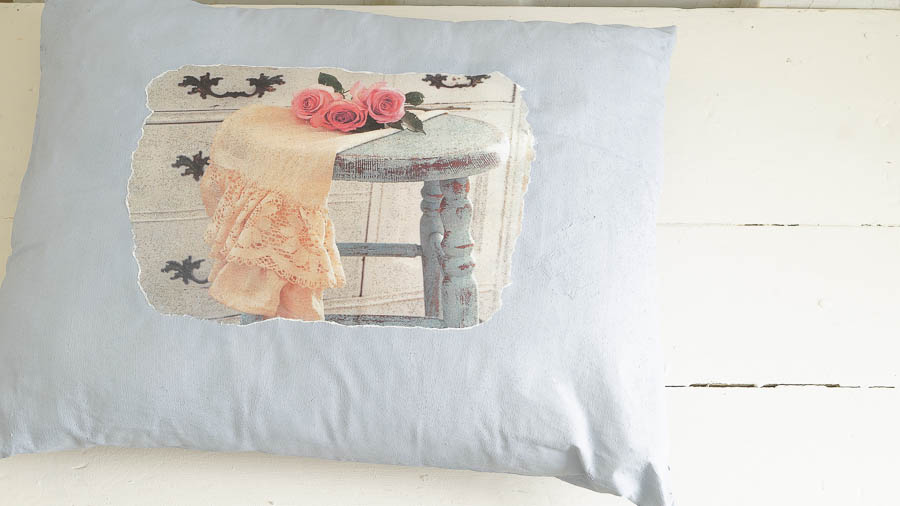
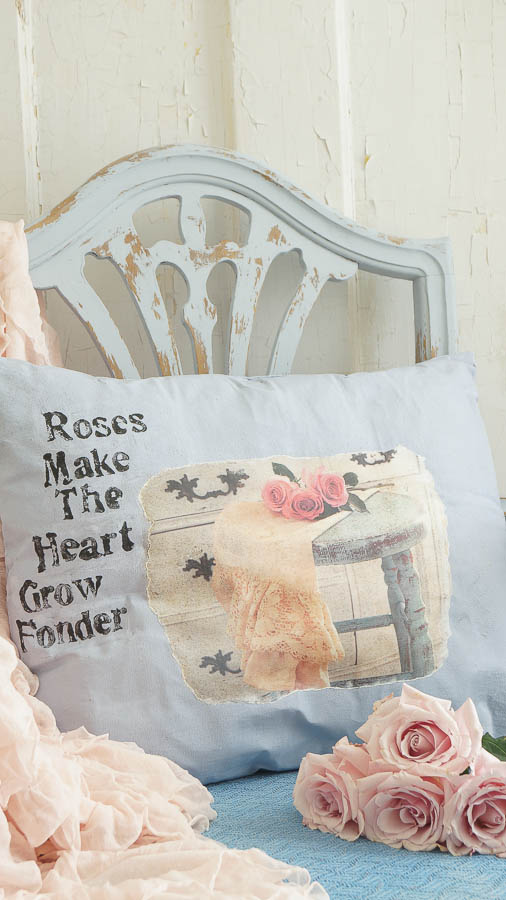
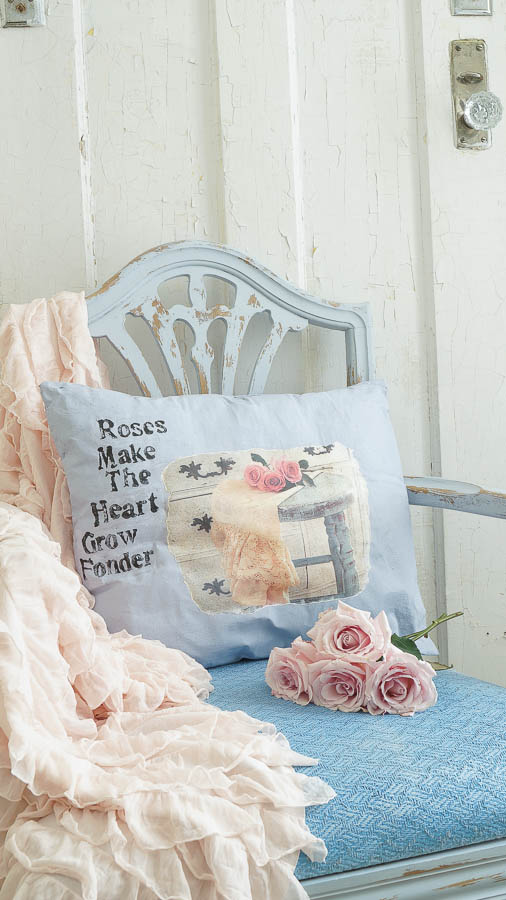
And here is my finished pillow.
It may seem like this is complicated, but this was very easy.
If it were not for the fact that it had to dry for 24 hours, this could easily have been done in a few hours.
And that would be adding the time for the paint to dry on the pillow.
Love this on my French chair!
Here is a closer look.
This is a great way to recycle an old pillow and transform it without sewing!
I know it may seem like every project I share comes out perfectly.
But it doesn’t.
Tomorrow I will be sharing my DIY fails, you don’t want to miss that!

Beautiful! Is there anything that CAN’T be painted with chalk paint?!?!
Thank you Laura….hmmm not sure I am still experimenting and painting on anything I can get my hands on LOL!
That is so cool! I imagine you could use a family photo as well which would make an awesome gift or just something for yourself.
Yes Laura you could use a family photo.This would make a lovely gift for sure!
Lovely pillow! Great job!
Thank you Kelly!
I can’t wait to try this… You made it look so easy.And, I loved the picture also.
Thanks so much Lynn! It is very easy to do, I promise 🙂
I am not really sure that I am in the right area. But here it goes anyway. The wreath that you have on your blog where that you dried the roses on it is gorgeous!! Now I am a floral designer by trade and have tried different ways of preserving but none of mine have ever come out looking as awesome as yours!! I did the lemon juice-sugar method last week on the roses and then I used the alum powder on my hydrangeas, Well, they were starting to die before I went to bed that night. WHAT AM I DOING WRONG THAT THEY DON’T LOOK LIKE YOURS???? please help!!!!
Carolynn
Hi Carolynn, I’ve always dried my roses in water. I just keep them until the are drooped over. So really I do nothing at all. I guess you could give that a try to see if it works for you. But that’s the honest truth, I just let them dry in the water. Yes the water starts to turn yucky. But the roses do a wonderful job drying 🙂
Thank you soooooo very much for the reply. I will try and let them dry just like you said, Yours were so beautiful!!!! I know you are busy and so I really appreciate your time.
Your welcome Carolynn. Let me know how it works for you 🙂