Today I wanted to share this easy to make diy chalkboad sign.
Last year when I held my first at home sale, I made a few signs.
I wasn’t happy with the way they turned out, but being my first sale I didn’t allow myself more time to make nicer signs.
You can read about my first sale HERE.
And HERE.
I recently started thinking about how I was going to make signs.
Thinking I would have to run to an improvement store to pick out wood, and have them cut each piece to size.
Yeah, I don’t have an electric saw yet.
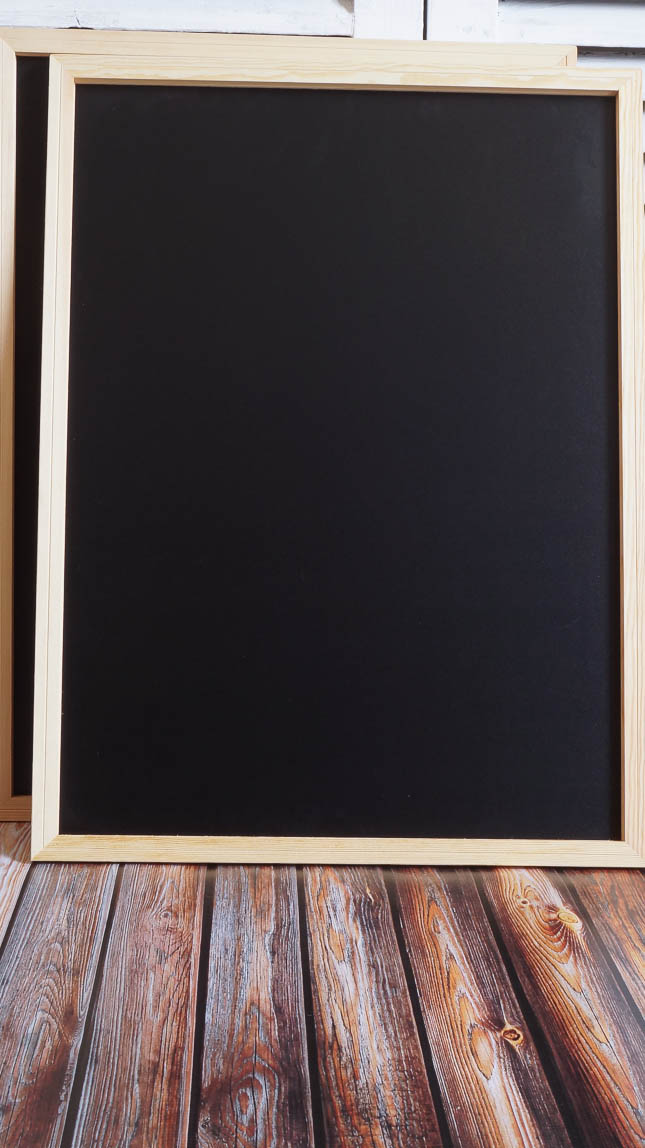
But, while browsing through the craft store I saw a few small chalkboards and I had a light bulb moment.
When I spotted these faux chalkboards they were laying horizontal.
But I held them up vertically and noticed that they would make the perfect size for signs.
I am sure you are wondering why I am calling these faux chalkboards.
Well they are not painted with chalkboard paint, they are some sort of textured resin that’s black.
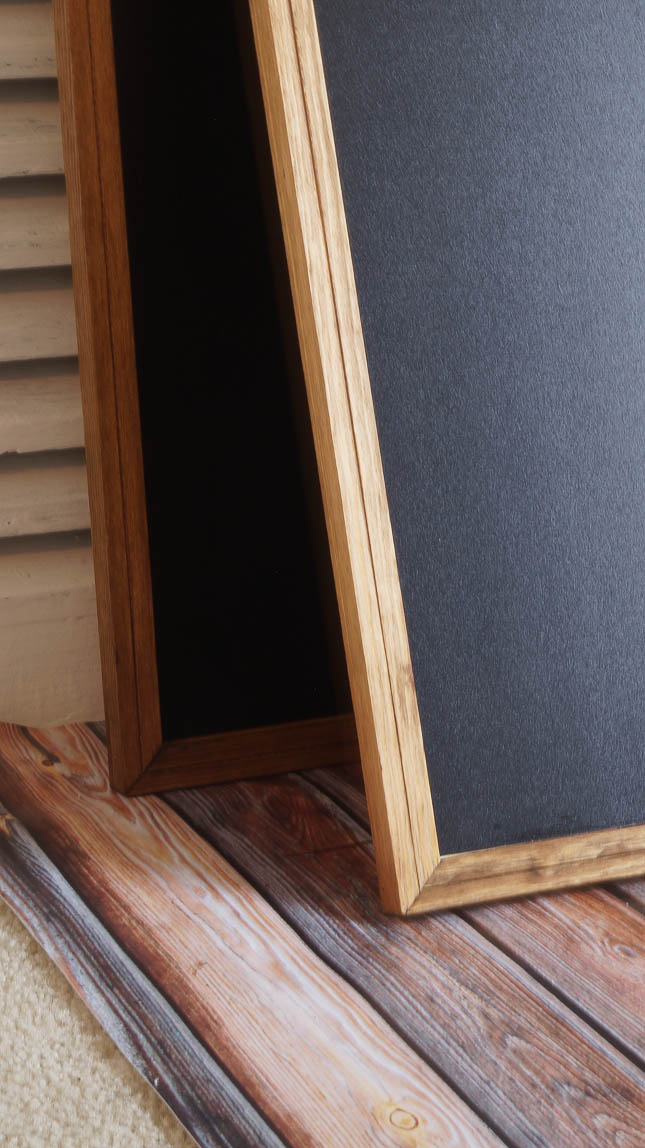
The first thing I needed to do is to age the frames.
They were too new looking.
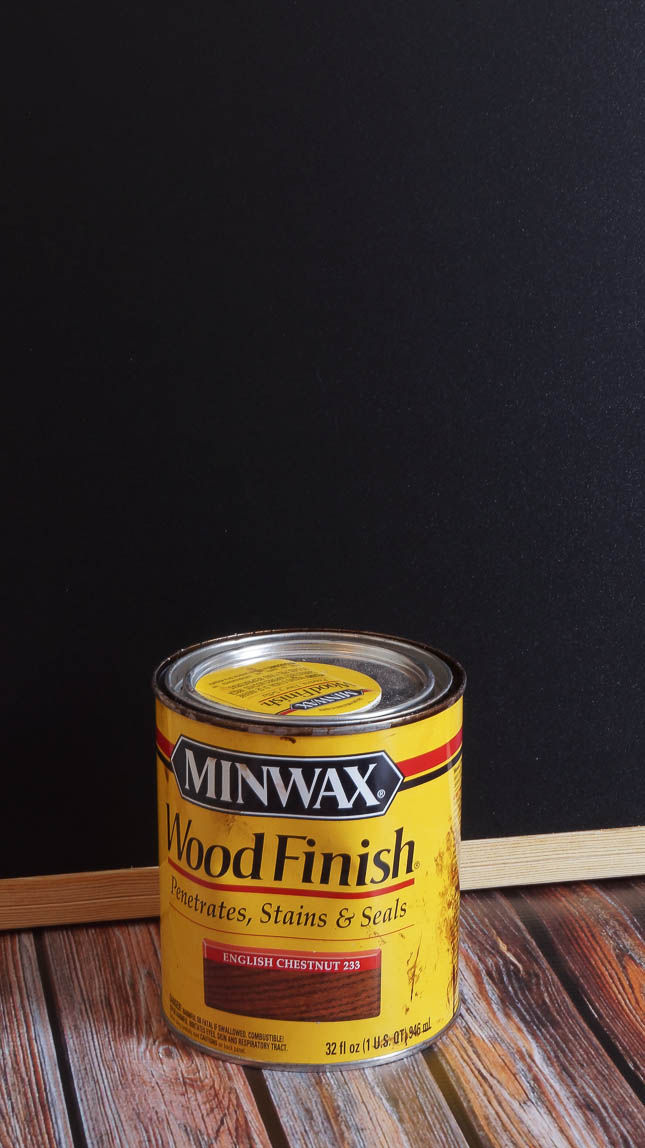
I brushed on a coat of stain on the frames.
I also wanted to paint these, but if I didn’t darken the wood underneath, as I distressed you would see that the wood underneath was not old.
So I was trying to fake it with this stain 😉
(Can you see that texture on these faux chalkboards.)
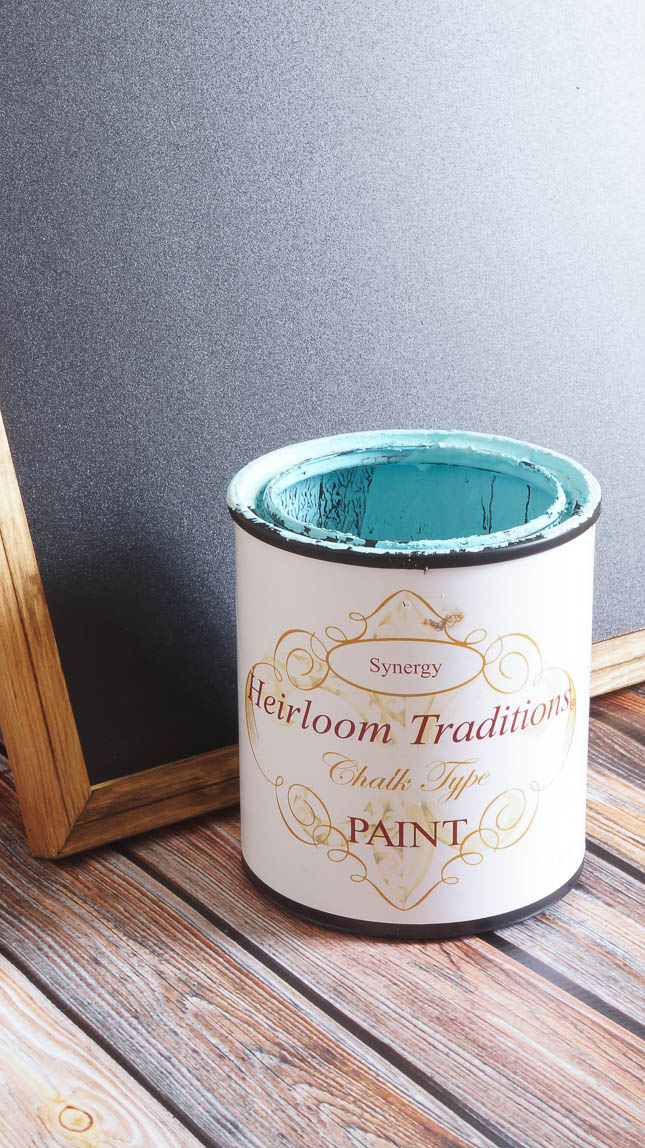
Now it’s time to paint the frames.
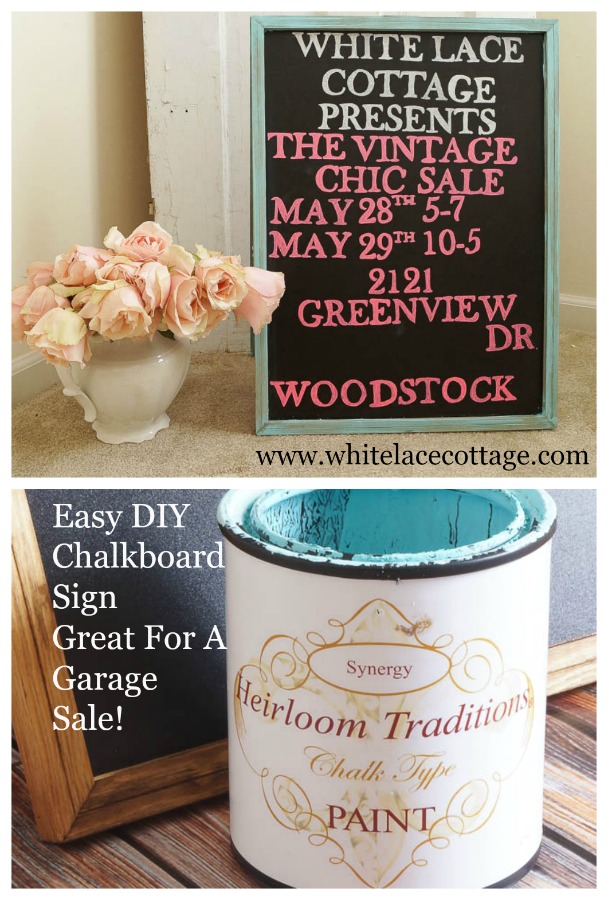
I decided to use Synergy from Heirloom Traditions paint.
It’s a pretty vintage green.
After the paint was dry I used my vinegar distressing technique.
I only distressed these slightly.
Next it was time to trace my letters.
I used Windows 2013 and found the font baskerville old face font.
Yep that’s what it’s called.
And I sized it up to 114%
So how did I figure out the size?
I kept printing out different sizes until I found the font size that worked with my board.
Yeah I am no math genius, it’s just what worked for me.
And you know how I am , nothing needs to be perfect.
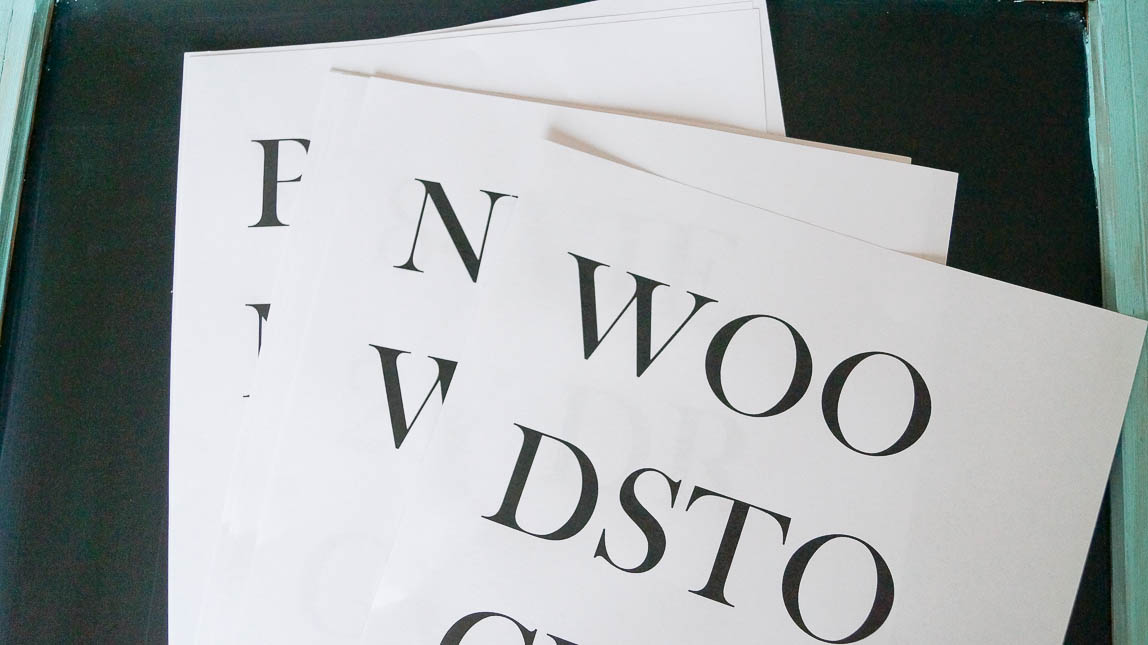
When I printed these, because they were so big I wasn’t concerned about the words running together as they printed out.
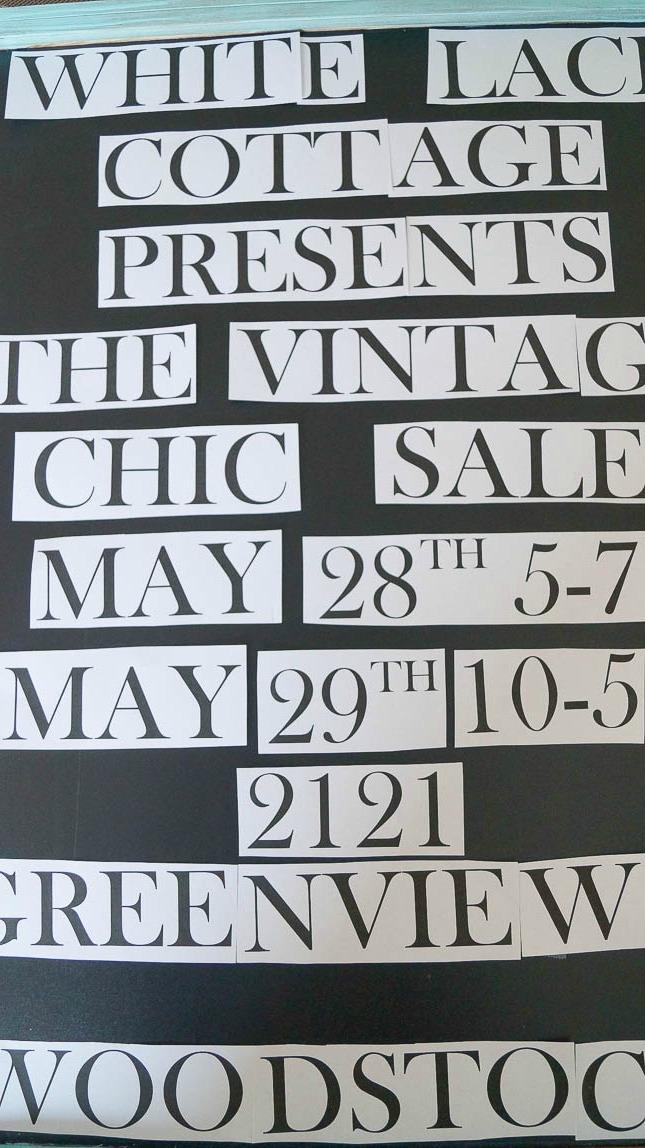
I knew I could cut these and fix them as I needed too.
Next I needed to lay these out on my board to see how this would all fit.
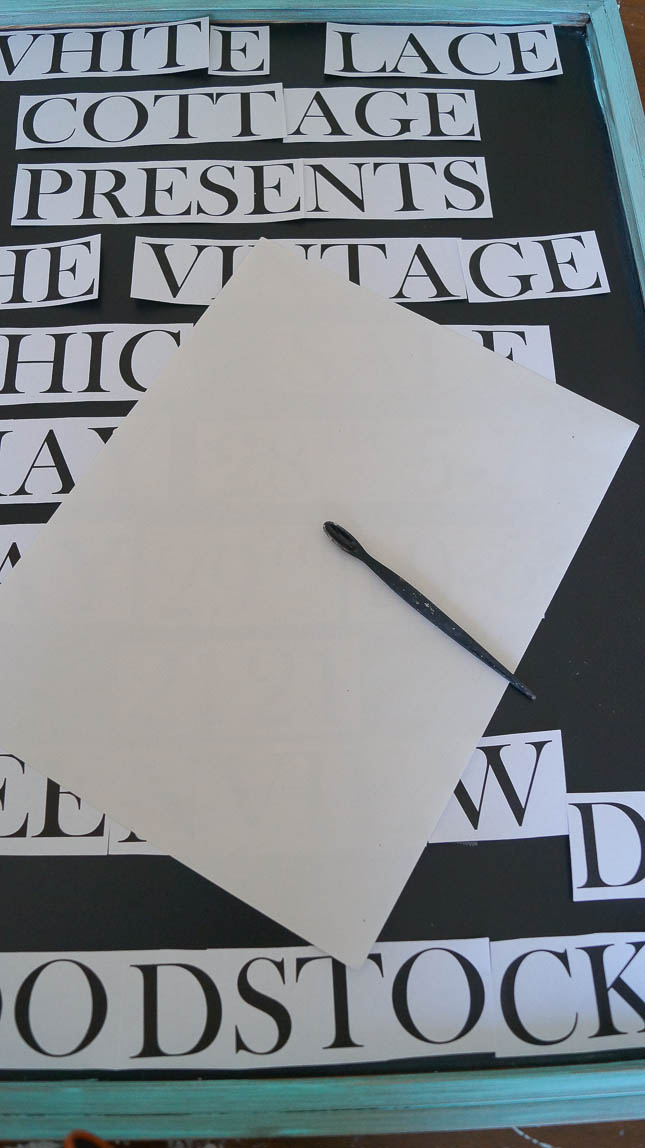
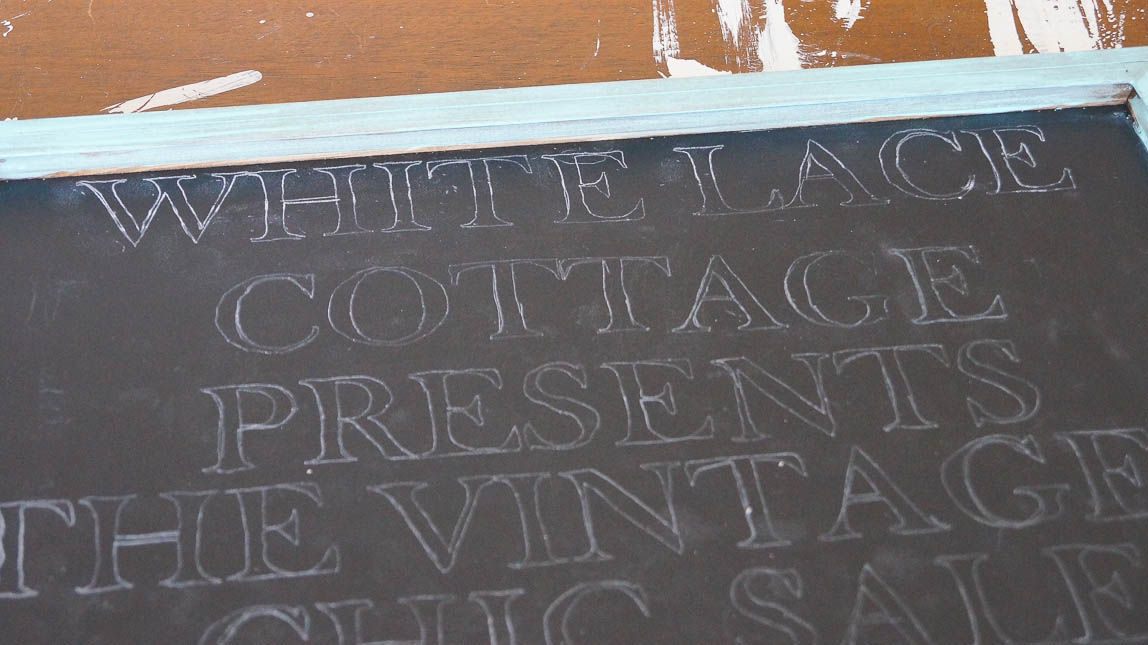
Then with my white carbon tracing paper I started to trace.
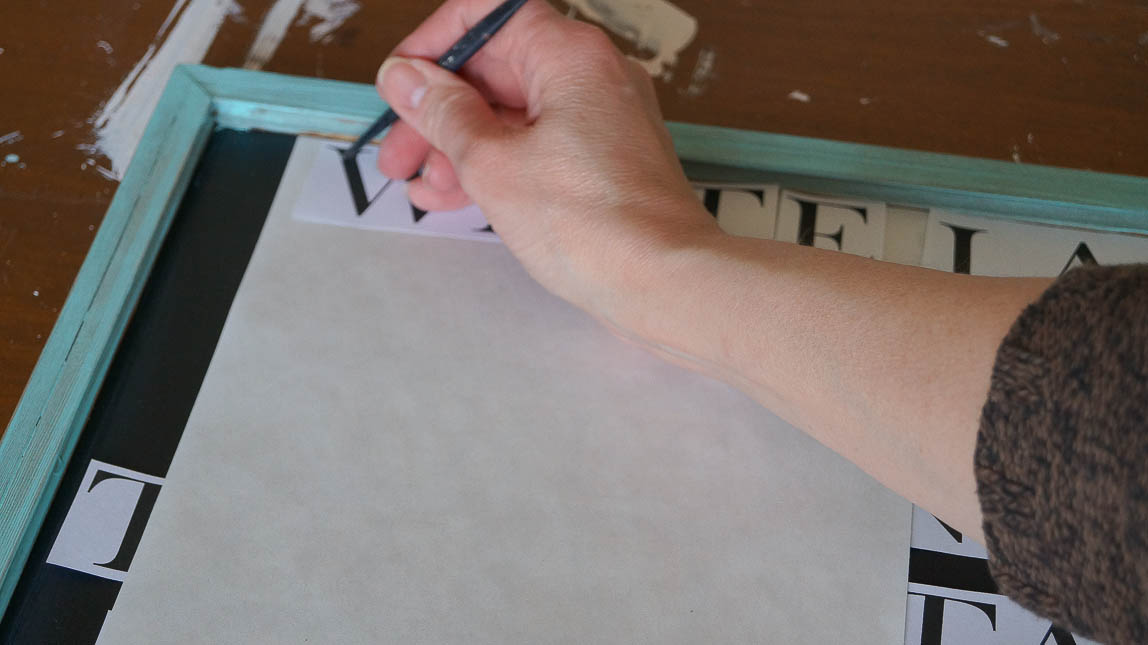
I am using a plastic sculpting tool.
But you can use a pencil too.
Place the white tracing paper under your printed letters or words, then with a firm hand start to trace.
Nice shot of my messy worktable.
Well it is a work table, nothing pretty about it.
As I was tracing I would hold the paper down firmly and every so often take a peek to make sure that you could see the letters underneath.
I know I am not holding it down in this photo, but I can’t take a photo and hold it down at the same time.
The reason I kept peeking underneath as I went along was to make sure the words were straight.
But I was not looking for perfect.
I need to make 6 more of these signs, and I don’t have time to sit and worry about every little imperfection.
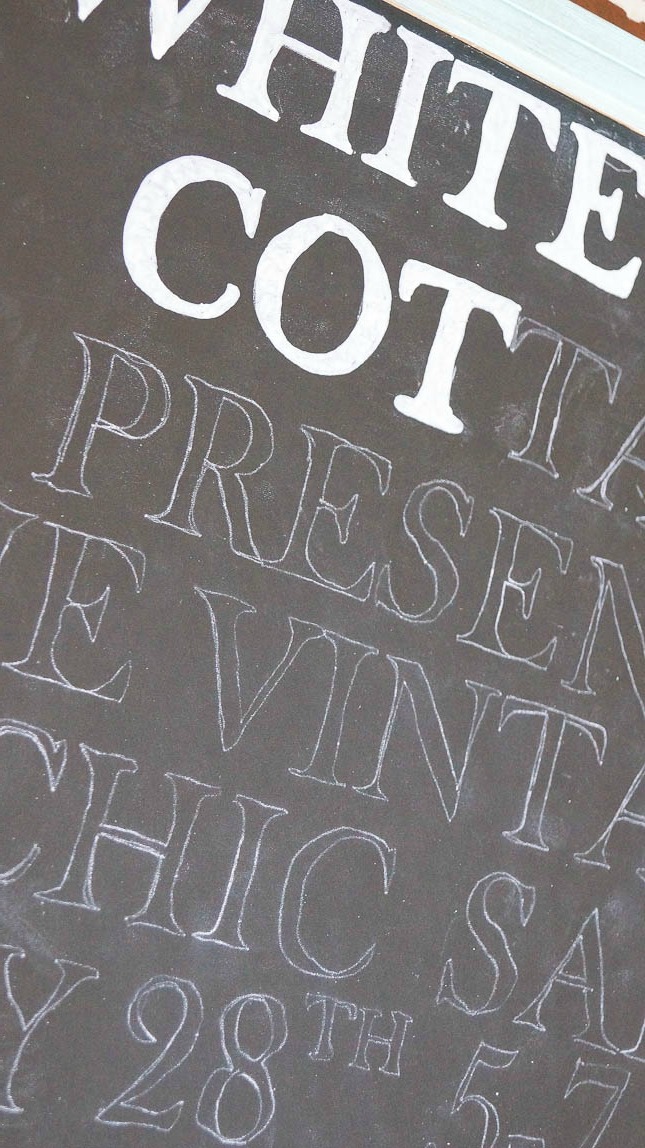
I know this looks a little messy right now, but I still have one more step to show you.
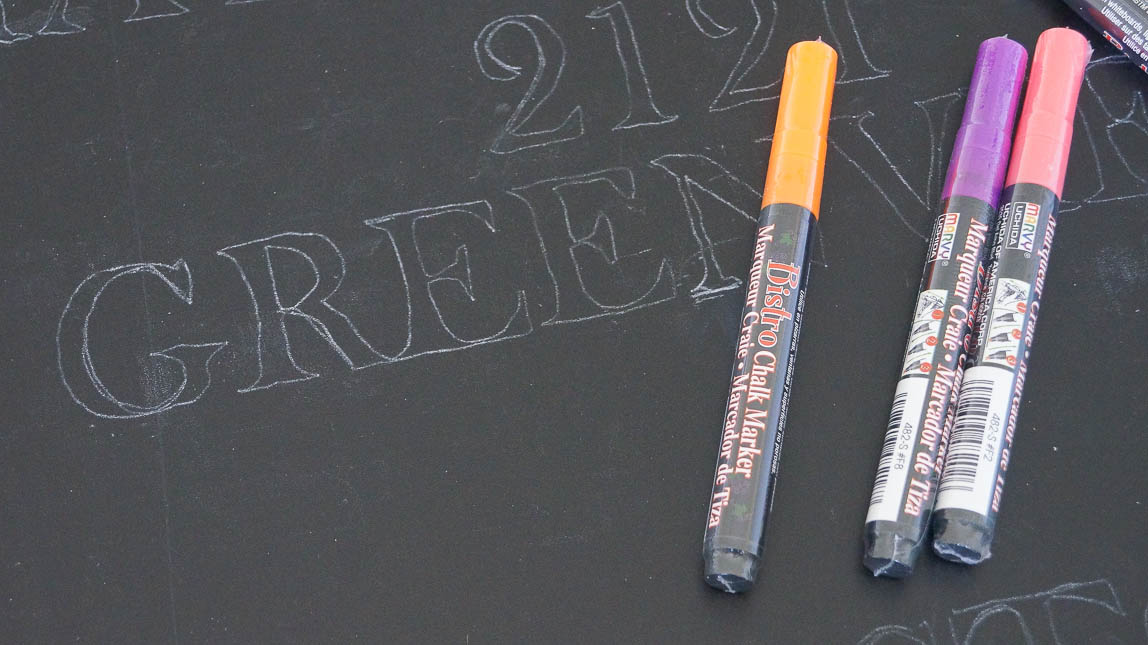
And that is to trace these letters with a chalk marker.
Not sure why it’s not pictured, but I started off using the white chalk marker first.
These chalk markers are genius!
They make tracing these so easy and they look like chalk!
These markers are not permanent.
When the weather warms up, just before the sale I am going to spray a clear varnish over this to protect it.
And I can re-use these for another sale.
I will just need to paint the dates and times black and re-paint over that area with updated dates.
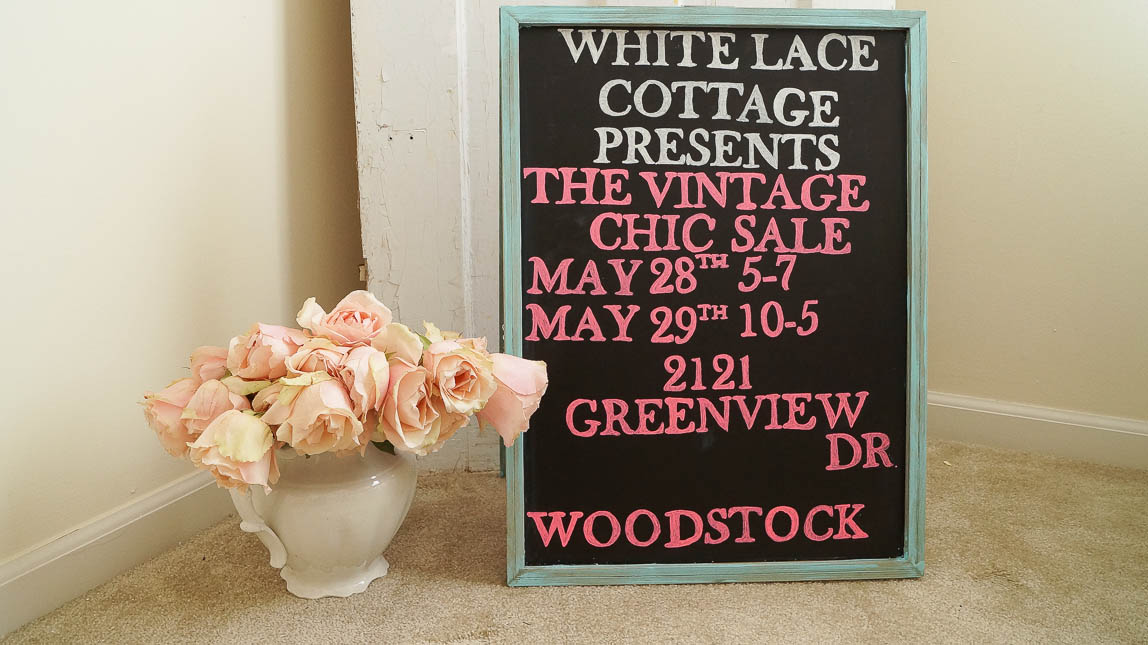
Here is what the sign looks like now.
Remember this is actually two signs.
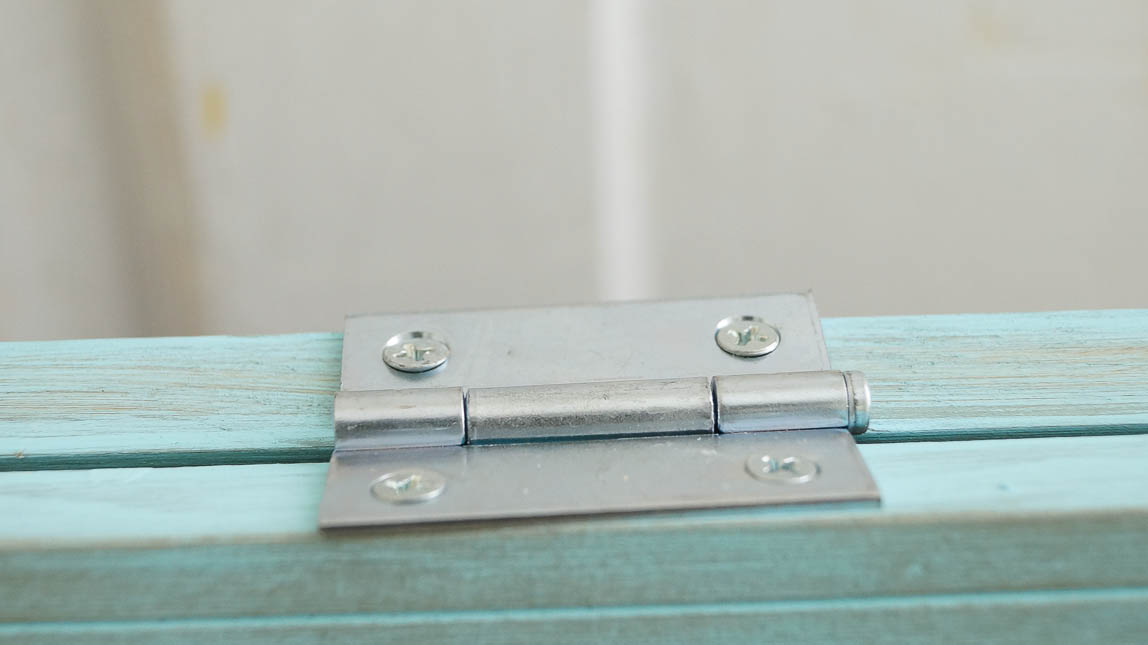
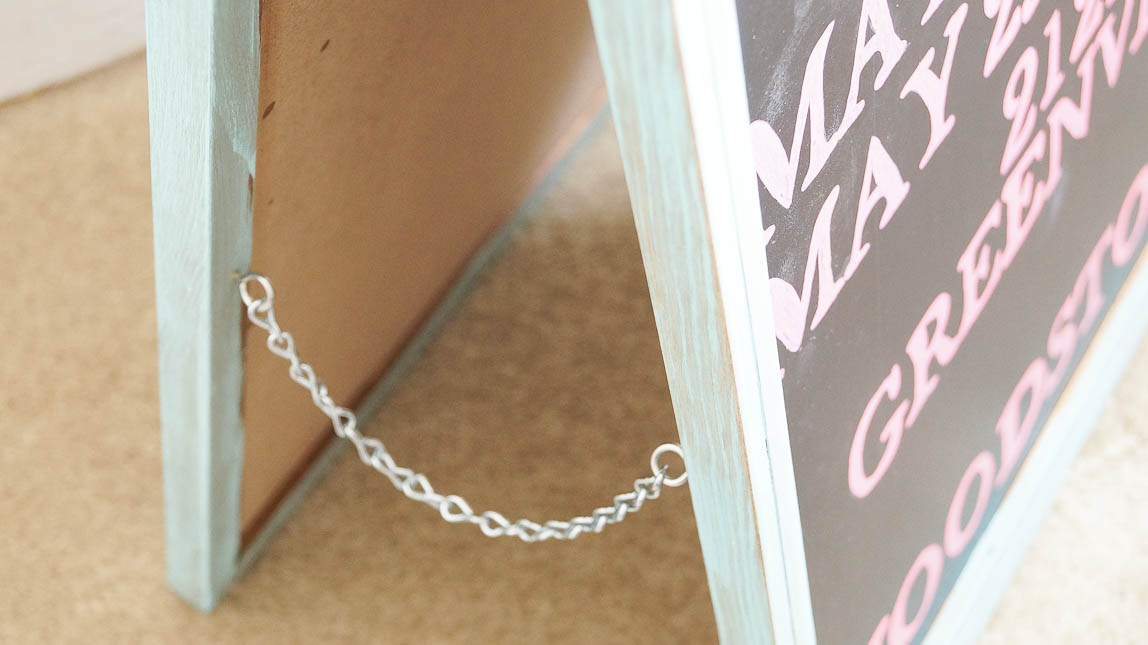
Let me show you how I attached these signs together.
I added a hinge to the top.
Since this can close up, it will make it nice for storing.
And on the sides I added a few eye hooks and a chain, so if it’s windy they won’t fall down.
This was a pretty cheap way to make signs.
Each chalkboard costs 7.99, the chain and eye hooks for one board costs .50.
The markers were 11.99 for 4.
Yes they were expensive, but they were so easy to work with and they look like chalk!
I think I should be able to get 1 or two more signs with the markers I have.
Custom signs would have cost much more.
And if I had gone to have pieces of wood cut ( I don’t own a saw yet) that would have driven the cost up much more too.
Wood is expensive!
A simple and thrifty way to make a sign for a garage sale, yard sale, or a shop!

Hi Anne,
Very clever!! Your sign looks awesome for your sale.
Kris
Thank you Kris!
Great idea to hinge them together. I am definitely going to make this for a bridal shower I am hosting. The guests will be approaching the entrance door from opposite directions – so having a two sided sign will be perfect!!! Thanks for sharing.
Love it Liz! Awesome idea!
Your signs are great ,hope you have a really good sale.
Thanks so much Marlene!
Thank you so much for posting this! It is brilliant, well, as are all of your projects Anne 🙂 I was trying to figure out how I could do a sign on a budget for my market stall this summer and, voila, here it is.
Thanks so much Valerie!
Well done! I too like thinking outside the box. And with advertising and signage so expensive, every little bit helps. Love your blog by the way!
Thanks so much Patti!