DIY Transfer Graphic To Wood
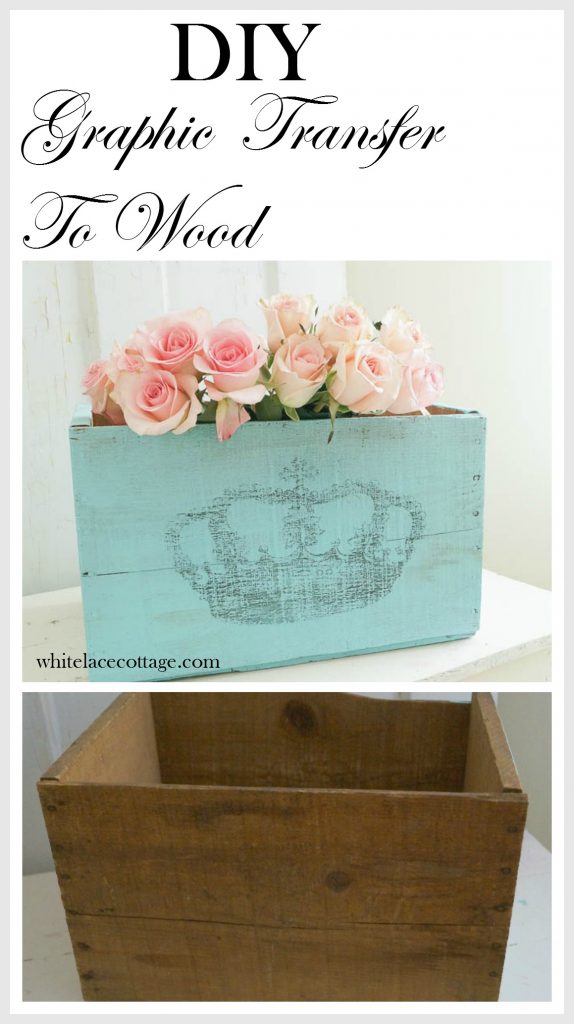
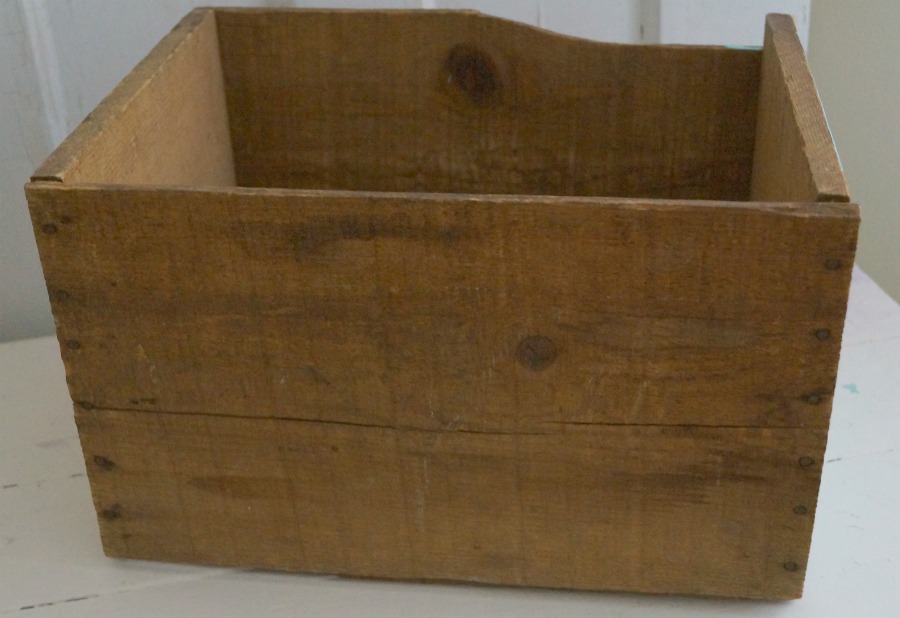
When I stumble onto treasured pieces my mind starts wondering what I’m going to do with it. This piece was one of those pieces. Most would have left it the way it was but I decided to create a diy transfer graphic to this old crate. This technique is so simple to do and you can use a photocopy of a photograph as well. At the end of this post I’m going to share a little update. Since doing this project I found an easier way to do this so keep reading. (This post contains affiliate links please read disclosure policy)
Supplies needed for this project:
- Wood piece to paint on . It can be anything use your imagination
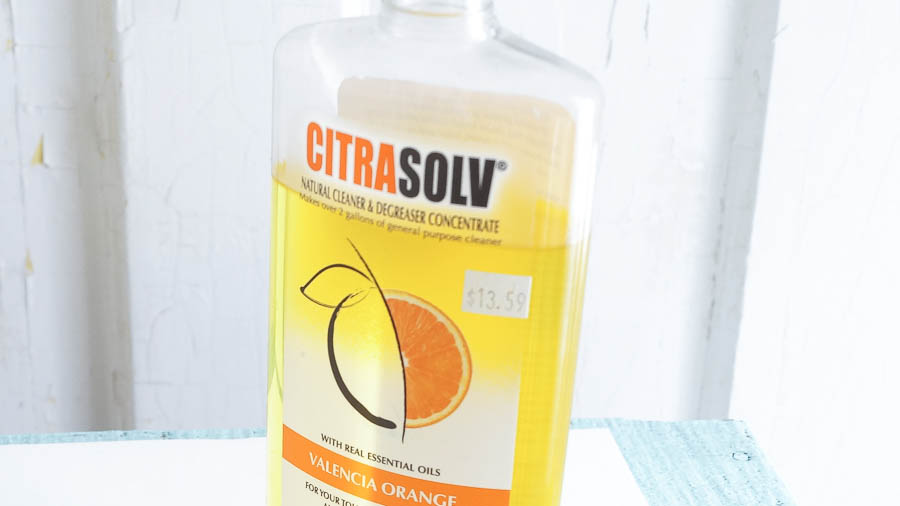
- Citra-solv
- Cotton rags
- Graphic printed out on a laser printer (The Graphics Fairy) or printed photograph
- Paint stick
- Synergy paint available at Heirloom Traditions Paint
To begin my diy transfer graphic method I painted the outside of my wood crate with Synergy. When that was dry I was ready for my graphic. Whether you choose a graphic or photograph for this diy transfer method you must have it printed out with a laser jet printer or this will not work.
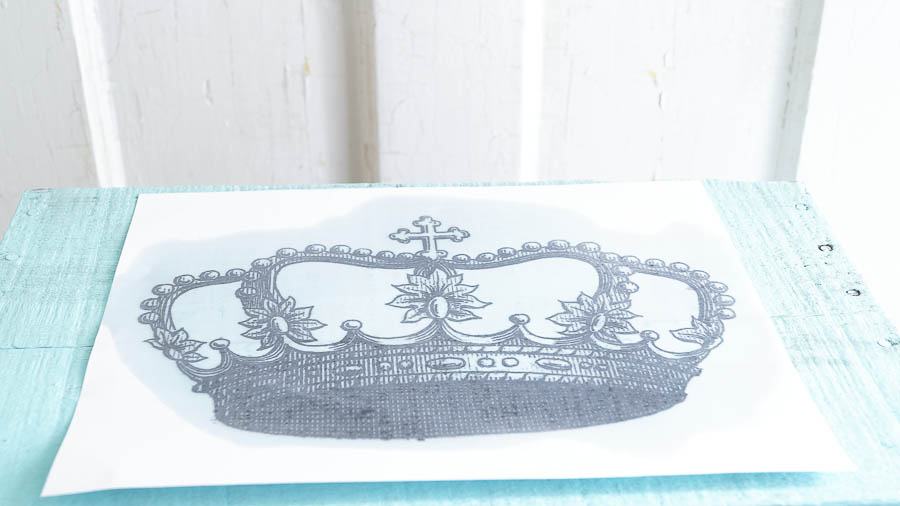
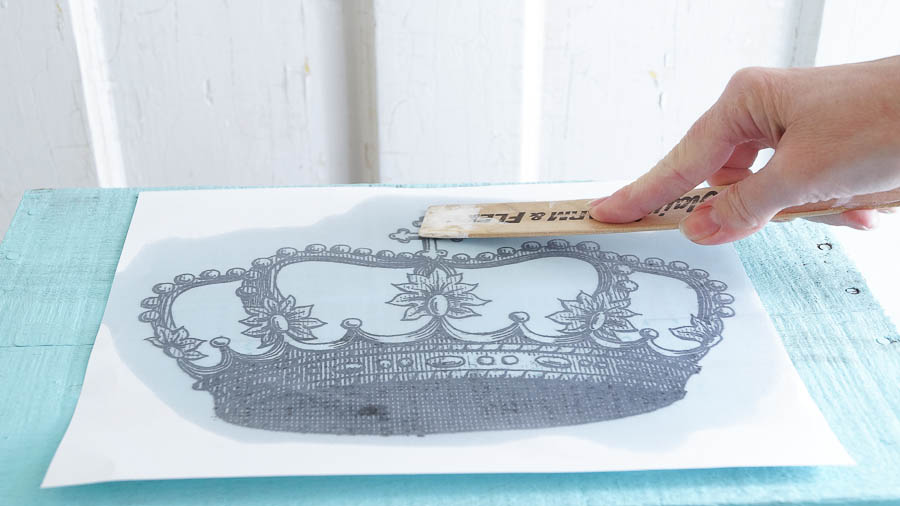
Place your graphic on your wood piece with the printed side down. Take your citrasolv and apply some on a cotton rag. You don’t need much. A little warning that this stuff is very stinky so make sure you are using it in a well ventilated area. Start rubbing the citrasolv into your graphic on the printed areas only.
Take a paint stick and rub firmly but not too firmly on your graphic. You don’t want to rip your graphic. Make sure you are holding it in place as you do this.
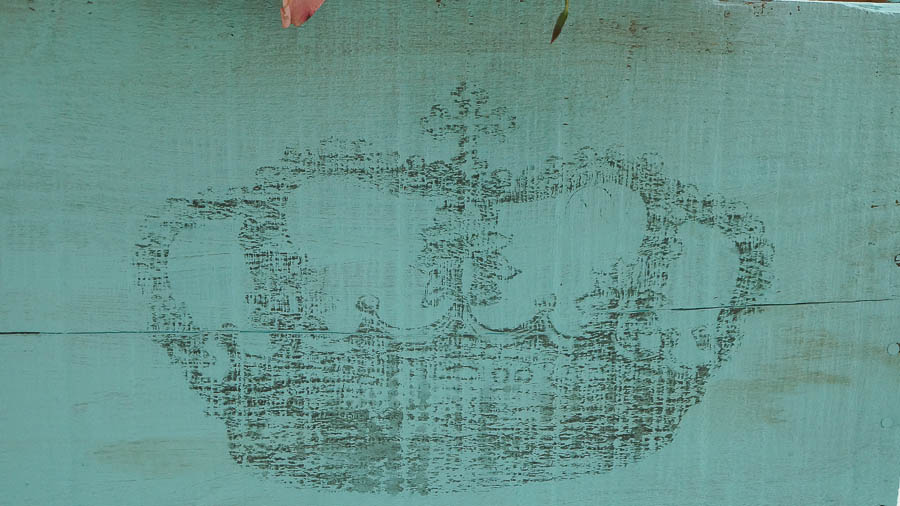
After you are done working around your entire piece take a peek to see it it’s transferred if it hasn’t keep working until it does.
Update
Since I first shared this diy transfer graphic method a new product came out that makes this super easy to do. It’s called 1Gel from Heirloom Traditions Paint. If you would like to see a tutorial on how to use it you can read Simple Transfer Method 1Gel.
If you order any products from Heirloom Traditions Paint you can use this coupon code WHITELACE to receive 10% off of your order.
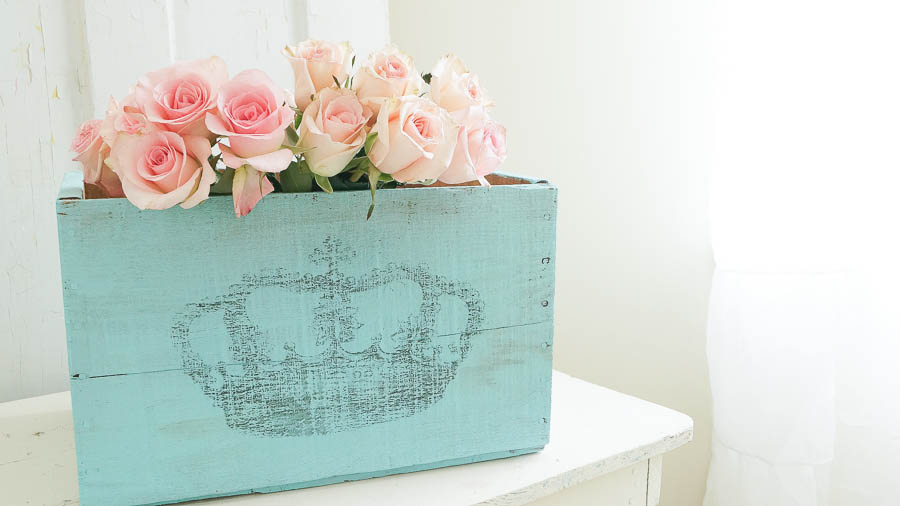
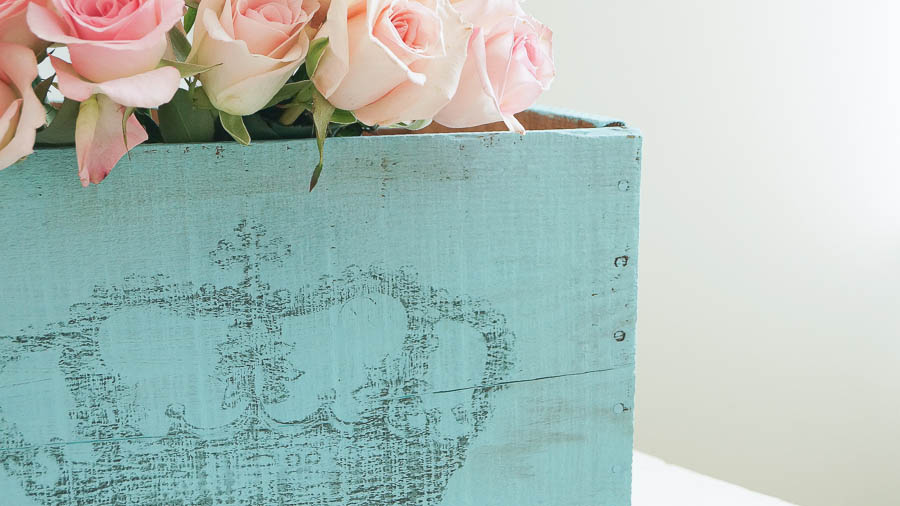
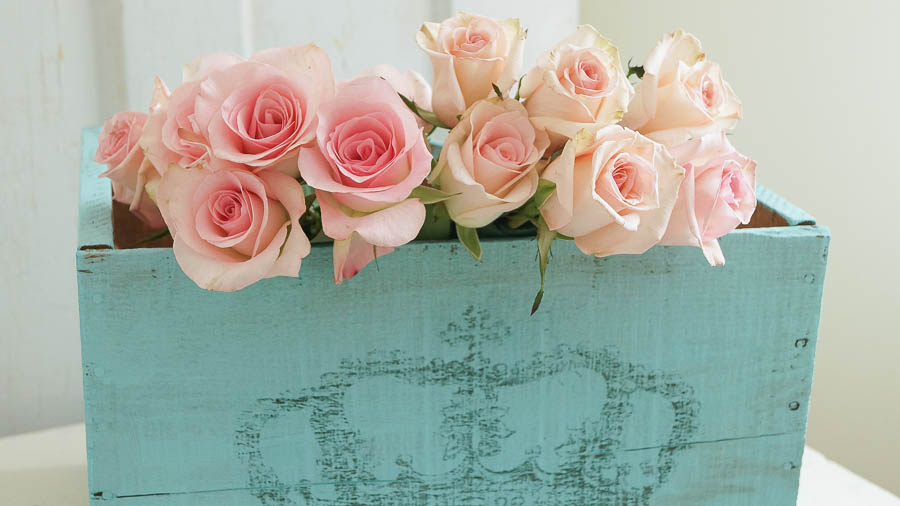
Isn’t this pretty my pink roses look perfect next to this shabby green. I didn’t paint the inside of the box I left it as is. Applying this graphic on one side is all you need to do. I don’t like over doing things I decided to keep it. You can seal this using a clear waterbased top coat.
This is an example of how easy it is to transform something with a little paint using this transfer method. I bet you have spotted pieces while out treasure hunting but you’re not sure what to do with it. Well, now you know what to do.
Are you ready to try this diy transfer method or have you tried it already? I’d love to hear your thoughts.
Looks beautiful! And perfectly aged. I still have yet to try this method but I am itching to since I stink at the Mod Podge method.
Jeanine
Thanks so much Jeanine!
This looks so great Anne. I might have to try this. I have never done a graphic transfer so I may try your method looks pretty easy. Thanks for the tips. Beautiful color to this box.
Kris 🙂
Thanks Kris!
You always come up with the best ideas…Love this. I will try the new transfer method. Thank you
Thanks so much Mary Ann!
I love it! I love plain and simple and fast results. I am browsing the graphic fairy’s website next. Thanks
Thank you Lizzy!
What method do you suggest, as I cannot use the citra solve method because of the really strong odor of it.
Thanks
Yes Citrasolv is very strong Sherry.I would use the Mod Podge method.Here is a post that I shared using this method.
ASking for a suggestion… I live in a small town, one grocery store and one post office. We do have a UPS store where I went to see if they had a laser printer… they looked at me as if I was nuts…. I inquired to the next town from here… same response. WHat can I do when there is not a passer printer within my reach>. All suggestions appreciated…. thank you!