Before I get to part 2 of how to create chippy patina with paint, I first wanted to talk with you about chippy patina.
-What is chippy patina?
Chippy patina is the effect and process in which paint ages on a piece of furniture.
Usually due to the elements, heat, moisture, sun and other elements such as smoke and good old dirt!
Why am telling you this?
Because I have taught many paint workshops and in some of those work shops I always have a few students that are trying to create perfection when they are trying to make a piece look old and vintage.
Let’s look at an example of chippy patina.
This is one of my favorite pieces in my house.
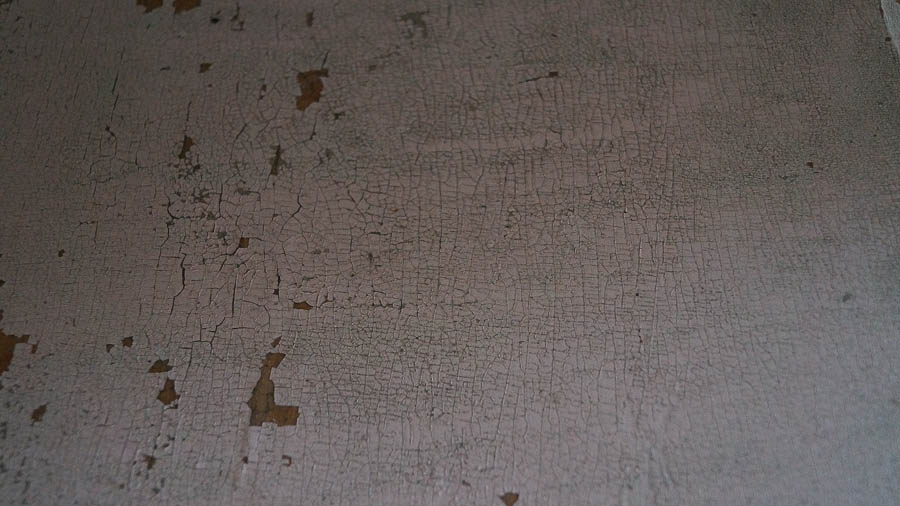
It’s a pink chippy table with lots of discoloration, chippy patina and good old dirt!
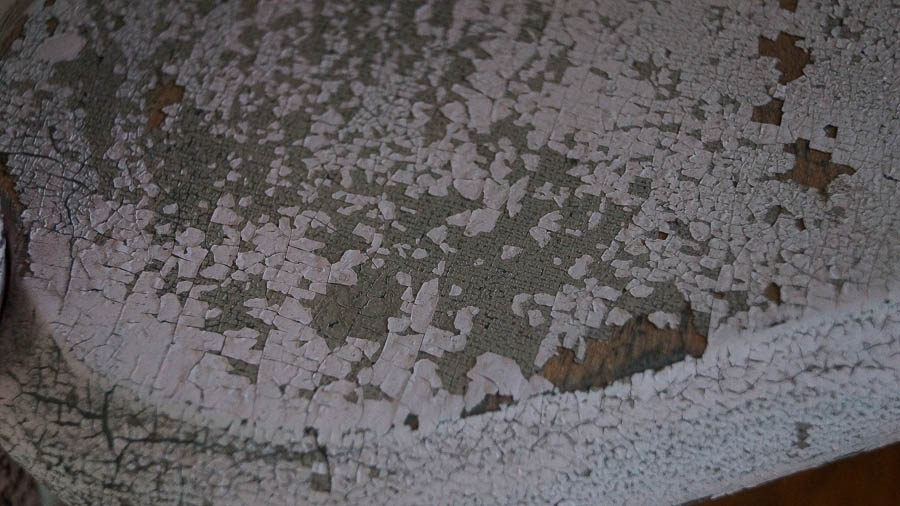
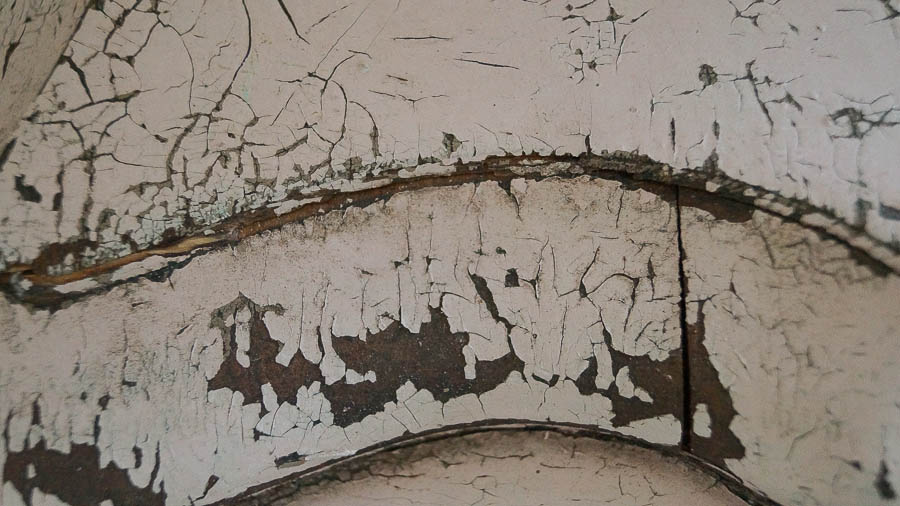
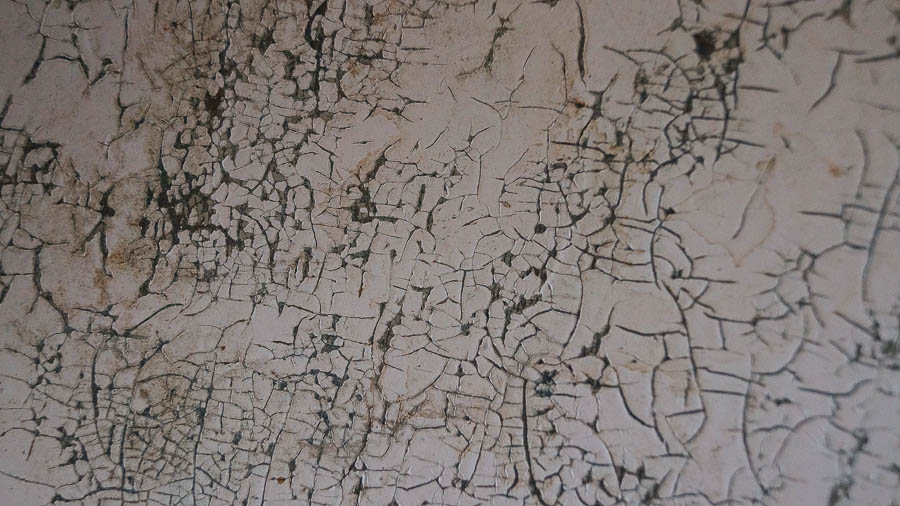
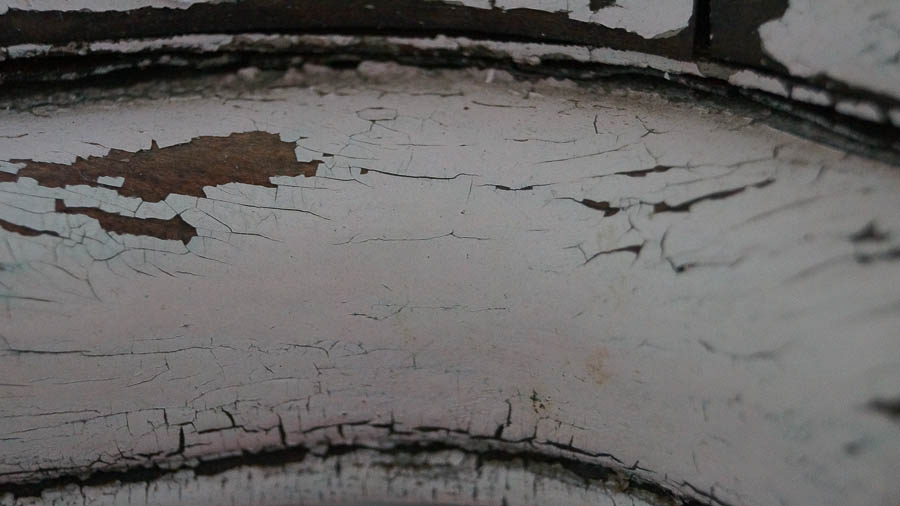
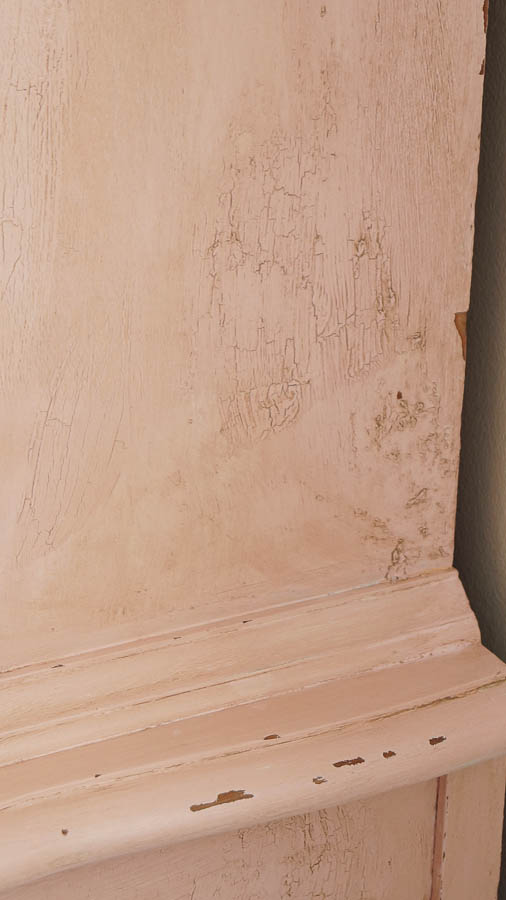
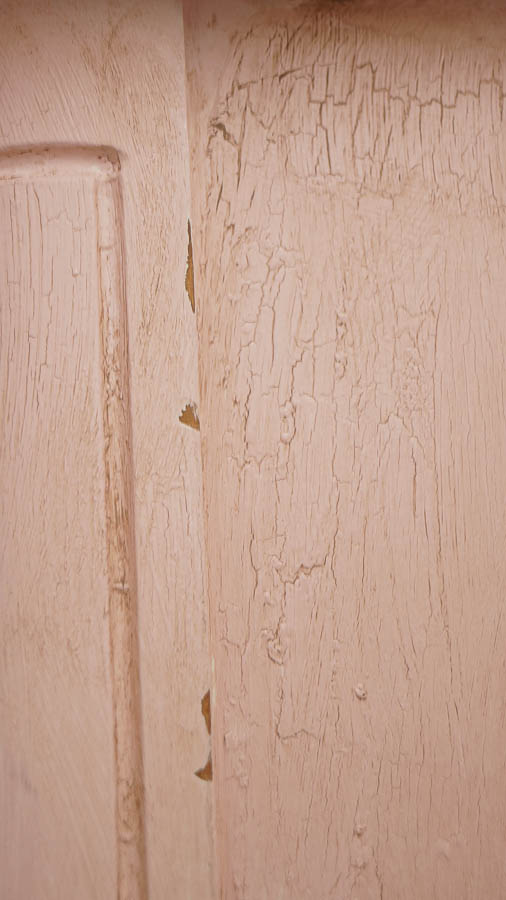
As you look closely at this piece you will notice that it is chippy, crazed, and some area’s are dark while others are light.
You can see the wood underneath and just a little bit of the paint color under this pink paint.
And spots of dirt that no matter how much I have cleaned it , I cannot get it out.
But that’s okay it’s called p-a-t-i-n-a .
Some of the patina….or dirt get’s into those cracks which makes this piece look even more chippy, and amazing!
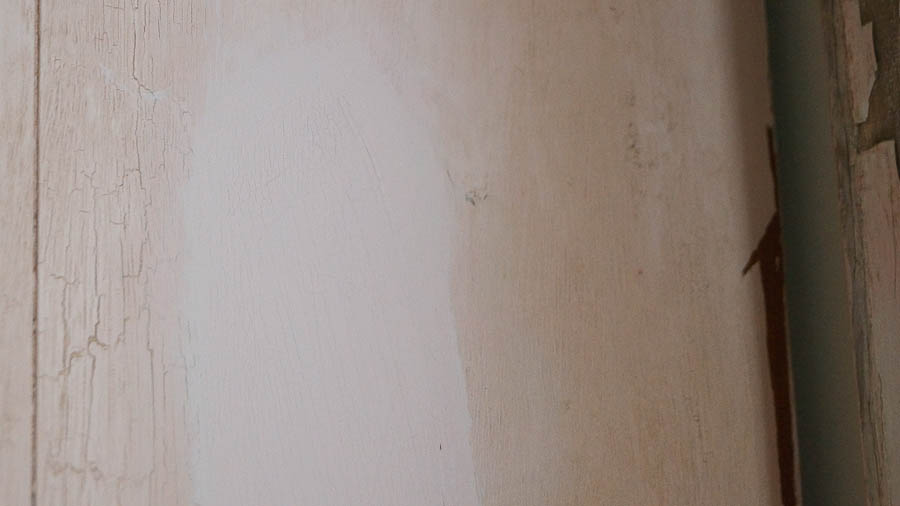
And then you have area’s like this that are almost perfect with hardly any chippy patina.
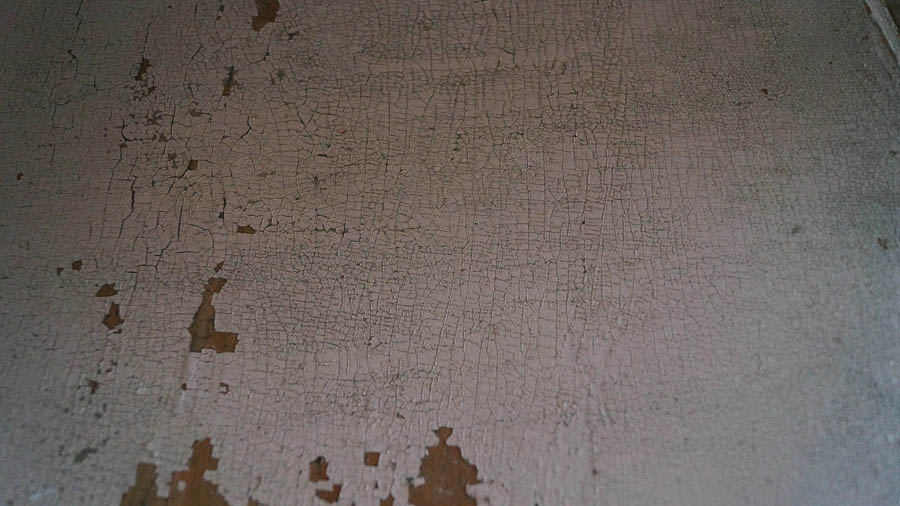
Here is another shot of just how uneven the paint color and texture is.
I wanted to share this because, I wanted you to see that in an old chippy piece there is no perfection.
It is what it is.
And you have to go with it and have fun.
Now let me share why this post has a part 2.
You can read part 1 HERE.
In aging this piece and making it look old I got a little carried away.
And in my opinion it started to look fake.
But I didn’t panic because I knew that I could “fix it” and make it look more authentic.
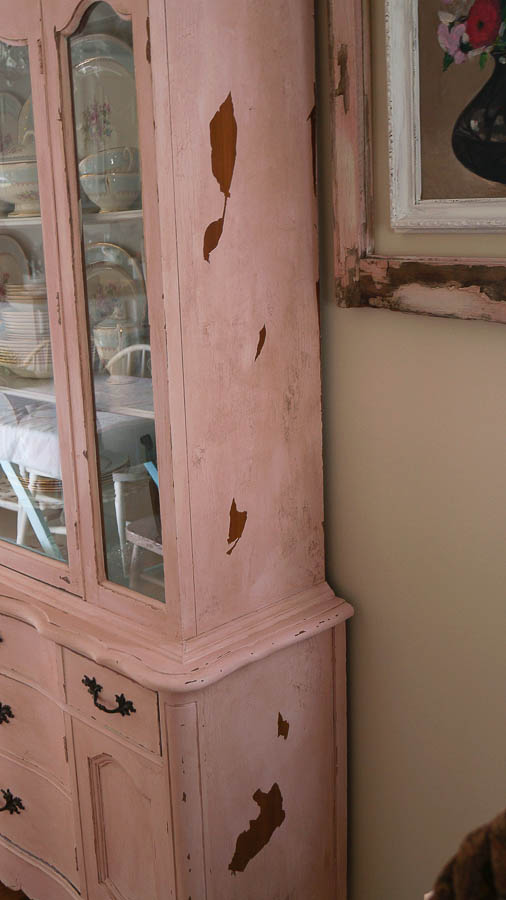
Here is the side of my cabinet, I didn’t share this the other day.
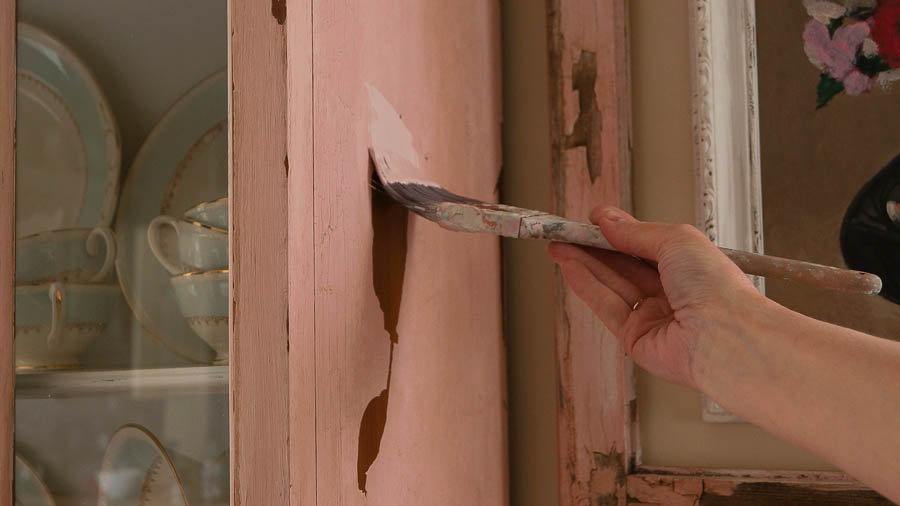
Yeah, I got a little carried away with razor.
As I was distressing this with my razor the paint underneath started peeling off in big sections.
I didn’t like how this turned out so I decided to paint right on top of this.
But only in the sections that are a little too distressed.
I took out my Posh Pink and painted two coats on each section that I wanted to fix.
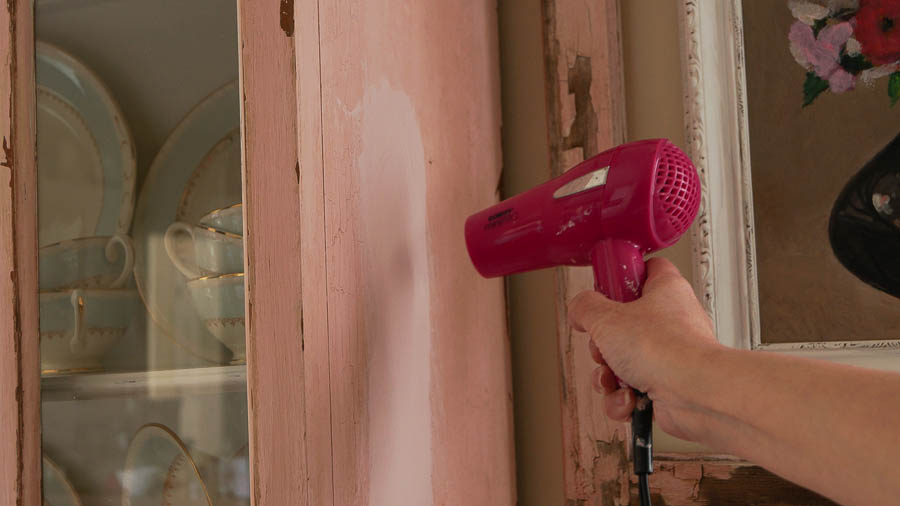
In between each coat I took out my hairdryer to dry it.
Using my hairdryer did two things.
Yes it dried my paint faster, but it also created a crackled finish, which is perfect since I already had a crackle finish on this piece.
Yes I could have used my Elmer’s glue too.
But I didn’t want to go through all of that just for a few sections.
And I was thinking this would blend better with what I already had.
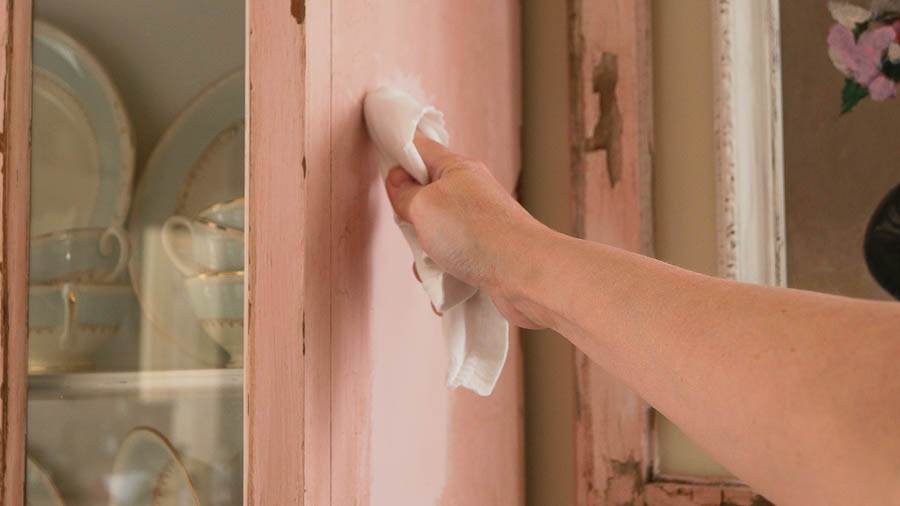
After these sections were dry, I decided to use my vinegar and water technique.
But instead of trying to create a distressed look, I wanted to blend the paint into the already painted areas.
This is how it looked before I added Muddy Pond wax.
Sorry the color is off in the next photo’s , once again I am having issues with my camera.
But I am saving for a new one 😉
Anyway, you can see how I blended the paint into the cabinet.
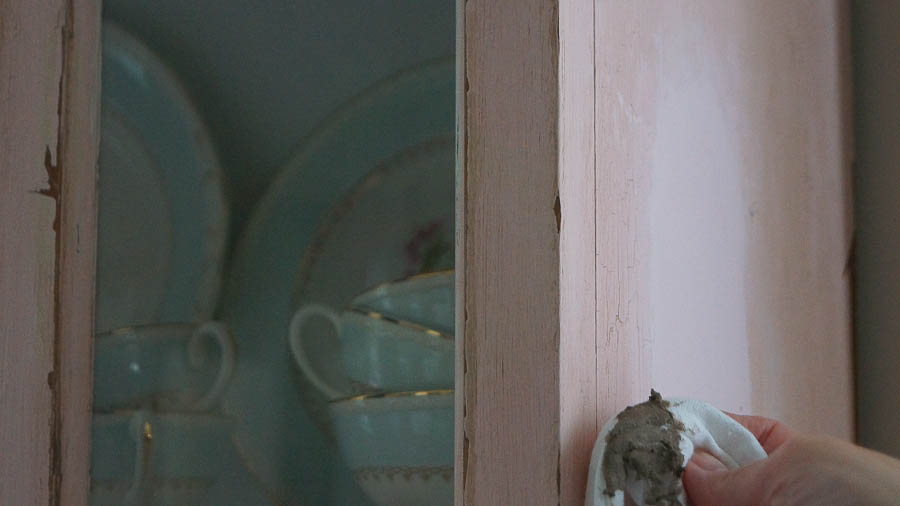
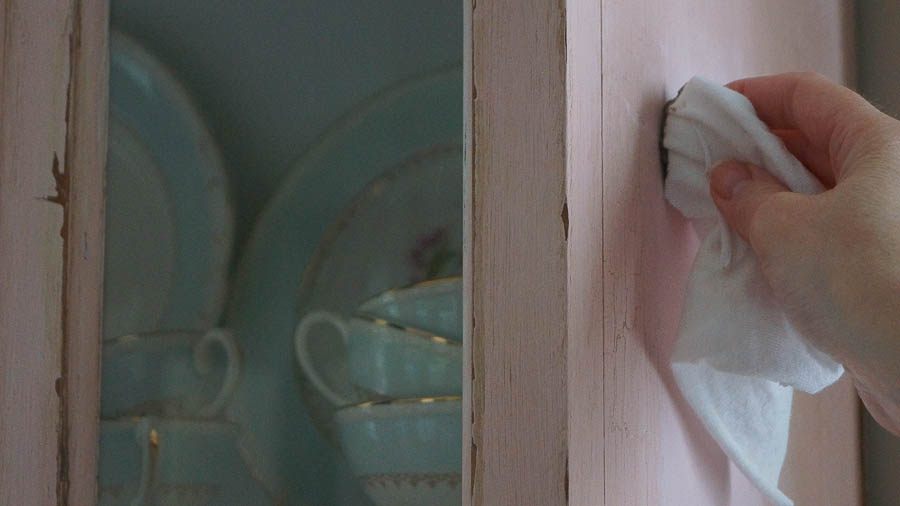
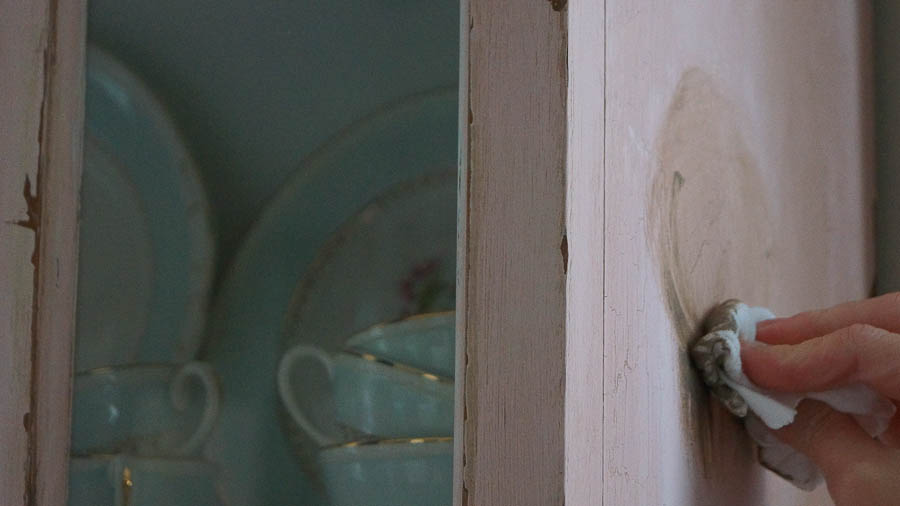
Next I took my wax, Muddy Pond and I applied it with a cotton t-shirt rag.
Only doing a little section at a time.
I worked it into all of the imperfections in a circular motion.
After applying the Muddy Pond, I then used a clean cotton t-shirt and blended it in until I liked how it was looking.
Sometimes I need to stand back and really look at a piece.
You can see in this photo on the top portion I have applied the wax and am working on blending it in.
The lighter portions have not yet been touched with wax yet.
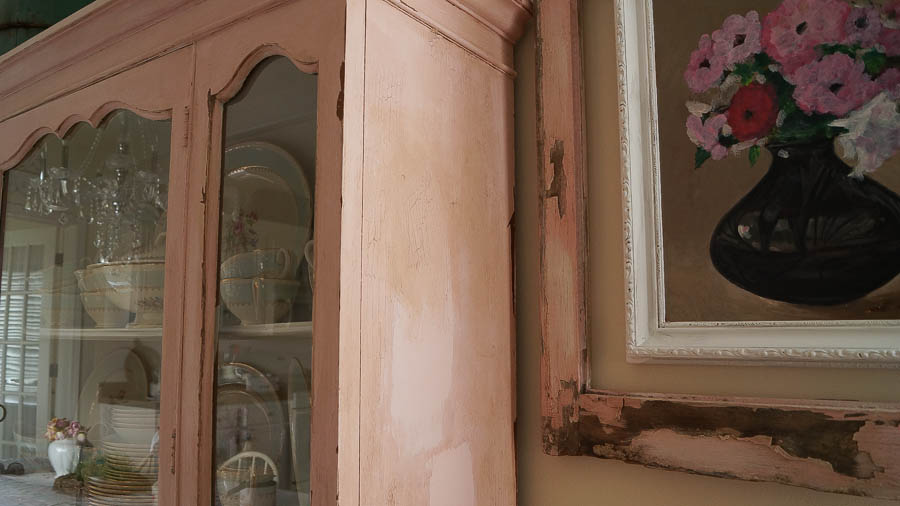
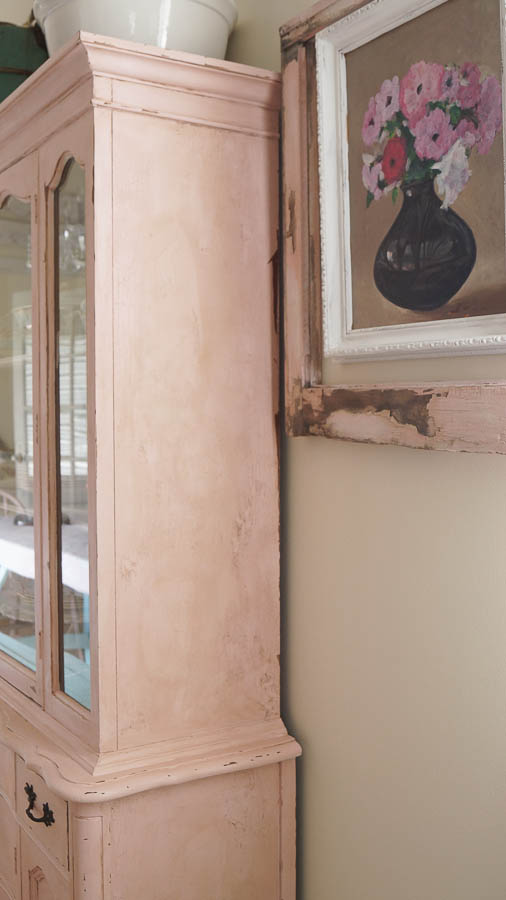
And here is my cabinet finished.
Let’s take a closer look the imperfections.
All of those globs were created with Elmer’s glue.
But without the dark wax you wouldn’t see any of it.
So remember, when you are trying to create an authentic looking piece don’t worry about perfection.
Embrace all of the imperfections on your piece.
And really look at chippy piece of furniture the next time you are out at a flea market or antique store.
Study the way it looks.
It’s never going to look exactly like the real thing.
But I have to admit using Elmer’s glue is probably my favorite way to add texture and authentic patina.
More so than just sanding a piece down.
You can purchase Posh Pink and a my signature colors in my shop.
Just click on the “shop” section of my blog.

Today I worked hard in my garden . The result : chippy nail polish aged with muddy soil…. We all love chippy paint on furnitures and other old stuff but not on our nails – maybe one day this will be the hit too but for now I have to clean up that mess….
Great post – so matching ! Thank you Anne & have a nice evening.
LOL Dani…yeah that’s one chippy paint I don’t like. I guess that’s why I don’t often wear polish. But I bet your garden is lovely!
Ok…..I’m going to do it. You’ve convinced me to haul out my dark wax and a tee shirt and start muddying up my pink cabinet, Anne! lol Thank you so much for the encouragement and the tutorial!! You rock! ♥
xoxo laurie
Your welcome Laurie…you can do it girl!