I have been challenging myself to do more craft projects.
It’s not that I don’t like doing crafts, I do, but I don’t always have ideas for them.
Until I came across an old shabby lamp, and then I had a light bulb moment.
A shabby chic topiary!
Let me show you this easy DIY FloraCraft shabby chic topiary craft.
And when I say easy, I mean easy.
Yes this is super easy to make, and no glue was required to make mine.
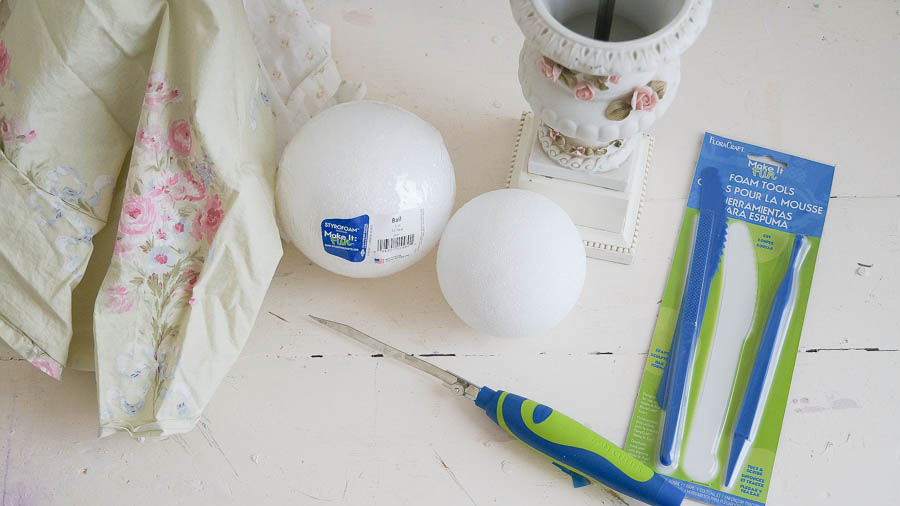
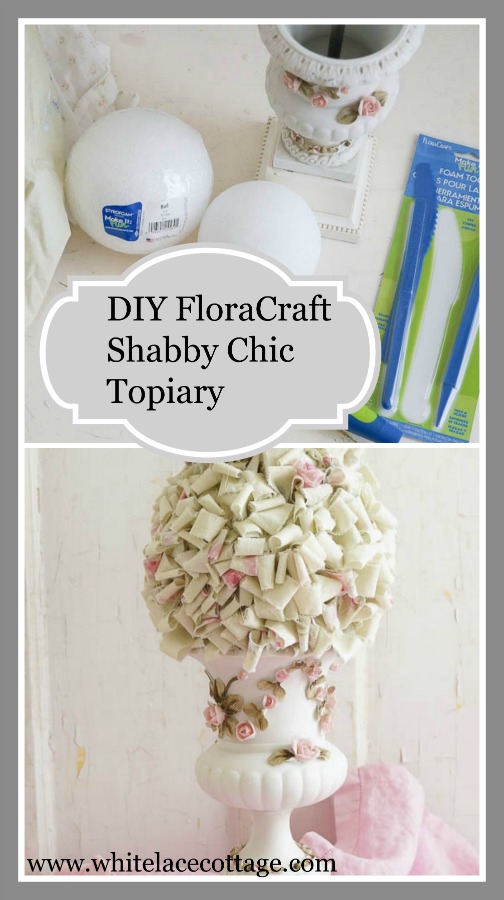
Here are the supplies needed:
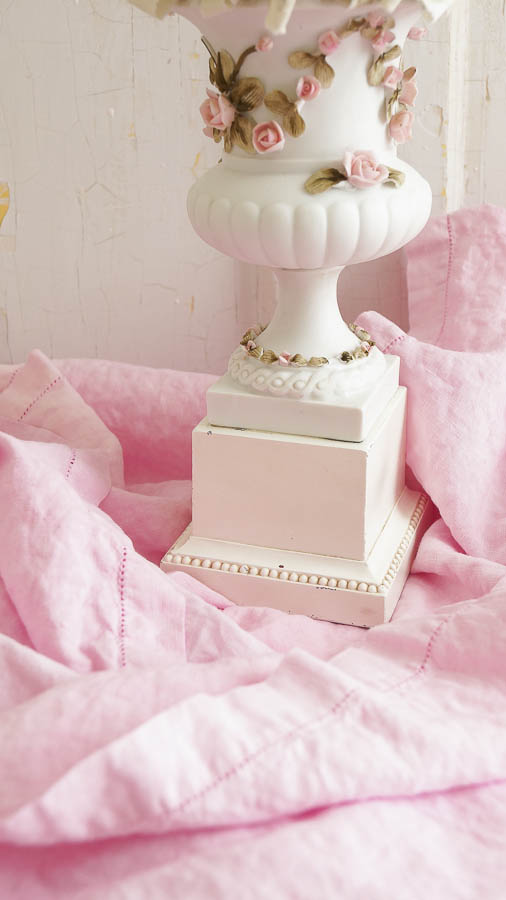
-A vintage lamp base, the shabbier the better.
-Scrap cotton fabric, look for fabric scraps at a thrift shop with several colors or a floral pattern. I used a Rachel Ashwell fabric.
-FloraCraft Make It: Fun® Foam . One large, one small.
-FloraCraft Foam tools.
-FloraCraft foam cutter.
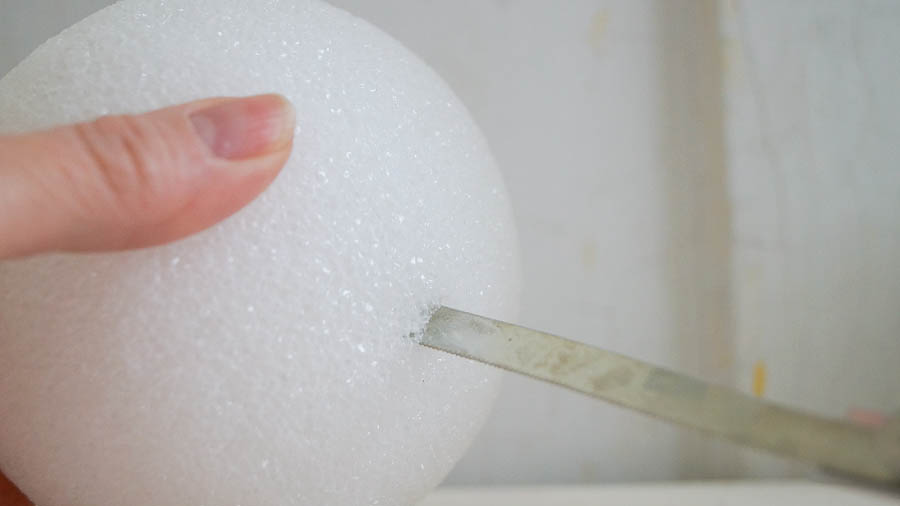
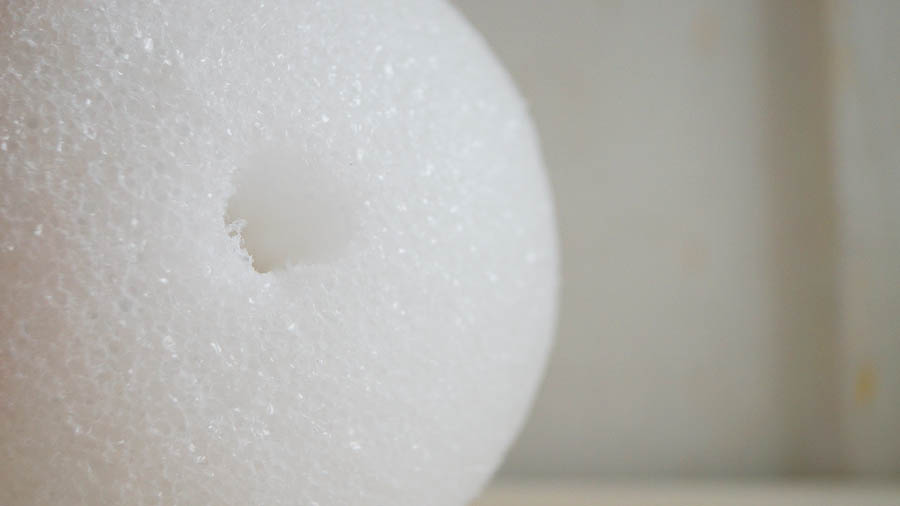
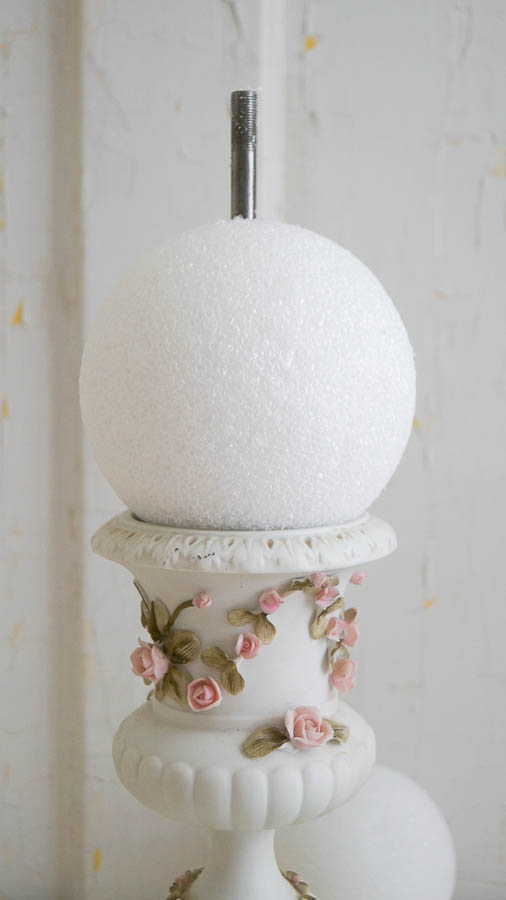
The first thing I did was made a hole with my FloraCraft foam cutter.
This was very easy to do, it went through like butter.
Don’t place your hand on the opposite side when cutting with this, as you might cut yourself.
**Please use caution when doing this, it is sharp so follow directions on the box**
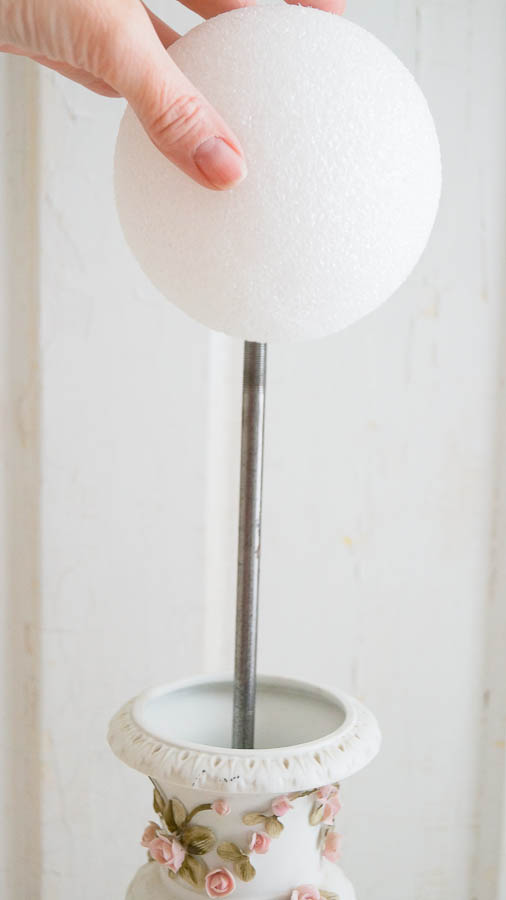
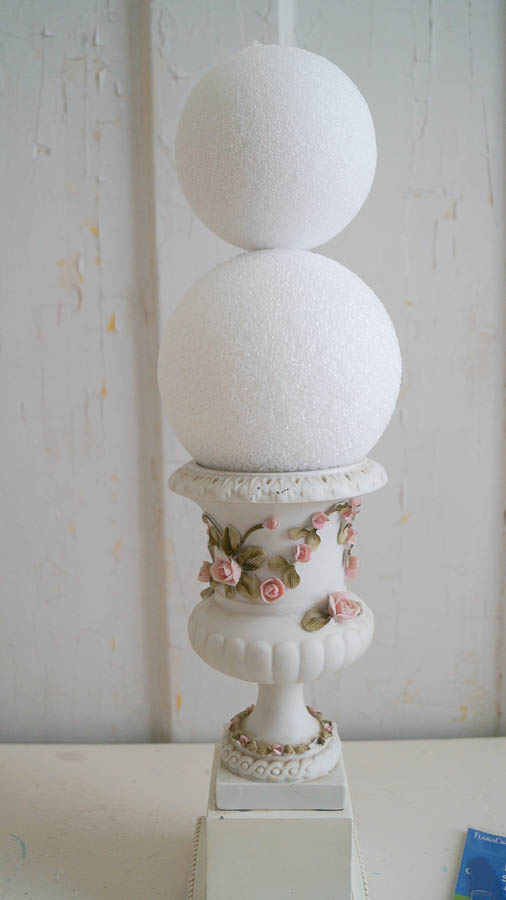
Next it’s time to see if it fits.
I don’t know why it looks crooked in the photo because it’s not.
It looks perfect!
I did the same thing with the smaller ball.
I wanted my topiary right on top as I am showing.
But you don’t have to do it this way.
I was using the lamp parts with this.
You could find a small planter, glue the syrofoam ball to the planter, then insert a stick into the balls.
And then space it out so you see two separate topiaries.
So the next step is a fun one.
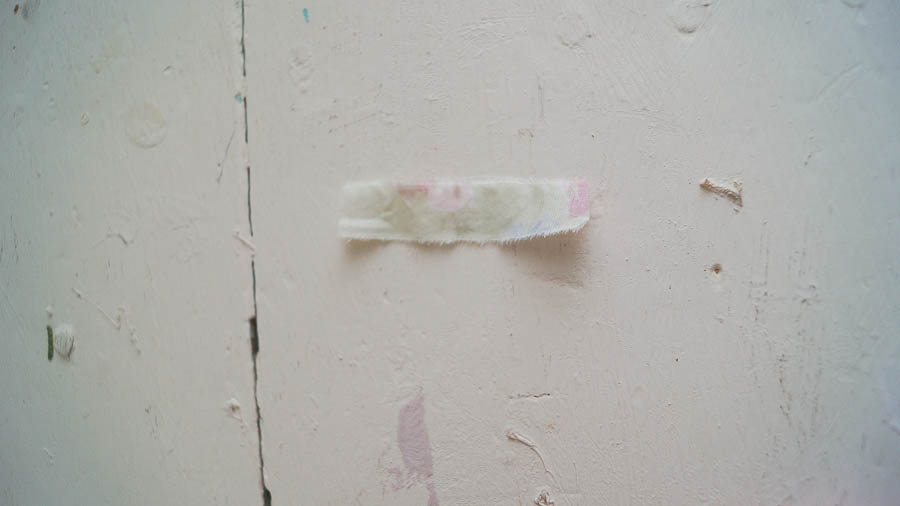
Take your fabric, cut a little slit, then rip the fabric into 1/2 strips.
Next, I cut those strips into 1- 2 inch pieces.
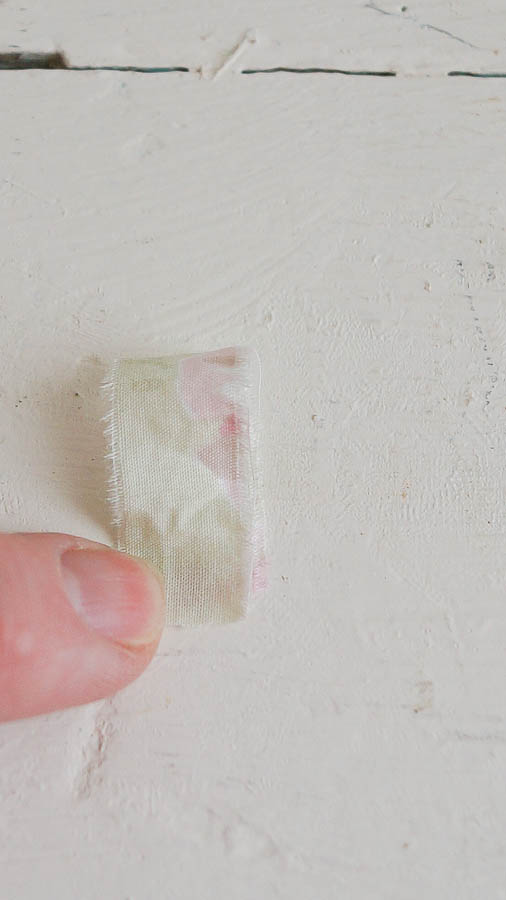
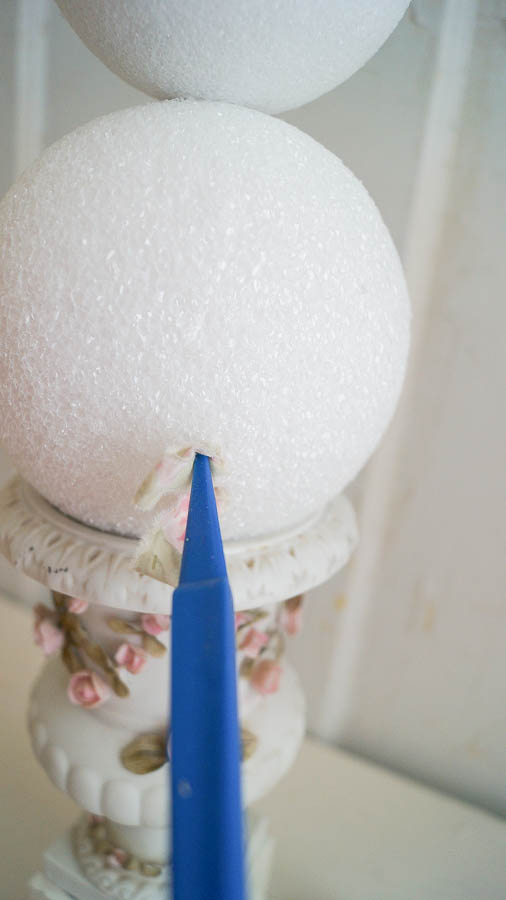
I folded a piece in half then took one of my FloraCraft foam tools and placed it in my foam ball.
See how this tool helps make the hole, and also pushes it in at the same time.
I LOVE this tool!
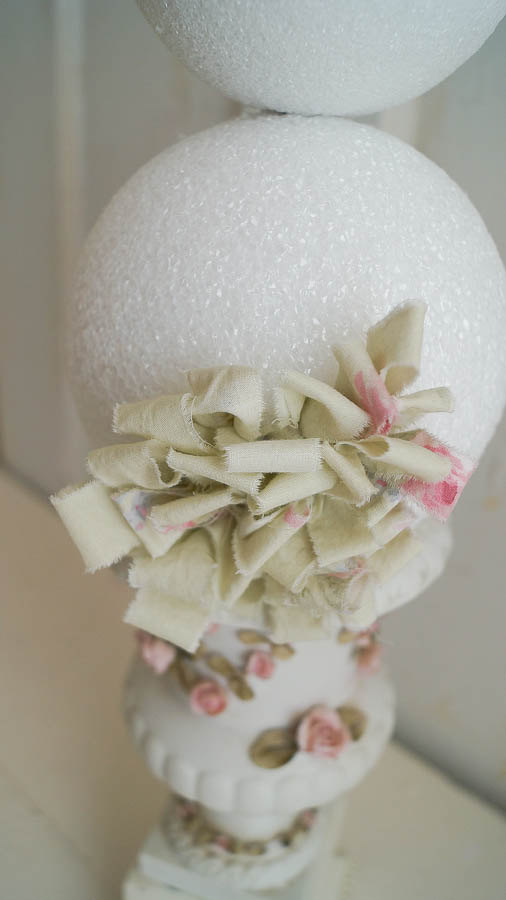
As your placing your fabric, make sure to get the pieces close together.
And also don’t make a pattern, it looks better if they are put in randomly.
Just keep working sit back and look at your work.
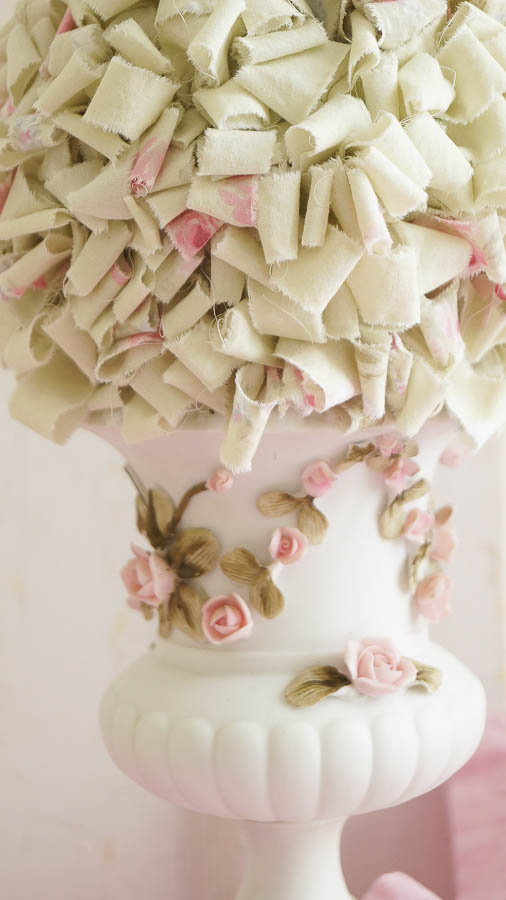
See how the edges of the fabric look.
When you rip the fabric, you get that wonderful frayed look.
Continue doing this on your whole piece until it’s completely filled.
Go back and make sure you don’t see any empty spots.
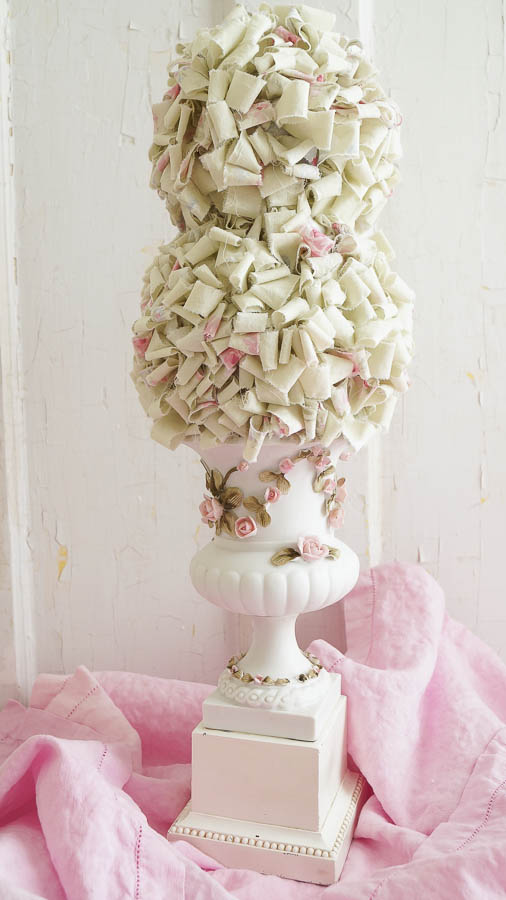
And then your done!
This was such an easy project to do.
I love repurposing pieces that are no longer used as they were originally meant.
This will look lovely on a tablecape, or mantle or anywhere really.
I think this would be a beautiful centerpiece for the Holidays.
They do have cone shaped styrofoam.
A red and white fabric would look like a candy cane tree.
I know we are far from the holidays.
I am trying to inspire you and share how easy it is to make a beautiful piece and it won’t brake the bank.
You’ve gotta love that!
Here’s a tip:
Search for interesting pieces to use as the base for a topiary, while you are out thrift shopping or at a garage sale.
And always look at the linens while you are shopping too.
I find pretty linens all the time.
**This was a sponsored post. But all opinions expressed are that of my own**
You can visit FloraCraft HERE for more inspiration and lots of craft ideas.

What a sweet project for a rainy day . I have some older floral sheets …I`ll keep this idea in mind.
Your website is getting more & more beautiful . All those roses ….lovely !!!
Is shipping for the paint still free , please?
Enjoy your evening !
Dani
Thanks so much Dani <3
Lovely, i like you idea Anne, thanks.
Thank you Marlene!
This is really cute. Happy Mothers day
Cindy
Thanks so much Cindy!
This is beautiful, Anne. The vase is a perfect match for the vintage fabrics. Just lovely for Mother’s Day, too. Thank you for the tutorial!
Thanks so much Sharon!