I am so excited today, I feel like Dora The Explorer, and I want to jump up and down singing, we did it, we did it!
Why am I so excited?
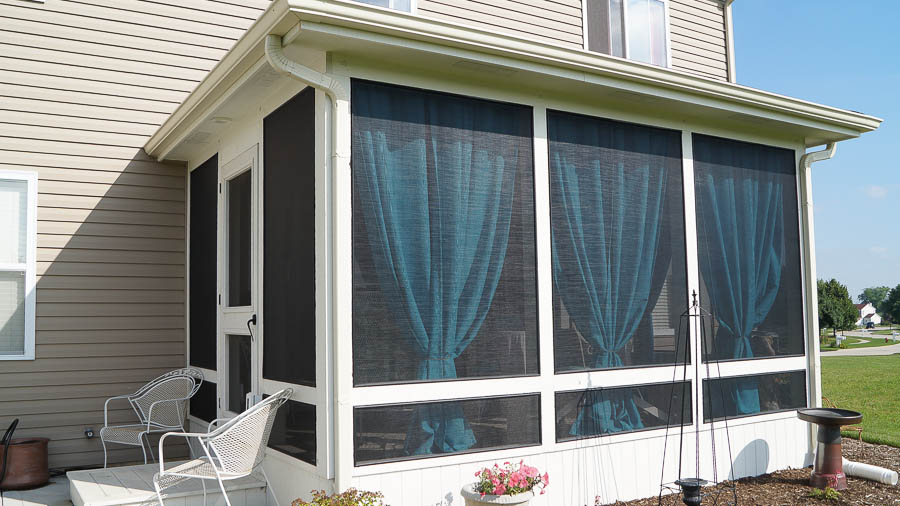
My husband and I re-screened our new screened porch.
Yeah, a year and a half later I am re-screening the porch.
Would you like to know why?
Here she is…..
Yes, she is a pretty sweet cat, but I wasn’t happy at what she did to my porch.
But in her defense, it was not her fault, so of course I was not mad at her.
Anyway how could you be mad at that sweet face?
Several weeks ago she was accidentally left on our porch over night.
And it was not my fault, my husband and daughter were up late, and forgot to make sure she was back in the house.
Lesson learned the hard way!
We are not sure if she was terrified, trying to catch bugs, bored, or had words with a neighborhood cat.
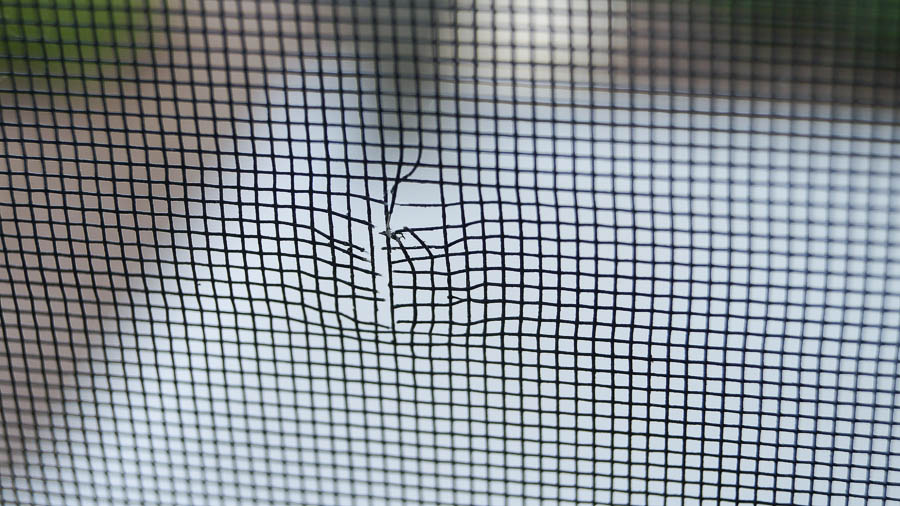
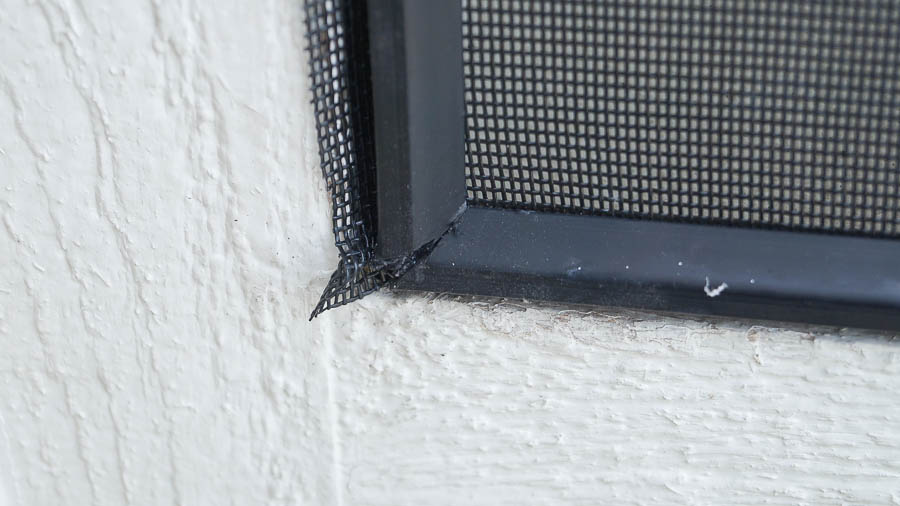
But a week after the incident I saw this.
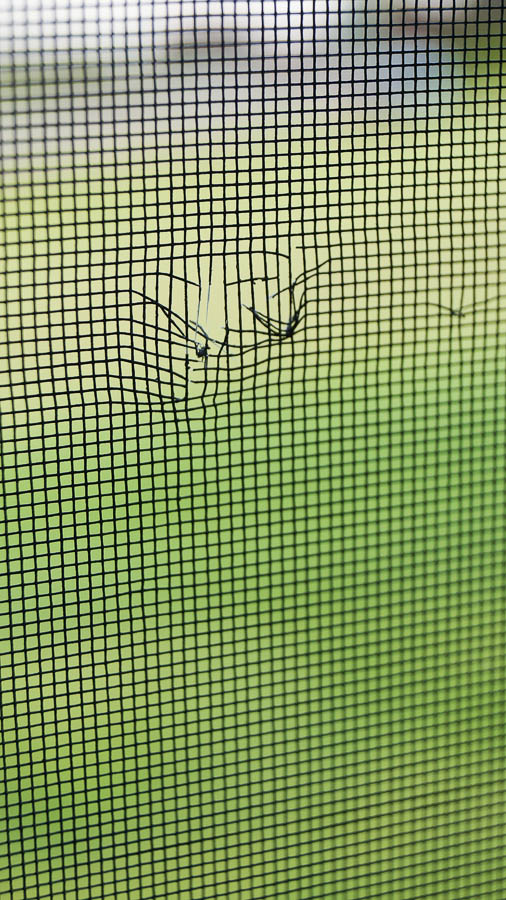
And this.
It was hard to shoot photos of the screens that had multiple holes.
There was much more damage than I am sharing, but you get the idea.
Four of the sixteen screens we had were damaged with holes.
I was sick about it!
I called the company that installed our porch and asked them what screens they used.
I wanted to get the exact screen so they would all match.
Originally I as going to fix the screens that had holes.
But after further investigating, I found that I could purchase pet screens.
Many companies make this product, just do a research on “Pet Screens” and you will find many.
Pet screens are much more durable than a regular screen.
I ordered what I needed, and last weekend we started.
Yes, the nightmare began.
I’m not even kidding!
Let me first tell you a little about these screens.
These are custom screens that were built for our room.
We were told they were easy to replace, simply take the frame off using a flat head screwdriver, then place the screen in, tap the frame back in, and your done.
Well, not so fast, it’s not as easy as we were told.
I would never, ever get a system like this again!
And here’s why, let me explain the process.
First you need to take the frame off.
We first started doing this using a flat head screwdriver, but shortly moved on to a rounded chisel tool I had.
Honestly, I don’t know what it’s called, but it seemed to work better.
As we were doing this, we were messing up the outer part of the window, that will be my next project.
Touching up all the areas that are now marked up from taking the screens off.
I noticed how yucky and dirty my screens got too!
Yet another reason I think this system is not good.
You can’t take your screens off to wash them.
Yes you can wash these while they are on, but hosing them down would be much easier and less messy.
Anyway, once we took the frame off it was time to cut our new screen piece.
We used each original screen piece as a template.
Laying the old screen on top of the new screen and cutting around it.
That was the easiest part of the project!
Now it was time to install the new screen.
And this is what we were told how to do this.
Both of us ( my husband and myself) had to hold the screen and frame.
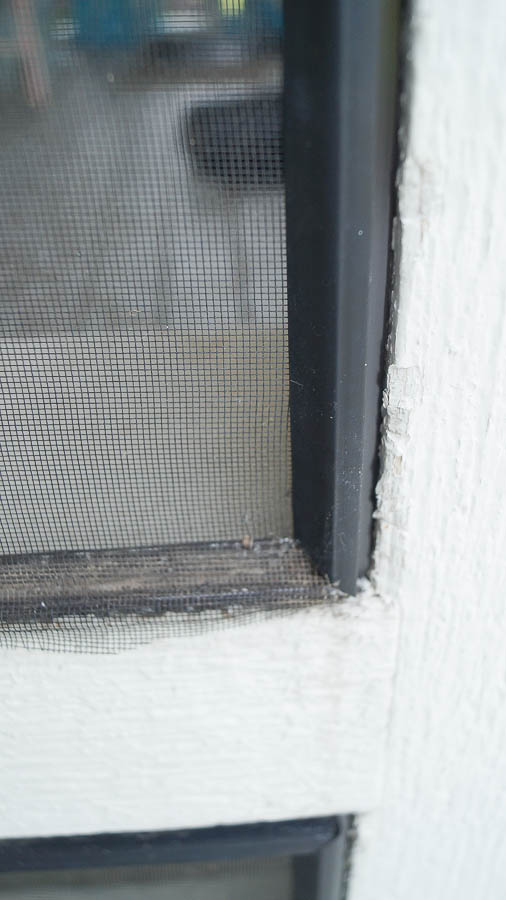
We had to line it up to the metal frame that’s screwed onto the window of our room.
You can sort of see it in the photo, and you can see how difficult it is to tell how even each frame piece is next to the metal frame.
Once these are cut, they must fit in perfectly.
We thought thought it was in place, we started pounding the frame with a mallet.
With each window we started at the top, then the bottom, next the sides.
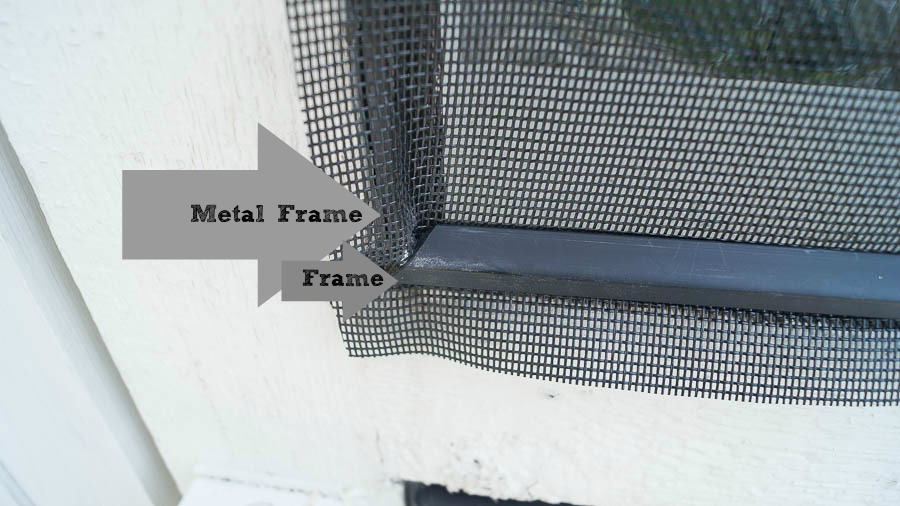
When we got to the last bit of frame this is what would happen.
See the gaps, not touching, or the last side would over lap, and the frame would not snap in.
So we would have to take it all off and start all over again!
This could happen many times on each window.
A few of these windows took over an hour!
This frame system sounded like they were much easier to replace when we bought our room.
But I am here to tell you that they are not!
Next time I have a porch built, I won’t be using a system like this.
It’s way too much work to replace, and you must be exact when you are putting them on.
I mean exact!
You cannot have one little fraction of a section over on one side, or it will throw the whole section off.
And then you have to pull it off and start all over again.
Sound like fun?
Last weekend we started on this project, and today we finished it!
It took us fifteen hours to change the screens on our porch.
Fifteen hours that I will never get back!
How ridiculous is that!
I think it’s better to have screens that you can simply unscrew, and take to a professional to have re-screened.
I am all about saving money, and doing it yourself, but this job was a killer!
Through the process we laughed, a lot.
Seriously we did!
My husband is great like that.
I can be stressed out, and he will totally make me laugh, which made this project much easier to accomplish!
Anyway, if we were not laughing we would have been crying!
When all the screens were changed out, we cut off the excess screen that was around each window.
And that was super easy to do!
I cannot tell you how happy I am to be done with this project.
I will never, ever do this again!
Lessons learned from my porch.
1). Don’t believe it when they tell you a snap in screen system is easy, it’s not!
2). Make sure you are putting the correct screens in for your lifestyle. If you have a pet or a child, I would recommend putting in pet screens.
They are much more durable.
Yes, they do prohibit your view slightly, I mean when we look out I can see the screen, before you couldn’t tell we had screens.
That’s how clear the original screens were.
But I want to enjoy our porch.
I don’t want to stress every time our cat is outside on the porch getting ready to jump on the screens to catch a bug, or something get’s knocked over and falls near the screen.
We have a lot of windy days, that happens often.
The reason we added a screened room to our home was because we wanted to sit outside and enjoy the outdoors bug free.
These are really durable, I tested a sample before we changed them.
I took a pair of scissors to these, and tried cutting them, as I would with a knife, and I could not cut them.
Perfect for our cat!
And perfect for our lifestyle!
Now onto the next project 🙂
But first I think I will sit outside, and enjoy a glass of wine.


Pet proof screens are great.
We had to get them when our gorgeous miniature dachshund who had anxiety, was ripping the screens on our French doors to shreds.
He could get inside the other door, but for some reason he was obsessed with the French doors.
He didn’t make a mark on the paw proof screen, & even though it was expensive, it will last forever, so it’s not so expensive.
By the way, we put the dog on Prozac, & I figured if it didn’t work for him, I’d take it! It was very stressful having such an anxious dog.
Anyway it worked a treat, & I’m medication free!
Yes Philippa it was a little more expensive, but so worth it for sure! Awe your poor door, hope the meds are helping.
Oooh what a job! Half way thru reading, I was going to tell you in my reply to sit back and enjoy a glass of wine on that porch..looks like you already did! lol. Good thing you have a hubby that can find humor in situations like that. Sweet kitty, I have a tabby that looks just like her, but he is a he and weighs 18 pounds-yikes!
Yes it was Tracy. All I can say is that I am so happy to be done LOL!
That’s a lot of work. Poor thing must have been scared but like you said it could have been a bug fight.
Cindy
Yes it was a ton of work. And yes our poor kitty. Now we ALL make sure she is in the house each night 🙂 .She is such a calm cat. The next morning my husband said she walked in the house as though nothing happened. She wasn’t upset at all!
The porch looks great,soory for all the trouble but hopefully worth it. Now forward to greater happenings Anne.
Thanks Marlene 🙂
Yikes! That sounds terrible. What a pretty screened porch.
Yes it was Katie! So very glad to be done with that project 🙂