Elmer’s Glue Crackle Finish
Elmer’s glue is one of the cheapest and easiest ways to add an authentic crackled patina! I’m sure you’ve seen my tutorial on how to distress using vinegar .
When I say that using Elmer’s glue is cheap and easy, I really mean it. Are you ready to learn this super easy technique?
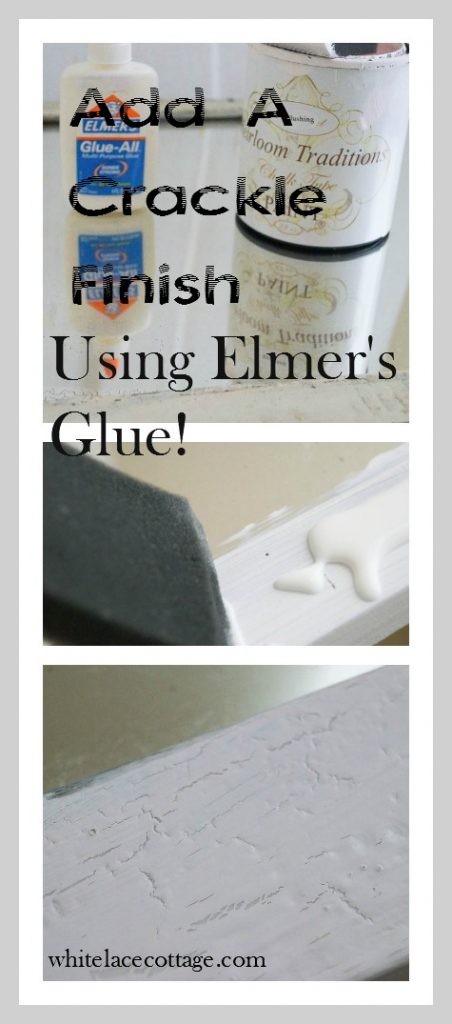
How To Add A Crackle Finish Using Elmer’s Glue
Supplies Needed:
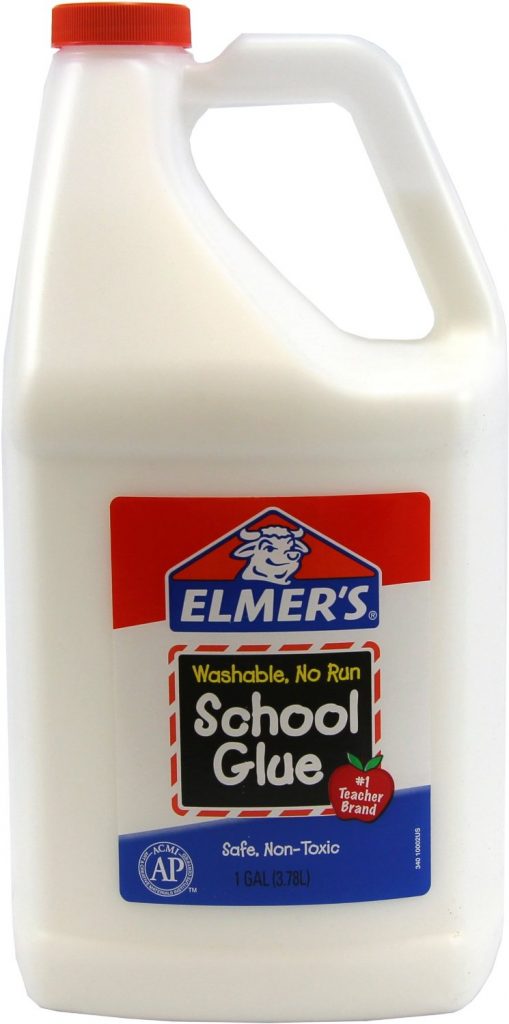
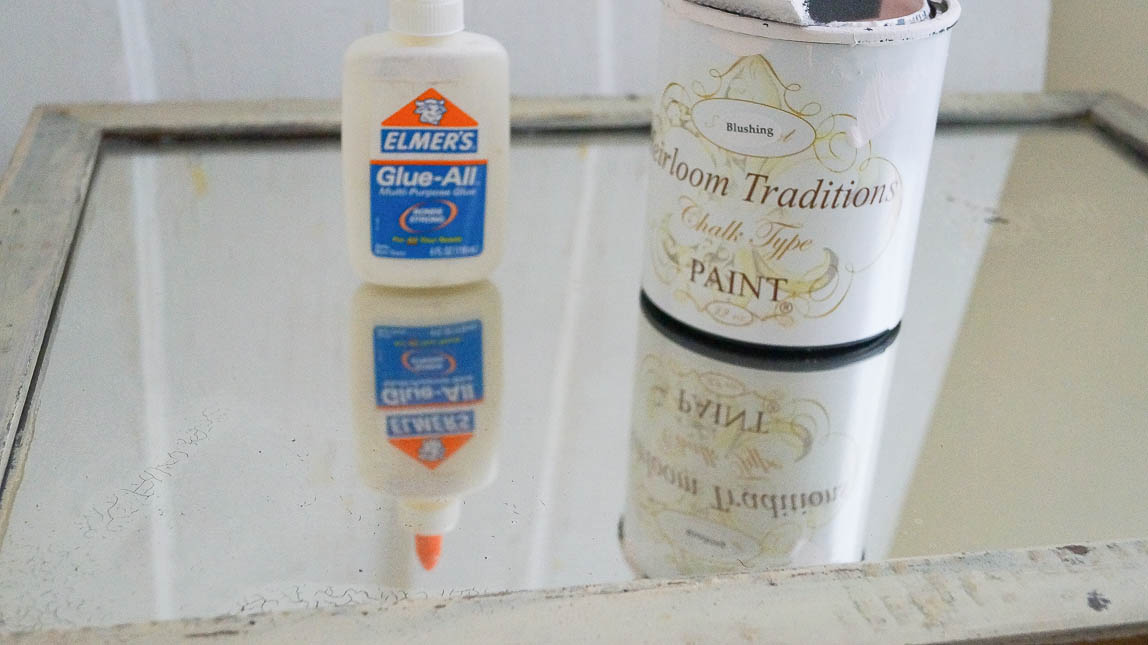
- Elmer’s Glue (depending on how big your piece is, you may need several containers) If you’re doing a large piece, I would suggest purchasing this big boy!
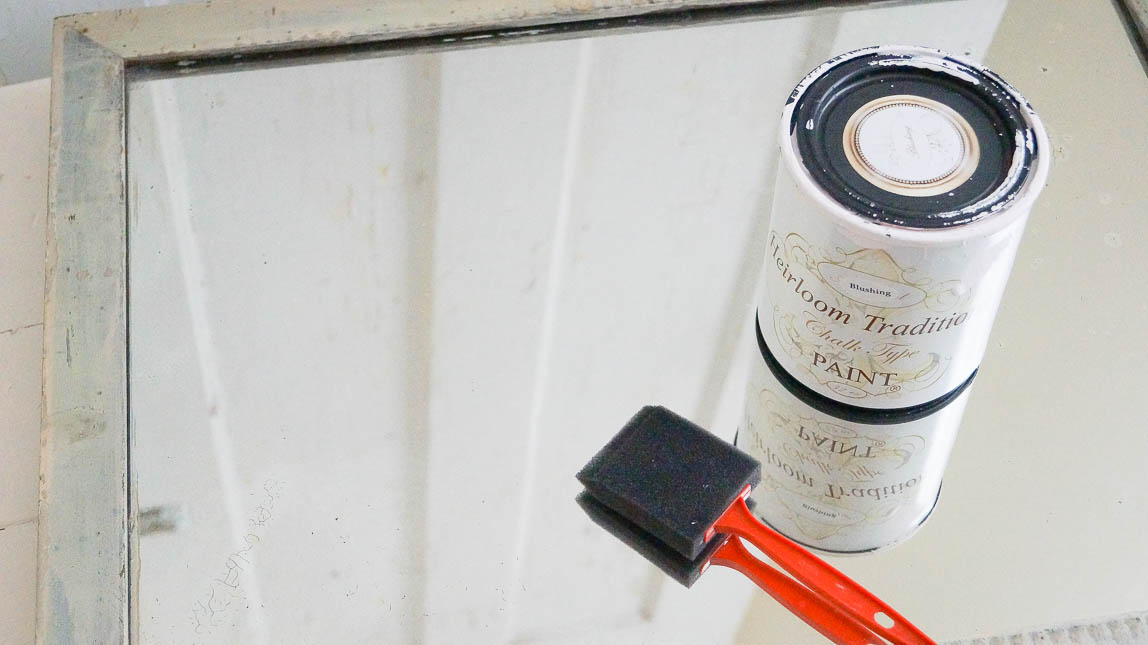
- Med-Large size foam brush
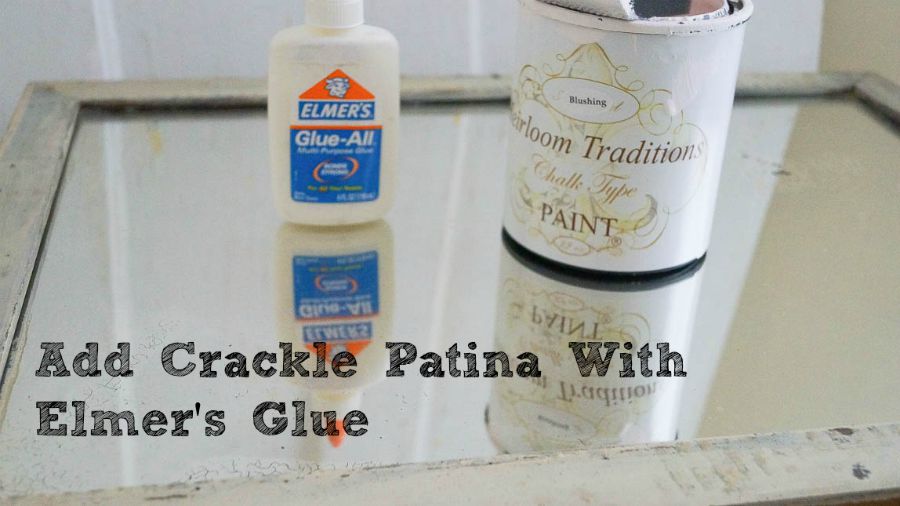
- Paint, I prefer using chalk paint for this project. I used Heirloom Traditions Paint Blushing
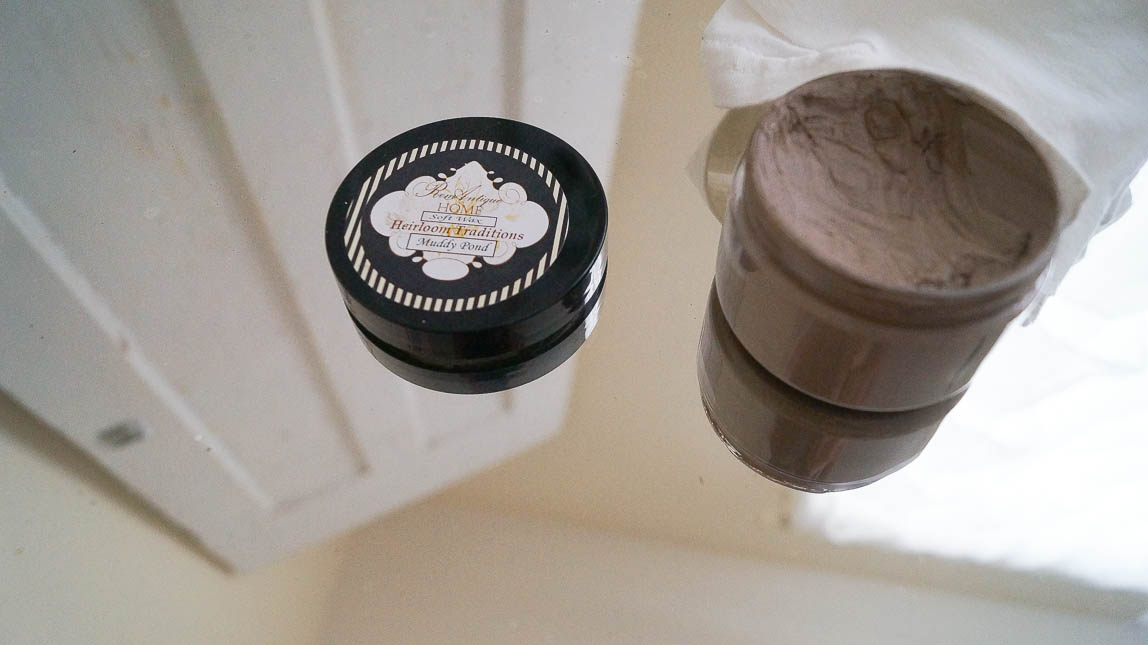
- Heirloom Traditions Muddy Pond Wax. I LOVE this stuff! Use this coupon code WHITELACE for 10% off of your order.
- Hairdryer if you’re not patient as I am 😉
First step is to paint your piece what ever color you’d like it to be. I chose a pretty and soft pink from Heirloom Traditions paint called Blushing. Let you’re paint completely dry before moving on to the next step.
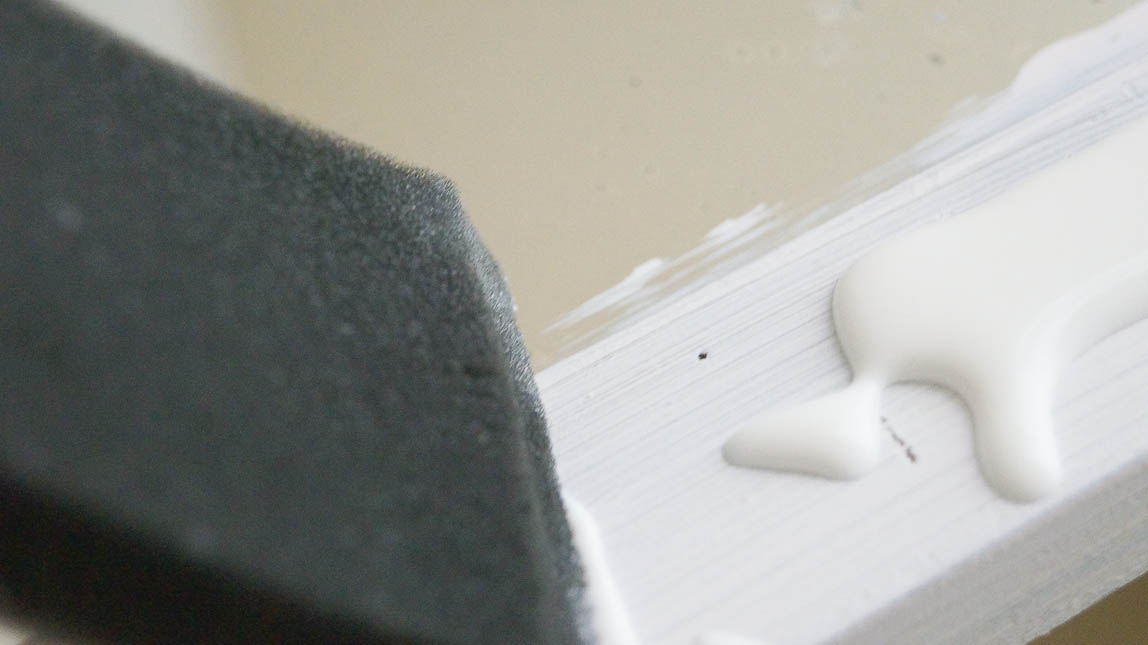
Using your foam brush, paint a coat of Elmer’s glue on top of your painted piece. If you want a thicker and bigger crackle apply your glue thicker. If you are going for a smaller crackle, apply your Elmer’s glue thinner.
**Tip**
If you’re applying Elmer’s glue to a standing piece, the thicker you apply it, the more that you will get drips. I usually just go with it and let it drip because it will add more texture to my piece and give it a layered paint patina. But if that’s not the look you’re going for than I would only apply the Elmer’s glue thinly on your piece.
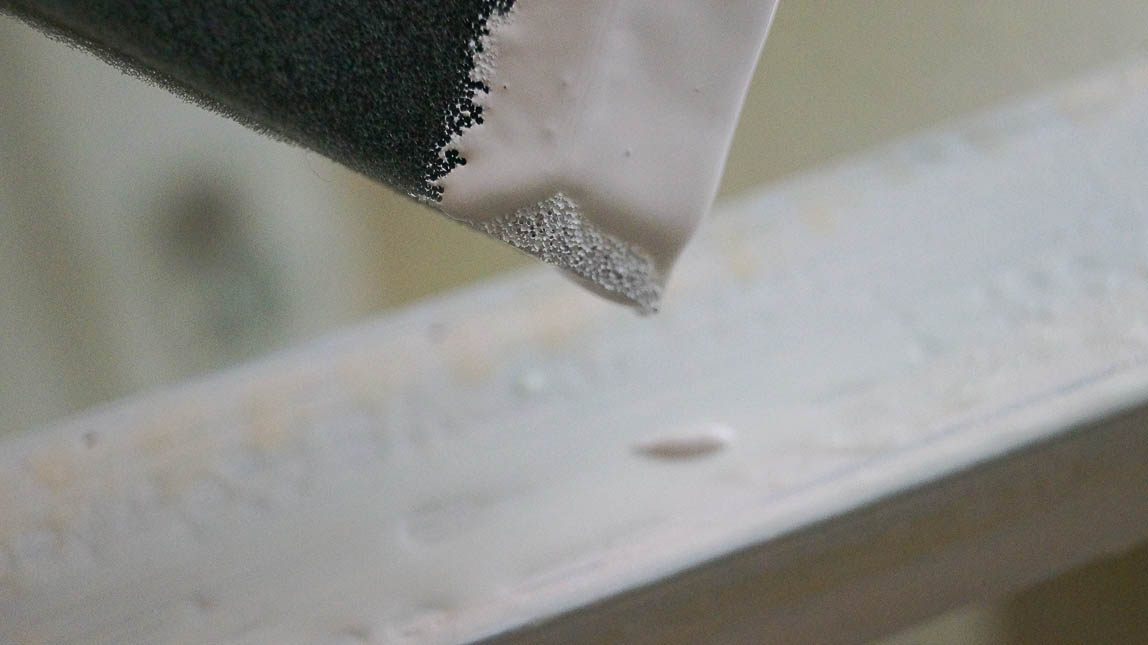
Again because I am not very patient I took out my hairdryer and dried the glue slightly, but not all the way. The glue should still be wet when you apply the paint. Now it’s time to add a coat on top of the glue. Using a foam brush I applied a thick coat of paint. The reason I am using foam brushes for this project is because I don’t want to ruin a good brush with the glue.
While the glue is still tacky, but not dry, apply another coat of paint on top. Don’t brush back and fourth or play with the paint. Just paint right on top of the glue and leave it alone. If you over brush you Elmer’s glue you won’t get that crackled look, but instead a smeary mess.
If you’re impatient as I am, you can take a hairdryer and apply a med heat to it. But don’t hold the dryer close to your piece. And make sure to use a fast sweeping motion. (See disclosure policy)
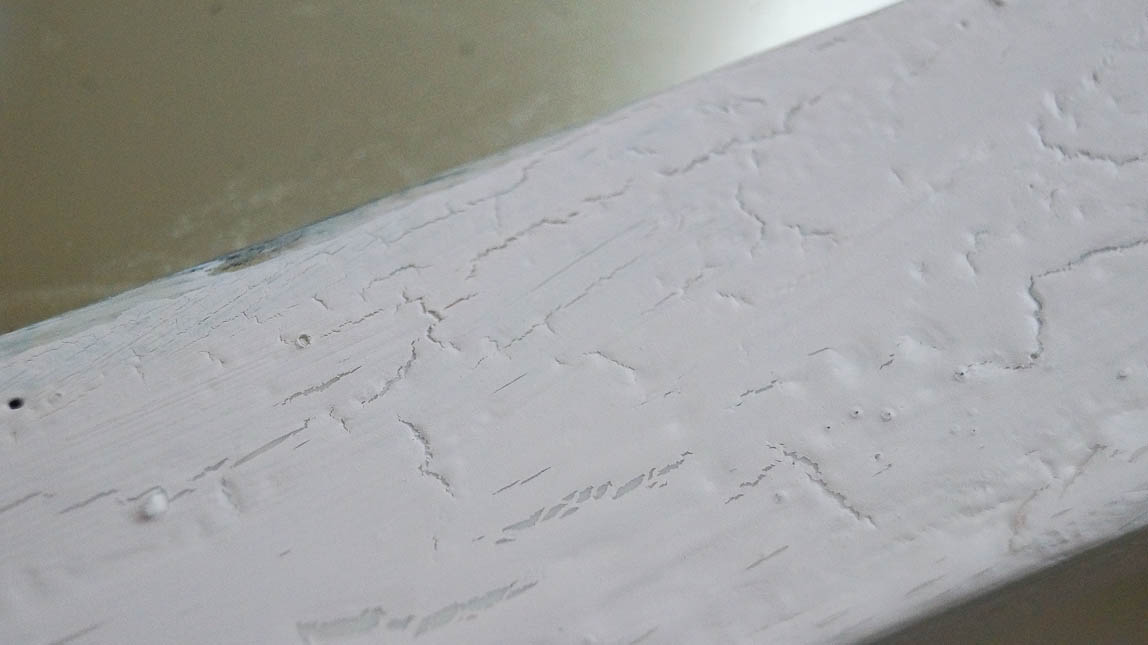
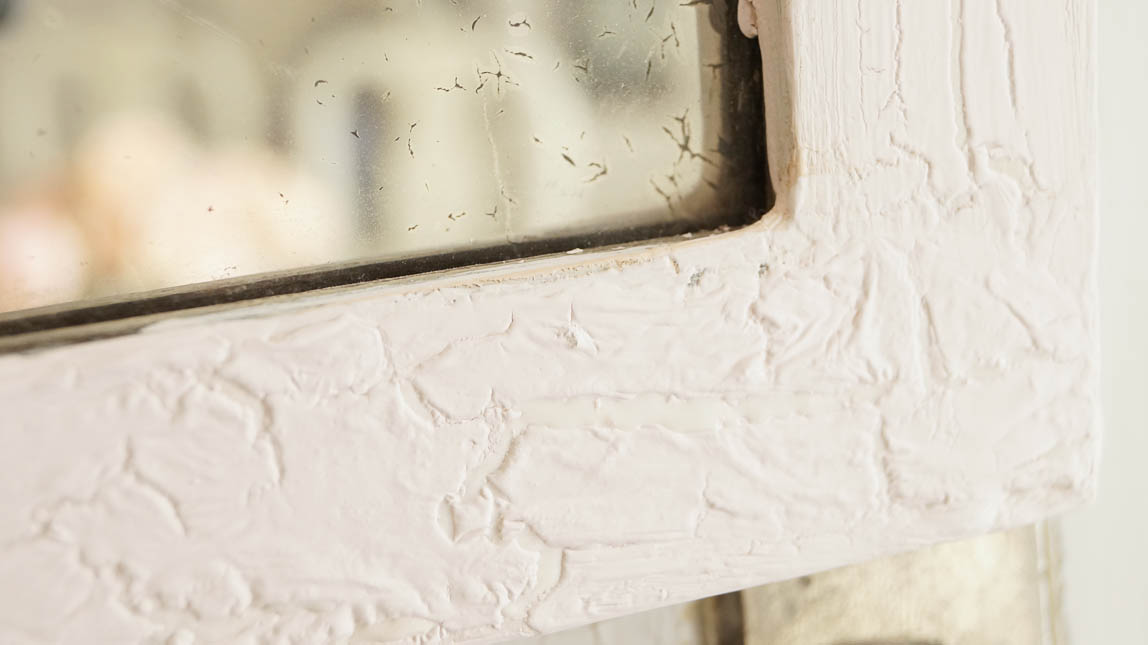
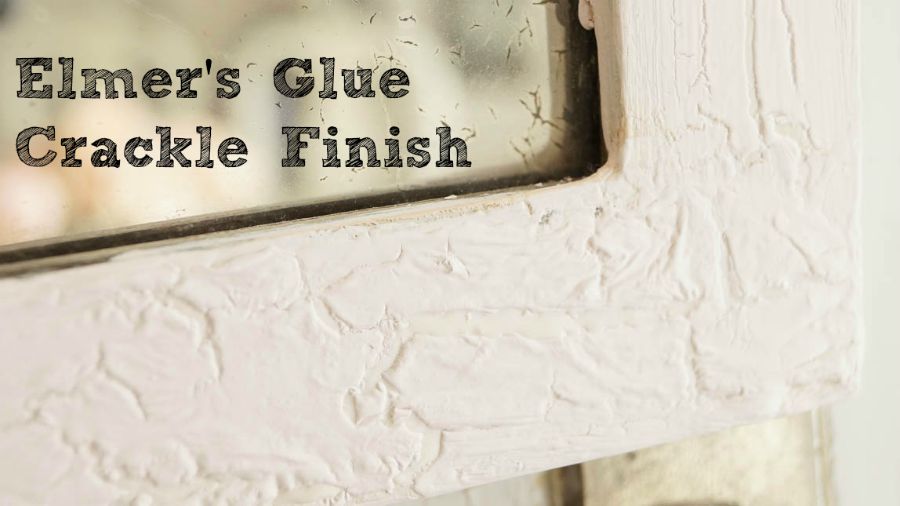
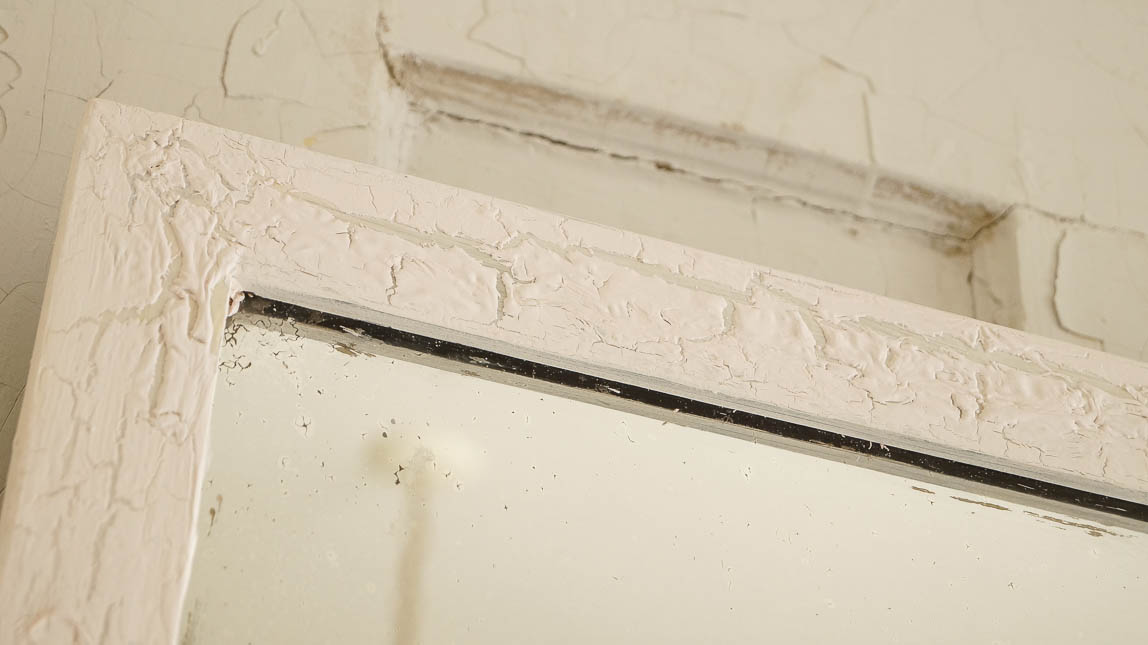
After it’s completely dry you can apply a dark wax, this will highlight the crackled finish and give it an aged patina. I love using Muddy Pond from Heirloom Traditions. It’s wonderful to work with, and I love the finish. I didn’t wax my mirror yet because it’s still drying. But let’s take a look at it now. Isn’t this finish incredible!And it’s super easy and cheap to do!
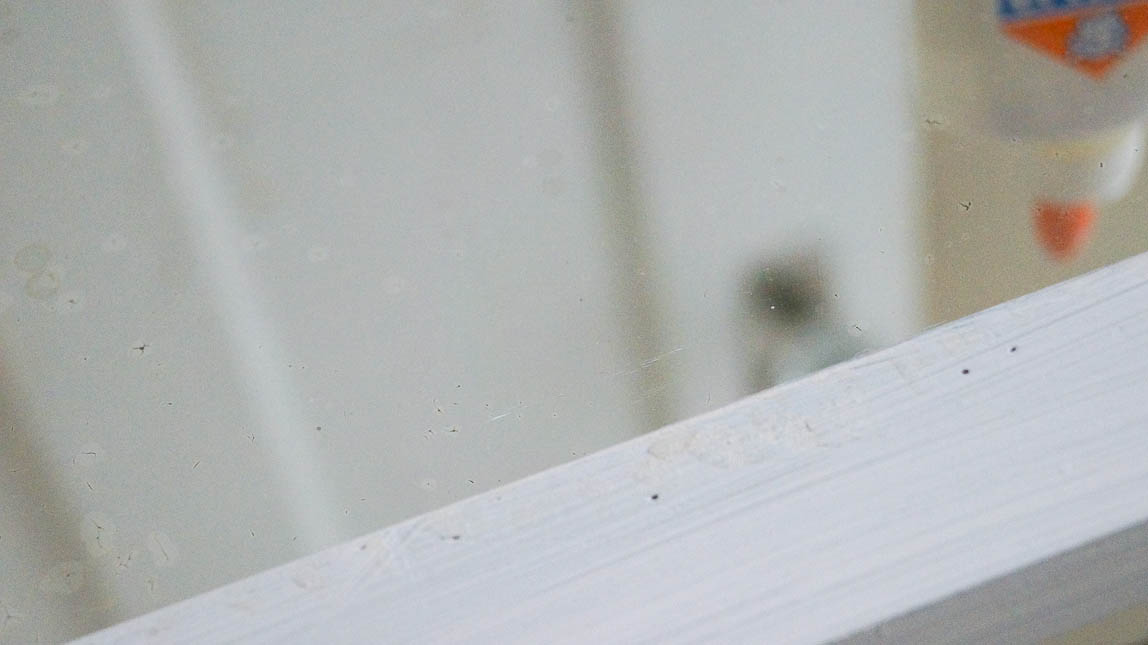
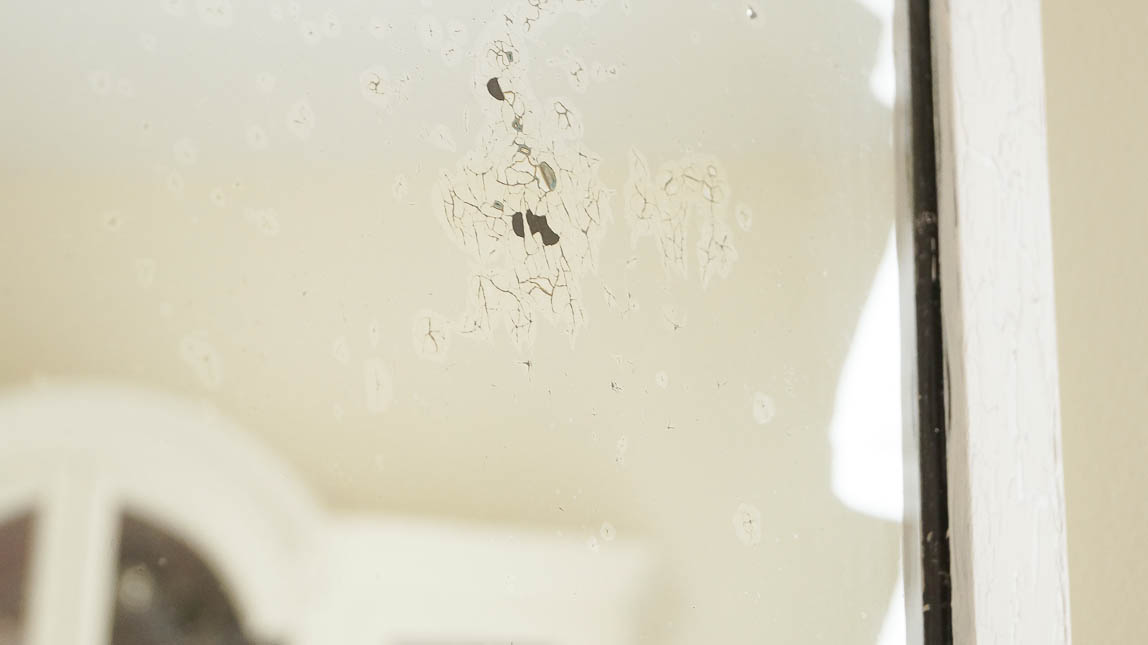
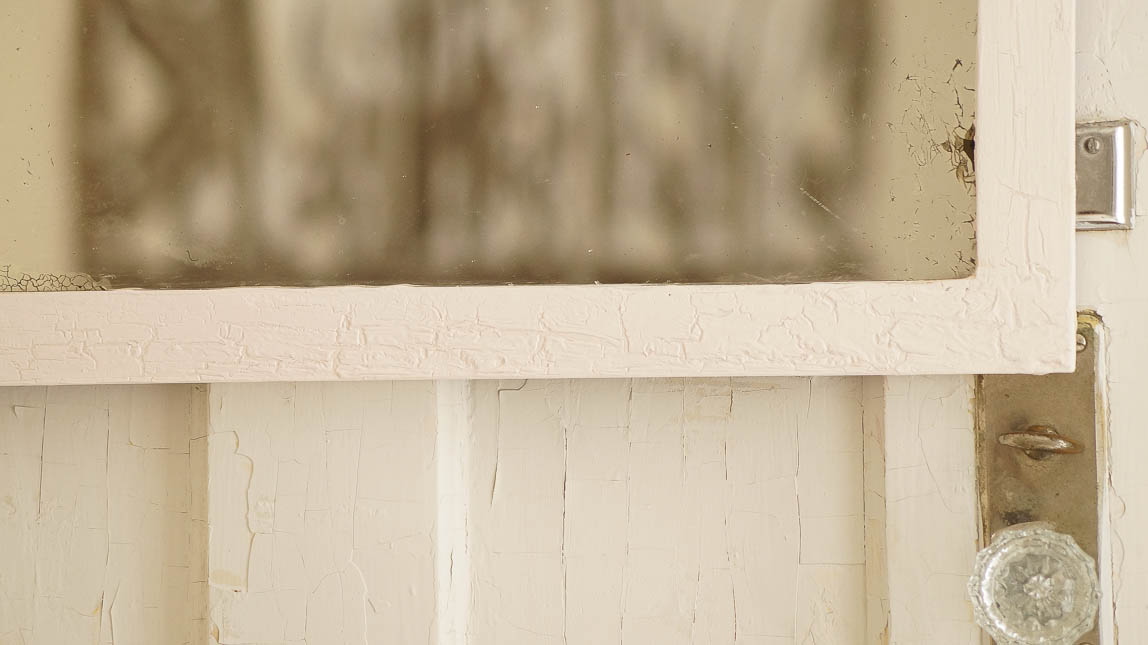
I took lot’s of close up shots. When you shoot a mirror your often get the background images. I wanted to share the details of this mirror and the amazing finish. Once my paint was dry I took out my Elmer’s glue.
This crackled finish really looks old! Sometimes it can look fake, but I think it looks pretty authentic, don’t you?
You can compare this finish on my mirror next to my vintage chippy door. The chippy door has an authentic chippy patina.
Using Elmer’s glue to create a crackle finish is a wonderful alternative.
Shopping Guide:
Heirloom Traditions Muddy Pond Wax
Heirloom Traditions Paint Blushing ** Use coupon code WHITELACE to receive 10% off of your order!
looks great.
another great product, if you want HUGE crackles, is called Hide Glue. You can get it at the hardware store.
works the same way, but bigger crackles.
thanks
Barb
Oh great, thanks so much for sharing Barb!
Very fun technique! I’ve never tired this but I’ll add this to my very long DIY list. Visiting from Monday Funday.
That turned out great! Pinning to try in a future project. 🙂 Thank you for sharing with us at the #HomeMattersParty