Paper Mache Mosaic Pumpkin
This paper mache mosaic pumpkin is super easy to create. And it will be the perfect touch for your fall decorated home.
(This post contains affiliate links, please see disclosure policy)
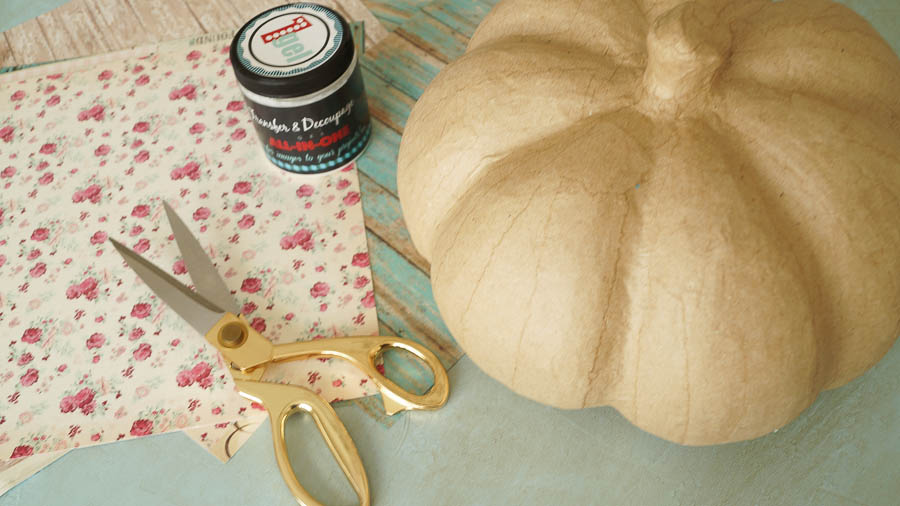
Supplies needed
- The P Studio- Paper
- Heirloom Traditions transfer and decoupage gel
- Most important, a paper mache pumpkin
- Muddy Pond Wax
- Foam Brush
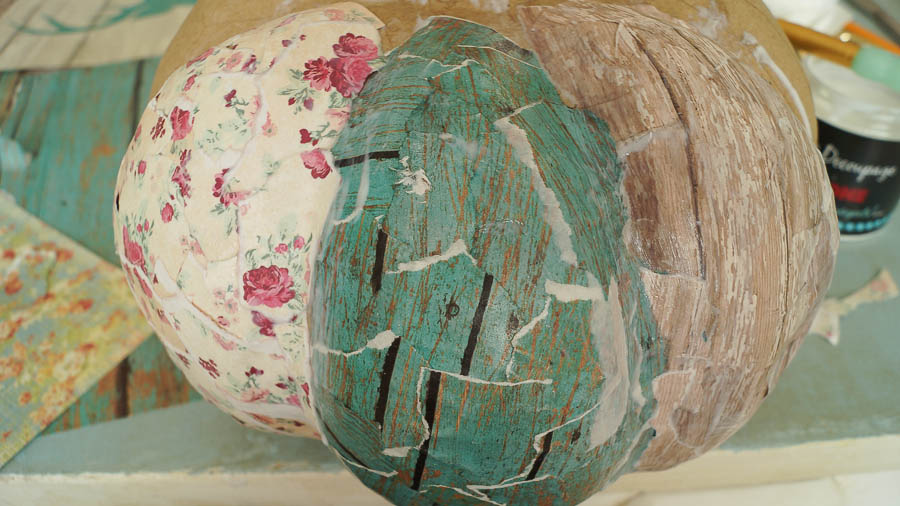
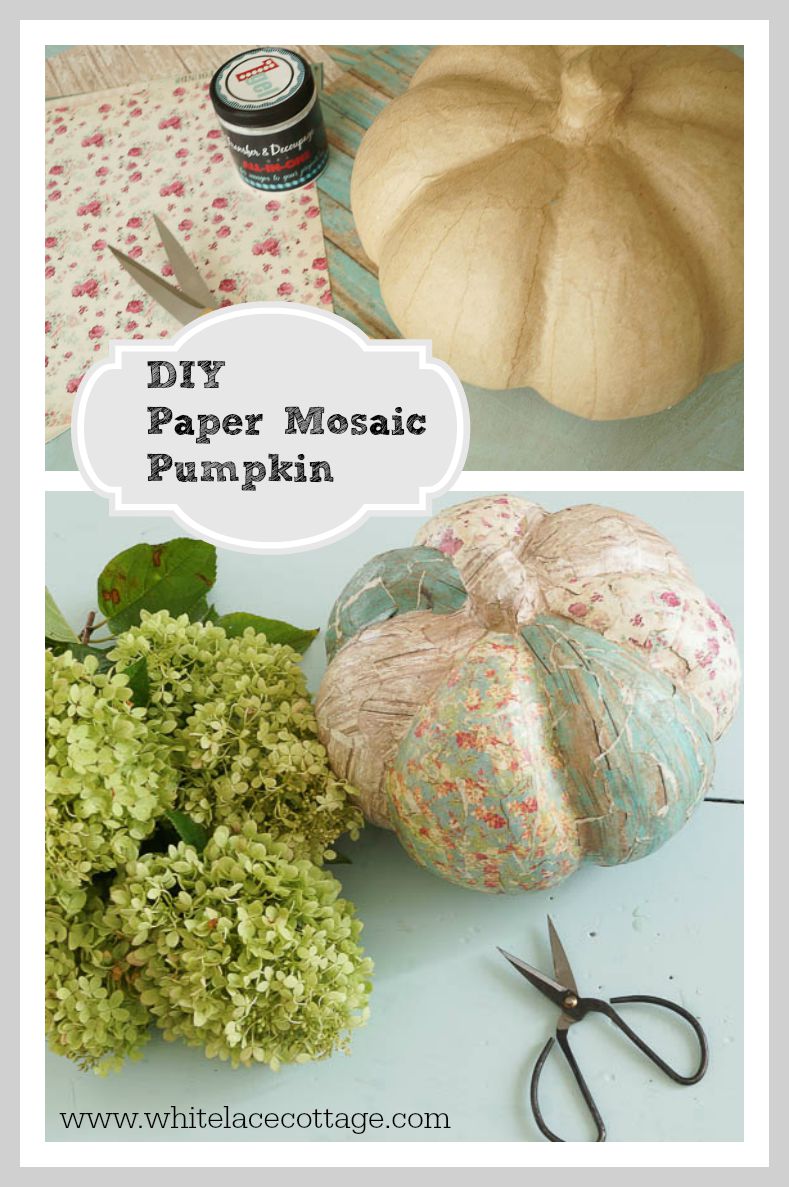
When I saw this paper mache pumpkin the idea of creating it into a mosaic came to my mind. To create this mosaic I tore the paper into little pieces. Then I applied a little glue to the section I as starting on, and also a little glue on the back of my torn piece of paper.
I started at the top of my section and worked my way down. Tearing pieces of paper off as I went along, creating a mosaic look. This paper was a little stiff, so I had to press down a little the more I worked down the section of my pumpkin.
As you work around your pumpkin you’ll need to figure out how you would like your colors or pattern to look. I had an odd number, so I wasn’t able to repeat the same colors all the way around. One of my pretty papers was only used in one section. You can do a different color in each section if you wanted to, or use all of the same color too. I thought it would be fun to mismatch it just a bit.
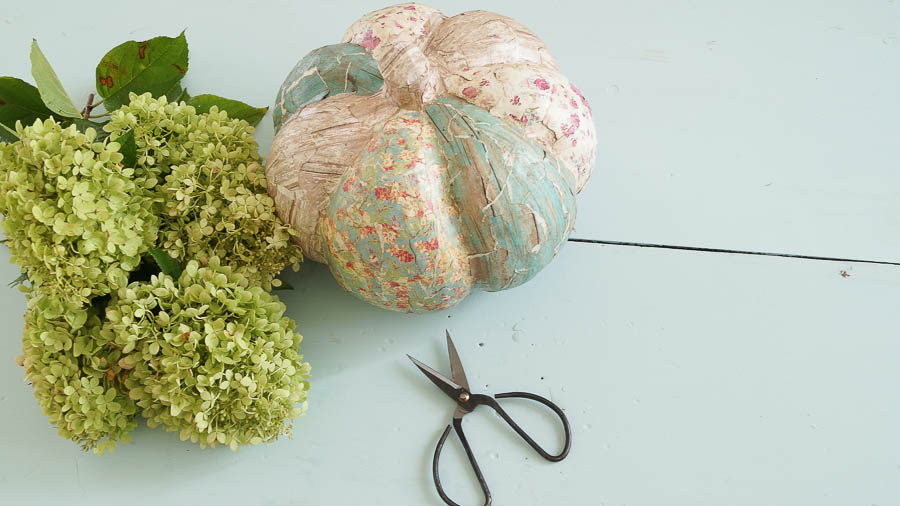
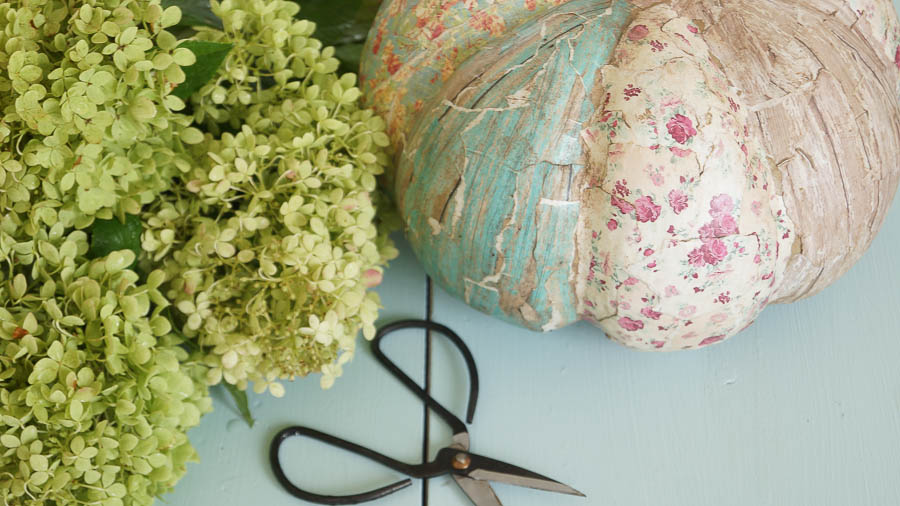
On the stem, I used paper that looked like old wood. Once your pumpkin is completed you can add another coat of glue on top of your whole piece and be done with it. I decided to add a little patina to mine, so I pulled out my Muddy Pond wax and using a old cut up white t-shirt, I applied the wax, working in sections. I really worked it in, and wiping it off as I went along. Here’s my finished pumpkin.
See how simple it is to create a piece of art on a paper mache pumpkin. If this isn’t your thing, you can paint these pumpkins too. Think about creating a design or stenciling a design on it.
Are you ready to get your craft on?
Shopping Guide:
1Gel- Use code WHITELACE to receive 10% off your order.
Muddy Pond soft wax- Use code WHITELACE to receive 10% off your order.
I have done a pumpkin like this only I used pieces of material and it was really cute. This paper is awsome Thank you Pat
Oh I love that idea Pat! Thanks so much!
I like it,have painted but never never thought to mosaic one. Thanks Anne have a great day.
Oh I love that idea too Marlene! Have a wonderful weekend!
I don’t have a phone on which to get bHome. Is there a way to get it on my laptop.?
Love your site, read it daily.
Thanks so much Cheryl. Oh sorry Cheryl, its a phone app only 🙁
This is so cute! I have never seen a paper mâché pumpkin before. I’ll have to michaels.
Yes, aren’t these cool Linda! So many fun ideas for these!
Anne that is absolutely lovely! So sweet, simple and beautiful!
Thanks so much sweet friend!
Love your pumpkin, Anne!
Thanks so much Christy!
What a fun and shabby project Anne. The papers really are quite lovely.
Thanks Kerryanne!
Darling Anne! I recall a time you telling me you were not crafty…say what? You do the cutest crafts when you want to:) SO happy you joined in.
So cute! I love it. Such a fun project.
Thanks so much Stephanie!
Oh, Anne, this is so absolutely shabby chic perfect!
Thanks so much Mary Beth!
I love this pumpkin. Thanks for sharing
Thank you Sharon!
I absolutely love the shabby, vintage look of this. I recently did some shabby miniature pumpkins to use as weights on my table at the craft fair and again at a sidewalk sale. I love shabby chic styles,but sometimes I think they are too “new” looking. This decoupage pumpkin fits the bill though for the tru shabby style. P. S. I have some of that very appear only mine wasn’t priced that low even yrs ago. But pretty just the same, thanks for adding me to your email list. I enjoy looking at all of your items and tutorials. If you should get a quick minute, pls check out our website for some of my shabby diys and perhaps one will catch your eye.