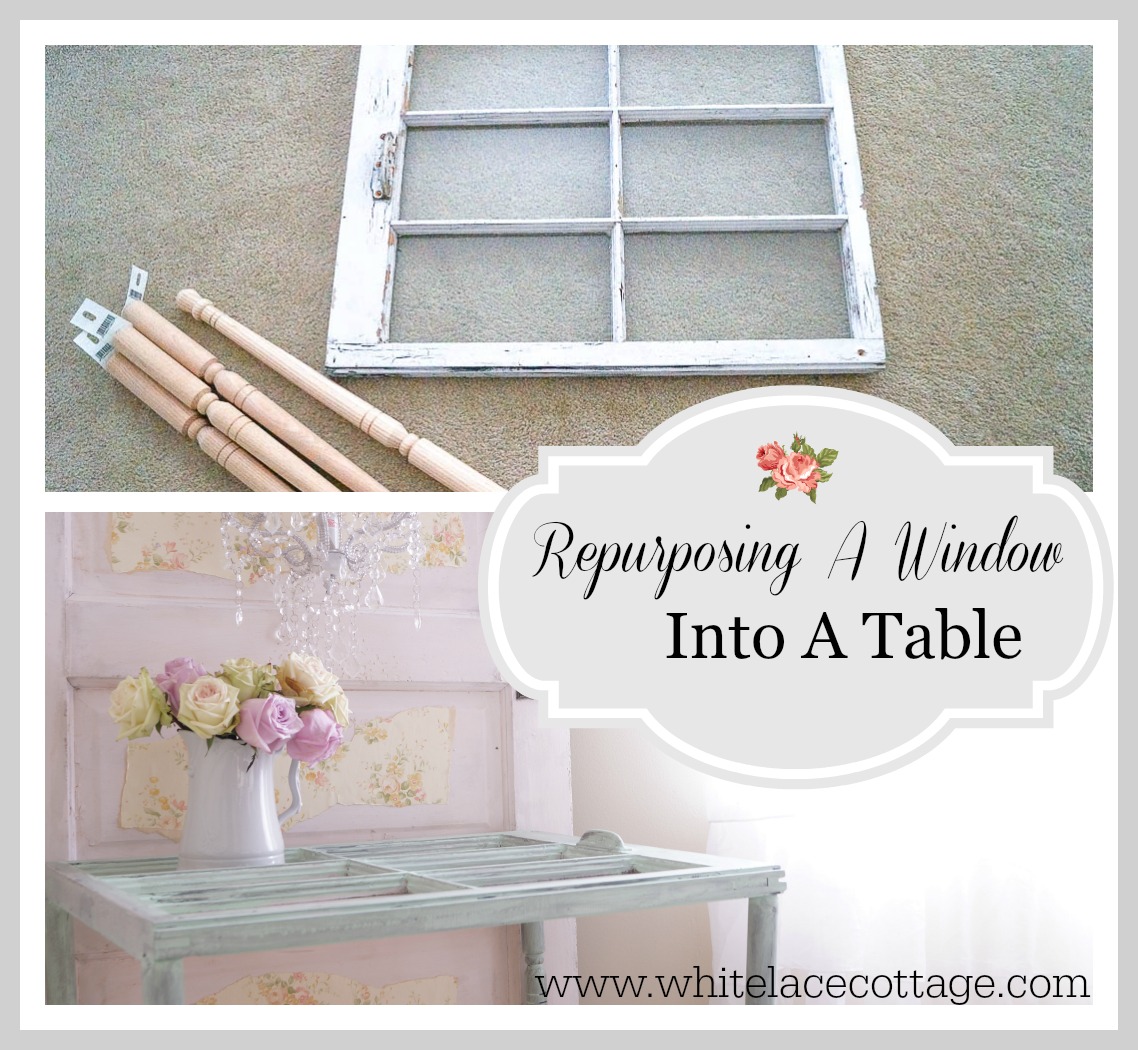
DIY Repurpose An Old Window Into A Table
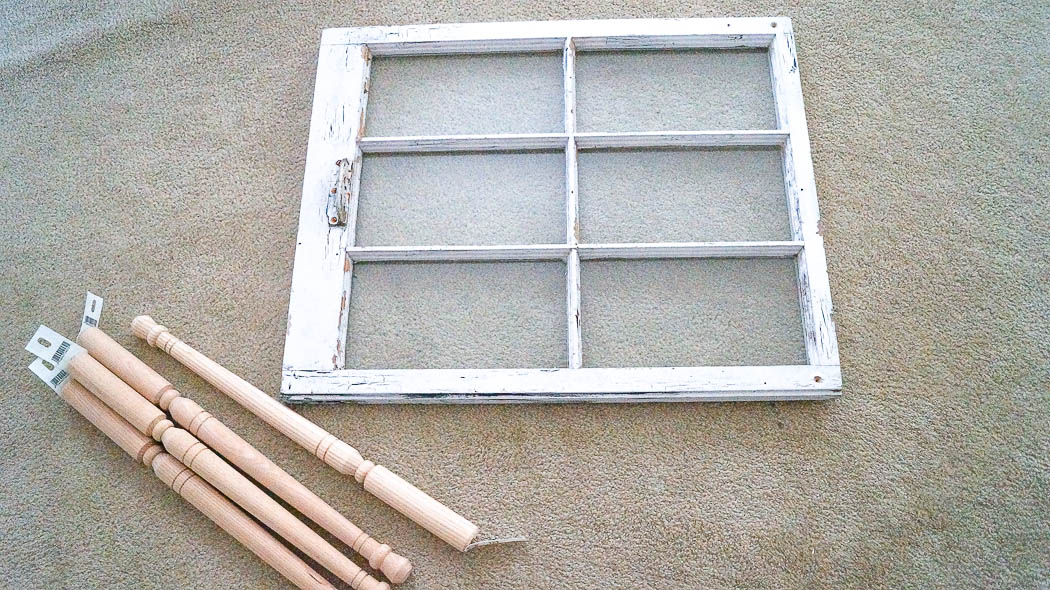
Have you ever been given a piece of furniture or salvage and think… I can do some thing with this. But then you wonder why you took that piece in the first place? Well that’s what happened with this old chippy window. A friend gave it to me. At first I thought, wow this is so cool! But it sat tucked in a corner for several months. Then it hit me. Why not make a table out of this old window. I love diy repurpose projects when you take a scrap piece of wood or salvage and transform it. This is a super easy project and very affordable. Are you ready to get started? *This post contains affiliate links, see disclosure policy*
Supplies needed:
- Wood table legs
- Wood drill bits
Paint and stain of your choice
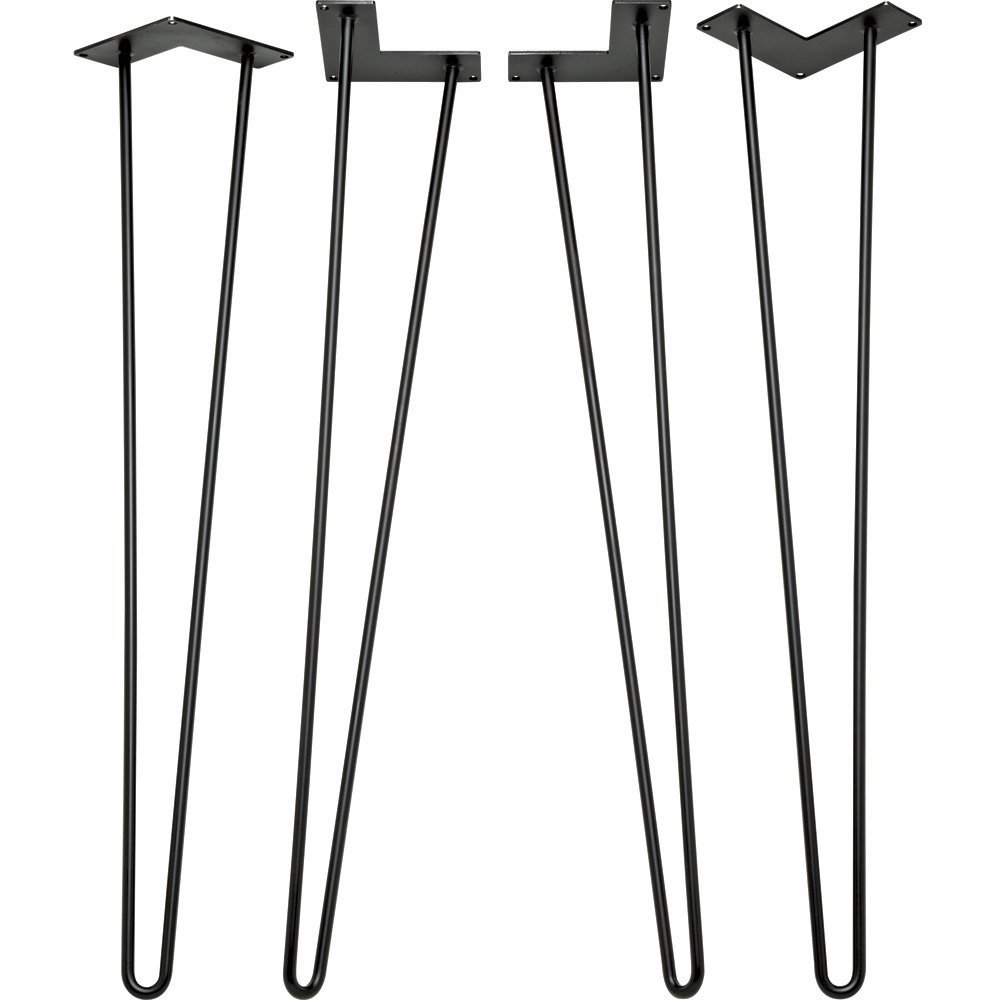
These legs would have worked as well, but they are a little more expensive. Since this window was free it still would be much cheaper to purchase legs than a new table plus your table is a one of a kind piece.
These are hairpin table legs.
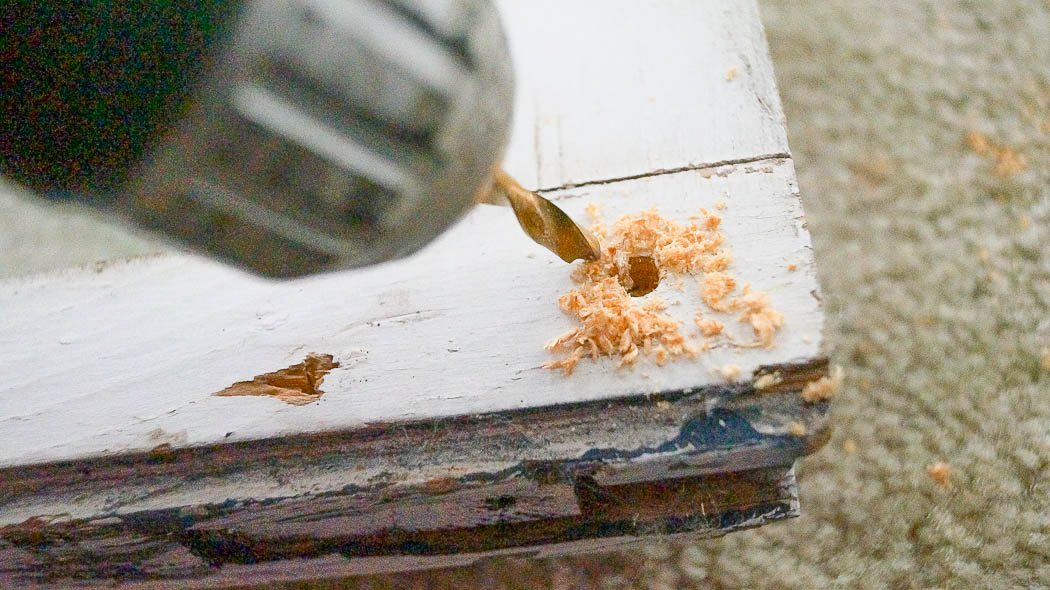
For this diy repurpose project I needed to drill holes for the legs, these just screw in. I found a drill bit slightly smaller than the screw ends of my table legs. If I drilled the hole the same size or larger the legs wouldn’t fit properly. As far as determining where I added the legs. I eyeballed it. I didn’t measure at all. Just being honest. If you are fussy about the exact placement then measure from each side then make a mark so you get each on in the same spot.
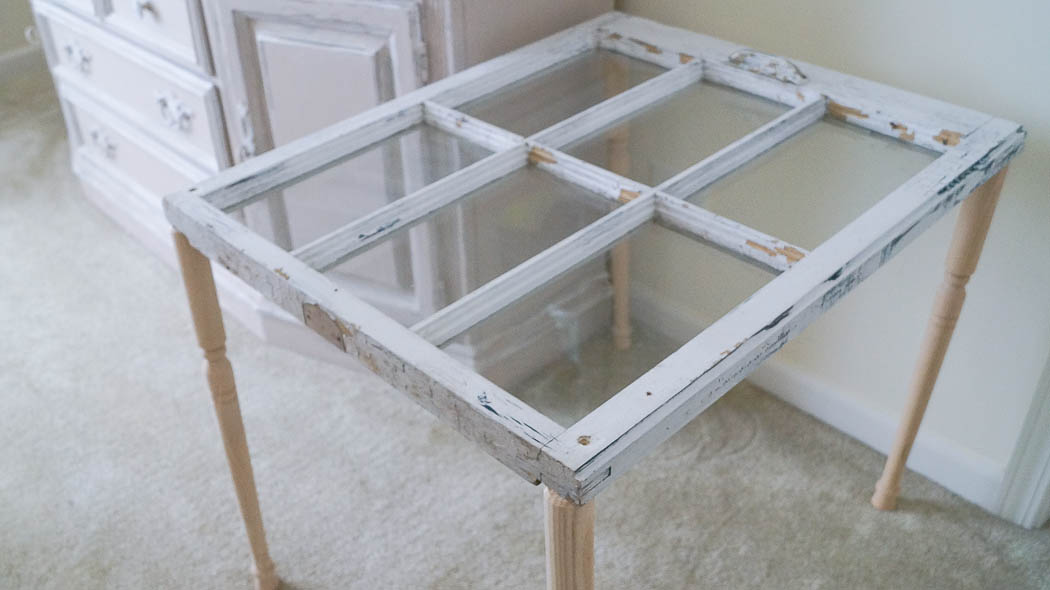
Once all the holes are drilled you can start screwing your legs into your table. Super easy right? If you choose those hairpin legs for your diy repurpose project all you need to do is screw them into the table. But before ordering make sure that you have enough wood on the ends of your window to screw them in.
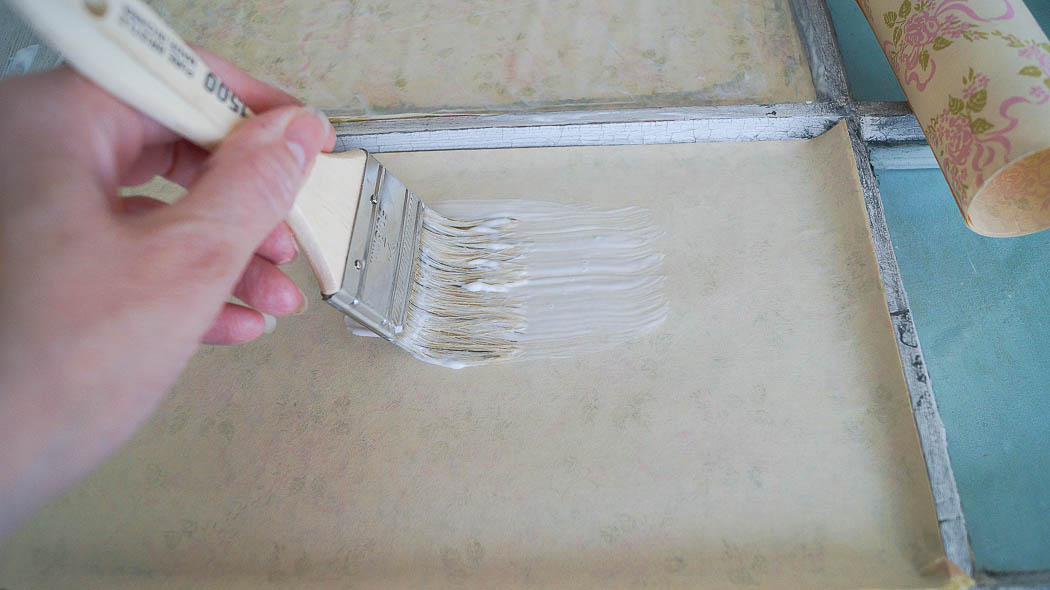
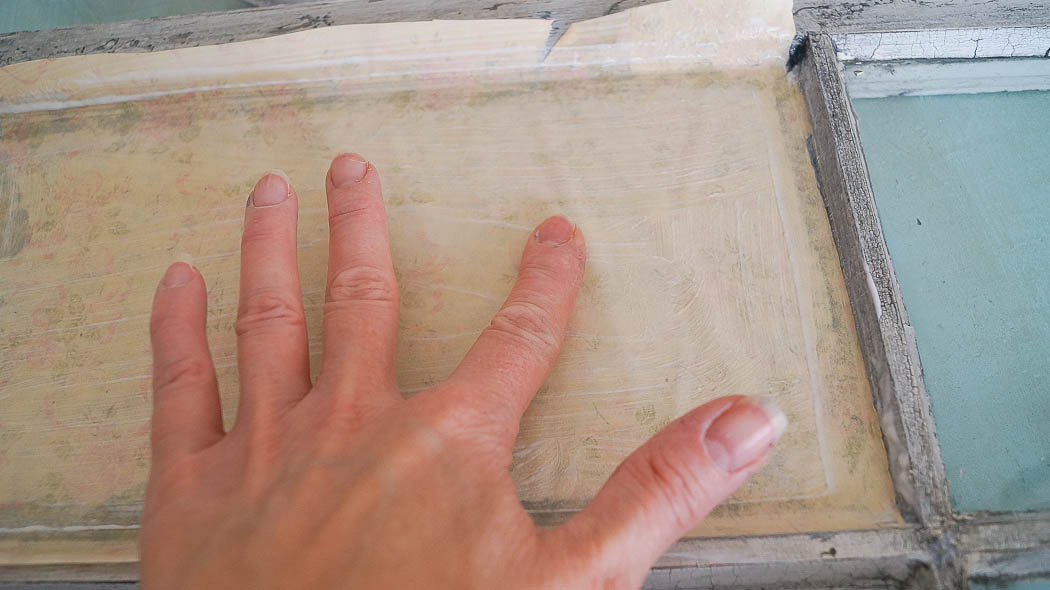
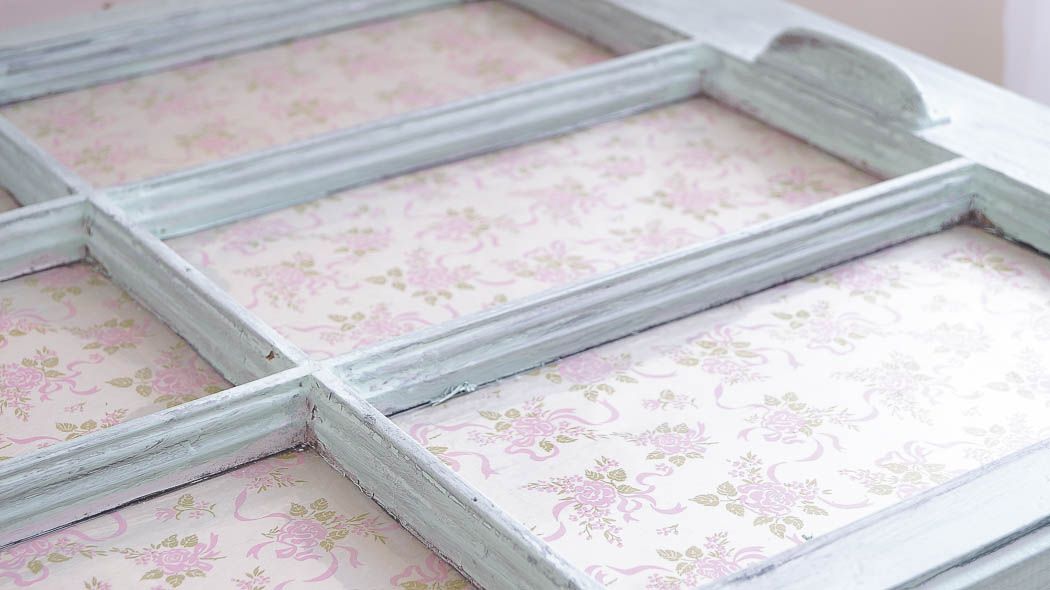
I didn’t want to leave the table as it was so I decided to decoupage the window glass. I had this old paper that I thought would be perfect for this diy repurpose project. I think it’s for lining drawers. I cut out pieces of the paper. Then I applied my decoupauge glue to the glass and added my paper. Next I added another coat of decoupage on top of my paper. You may need to use your fingers to spread the gel around and get out any air bubbles. Once it was dry I used a utility knife to cut off the excess paper around the window frames.
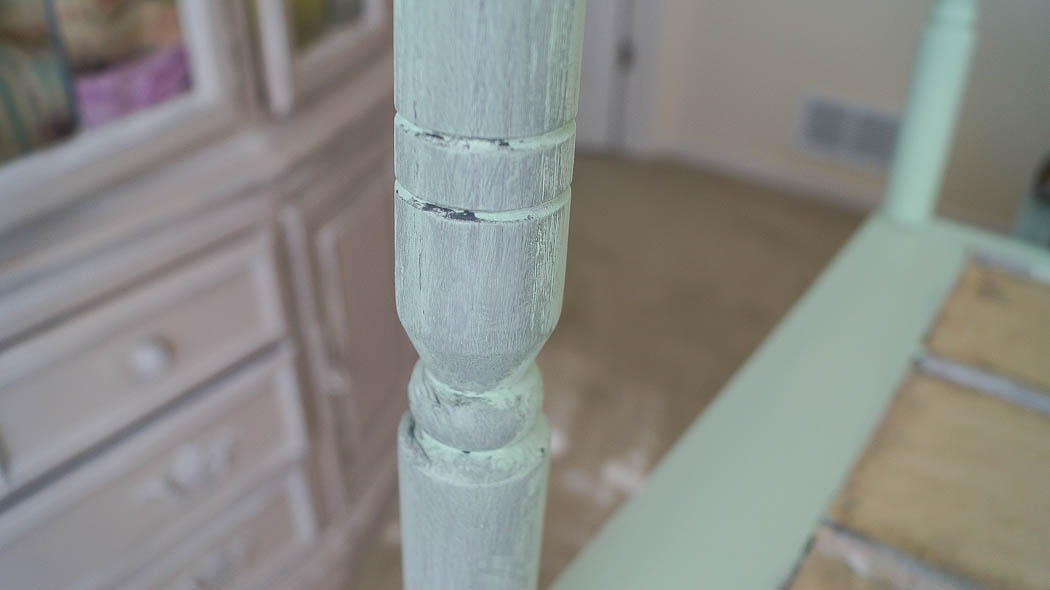
As the glue was drying I started painting the legs of my table. I mixed yellow paint with a light green paint. I wanted a yellow green something similar to the leaves on the vintage paper but not exact. Once the legs were dry I decided to use gel stain over the paint.
Since I didn’t use a stain on the wood legs I couldn’t distress them using a sanding block or vinegar. Instead I decided to use a stain to add a vintage aged patina. This stain is so easy to use and it has no odor at all!
I applied a water based stain to the legs using a foam brush in light strokes. The wiped the excess off with an old rag.
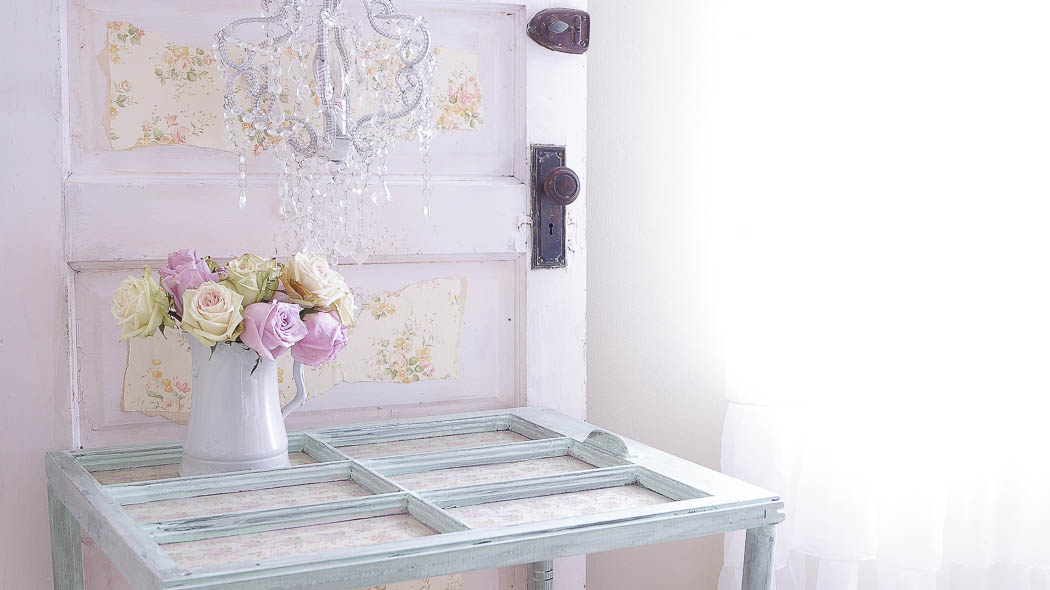
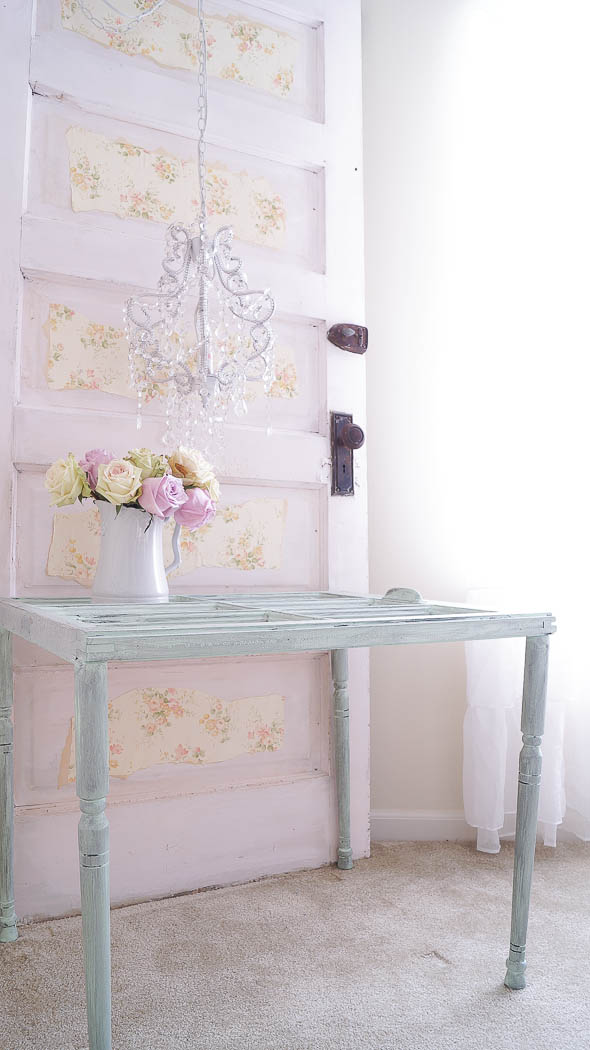
You can see, as I was applying this it was turning a dirty green and that’s what I wanted. I repeated this process on the whole piece. Here’s my finished table.
Isn’t this sweet! This is a great way to repurpose an old window.
I love how uneven the tone in the paint looks, since I added the gel stain. If I ever decided I didn’t need to use this as a table, then I can just take those legs off and hang it on the wall.
Make sure you subscribe to my YouTube channel. I share diy, decorating and painting tips.

