How was your Thanksgiving?
Mine was really nice, as we spent it with my husbands family.
We only see his family on Thanksgiving and right before Christmas each year.
It’s sad really since we live fairly close, but we are all busy with our lives.
I started decorating my home for the holidays several weeks ago, but since then I have been working on a few crafts.
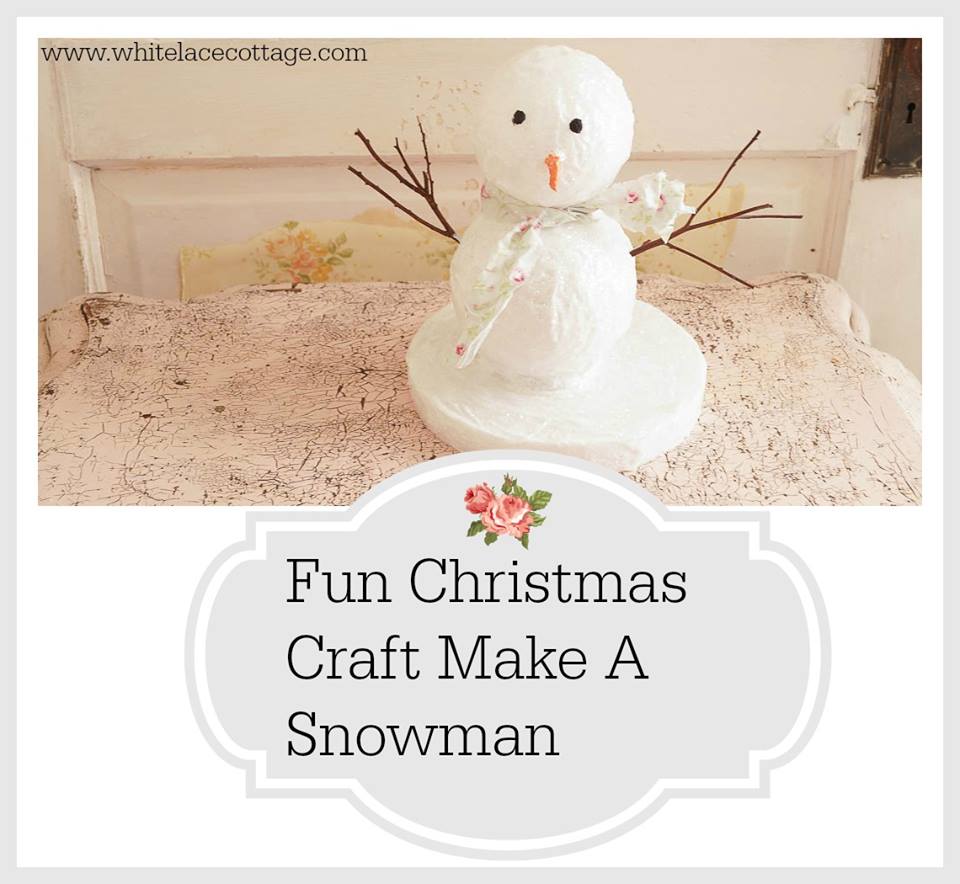
Today I wanted to share this fun Christmas craft snowman.
Here are your supplies needed:
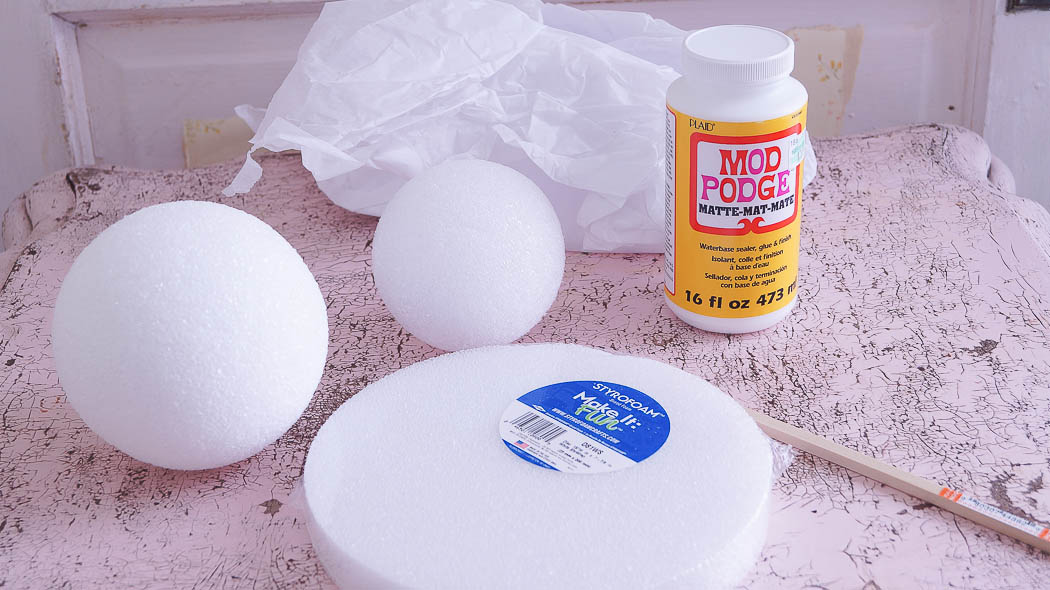
- Two Make it fun styrofoam balls, two different sizes, one larger than the other.
- Wood dowel
- E6000 glue
- Round styrofoam base
- White tissue paper
- Modpodge
- Glitter
- Craft paint brush
- Orange craft paint
- Black craft paint
- Fabric scrap for scarf
- Twigs for arms
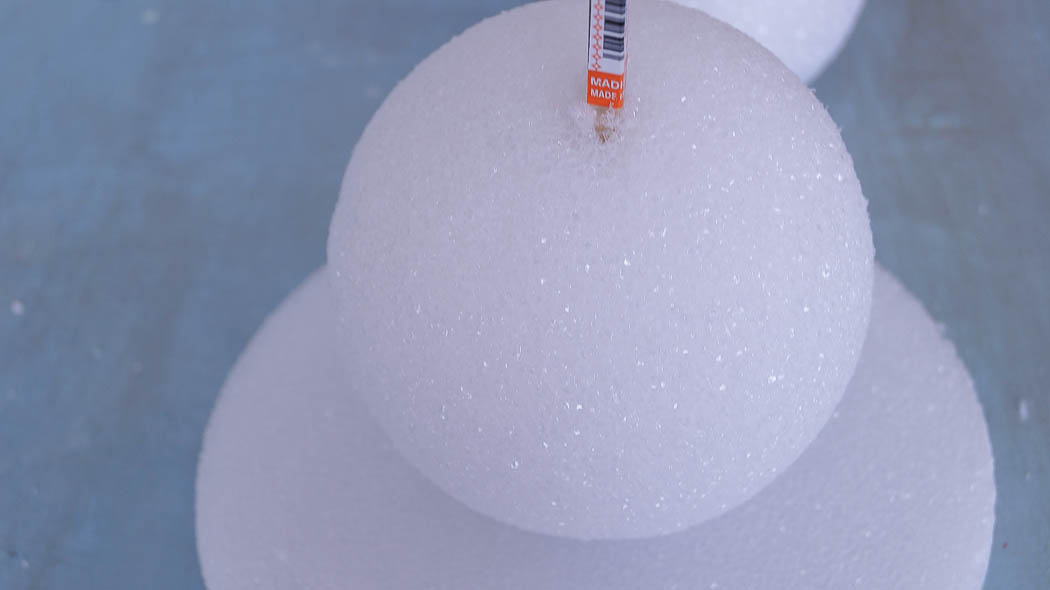
Cut your wood dowel so it will be long enough to hold the two styrofoam balls together for your Christmas craft snowman, and also fit into your base.
Then using E6000 glue, add glue to your base and attach your snowman to your base.
Let this fully dry before you move on to your next step.
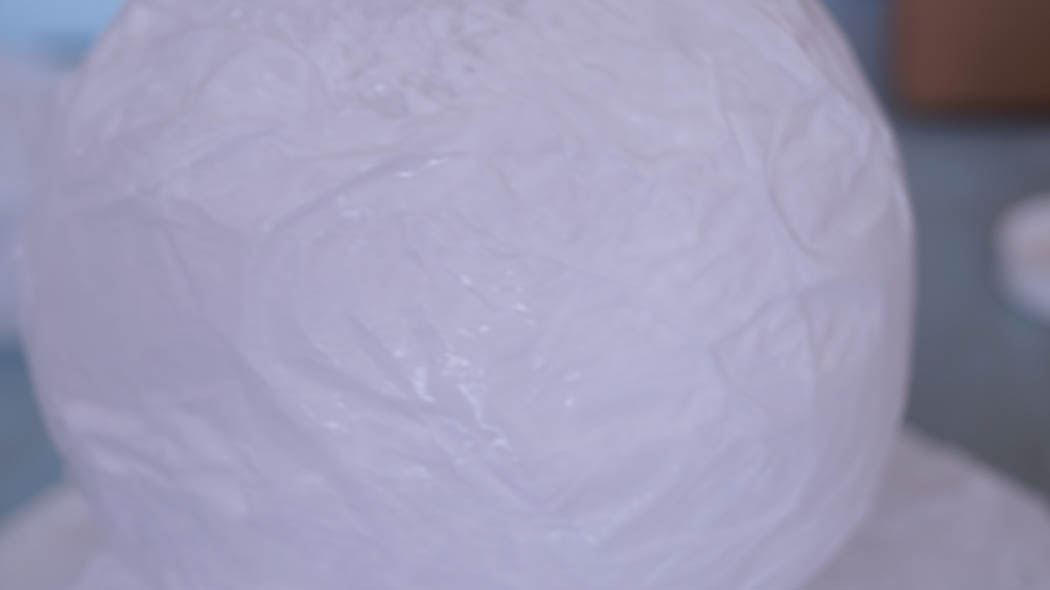
Once it’s dry we are ready to start decoupaging the snowman.
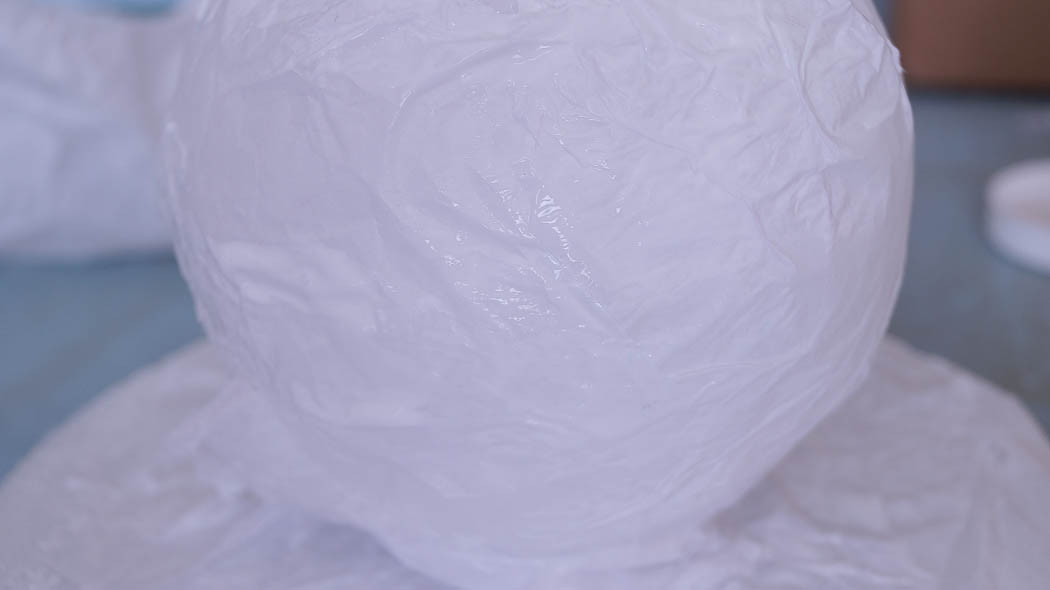
With your torn piece of tissue paper, add modpodge to your styrofoam ball, then add your tissue paper on top of the glue, then add a coat of glue on top of the tissue paper.
Carefully brush the glue on, or it will tear the tissue paper.
Use pieces of tissue paper that are large enough to cover a small section, but not too large.
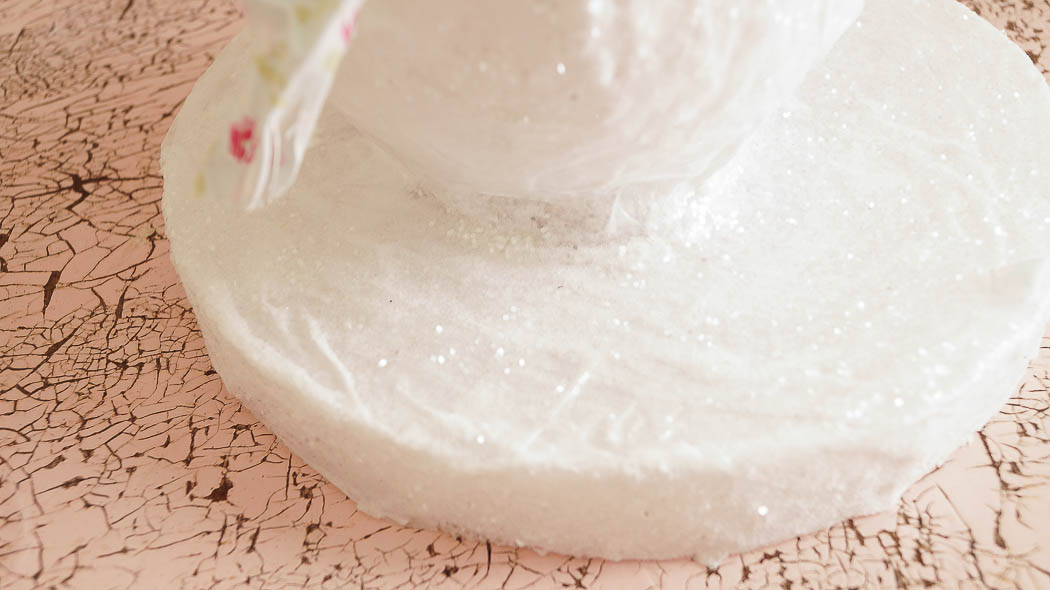
Keep working on covering your snowman and base until it’s completely covered.
Once it’s completely dry, add one more layer of tissue paper over your snowman.
Again, let this completely dry.
Now you are ready to the details.
My remote is not working on my camera, so I don’t have photos to show you, but I will explain.
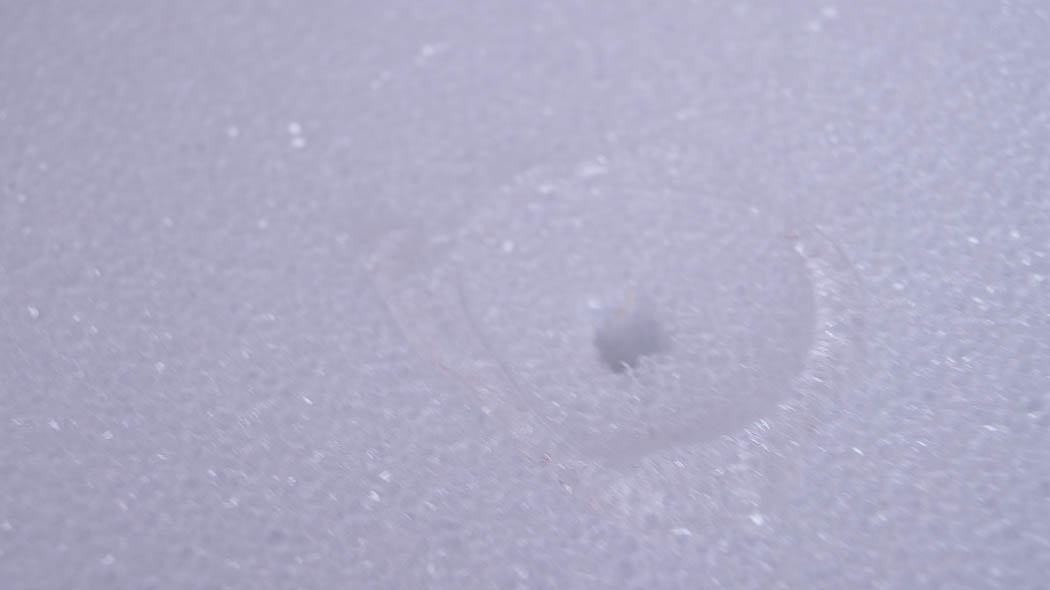
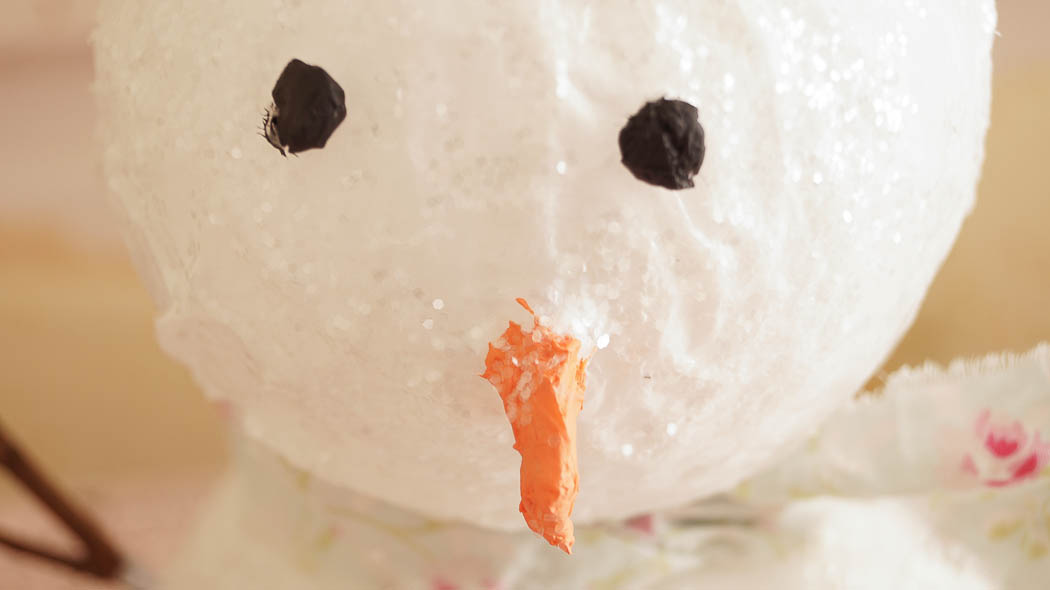
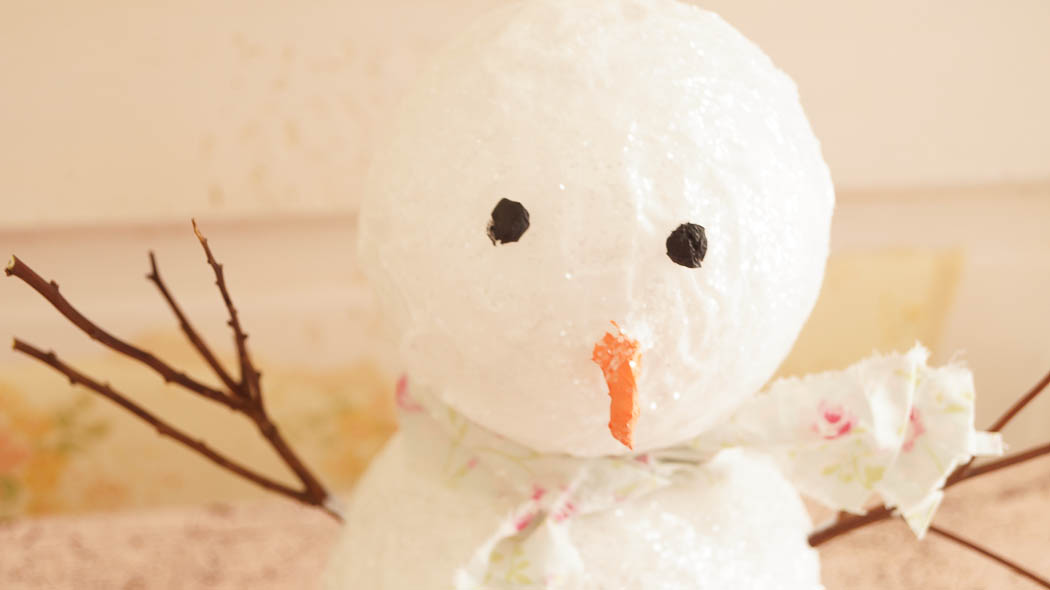
For the carrot nose, I made a small hole in the center of my snowman’s face.
Then I took a small piece of tissue paper and rolled it up, adding a little modpodge as I did this.
Your sculpting the paper, using glue, shaping it as you are rolling your piece of paper.
Once you have the shape you want stick the nose into the hole you made on his face.
Next, roll up a piece of tissue paper with a little modpodge for the eyes.
Then add the eye to your snowman face.
Repeat this for the other eye.
I wanted a simple snowman face so I did not make a mouth, but you can make a mouth if you want to.
Just make the mouth making small balls with the tissue paper and apply to your snowman face.
Let this completely dry.
Next, to make sure that nose stays on, I took another small piece of tissue paper, with a little modpodge glue I added that piece on top of the nose in the same shape.
This will make the nose stronger and it should stay on.
Let this dry completely.
Next it’s time to paint the eyes and nose, using a small craft brush.
Let the paint completely dry,
Next add your snowman twig arms.
Then add another coat of modpodge glue over your entire snowman, and sprinkle glitter over your snowman and base.
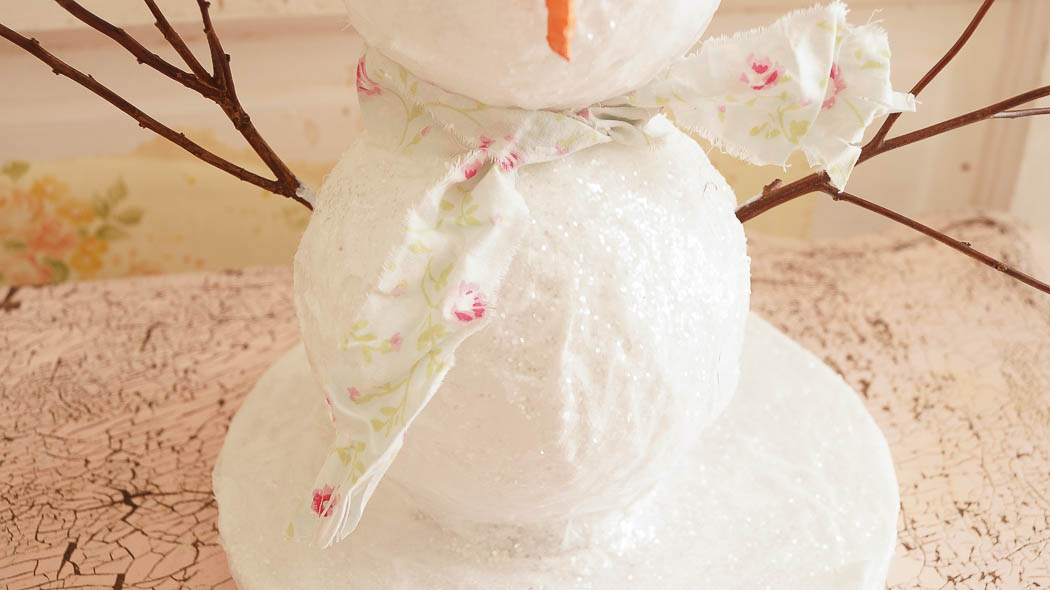
To finish it off, add a piece of fabric around the snowman’s neck for a scarf.
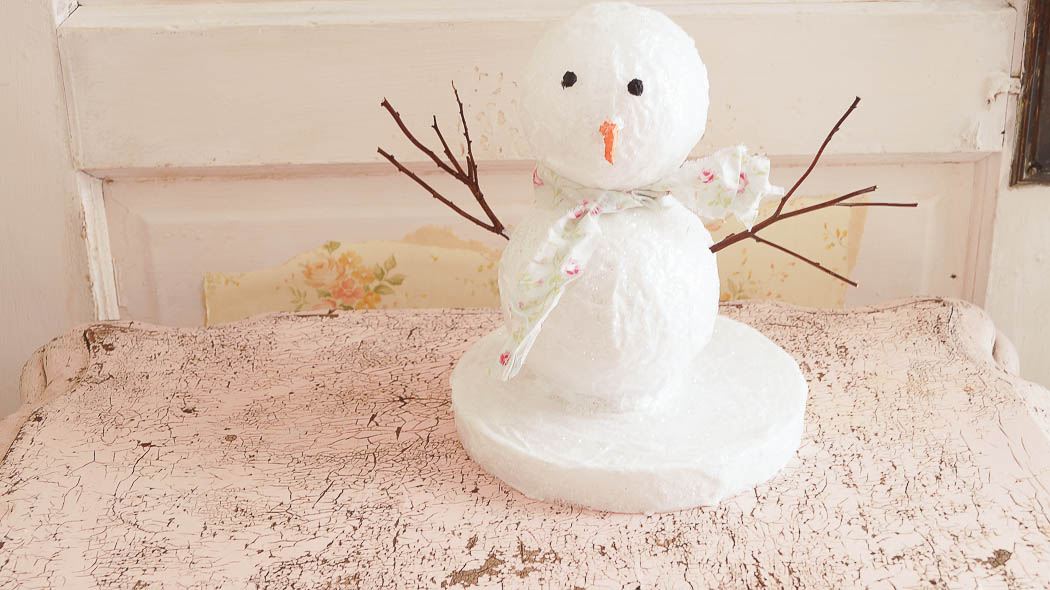
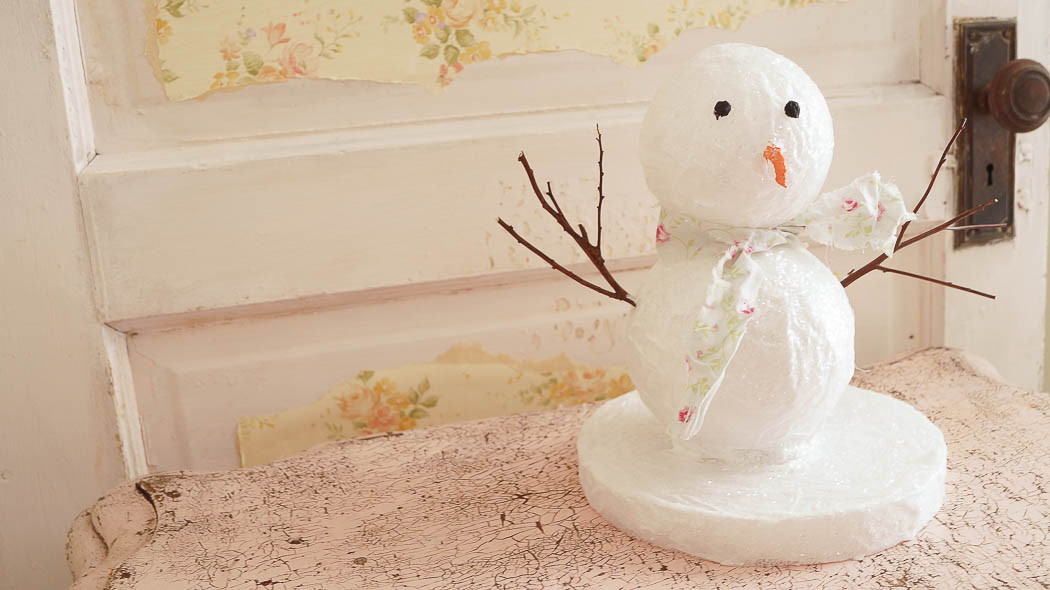
And here is my completed snowman.
This really is a fun sn Christmas snowman craft!
Isn’t this cute!
I love how the tissue paper make wrinkles giving this a textured look.
This was a fun and very easy craft to make.
It would be a fun gift to give someone too!
The supplies needed were very cheap, I actually used what I already had so I spent no money on this project.
Of course my snowman or snow woman….needed a shabby scarf 😉
This would be a cute accent for a tablescape if you are hosting a Christmas dinner.
And the fun thing about snowmen is that you can leave these out after Christmas because it’s a winter decor.
Are you finished decorating, or haven’t you started yet?

What a precious and happy snowman! Just last night my little granddaughter and I sat together and watched “Frosty the Snowman”, she was enchanted. I am glad you had a lovely Thanksgiving, we celebrated wonderfully as well.
When you decorate for Christmas, do you do the whole house at one time? I’m always so tardy with my decorating. I will get a fairly good start with the living room and dining room and then get kind of bogged down. I find myself always scrambling around the 20th of December to get our main tree up in the dinig room. I’m thinking of making myself some kind of decorating schedule.
Such a sweet, sparkling snowman! Love his vintage scarf, too.