Tis the season…
Yes, I am decorating my home for the holiday season.
I know that we are only in the beginning of November, but I can’t wait until the end of the month to put my trees up and start decorating.
It takes time to decorate, stage, photograph, edit and write for my blog posts.
I also have several projects that I am working on, each one takes time.
I am excited to announce that besides the latest giveaway that’s going on now (you can view that HERE)
I will be hosting a few other giveaways this month!
I know many of us need some ideas for gift ideas, so I have put together a gift guide that I will be sharing in the next few days.
I am teaming up with over 60 other blogs, sharing gift ideas to make your holiday shopping a little easier this year.
So let’s get on with today’s project.
This year I decided that instead of putting up four trees, I’m only putting up two.
Yeah, I know, four tree’s…. that’s a lot!
And it’s why I’m not doing it all, I guess I’m just too lazy to do it all this year.
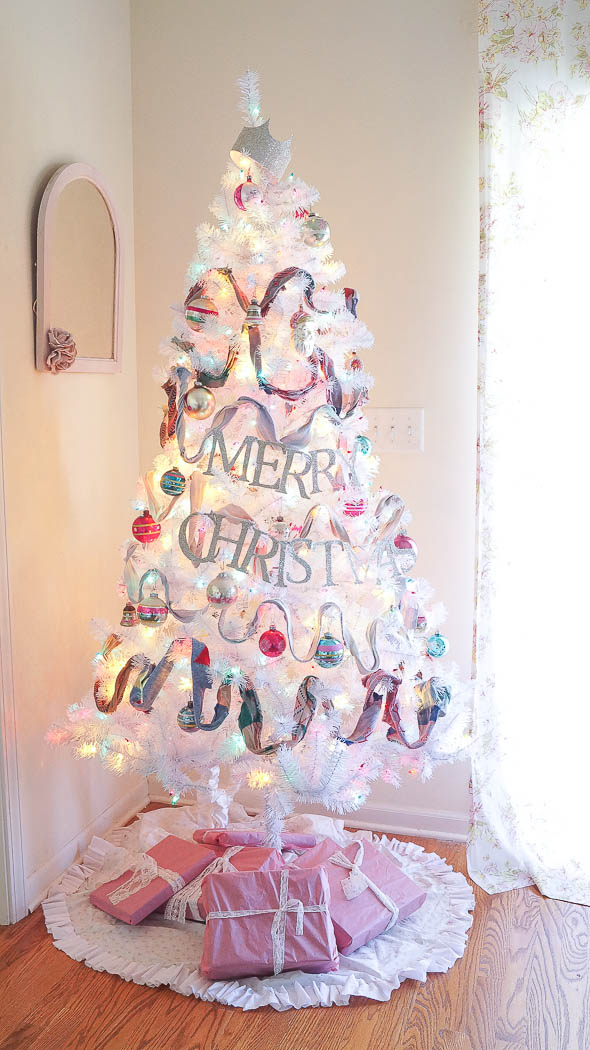
This year I am displaying my shabby white tree, and my silver tinsel tree.
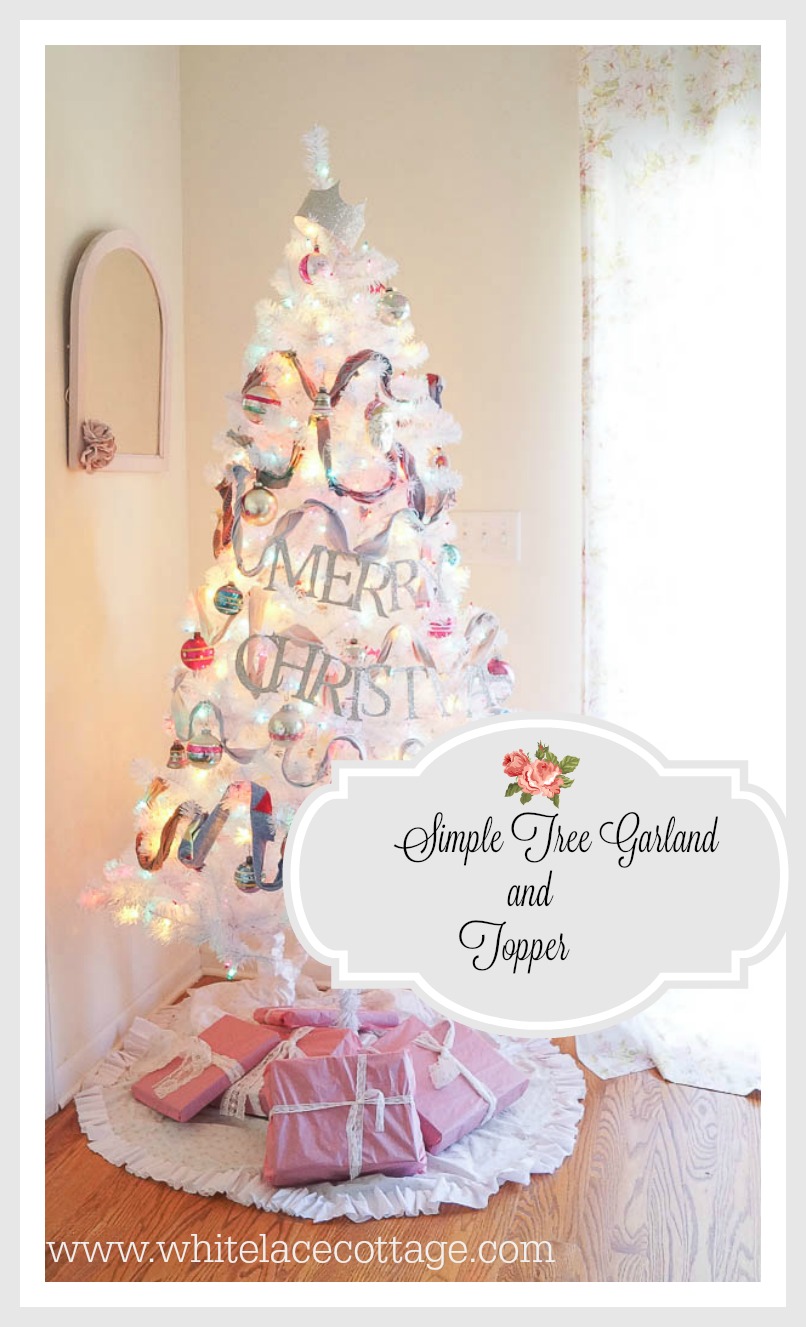
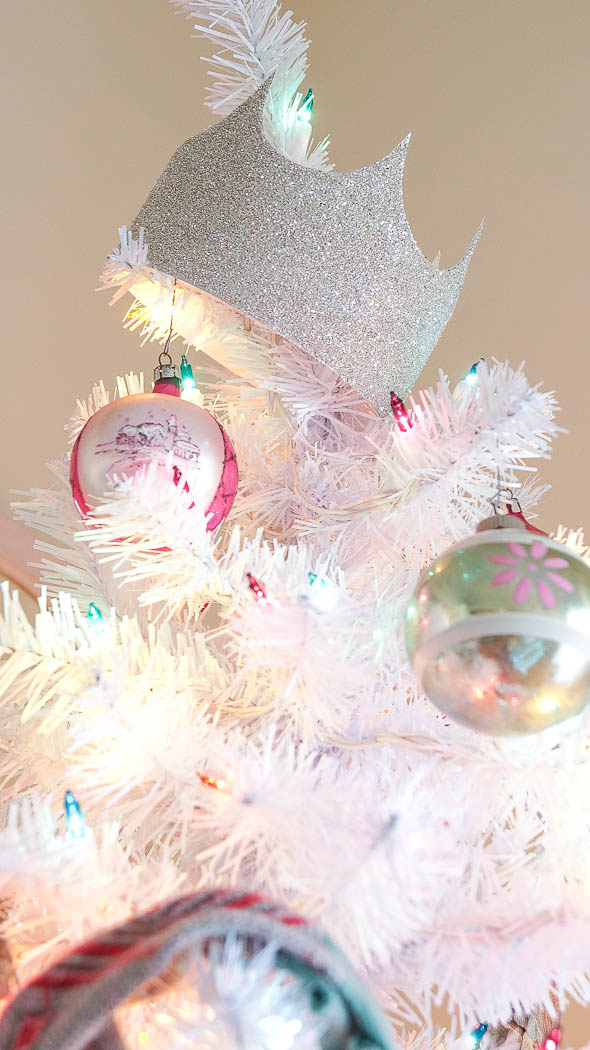
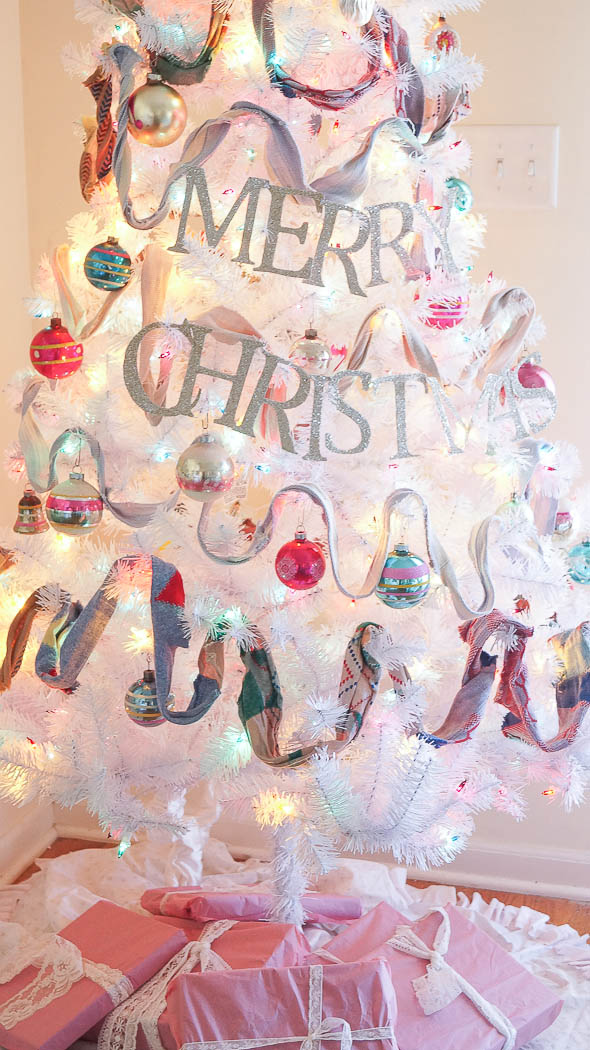
Today I wanted to share how to make this simple Merry Christmas tree garland and crown tree topper.
Lets start with the tree garland.
Supplies:
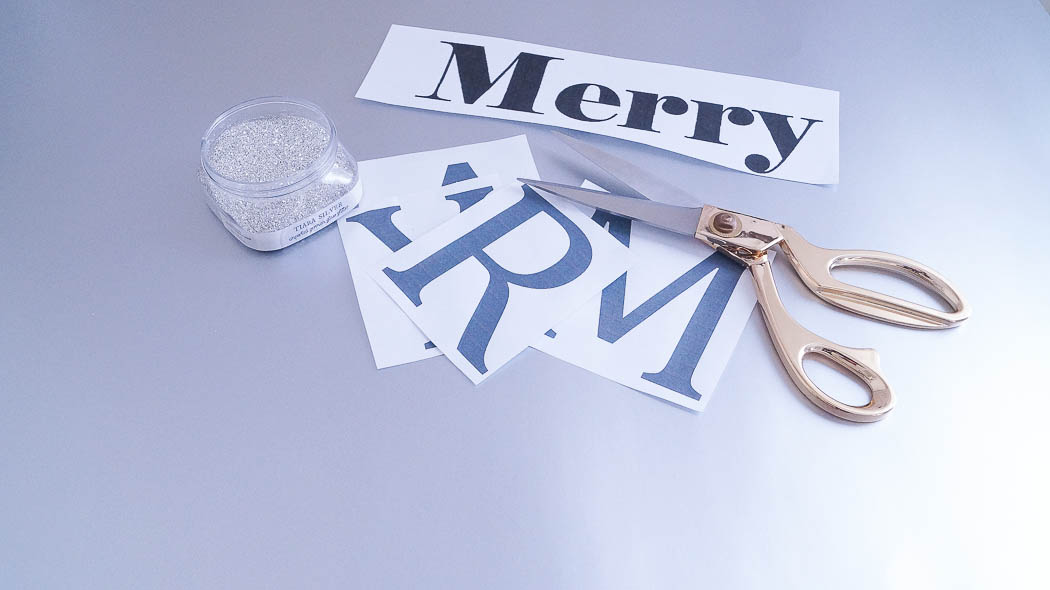
- Silver poster board
- German glass glitter, or regular glitter
- Glue
- Scissors
- Letters to trace or stencil
- Black transfer paper
- Tracing tool, pen or pencil
- Thin craft wire
First determine what letters you would like to use for your sign.
I found mine in word, but use whatever software you have on your computer.
Then print this out on your computer.
You may have to enlarge it once it’s been printed out.
If you are spelling a word, you won’t be able to print it all out because the words will not fit on the page.
Now, if you are not sure of how to do that, you have a few different options.
- 1) You can go purchase a stencil
- 2) Or you can look for font letters on-line just by googling it.
Once you find the font, or letters you want to use, print them out on your computer at the size you would like them to be.
You want the letter big enough so you can see them from a distance, once it’s hung on your tree.
I am using letters I already had from other projects, I just needed to make mine bigger.
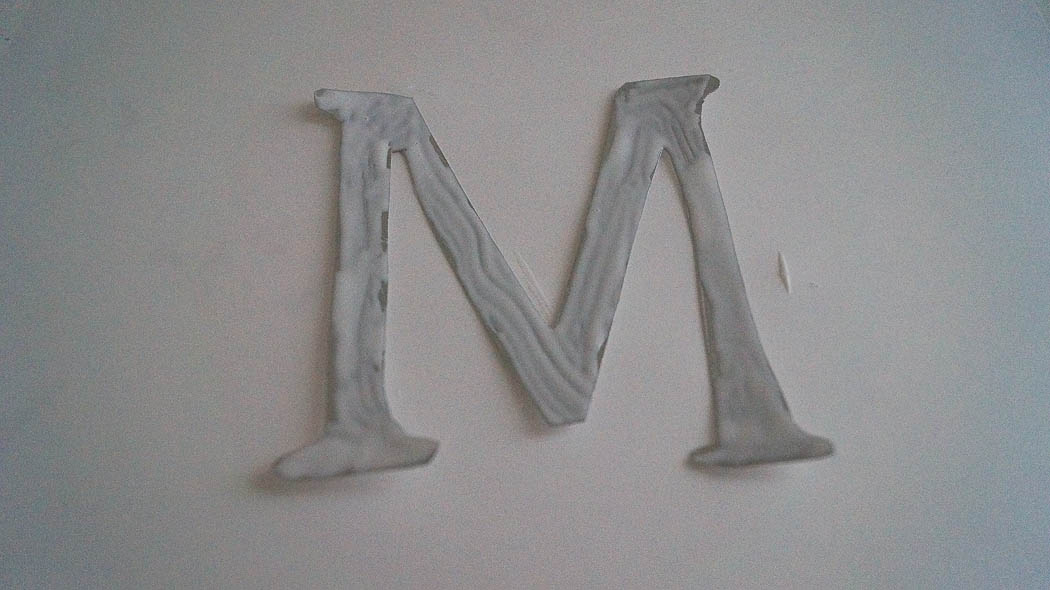
After you print them out, it’s time to trace each letter on my silver poster board.
The reason I am using silver poster board is that I think it gives the glitter a nice back ground and makes it sparkle more, and also you won’t have to worry if you miss a few small spots adding the glue or glitter.
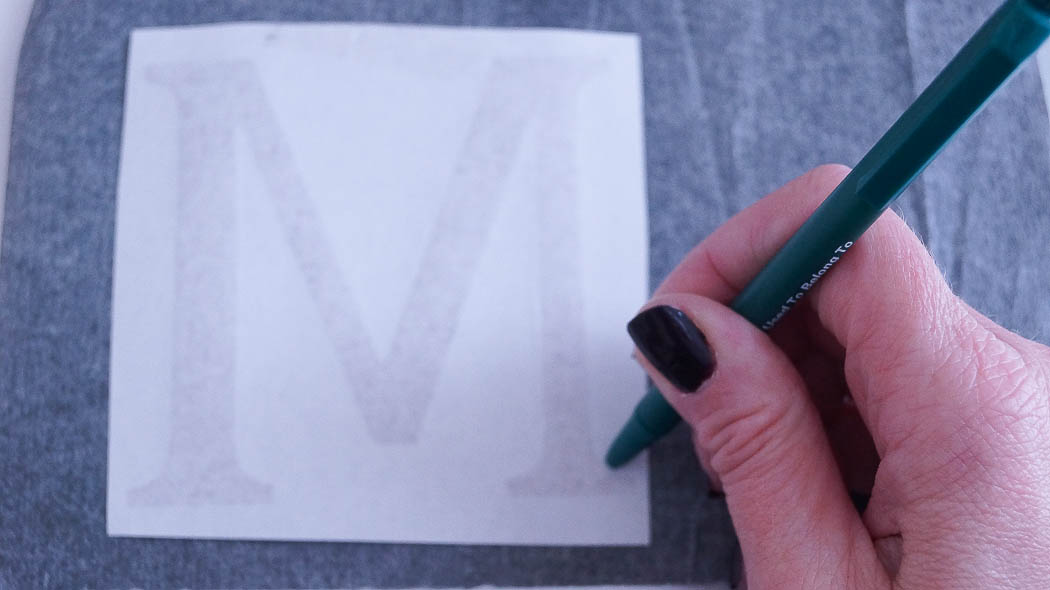
Take your black transfer paper and place it on your silver poster board, then place your letter on top.
Start tracing your letter using a tracing tool, pen or pencil.
Push hard enough so this will show through.
Make sure not to move this around, but keep it in one place.
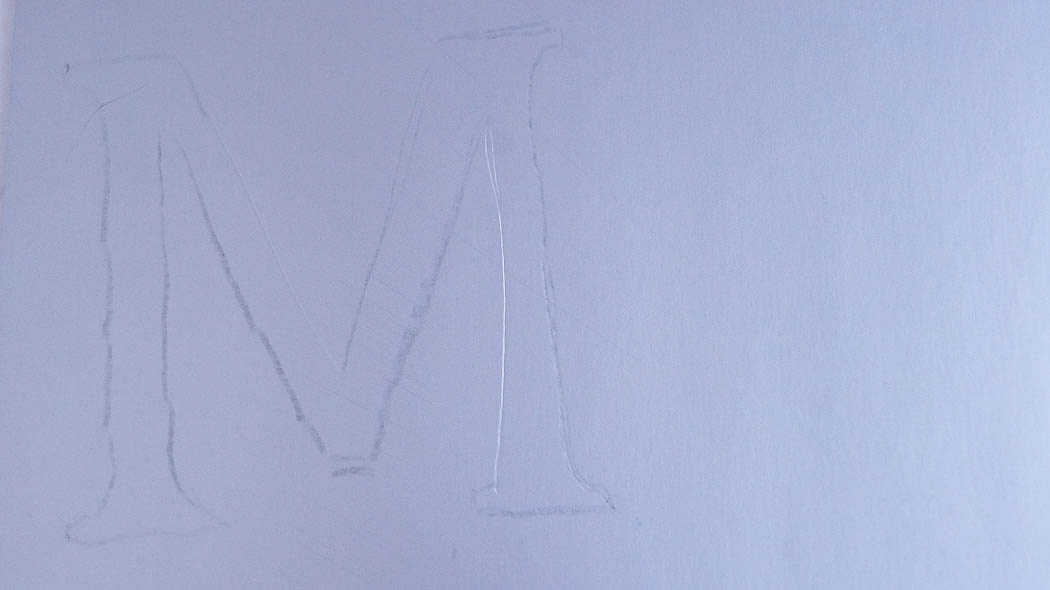
If you accidentally go outside of the line don’t worry, you won’t see it once it’s done.
See, mine is not perfect at all, no worries.
Once you trace all of your letters, start carefully cutting these out.
When they are all cut out, using a small craft brush or a qtip start putting your glue onto your letter.
I would use a thick glue like tacky glue.
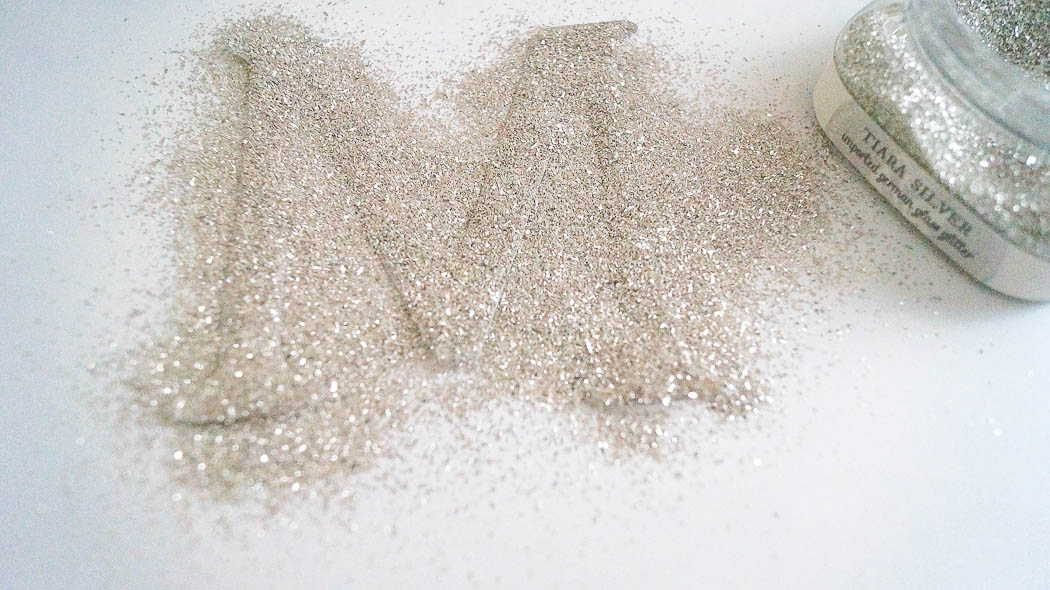
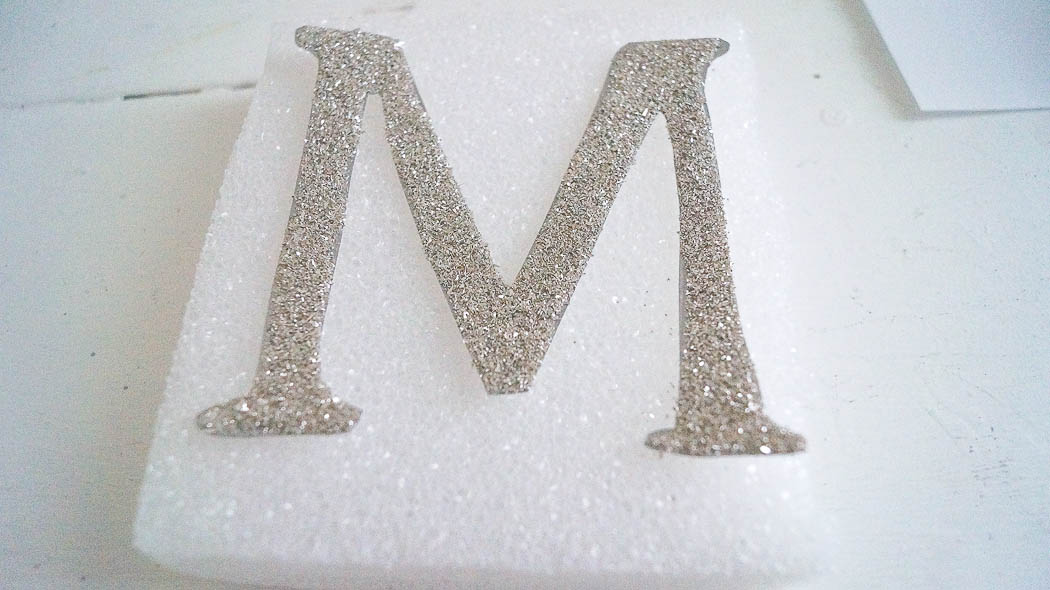
Next, evenly sprinkle your glitter on your letter.
Shake off any excess glitter, then continue doing this on each letter.
Once your letters are completely dry, it’s time to connect these.
I used a small knife to make a hole in the upper corner of each letter.
Make sure, as you are making your holes that the letters will all line up once you add them to your tree.
To keep these together I used a thin craft wire.
This is the part you’ll have to mess around with.
But I inserted the wire to connect to each letter, then in the back I twisted the wire.
So let me explain….
Can you see how these are connected?
I added a small hole, fed the wire on the letter M, then I added a small hole to the letter E, and fed the rest of the wire through, connecting these letters.
In the back of those two letters I twisted the wire.
I repeated this on the word Merry.
And I did the same for the word Christmas.
Sorry I don’t have a photo of each detail, but it’s hard shooting photos and explaining.
But I think you can see what I did in this photo above.
And that’s it! I just placed this on my tree, no need for any hooks, it’s just laying on my tree.
If you have a real tree, you may have to add another wire to each end of the word to hang it.
Faux tree’s are easy to maneuver.
This was very simple to do, and also very cheap to make.
Now, let me share how I created my crown.
I don’t have photos, because it’s very easy to explain.
Draw or trace a crown shape to your silver poster board.
If you need photos for inspiration, you can search for crowns and see if you can find one that you want to use.
But honestly, you don’t need to be an art major to draw a simple crown, I promise.
Cut out your crown shape, and add your glue and glitter.
Just as I shared with the letters.
Once your crown is dry, add glue to the ends of your crown, and glue together.
To hold it together until the glue dries, use a paperclip.
I just used a wave design for my crown, it was very simple to draw.
I cannot tell you how easy this all was to make and took no time at all to do.
This is our kitchen tree this year.
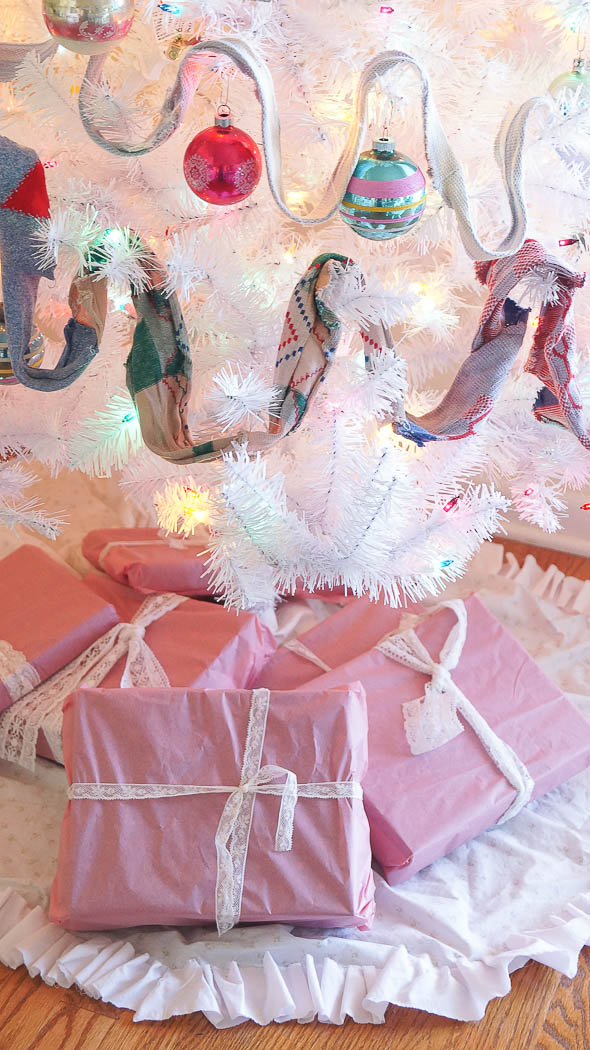
I usually like doing something fun instead of just a tree skirt, but every idea that I had, my tree base wouldn’t work.
Last year I shared how I made this no sew tree skirt.
You can read about that HERE.
I just used a cut up Shabby Chic sheet and a glue gun.
The other garland that I have on my tree was purchased from my friends shop.
She was selling vintage socks that were sewn together to create a garland.
Isn’t that a fun idea!
If you are a sewer, this would be a fun and easy to make, I bet you could find some cheap socks at the thrift store!
I love my vintage ornaments, most were purchased a few years ago.
Although I have had this sweet little Santa for years.
It’s not vintage but it is old.
This little bell was from my husbands family.
I only have a few of them.
But they remind us each Christmas of the family that are no longer with us.
We have fun memories of them all each within our hearts.
Christmas time can be a sad time for me, because I do miss so many that are no longer here.
This is the second year with this beautiful tree.
Last year I placed it in our bedroom.
I bought it at Walmart, just before Thanksgiving last year.
I love the soft pastel light colors, I think they work perfectly with my vintage ornaments.
I have more crafts and decor to share.
I’ll also be joining a few blog tours soon, sharing even more inspiration.
*********************
Don’t forget to enter my giveaway!
Click HERE for a chance to WIN!
*************************
I’ll be back tomorrow sharing new treasures in the shop!





I love your tree, it is just beautiful. I do love vintage ornaments, I have some of my great grandmas, my grandmother and my mom, plus I have collected ornaments since I was a kid and every where I traveled to I would buy an ornament. I finally had to stop several years ago, my tree has so much on it you can’t see the tree. This year I really don’t want to do the same-o-same-o, and I love your Merry Christmas sign, I think I will give that a try.
Your tree looks gorgeous in your home, Anne! Your glittery garland is so pretty on the tree, too! I may start decorating early this year if our girls don’t come home on Thanksgiving. Now that I’ve changed the furniture arrangement in the living room, I have no idea where to put our tree!
Your tree is so beautiful but,honestly i have never seen an ugly Christmas tree. I wait until after Thanksgiving to decorate. I do like your pretty garland.
Anna,
I know this post is a year old but I love this tree and you gave me inspiration for my girl’s tree this year. Thank you so much. If you have a moment I would love it if you would share this lovely post at a link party I am co-hosting? Have a great week. http://diy180site.blogspot.com/2016/10/dishing-it-and-digging-it-link-party-119.html
That’s a beautiful tree! Thanks for sharing at the family joy blog link party this week !!
So cute! I have a white tree I like to put up in our dining room but I usually run out of ideas on how to decorate it.
Have never been one for white or silver trees but yours is quickly changing my mind. So gorgeous, really love it. And your sparkly garland is so special Anne, awesome job on garland. What a gorgeous tree for your kitchen along with your chandies, wow the sparkle.
This year we will have small real tree, haven’t had real tree in too long. Few years ago had long string of white lights so used some slinky fabric I cut in strips and tied onto light string all the way. Took me quite awhile to get it done but was really pretty. Haven’t used it since so thought would be pretty as lights/garland on tree. Not many ornaments, think lights with fabric strips will fill tree in quite well, maybe use few silver ornaments.. After last year keeping decorations simple have decided to keep decorating simple, less mess to clean up after holidays. Last year had right shoulder replaced on 12/7/15 so had to keep simple. We have small/cozy living room so need to keep decorating limited.
My Dad was one that loved decorations for holidays, two of us had good time snazzying up our small house and yard in Tucson. My Mom worked 6 days a week so had little energy for decorating. Just wish had some of their vintage ornaments.
Think that’s so wonderful Cubs winning World series. My Mom’s Mother was huge baseball fan, can remember her hollering at radio when Indians goofed. I was born in Cleveland, OH, so have lot of memories of baseball. My Mom was from big family, 4 sisters and 2 brothers who were all married being big part of our lives, lots of cousins. Was hard when we moved to Tucson away from them all. My brother had asthma really bad, doc had warned he had to get out of Cleveland climate. Must have been very hard for my Mom to leave her family.
Have fun decorating. That’s part I enjoy, taking down to put away, yuk. Have great Friday and weekkend