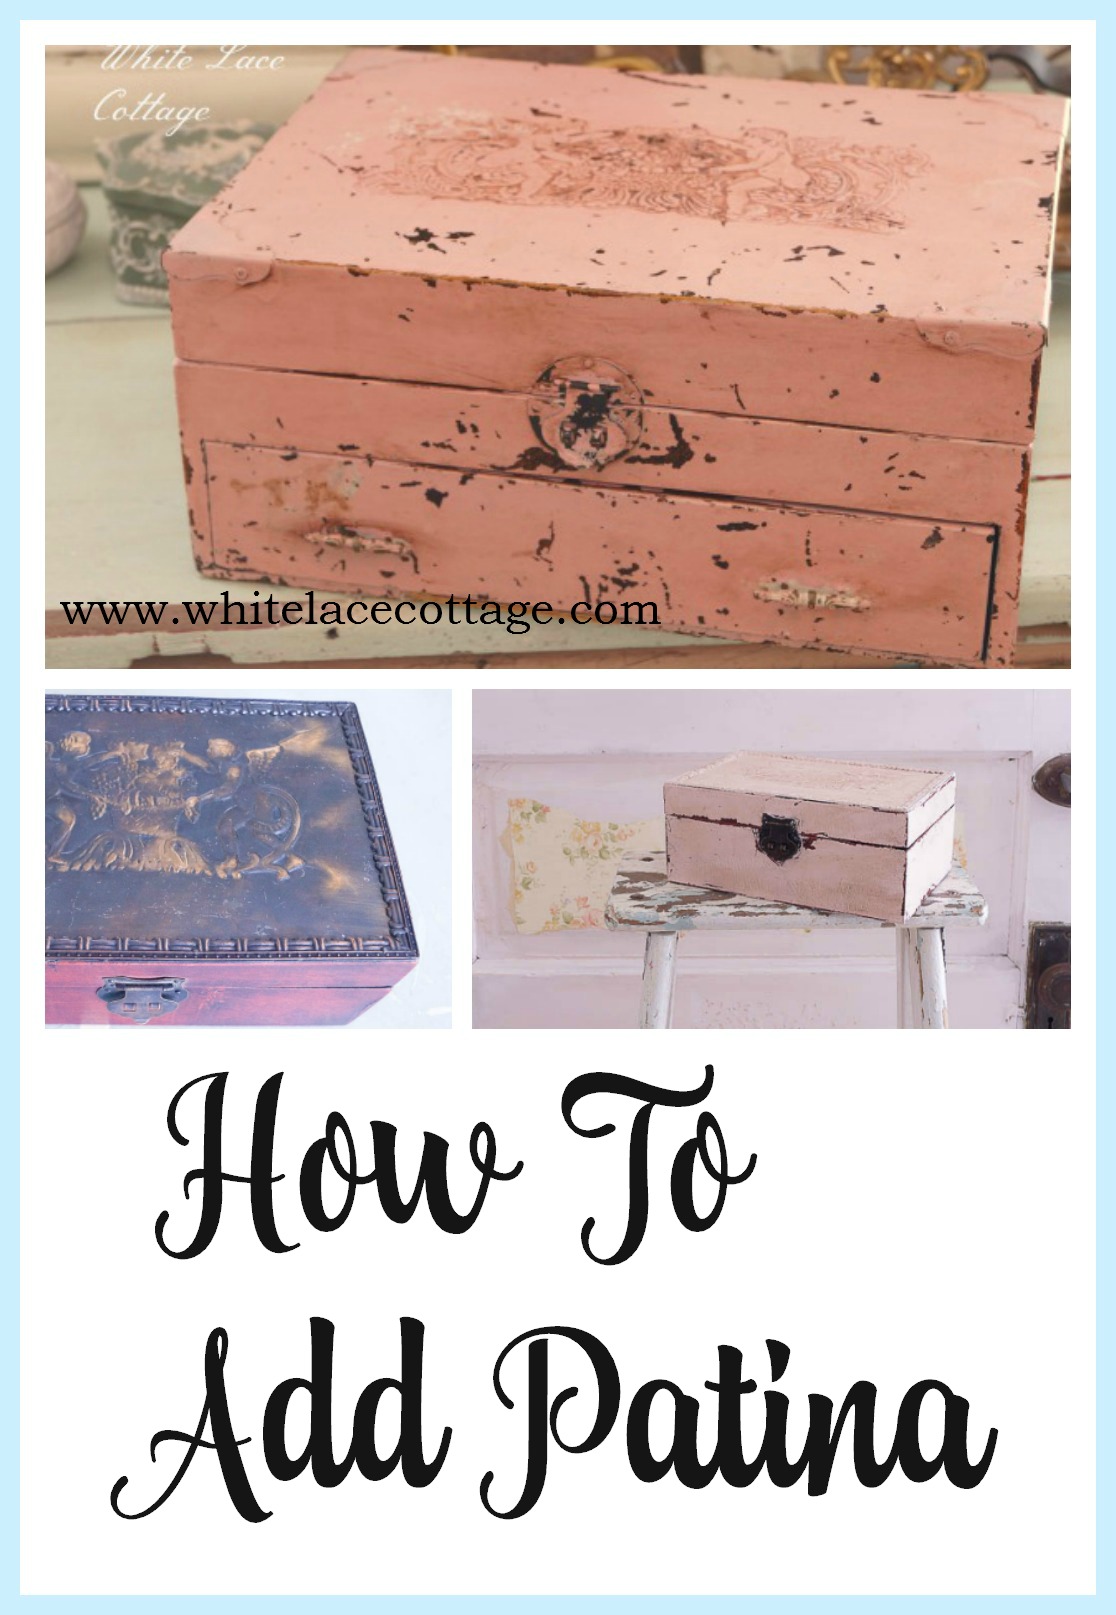
How To Add Patina
Let’s talk about the story of a sweet chippy box, and how to add patina.
Have you ever fallen in love with something and no matter what you just cannot get it out of your mind?
I’m not talking about falling in love with a person, but a thing.
(This post contains affiliate links, please read disclosure policy)
You might have gone shopping and found the perfect pair of shoes, but they didn’t have your size…sigh.
Or a gorgeous bag, that would work perfectly with every single outfit, but someone grabbed it before you could.
Or a sweet pink box that had the most perfect patina on it ever, but it wasn’t for sale.
Yeah, let’s get back to that perfectly chippy shabby pink box.
So a few years ago, while I was shopping in my favorite antique shop, checking to see what my favorite seller had in stock, I saw this amazing pink box.
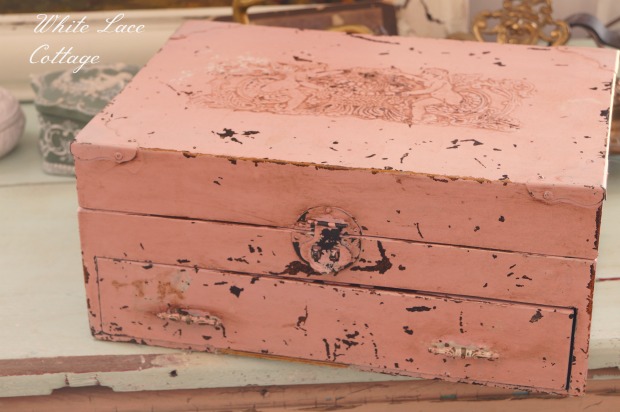
This was not just any pink box, the color was perfection, the patina, well I have no words to tell you how much I love the patina on this box.
I asked if it was for sale, but I was told that it wasn’t for sale.
My heart sank, because I fell in love with it as soon as I saw it!
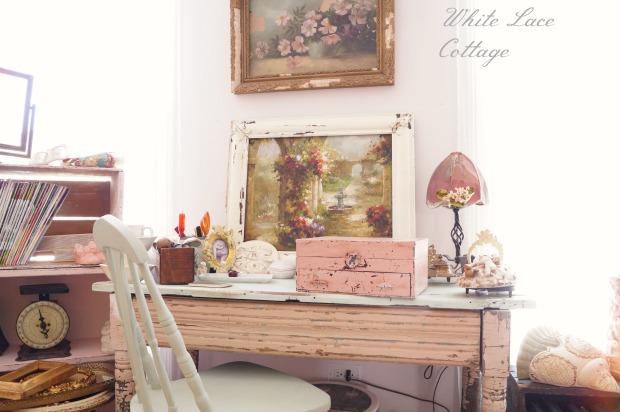
I had visions of adding it to my home, storing my pieces of vintage jewelry and smiling every time I walked past it.
Yeah, I fell hard!
But it wasn’t meant to be.
And even so, each time I saw this sweet box, I would ask if it was for sale, hoping she would change her mind, but the answer was always no.
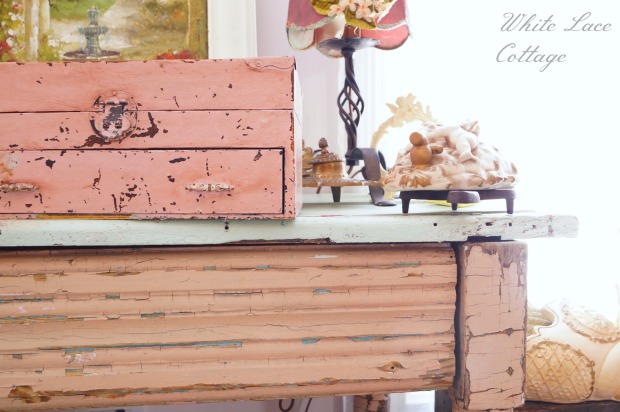
The answer no never stops me, even if it’s not meant to be.
So I started searching while I was treasure hunting, hoping I would come across a piece that was similar in style, and one that I could paint and add a little of my own patina.
And it finally happened!
One day while walking through the thrift store I stumbled onto this sweet little wood box.
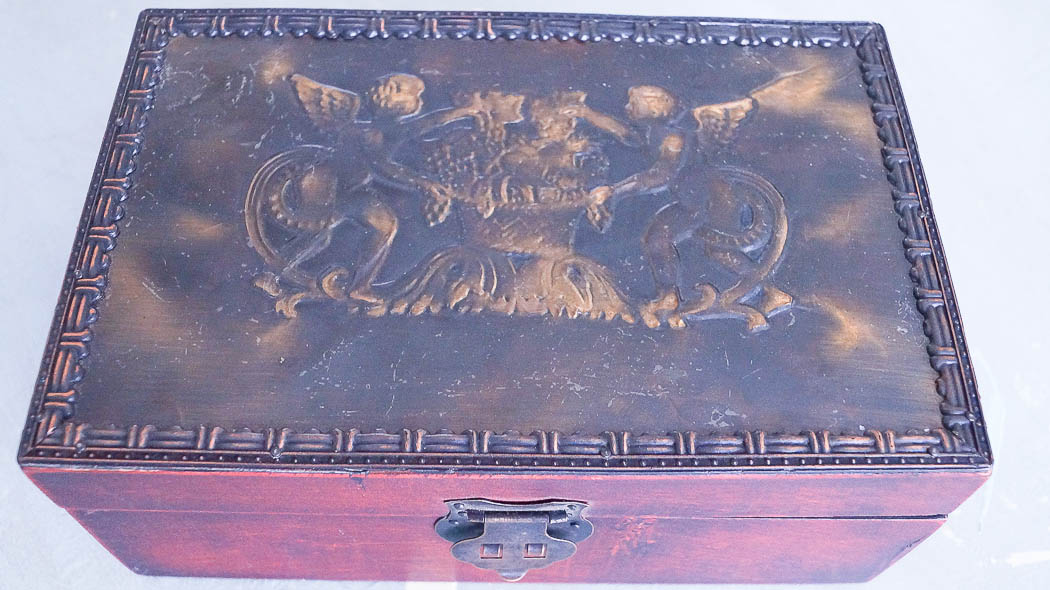
And instantly I thought of the sweet pink chippy shabby box.
True, this wood box is not old, and it’s not exactly like the one I was smitten with, but I knew that with a little paint, distressing, and dark wax I could totally transform it.
So as fast as I could I grabbed this sweet little wood box, brought it home.
Here’s how to how to add patina using paint and dark wax.
First, I added a coat of Pink Posh, one of my signature paint colors.
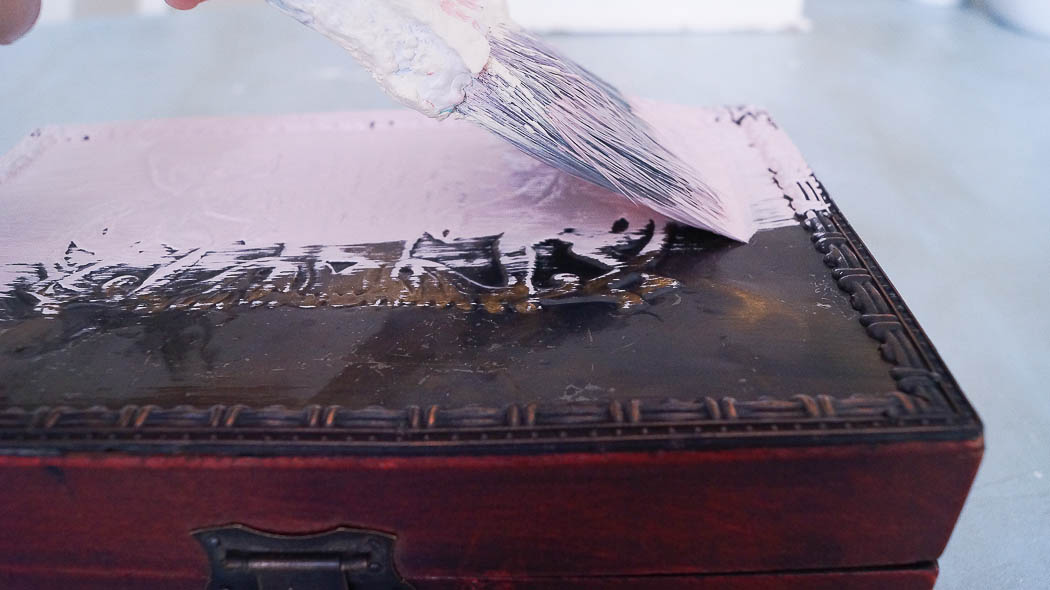
I added two coats of paint, let it completely dry.
Then while sipping my coffee, because I’m usually always drinking coffee while I’m creating in my studio 😉
I started applying Muddy Pond wax, this is the key to adding a vintage patina.
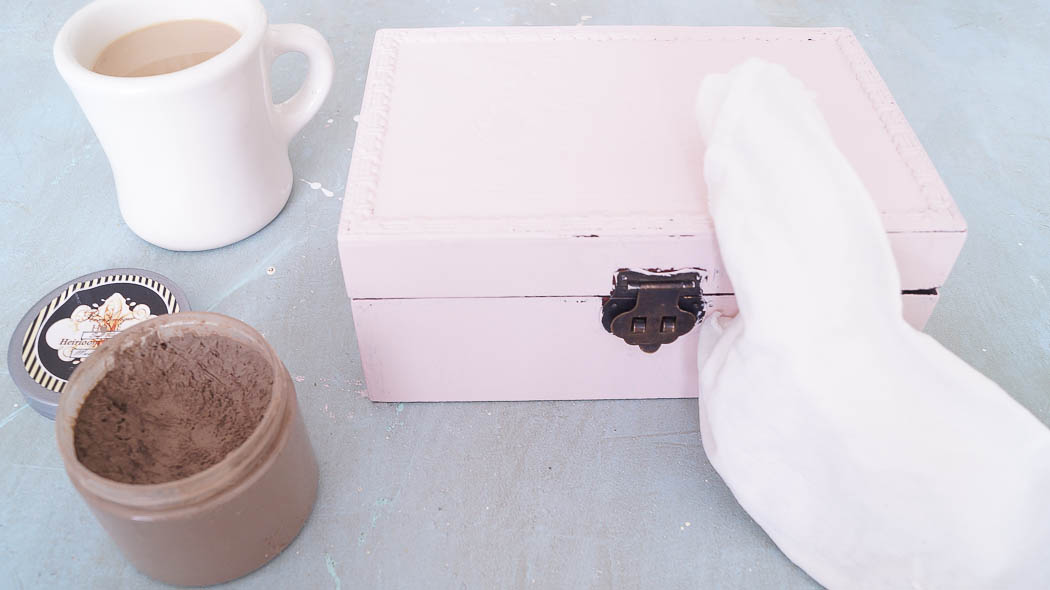
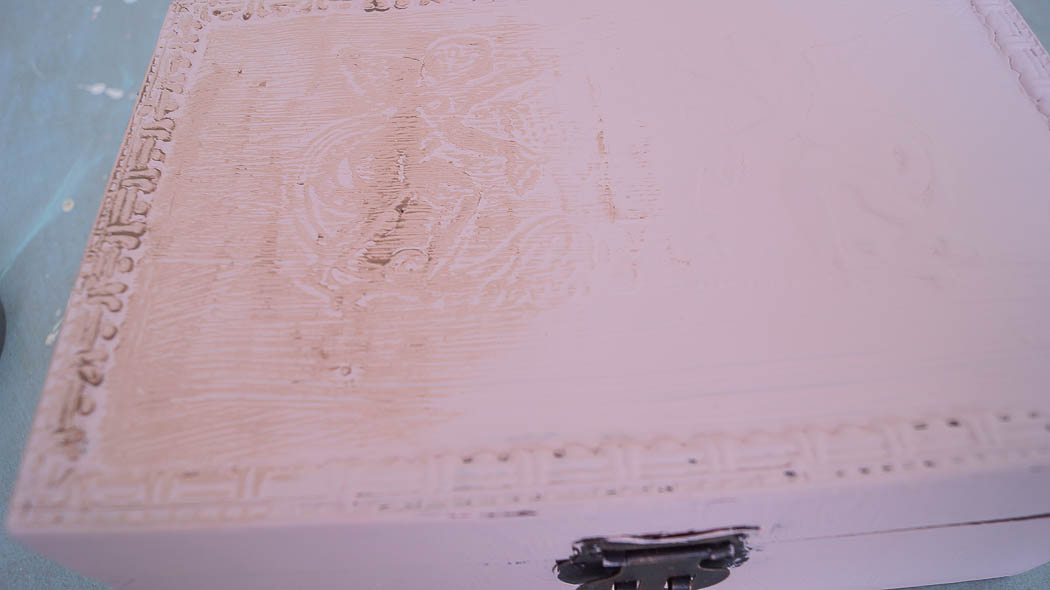
I used an old cut up t-shirt, and rubbed it in well.
You can see that all the details on this piece started to come alive.
Then after a few more sips of coffee, I went back over a few area’s with clear wax, again using my a scrap piece of a white cut up t-shirt.
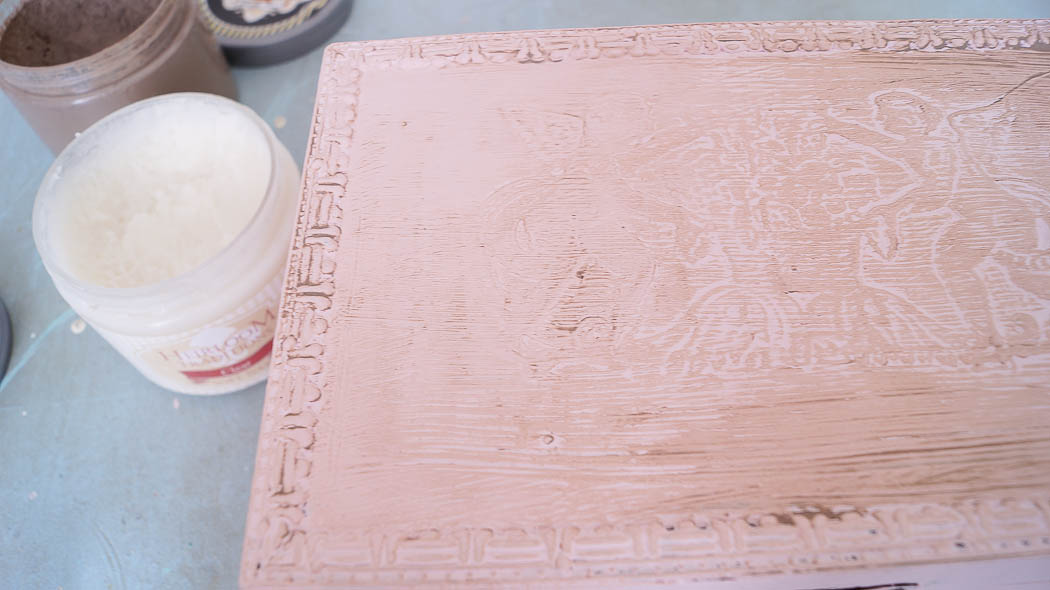
This clear wax softened up the color a bit.
Then using an old flat screw driver, I started scraping the edges to give it an aged chippy patina.
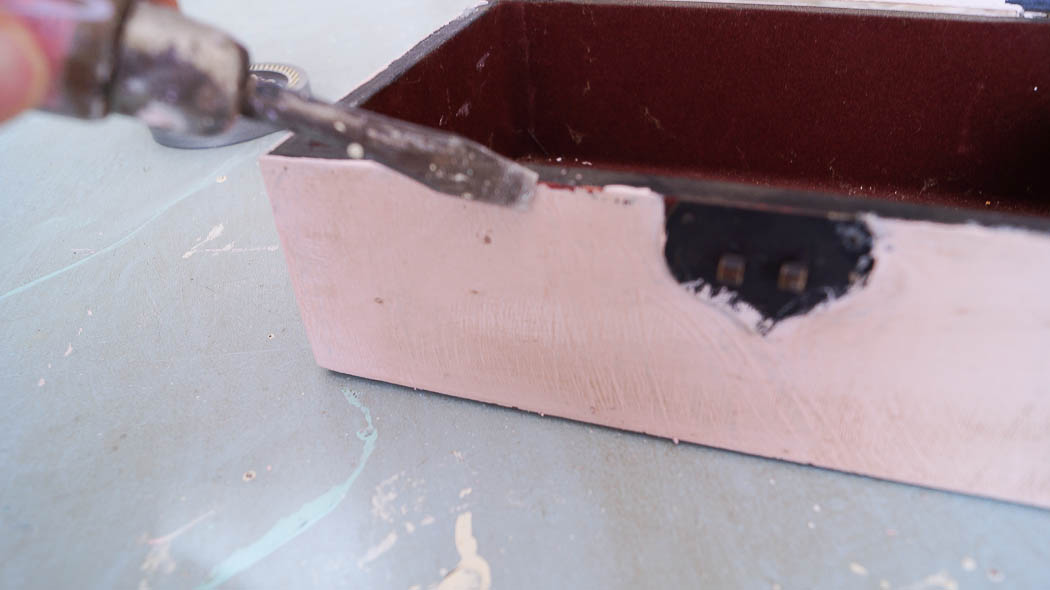
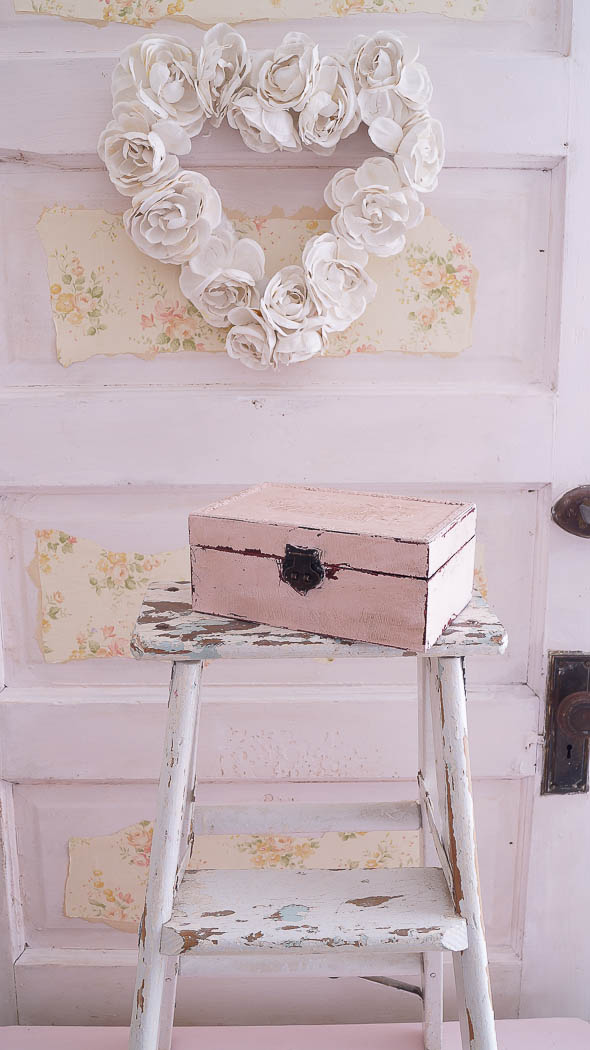
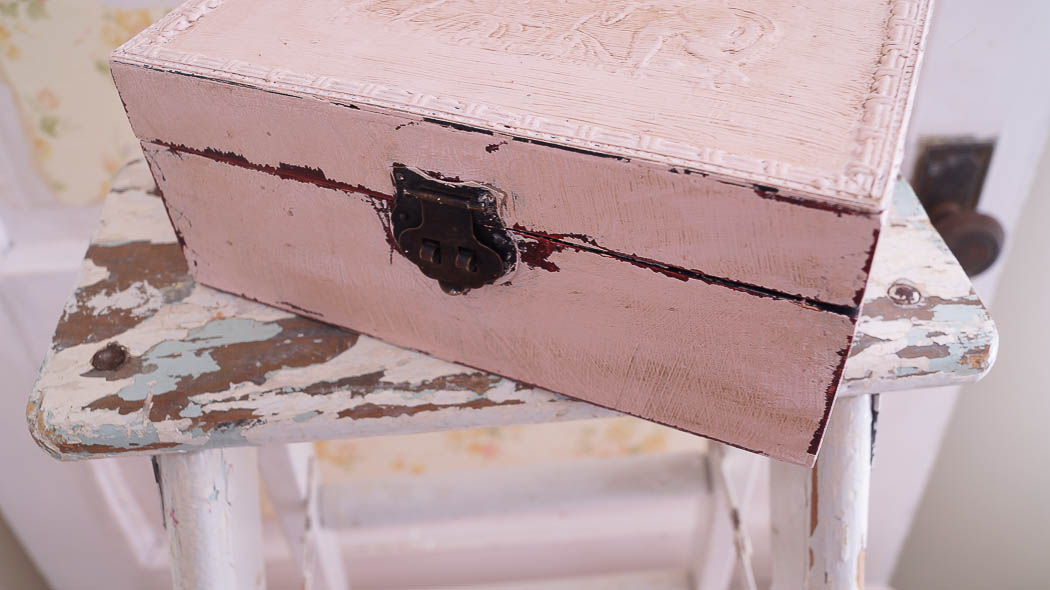
And here’s my sweet little box.
Don’t you love it when things work out.
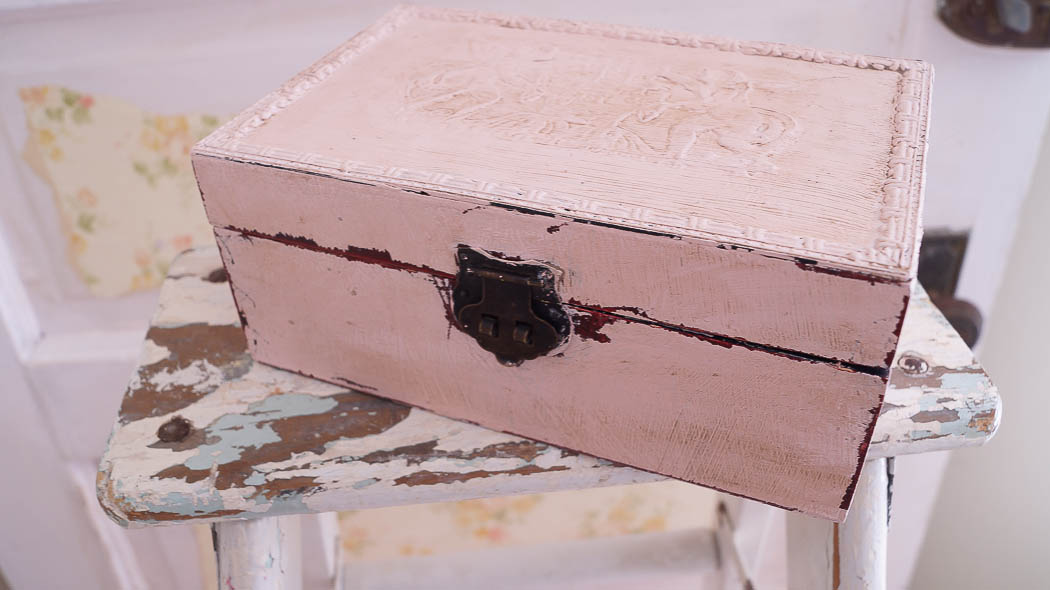
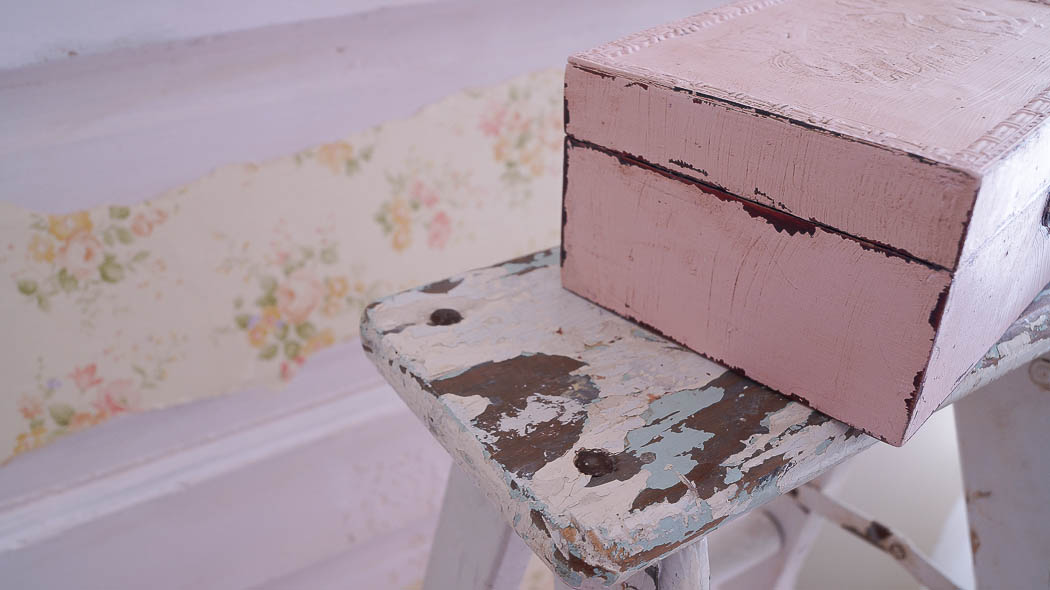
I love seeing each brush stroke and all the chips and scratches, make this perfectly imperfect.
See that chippy ladder?
And can you see all of the imperfections, chips, drips ?
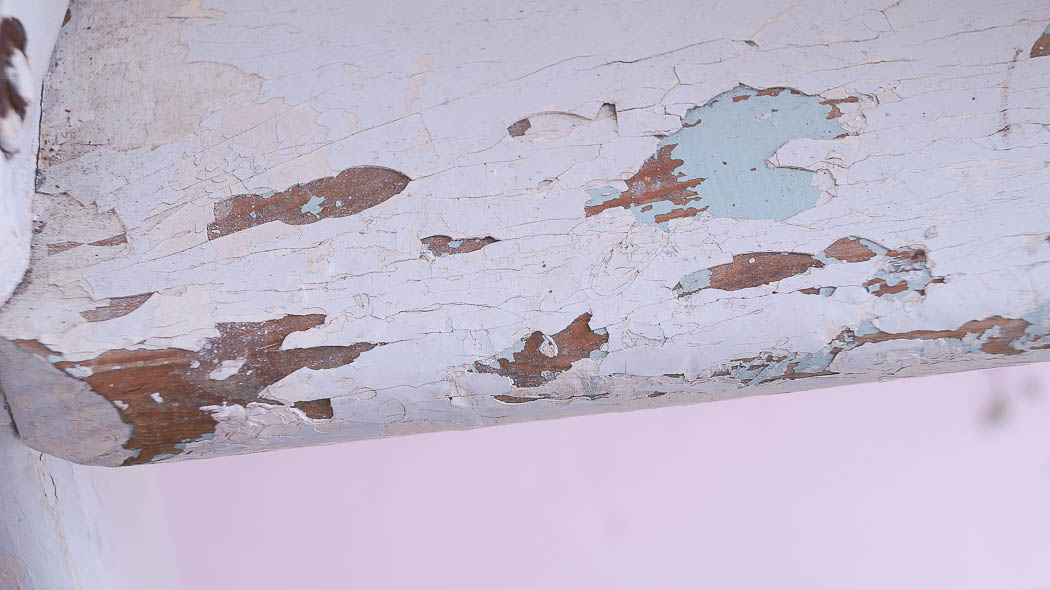
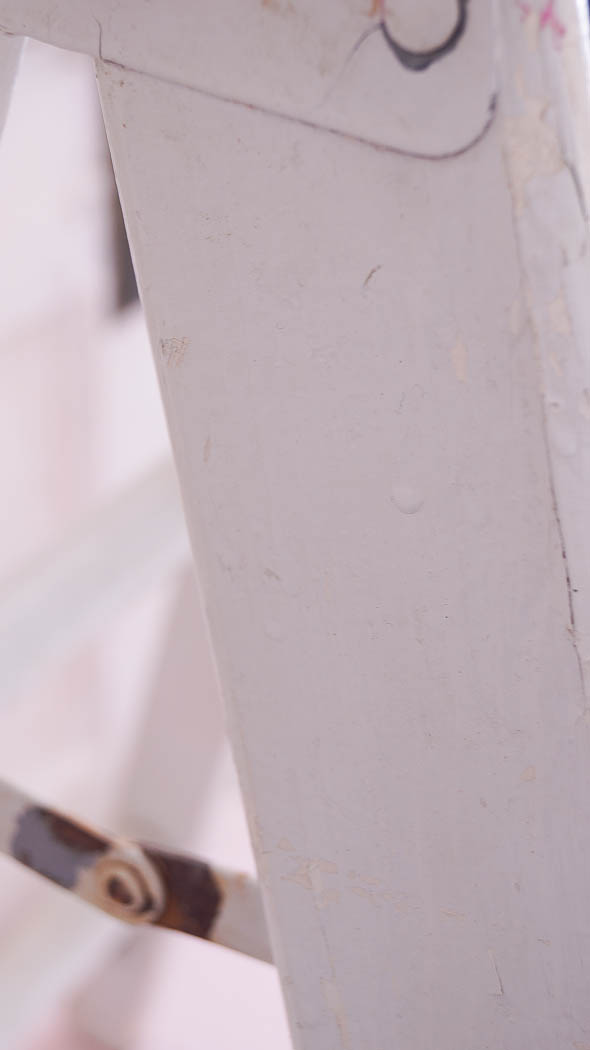
That’s what I love trying to recreate.
And I think I did a pretty good job!
The sweet wreath is from my recent project, you can read about that HERE.
So is there a moral to this story, don’t give up!
Sometimes things don’t always work out, but if you keep searching or keep trying eventually they will.
The End!
P.S
Don’t forget to subscribe to my new YouTube channel, I’ll be sharing lots and you won’t want to miss it!
Including, my latest project that I’m working on now!
I’m redecorating one of the bedrooms in our home.
I’ll be sharing how I chose the paint color, how to paint a wall without using painters tape, how to stencil a wall, and much more!
P.S.S
Make sure to subscribe to my newsletter, I’ll be sharing videos that will only be available if you are a subscriber.
You can subscribe to my YouTube channel HERE.
Supplies used on this piece
To purchase, click on the links below. Be sure to add the code WHITELACE in check out to receive 10% off of your order.

Oh my! Yours is better than the inspiration box! Love it and now I will be on the hunt for my own pink chippy box….
I have been doing this for over 50 years. Did not realize it would become so the in thing to do. Glad to know what I have been doing all these years has a name, “Shabby Chic”. 🙂 🙂
What a great inspiring story ! I love your little ladder , exact my colors !!!! This will be my story – not for sale so I have to recreate it.
Yeah ! Thank you so much for the great tutorial and the story behind it.
Have a relaxing evening !
Lovely job Anne. I prefer it to the box you were coveting.
Anne! I love this box and I love it so much more than the one your originally laid eyes on! The pink color you chose is so much softer and really compliments the wood and the great relief design on top. You’ve taught me a lesson about persverance! Your darling ladder is something I’ve been looking for to put in my butler’s pantry where the cabinets go to the ceiling and I am 5’2″. I just have to keep looking. Did you add the previous layers of paint to your ladder or was it that gorgeously chippy when you got it? Your creativity inspires me!
BTW, I didn’t know you were on YouTube! I’m signing up RIGHT NOW!!!!