Distressing Using Vaseline
I decided to try a new technique, distressing using Vaseline.
It’s using Vaseline to distress furniture.
I was intrigued by this technique of distressing using Vaseline, and wondered how it would work.
As you know I love using vinegar and water to distress furniture, you can read about that HERE.
But, it’s always fun trying new and different techniques.
I use many distressing techniques, and sometimes on one piece of furniture I’ll use two or three different techniques.
So, what is distressing with Vaseline?
Well, you apply Vaseline to the edges of a piece you have not get painted then you apply the paint.
Here, let me show you on this piece.
This piece is pretty rustic, but I thought it would be fun to try it on a rustic piece.
Before painting, I gathered my supplies.
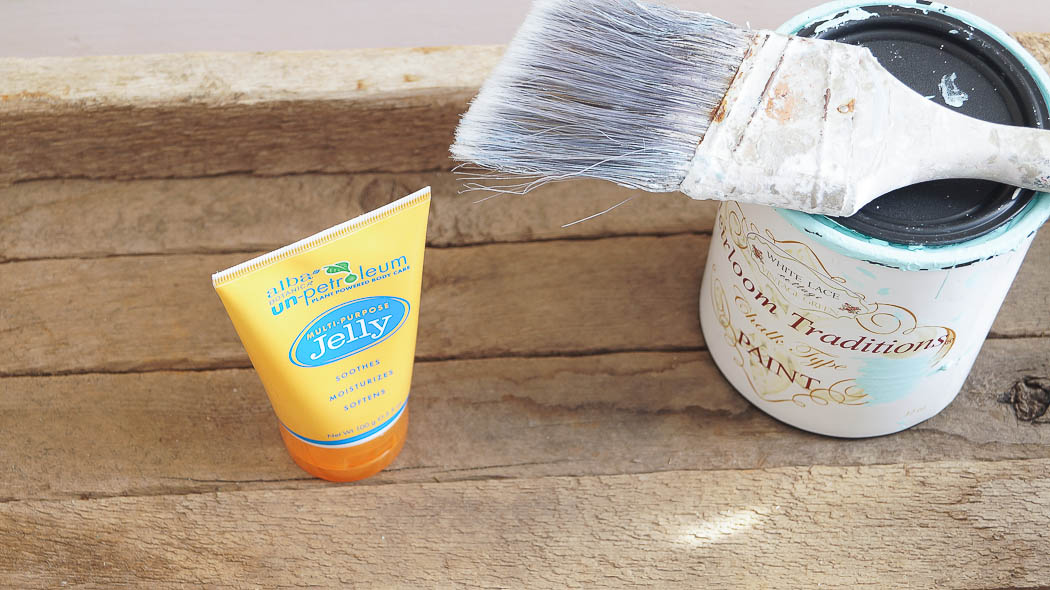
I didn’t have Vaseline, but I used something similar.
It’s un-petroleum jelly, which is the same consistency as Vaseline.
I use this on my face at night before going to bed, since it’s not Vaseline, it’s much better for your skin.
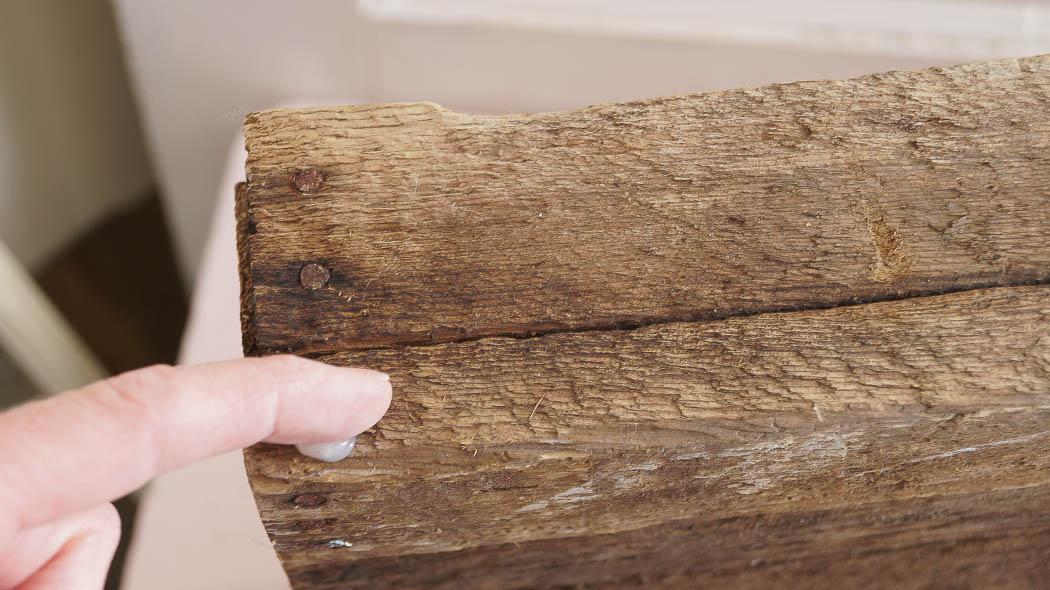
Anyway, I applied this to the edges of my piece on one side only, just using my finger, being careful not to get a sliver.
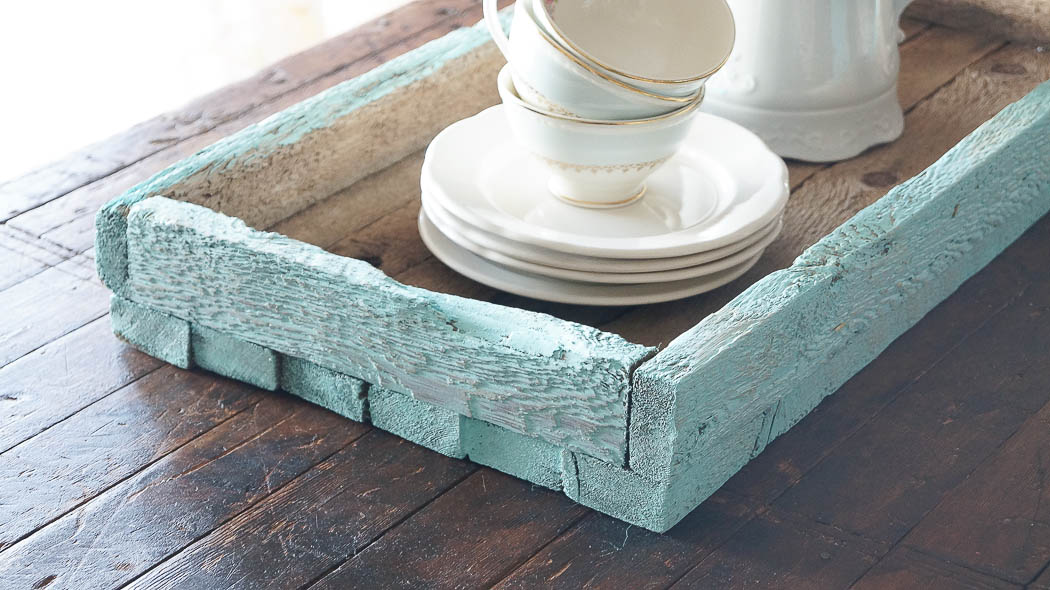
As you can see this piece is pretty rustic.
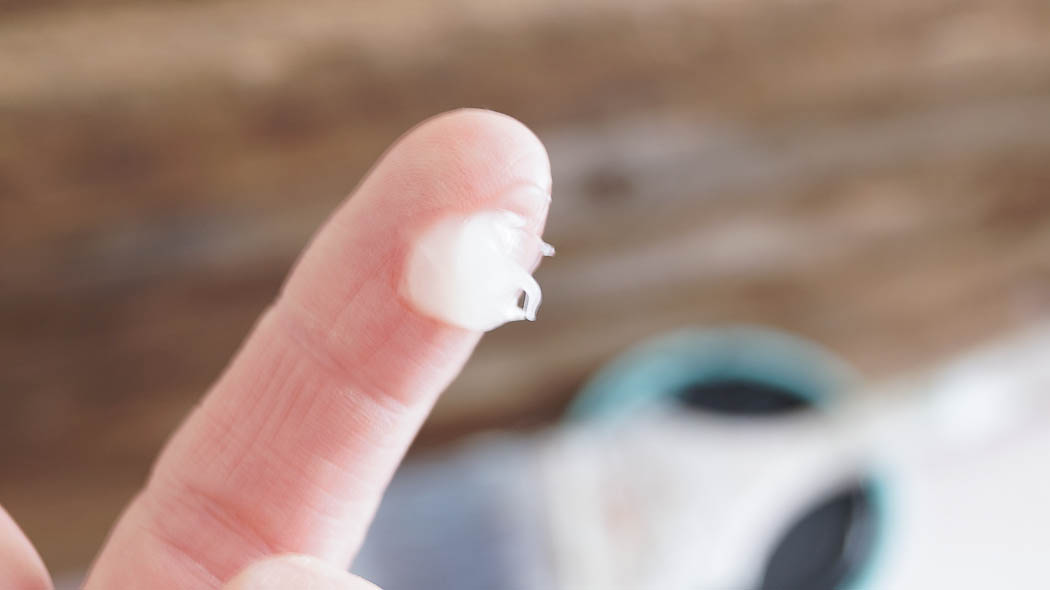
Why am I only applying this “Vaseline” to one side?
Well, it’s because I wanted to compare this technique of distressing using Vaseline vs vinegar and water.
You only want to apply this Vaseline to the edges, then apply your paint on your entire piece.
While the paint is slightly wet, not fully dry, take a damp rag and wipe the edges off.
And here’s what it looked like.
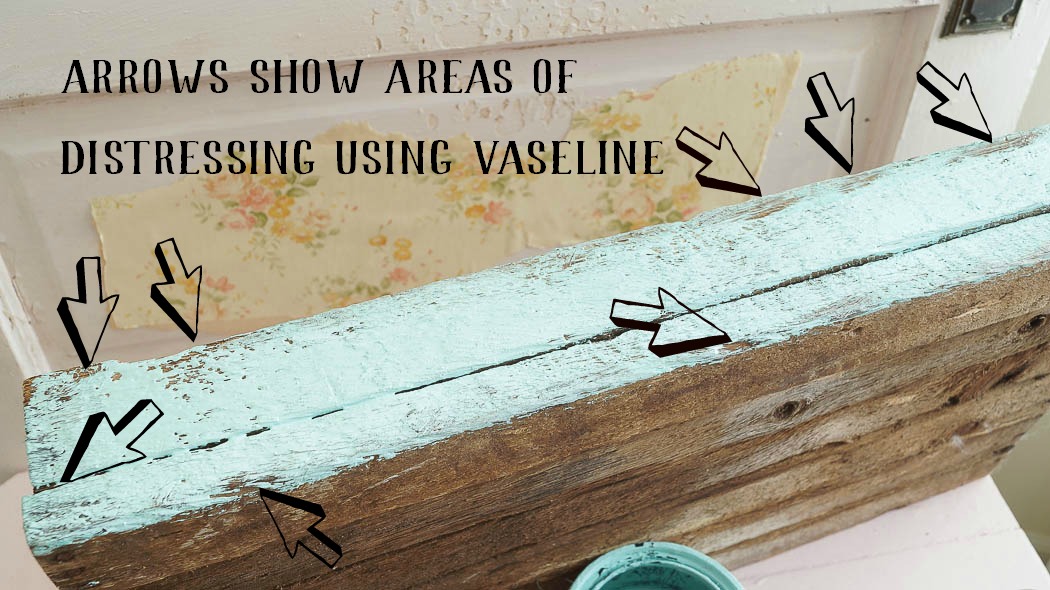
Hmmm, okay this is what I don’t like about this technique.
- I don’t like the fact that you can’t really see where your adding the Vaseline, since it’s clear, you don’t have control over where it’s really going and what it will look like once you take the paint off.
- I’m not happy with the results, I don’t feel like it looks really distressed. It looks a bit sloppy, but it could be the way I did it? But again, I don’t feel that I had control over where it was going.
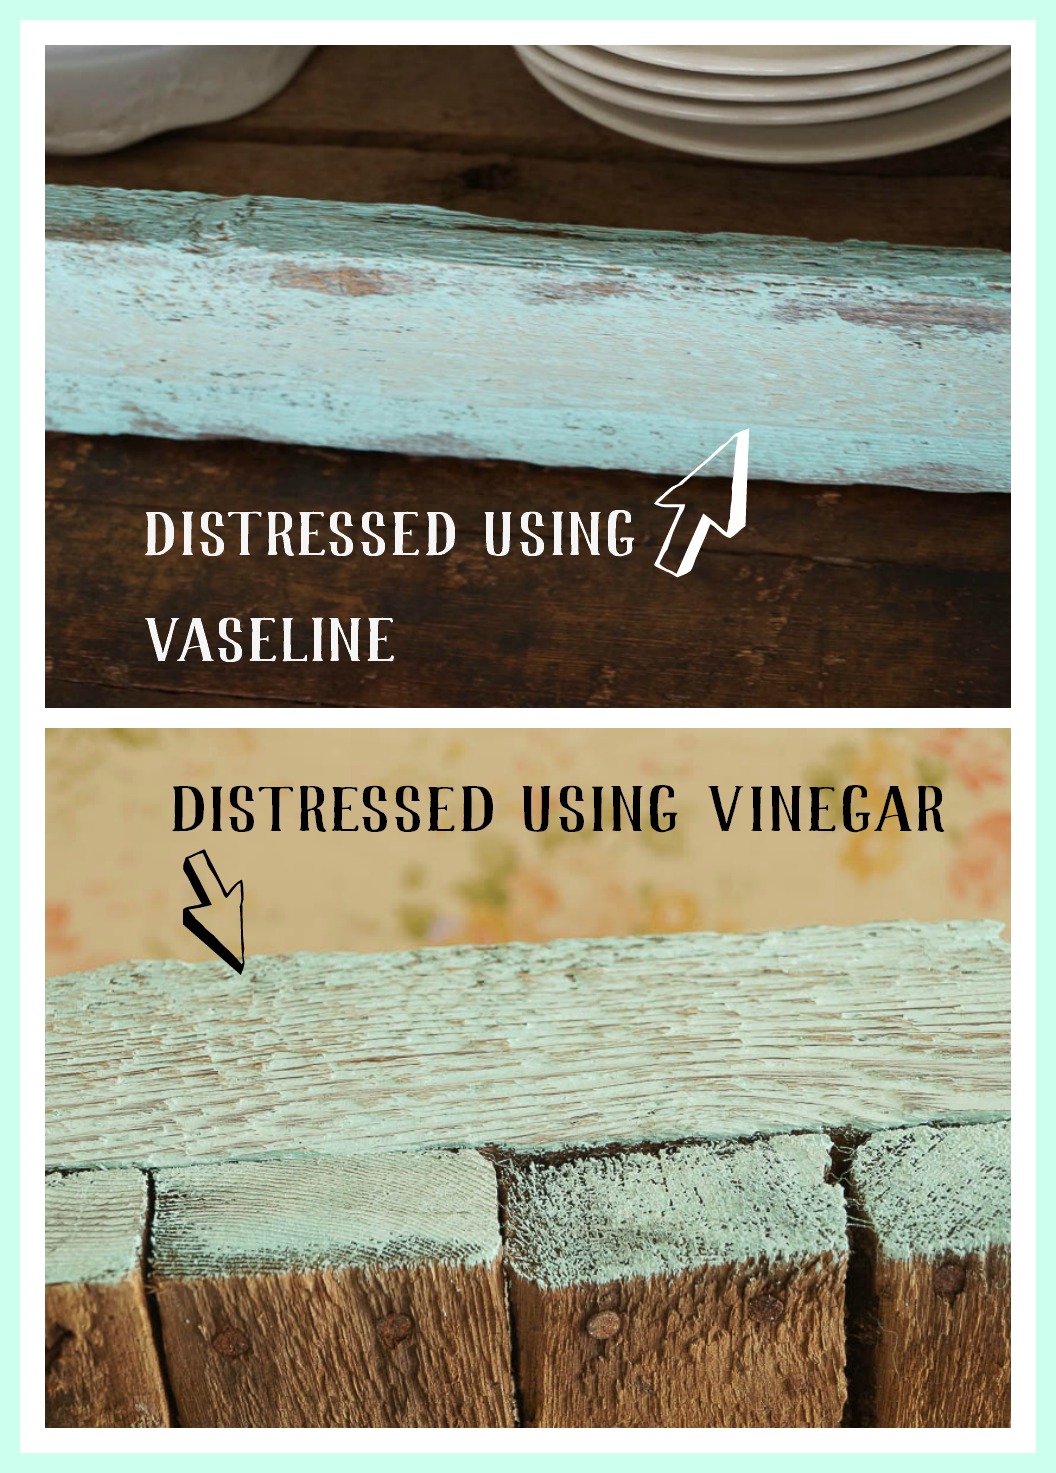
Now let’s look at the side that I applied the paint, then used my vinegar and water technique to distress.
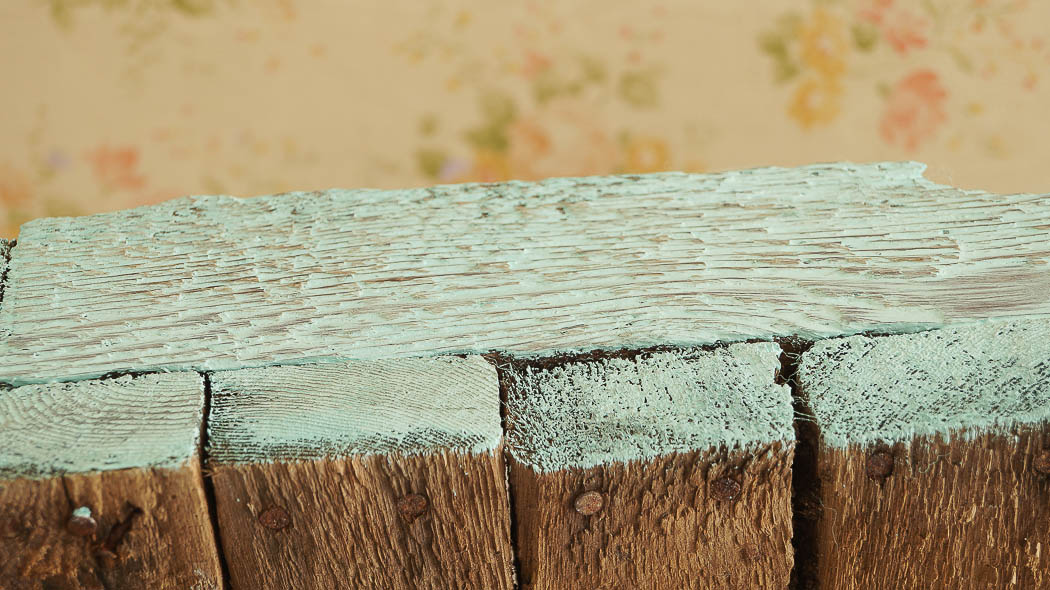
You can see that the paint has an even worn look.
It doesn’t look splotchy like the Vaseline side does.
What do you think?
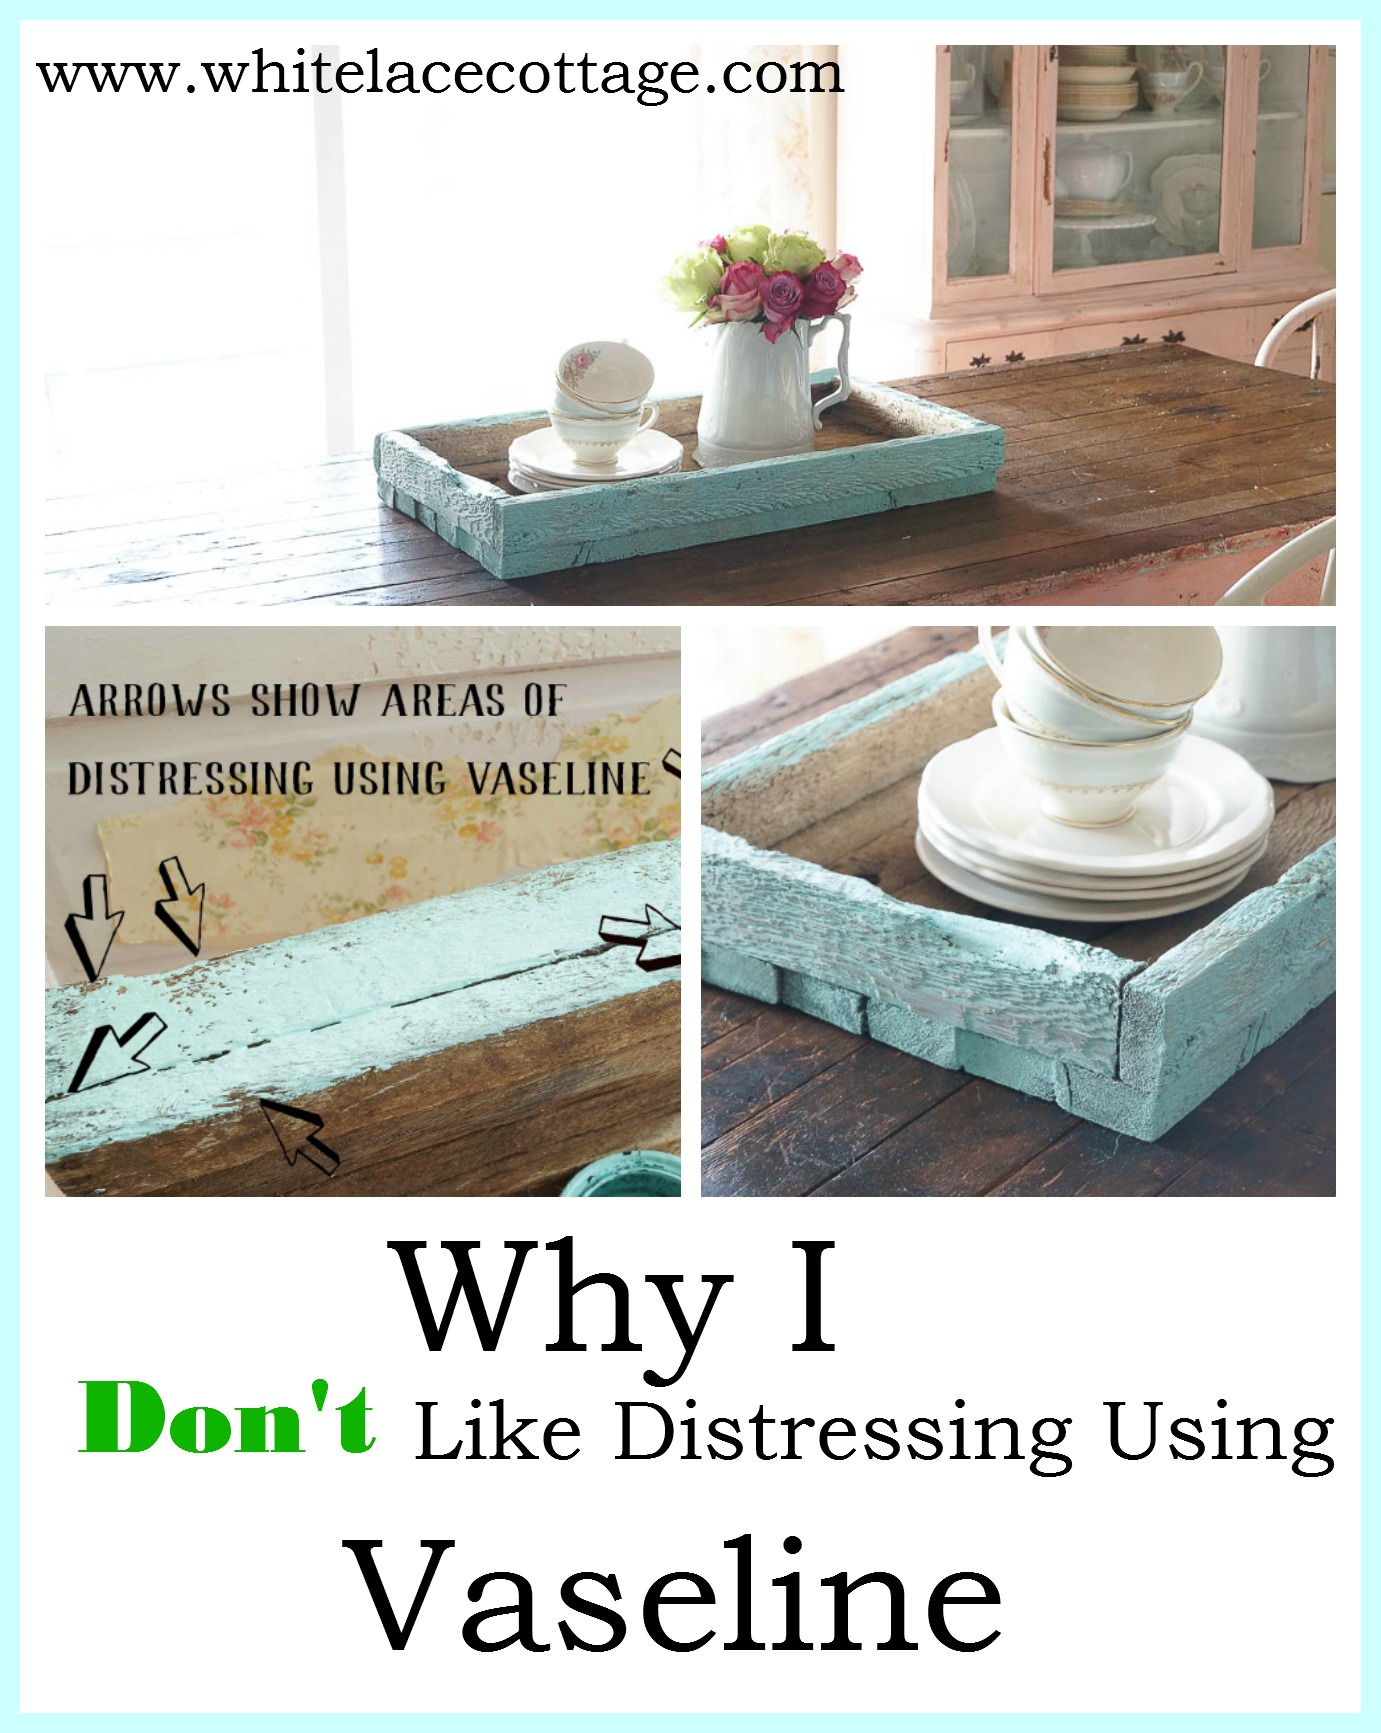
Which side looks better to you?
Please tell me in the comments if you’ve tried either method and which one you prefer.
The fun part about creating a vintage patina, a distressed look, is that I’m creating it myself.
I can control where I want it to be as I’m working on a piece.
With the Vaseline technique, I don’t feel as if I had the control I wanted.
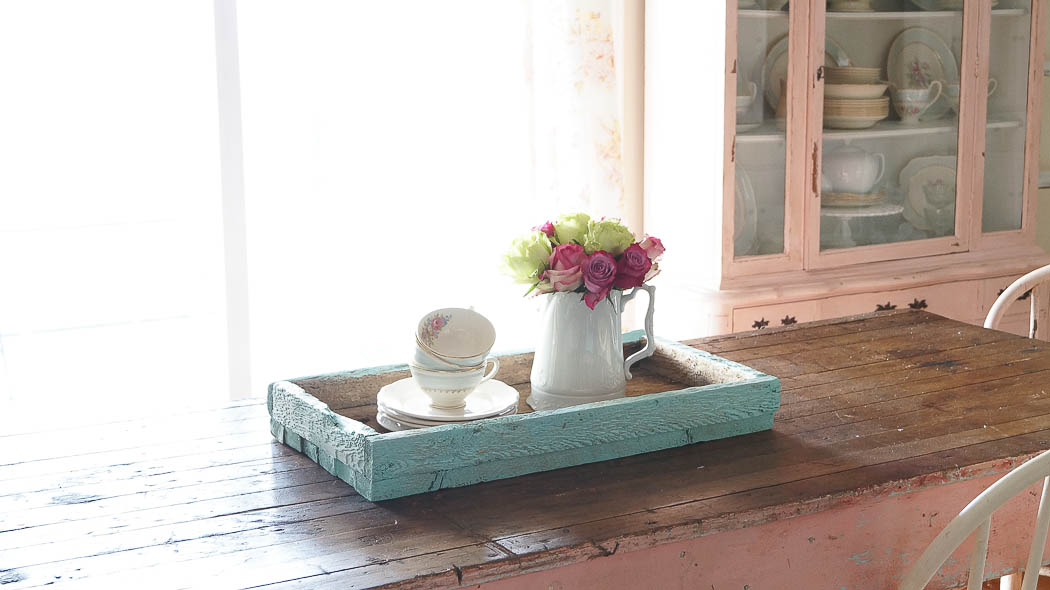
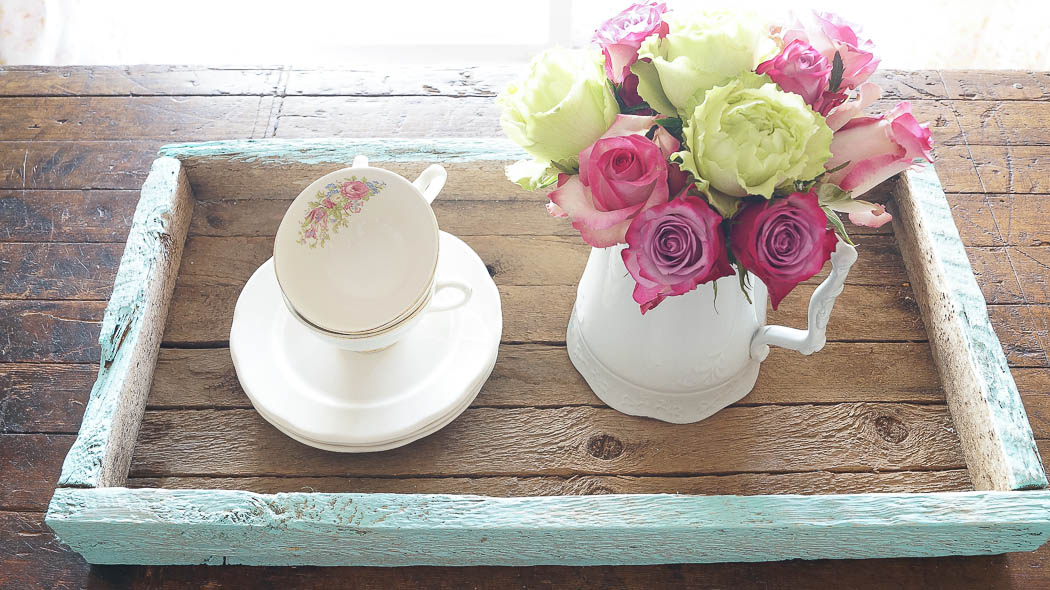
Here’s my rustic piece completed, I’ve added it to my kitchen table.
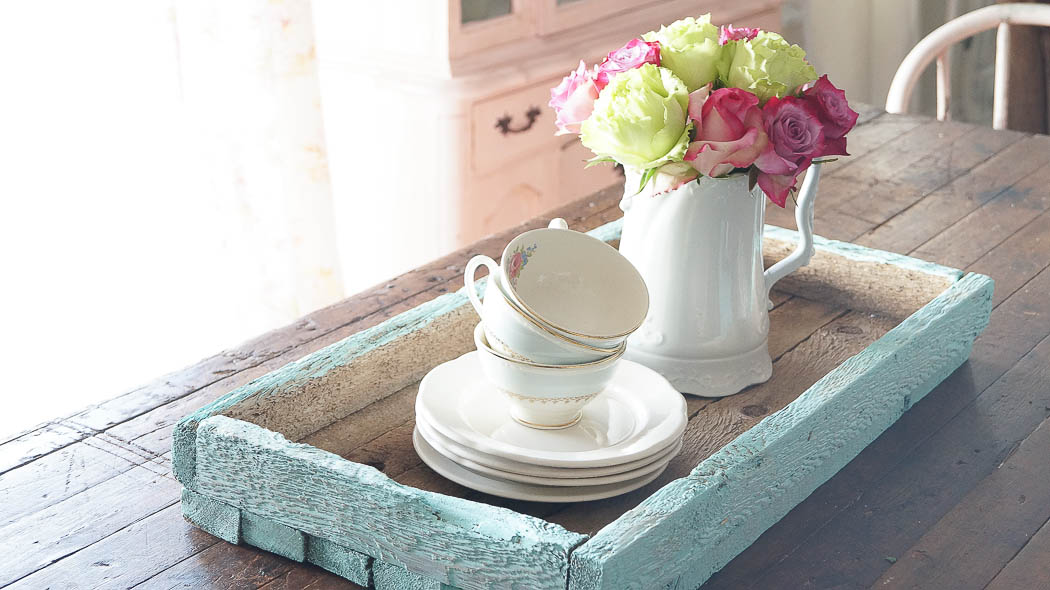
I decided to only paint the outside of this piece, the paint color is Vintage Green from my signature line of paints.
This color works perfectly in my kitchen as it’s a similar color to my kitchen island.
Oh…. I have a few announcements!
I’ll be starting a new kitchen project very soon, I’m super excited!
My kitchen island is getting a makeover…again!
Ha…. let’s see how many times have I changed my island?
I think this is going to be the 4th or 5th time?
I don’t know, I’m starting to lose track!
Did you notice the change on my site?
I still have some tweaking to do, but I hope that you like the new look.
The changes all happened because I had to change my header, and one thing lead to another.
I have a super important question to ask you all.
Have you had problems leaving comments on my site, especially when I share a video?
Or have my photos looked off?
If you’ve experienced either please let me know in the comments, or contact me at whitelacecottage@hotmail.com.
Thank you 🙂
I want you to have the best reading experience when you visit this site.
I have no new video to share today, but I’ll be working on a few this week.
And remember that book I was working on, well , I’m still working on it.
Hoping to finish it up soon, I had to scrap the first one.
More on that soon!

Leave a Reply
You must be logged in to post a comment.