Simple Kitchen Backsplash Design
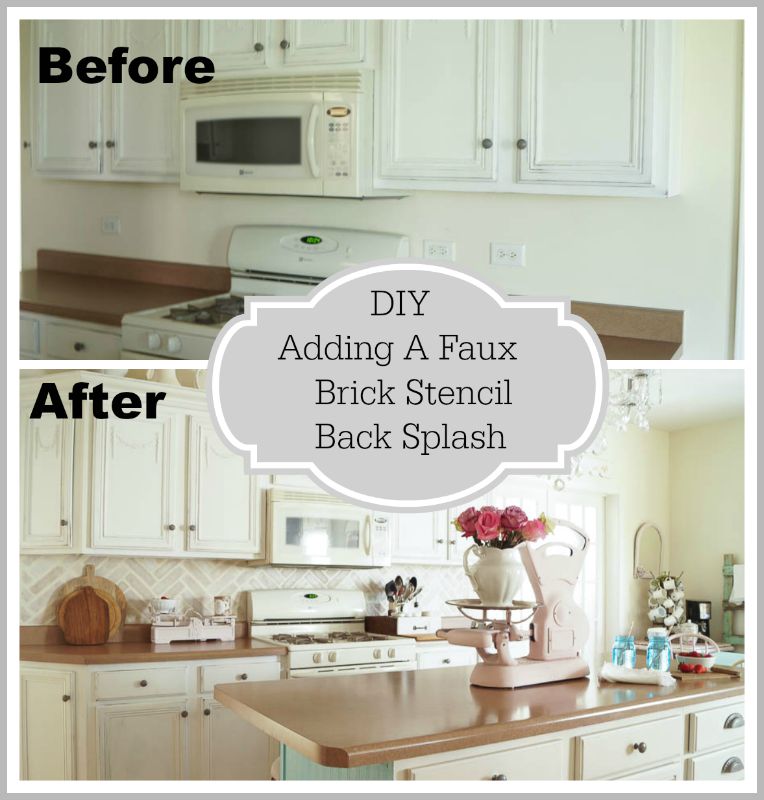
Here’s an simple kitchen backsplash design that was created using a brick stencil. Yes, that’s right I said using a brick stencil. But, this simple kitchen backsplash design is more than just adding a stencil, for this design we added texture so it not only looks like brick but feels like brick. This costs so much less than added real brick and it’s much easier to do. Stencils can be used for more than just decorating a wall. I’ve also used these on my deck floor.
( This post contains affiliate links, please read disclosure policy)
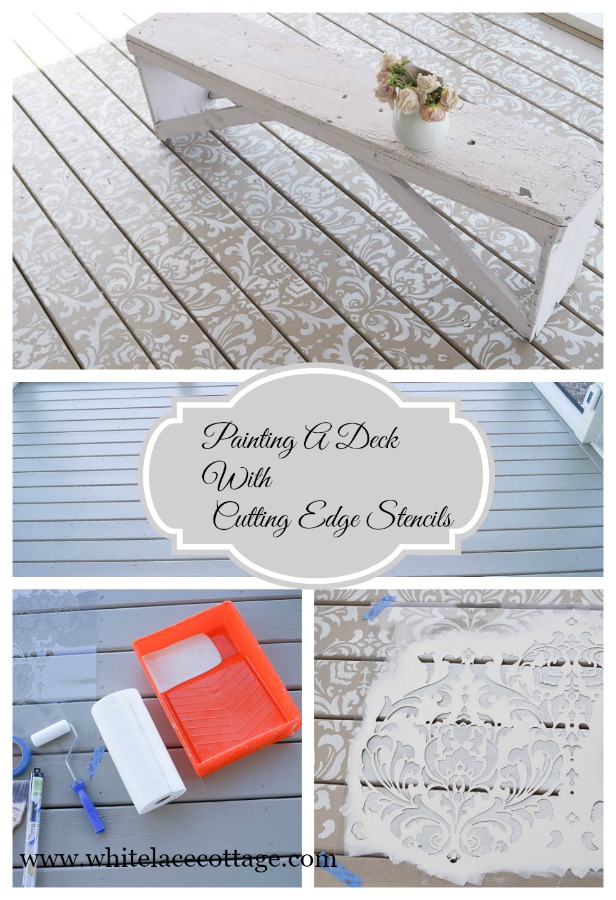
You can read about painting a deck floor HERE. Are you ready to get started?
DIY Brick Back Splash
Supplies Needed-
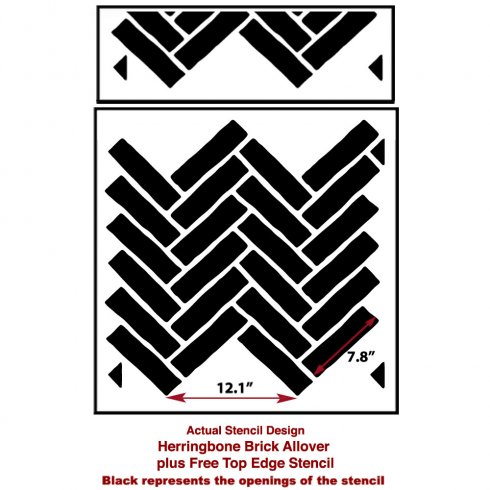
1). Herringbone all over brick stencil from Cutting Edge Stencils.
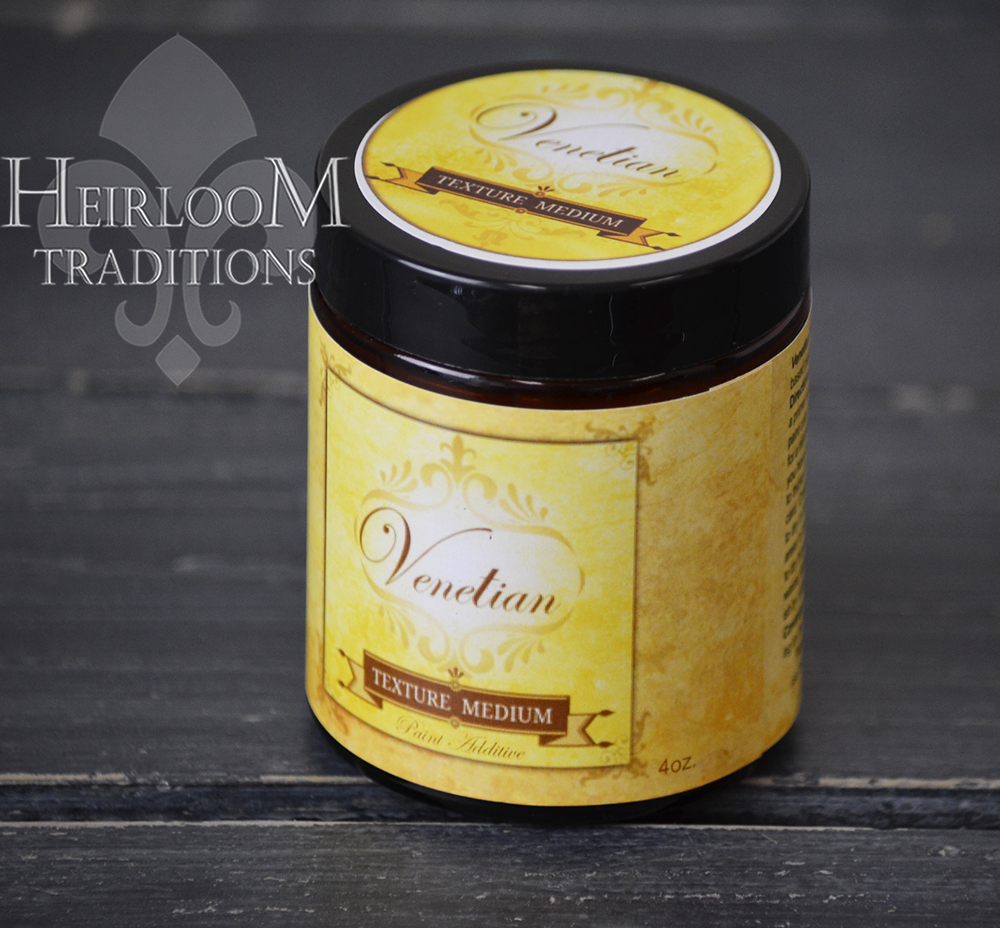
2). Heirloom Traditions paint Venetian texture medium
3). Paints-
White Lace – Mocha both from Heirloom Traditions paint.
4). A drywall taping tool or spackle tool (either will work)
5). Painters tape
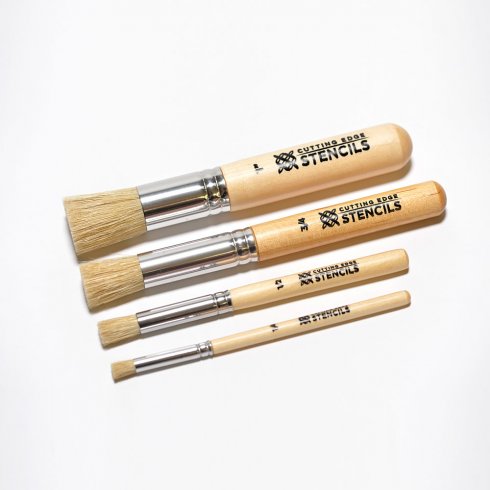
7). Stencil brushes, Cutting Edge Stencils (a variety of sizes)
8). Paper towels, paper plate
9). Touch up paint, and craft brush
10). Aqua Clear Matte Heirloom Traditions paint , and brush
Let’s Get Started!
Before I started on my kitchen design DIY brick backsplash, I took my stencil spray adhesive and sprayed the back of my stencils. Then I started mixing up my paint and Venetian texture medium. I really wasn’t sure how much paint I was going to use for this project, so I mixed up small batches. Using more of White Lace, and a little Mocha to an almost empty paint container I had of White Lace. Then I mixed in 3 tablespoons of Venetian texture medium. With a paint stick I mixed it up.
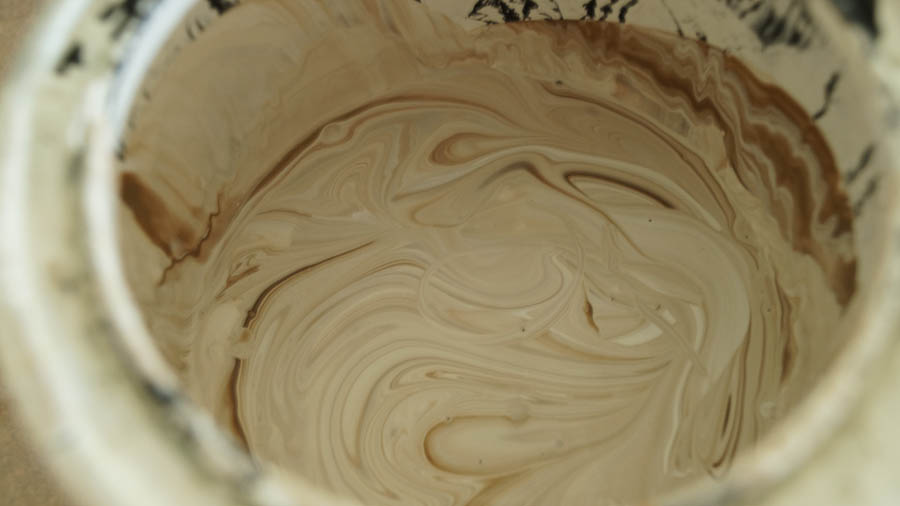
At this point this will not thicken, It takes a minute or so. Once it sets, it has a mousse like consistency. So as it was setting up I started decided on where to start my stencil. Oh yeah, I didn’t move the stove out, I just worked around it.
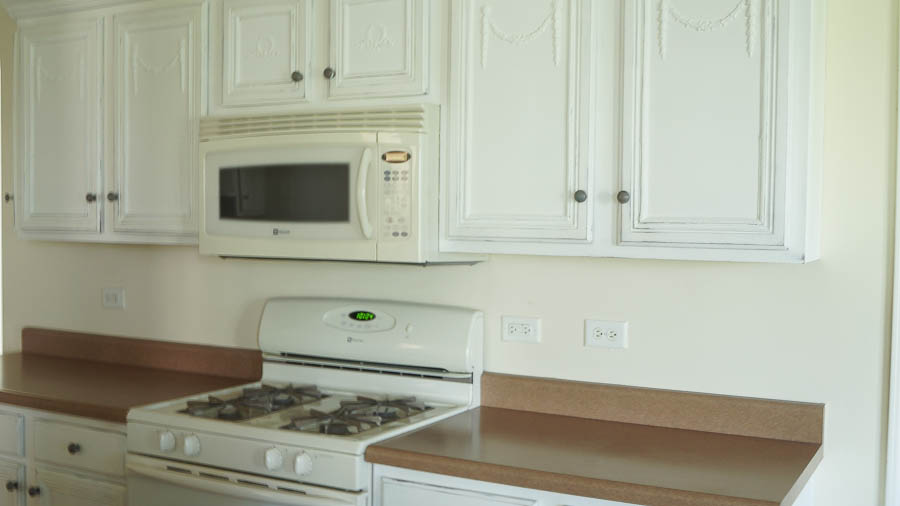
I knew I had many obstacles while working on my DIY brick back splash, like the light switches and outlets. Which by the way, I did not remove either of those, just like the stove I worked around them, I also had to figure out where to end my stencil, because my cabinets and counters are not even. I decided it was best to end it where my counter is, but I had to be a little creative on those ends, and you will see what I did as you read this post. I added painters tape to mark off the areas that I did not want the stencil, and I also needed a mark or a guide as to where to add my faux stencil on the end of my wall. After placing the stencil on the wall, I added a little painters tape too. Sorry a few of my photos are blurry, my camera was acting up, again!
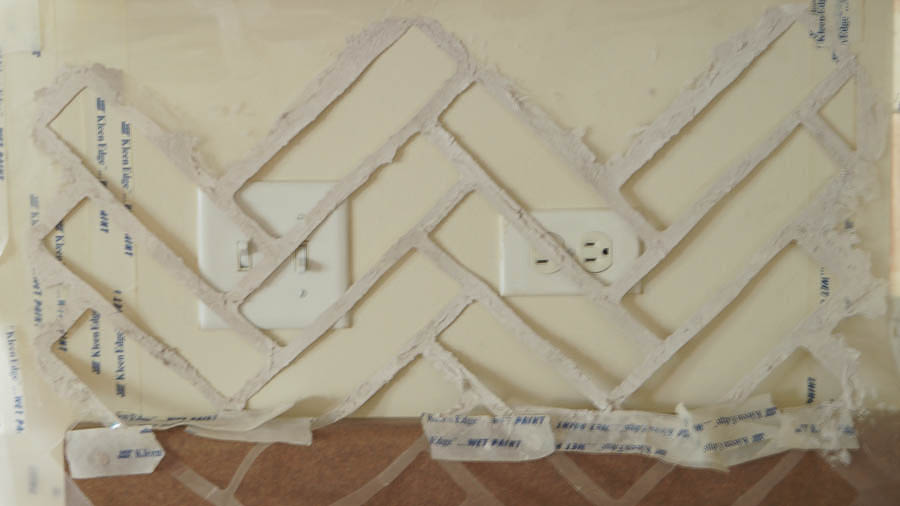
Then I scooped out some of the Venetian texture paint mixture with my tool and spread the mixture onto my stencil. Even though I added the adhesive and painters tape, I still had to hold my stencil down.
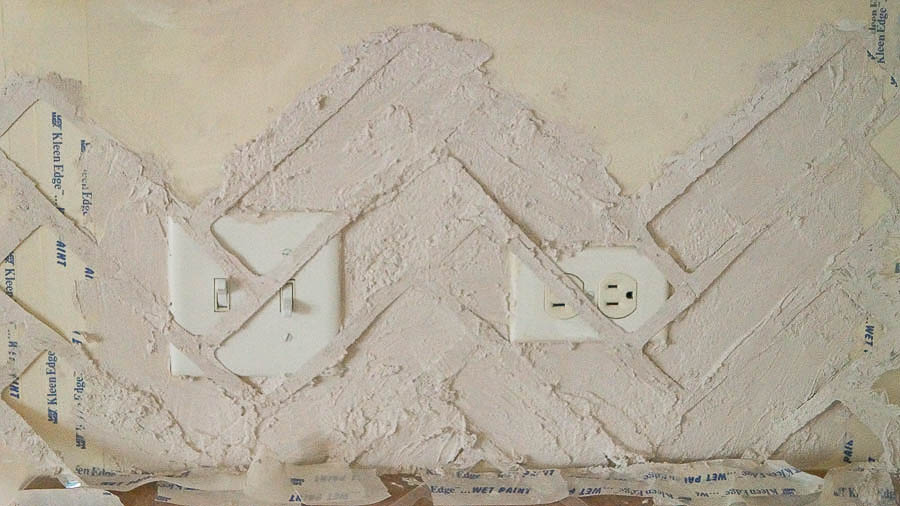
Please know that since this was not a flat surface you are going to get some bleeding using this method. But don’t freak out, it can be fixed. If this were a flat surface, this would have been easier. Below is a photo of my stencil when I took it off.
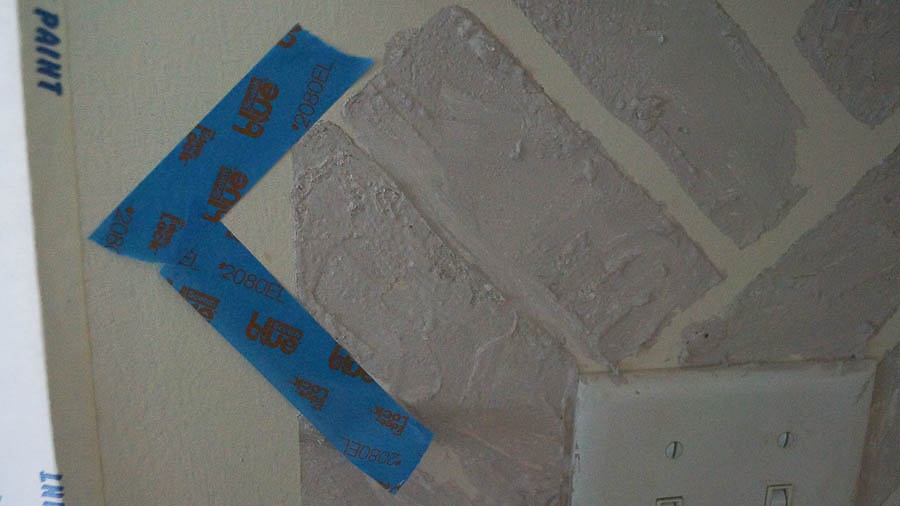
Yeah it looks bad huh? No worries, seriously, it’s okay, a little paint and you will never see any of that. That’s why I love stenciling, anyone can stencil, and if you make a mistake, it’s super easy to fix! See that painters tape? I made some faux stencils to make bricks after I made a few mistakes. Yes, I got really creative. Again, it was the small space I was working in, and I also taped out areas on the end of my cabinets and added a few finish bricks. My stencil overlapped on this one, but no worries. I’ll explain how I fixed that in a bit.
Painting Faux Bricks-
I took out my paint, White Lace and Mocha, and my stencil brushes. Next, I added just a little bit of paint to a paper plate.
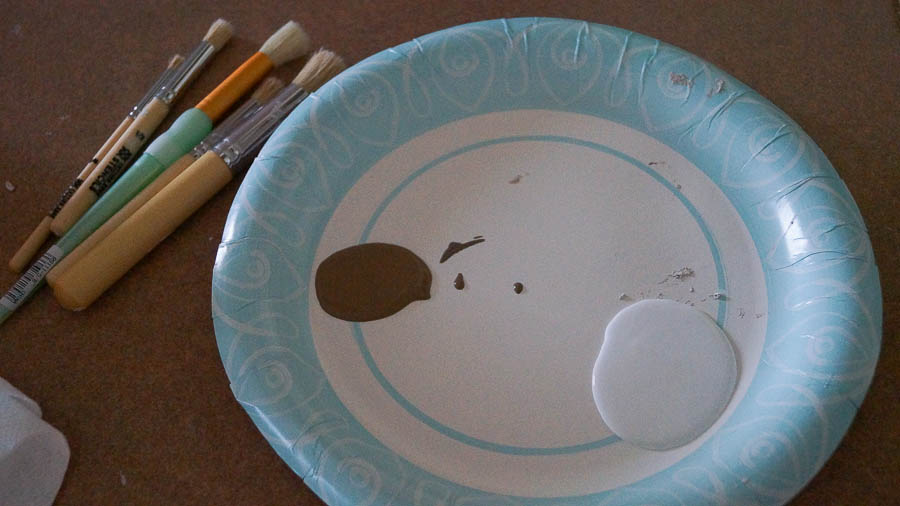
I took one of my stencil brushes and dipped it into my Mocha paint color, and I did the same with another stencil brush. This time I dipped my brush into White Lace. Then, with my larger stencil brush I dipped it in water. I was using the larger stencil brush to blend my colors.
You want to use very little paint at this point, blotting off your paint on a paper towel after you dip it into the paint. You can always add more of either of these colors, but you don’t want to over do it. If your not sure how brick should look, take a peek at photos of bricks, use it as your guide. I slowly worked on each brick, adding paint and blending it. I would stand back to see how it looked from a distance too.
On some of the bricks were painted White Lace only. Since I have lots of white in my kitchen, I liked seeing those white highlights. I tried to make sure that they weren’t all the same color, as real bricks are all slightly a different color. I took my time and added more color, highlight and depth to each brick. This is one of those projects you don’t want to rush. This took me 8 hours to do. I split this project up into two days, doing one side at a time.
Painting the brick really gives this a more realistic look and feel because of the texture. You just can’t get that just by adding the paint to the Venetian texture medium, at least not with this project. Once I was done painting my DIY brick back splash, and it was dry, I took a small craft brush and painted all of the grout. This was very easy to do, I added two coats.
When that was finished drying , I added two coats of Aqua Clear Matte top coat to seal this. I wanted to be able to wipe it down if I got any splashes from foods in the kitchen. I not only coated the bricks but the faux grout with Aqua Clear. So, are you ready to see how it looks now?
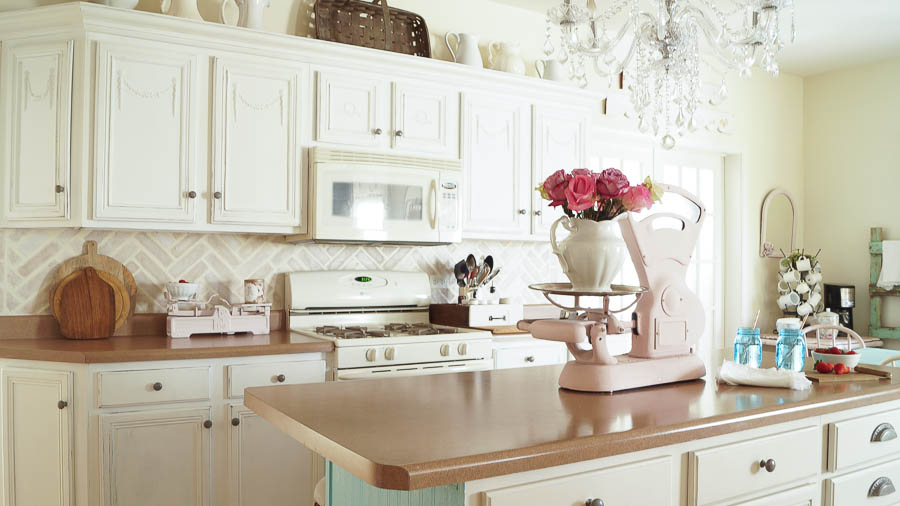
Quite a change from the way my kitchen was before! This photo below was taken awhile ago, before the several other times I painted the island. But you can see the difference and how my DIY brick back splash looks now!
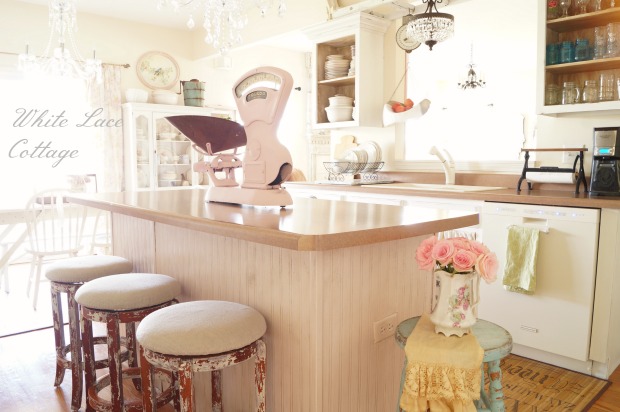
This is a great alternative to using real brick or tile and cost much less to do! I already had most of the supplies. But even if you had to purchase the supplies for this project, it’s still much cheaper than adding real brick or stone to your kitchen back splash. Doesn’t it look real!
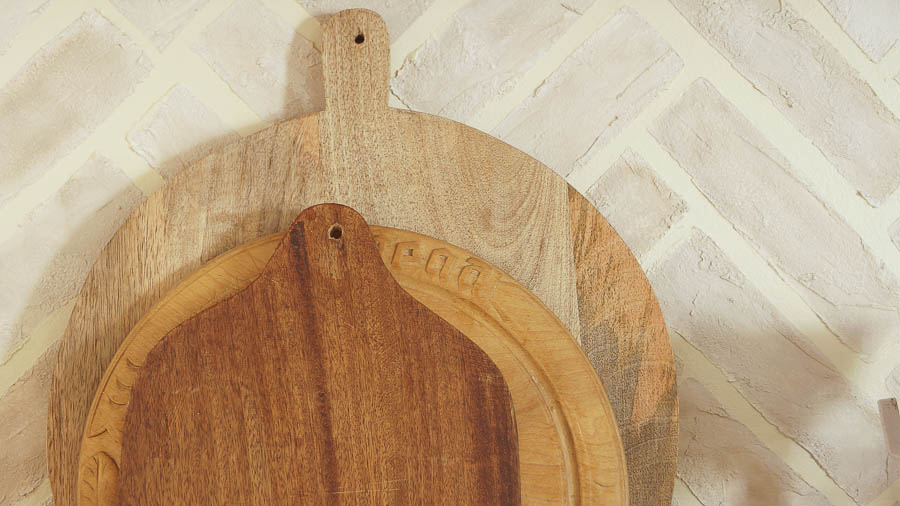
I love the texture that I created, I really looks and feels like real brick! I love the imperfect shape of some of these bricks, and that was due to the Venetian texture medium that I used. I love the fact that you can use Venetian texture medium with any paint color! Cutting Edge Stencils always supplies each order with easy to read and follow directions. Use your imagination, you can use this stencil on a floor, or a rug too.
(Before starting this project, read disclosure policy)
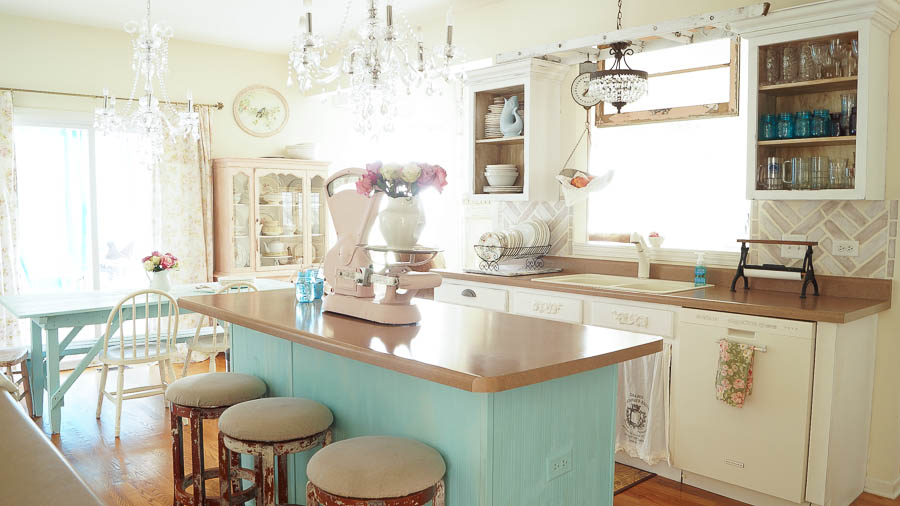
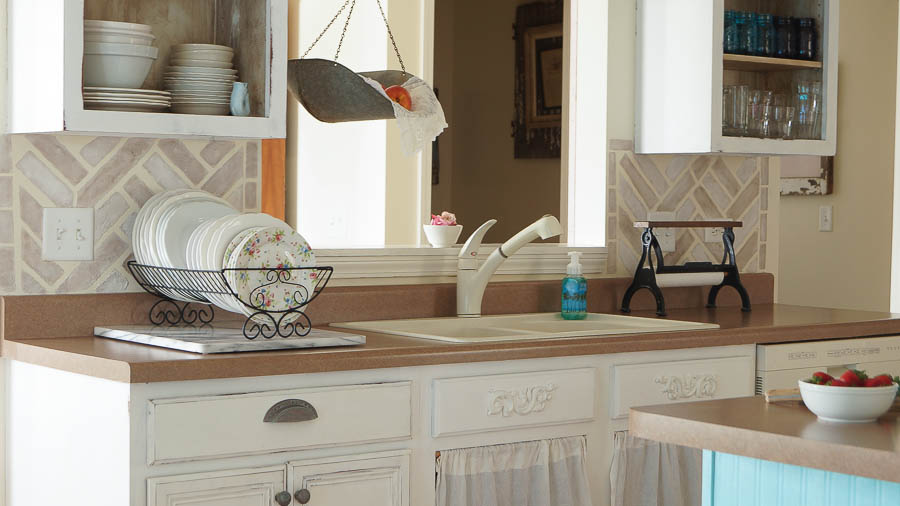
Did you see the faux edges of my DIY brick back splash wall? That’s where I had to get a little creative, and again it’s not perfect. But nothing I do is perfect, yeah you heard me say it. I am not perfect, and neither is my style, but that’s just how I roll 😉
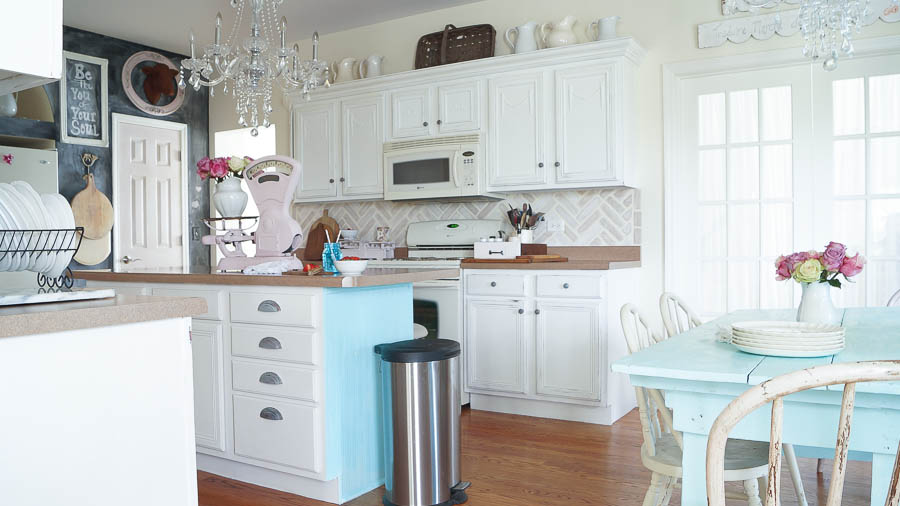
I absolutely love this new look in my kitchen!
Here’s the breakdown and supply resources-
Cutting Edge Stencil Herringbone all over brick- 37.95
Heirloom Traditions Paint–White Lace 160z 14.00 -Mocha-8 oz can- 24.00 . I have plenty left for another project.
Venetian texture medium-24.00- I used about half for this project.
Heirloom Traditions Aqua Clear Matte– 25.00 ( used very little of this as a little goes a long way)
Stencil Brushes- 15.95
Supplies I already had on hand
Craft brush
Touch up paint for my wall
Painters tape
Stencil adhesive
Total supplies for this project- 134.88
But as I said I didn’t use all the paint or Venetian Texture Medium. And those other supplies including the stencil, can be used on other projects.
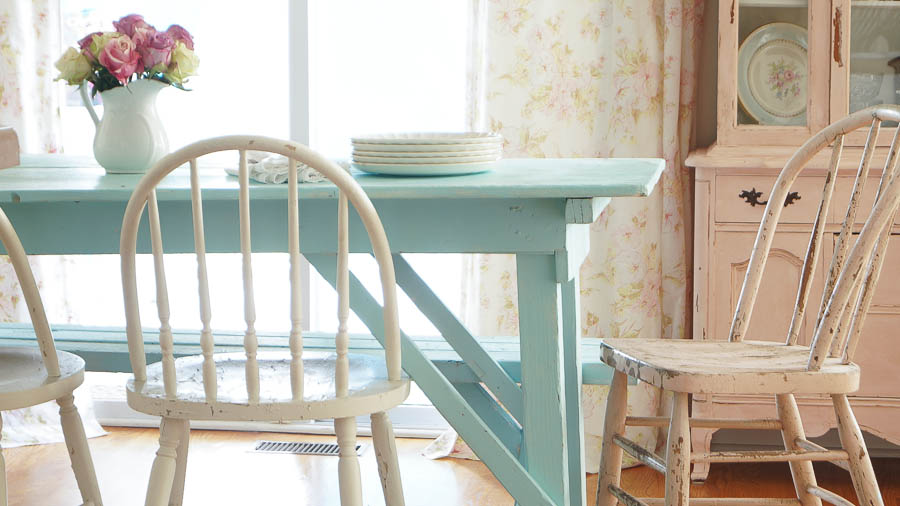
Not bad for adding a back splash. It’s so nice to finally have a back splash after living here for nearly nine years!
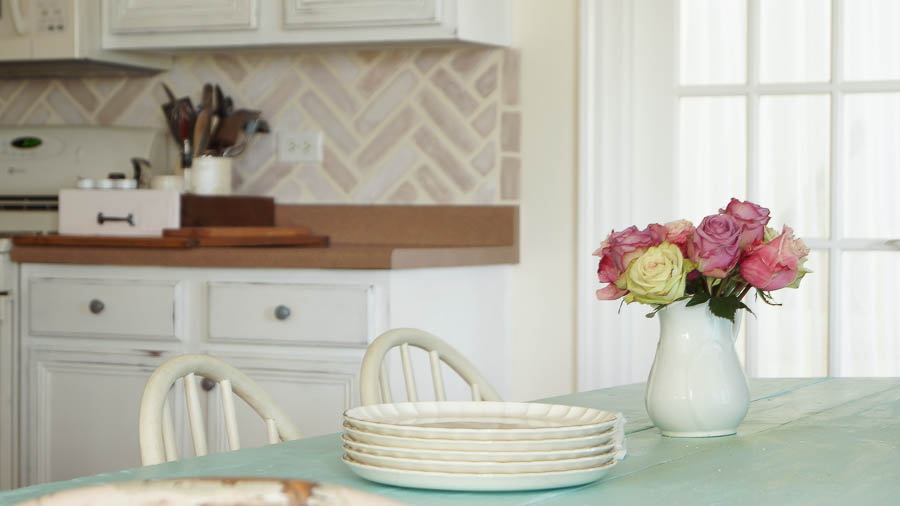
My kitchen has a whole new look and feel to it, and I love it! Yeah, and this is not the only change I am making to my kitchen, I have a few more projects ahead. Ah, the never ending changes of my kitchen. But change is good, and it’s fun, and it keeps things fresh.
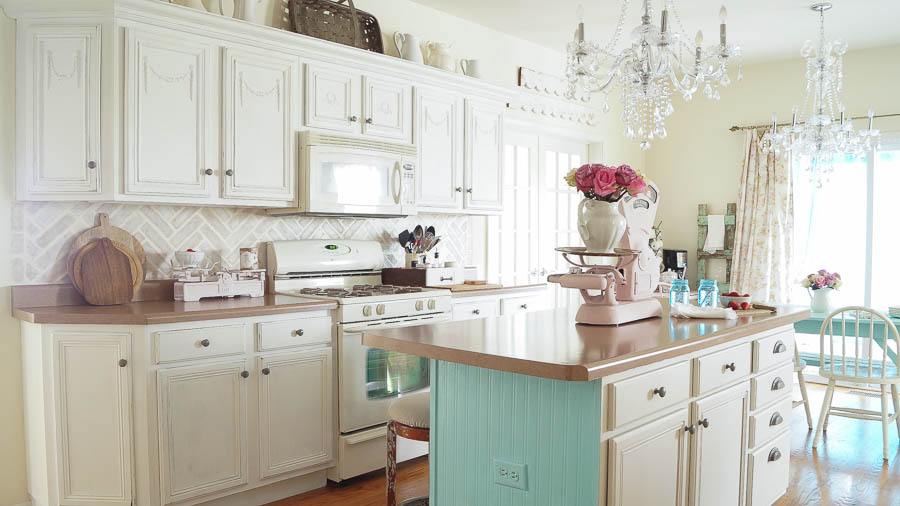


This came out wonderful! I have an ugly tile backsplash. Wonder if I should attempt painting it?
Thank you Michelle! It’s a great alternative as opposed to adding tile or brick.
Your backsplash looks beautiful! It looks like real brick. Sounds pretty easy to do- just tedious! I am impressed with the outcome. Love your kitchen!?
Thank you so much Wanda! Yes tedious, but much simpler in my opinion that adding real brick to my back splash 😉
I enjoyed your black splash post. Color was great. Made a good improvement in kitchen.
Thank you Nancy!
It looks absolutely awesome, Anne!!! I love it! The colors you chose for your “brick” are just perfect for your kitchen! The added texture and colors made your beautiful kitchen ever more inviting! Love it!!!!!!!
xoxo laurie
Thanks so much Laurie!
Anne,
This is awesome. It came out so great. Love how pretty it is.
Kris
Thanks Kris!
OMG LOVE!!!!!!!!!!!!!!!! Fabulous look and so (relatively) easy too! Come do it to my house now! 🙂
Thank you Anne! Ha, I would love too. I have never been to Canada, it would be fun 🙂
Fantastic idea, Congratulations… 😉
Thank you Rita!
I LOVE your kitchen, can I move in? lol Your back splash turned out AMAZING!!! And i just adore all those turquoise pops of color. Lovely!
Thanks so much Audra!
WOW! Your backsplash is amazing. I’ve been wanting to do something with mine. After seeing this I am rethinking tile.
Thanks for sharing!
Thanks so much Lauree!
Oh Ann, it’s georgous, thanx for sharing….i’m planning on doing my backsplash in that fashion(just a painted wall at the moment), but think I can do that….will visit Michaels craft store to see it I can get stencils……I too wish you would visit us here in my part of Canada…..lv to have a cup of tea with you ! tsk, tsk …..we could really chat!
WOW Anne, back slash looks so fantastic, love hoe you did the ends, perfect way to finish design at ends. Where there’s a will there’s a way huh? We’re thinking of installing bead board for back splash and above cupboards then put shelf across window between cupboards. Just thinking of shelf but pretty sure will install bead board. Our kitchen needs something to set it off nicely since can see it from living room.
Wish we could chat over cup of joe or tea, guess will have to be content with internet.
Love what a change doing brick back splash made in your kitchen. Am so envious of your scale and howw you added appliques to cupboards, stylin’ girl.
Have wonderful Fall week
looks amazing! thanks for sharing on craft schooling sunday!
This is so cool! I had no idea something like this was even a possibility. I also have lived in my house for a whole and not installed a backsplash, but I’m inspired now! Thanks for sharing at Share the Wealth Sunday – we hope to see you again soon!
Oh my goodness – I had no idea that this WASN’T tile!?! This looks great! I love the pattern, that’s my favorite design for backsplashes. Thanks for sharing with us on the Family Joy Blog Link Party!
>> Christene
Keys to Inspiration
Wow, that’s amazing! 🙂 Our link party at Grandma’s House just opened today, we would love to have you there!
That looks so nice! I am really not a DIYer but this post inspires me! We desperately need a backsplash in our tiny kitchen. Maybe in 2017! Visiting from SITS Sharefest.