Table Repair Simple Cheap And Easy To Do
I knew that this flaw would be a simple table repair. Let me tell you the story behind this table first. The other day I met up with a good friend for lunch and after lunch we walked into a resale shop, one that she owned for many years until she retired. Well, I spotted a little table that I thought would work great in my bedroom. The price was right, but as I was showing the table to my friend she told me that she had a table very similar, and she said that I could just have it.
What…wait…what??? Did my friend say free? Remember, I’m el cheapo 😉 We swung by her house, I took a look at it and said, yep, I’ll take it, no need to convince me. Seriously, like I’m going to pass up a free French provincial piece of furniture? Ah, no way Jose ! And I knew the table repair would be very easy to do.
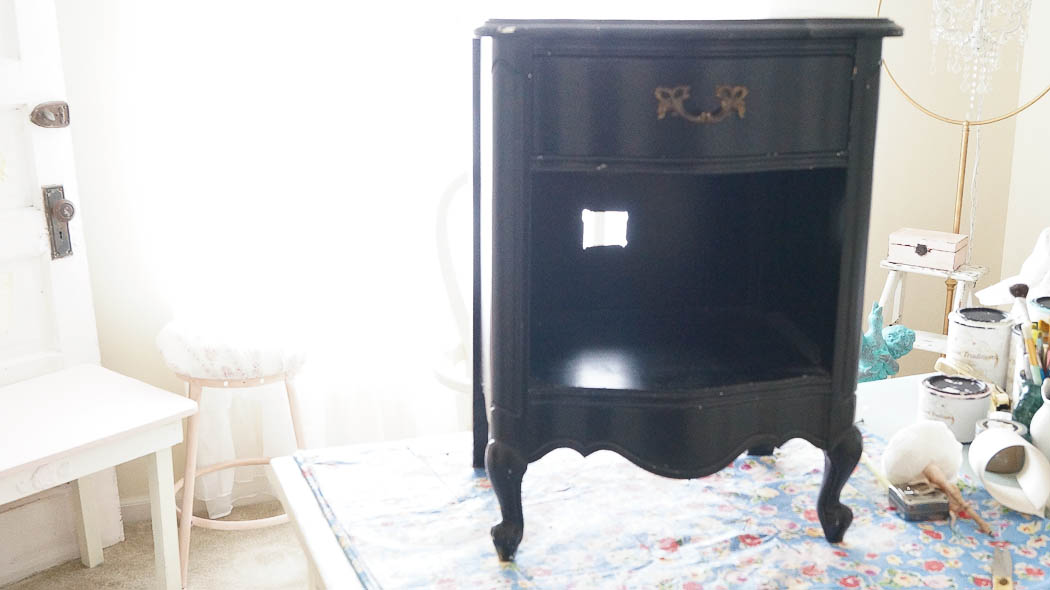
You can see why I wanted this piece, I love the style, shape and hardware, but….whoa! Yep, that’s the table repair I was talking about. See, that’s what I was trying to tell you, don’t pass up on a piece like this because it’s got a hole in the back. Seriously, read my lips, don’t pass up on a piece like this , mkay?
So, what do you do if you find a piece with a hole in it well, you can do a few things. First idea would be a really lazy one, you could paint this table, stick a plant in front of the hole and call it a day. No one is ever going to see it right? Or you can take the back panel off, cut a piece of wood to fix it, staple/nail it back on and paint it. But that’s too much work for this lazy gal, plus not everyone has the tools to do this.
So, what did I do? I grabbed my leftover beadboard wallpaper, cut out a piece that would fit inside, and applied it to the back panel.
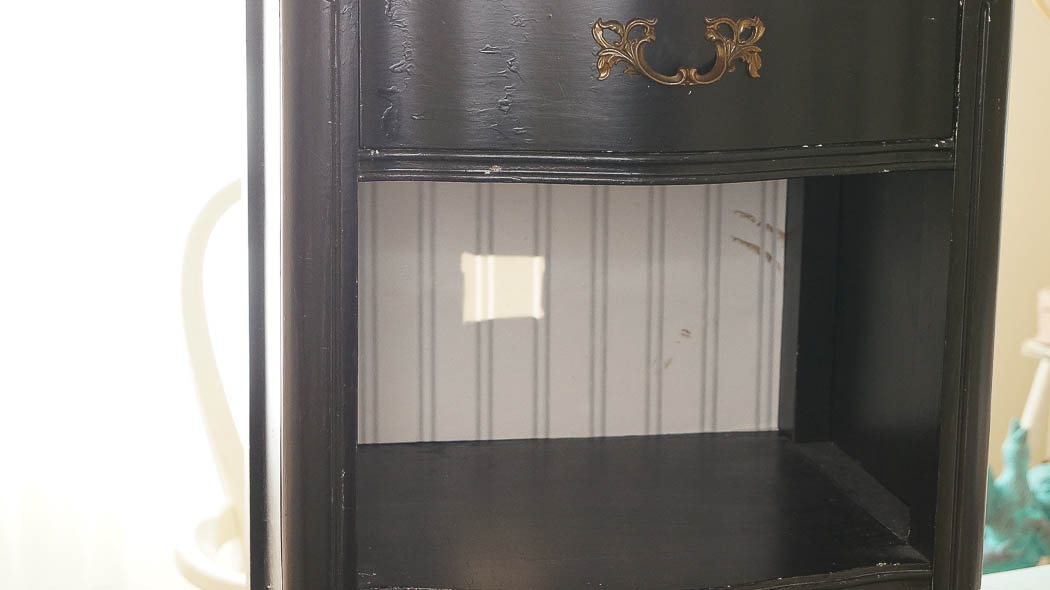
So now you’re thinking, great, I can still see a square opening, well yeah you can in this photo but wait. I decided to paint this piece with Vintage Green, one of my signature paint colors.
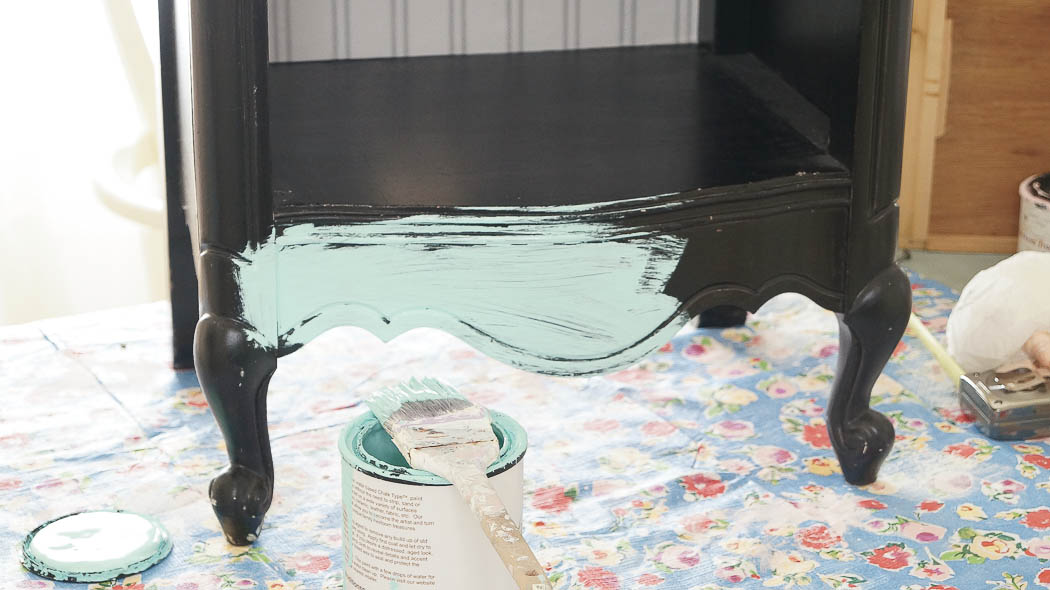
Since this table was not smooth, like it had drips and layers of a yucky paint job. No problemo! Remember, I’m lazy, so sanding it down and painting it was not an option. Plus, I embrace imperfection, so instead of fighting it, I just went with it.
I applied three different distressing techniques on this piece. I’m not sharing those today because those techniques will be in my book. Yeah, I know, I’ve been talking about this book forever!! But, I promise that in the next couple of months it will be finished 🙂 I pinky promise 😉 Speaking of finished, here’s my finished piece!
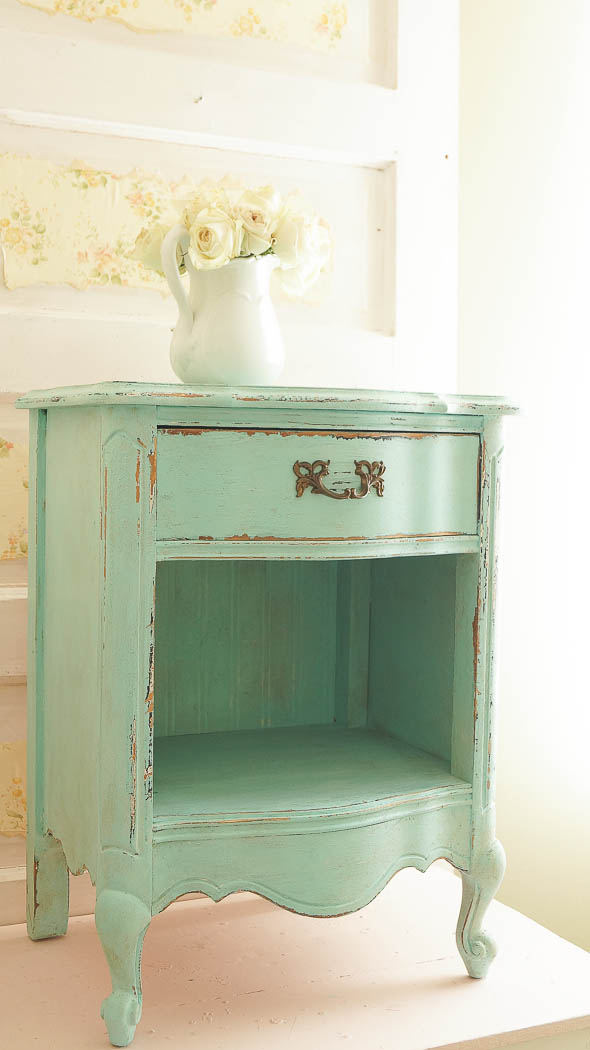
Those ” distressing techniques” really hid that hole in the back. Remember you could still see through it with the beadboard wallpaper. Well, not anymore!
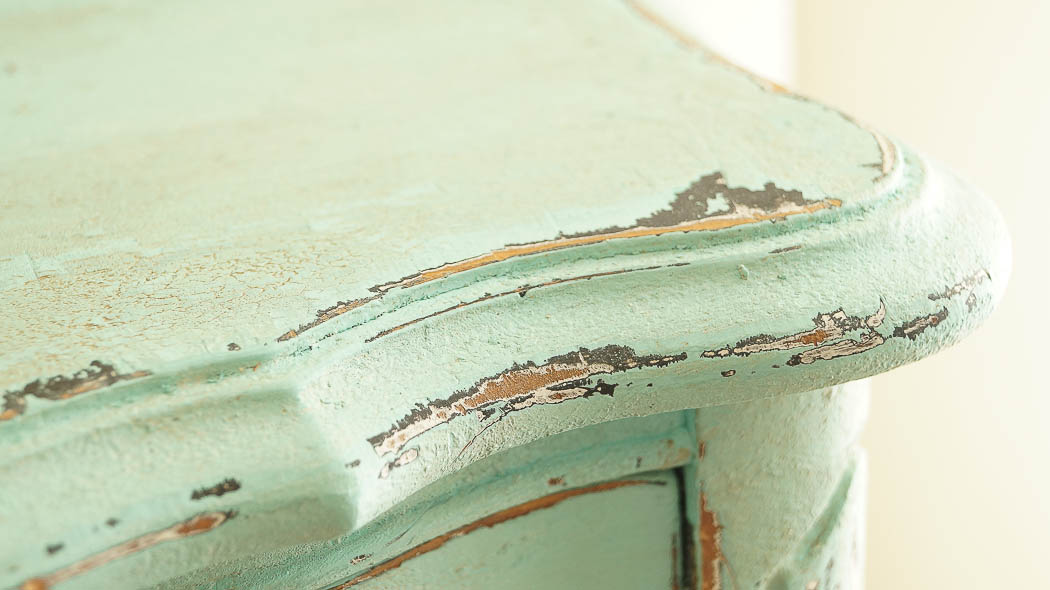
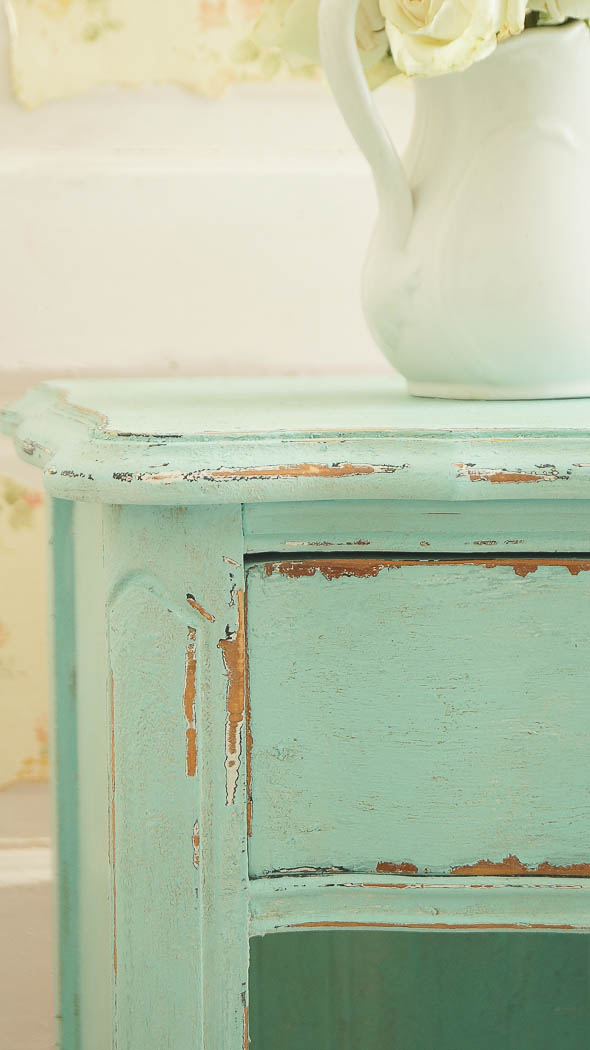
I used three distressing techniques on this piece, I think my favorite is the texture I added. It really looks like an old piece that’s been painted over and over again. And you know how much I love my layered chippy pieces! See, I told you this table repair was super duper easy! Let’s get back to my book for a second. In my book, I’ll be sharing some basics on how to paint. This is for all of your who would love to paint furniture, but your scared to because you’re afraid you’ll mess it up. Then, I’ll be sharing fun and easy distressing techniques. This book will be a step by step on each technique, to really show how to do each one.
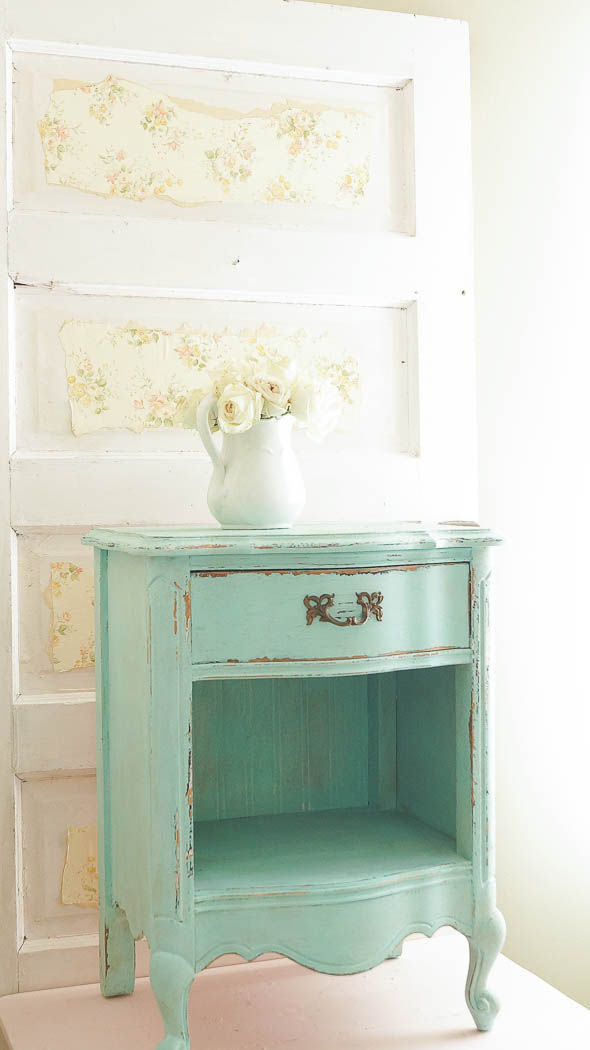
I love this color Vintage Green, it’s one of my favorite colors from my signature line! Have I convinced you not to pass up on a piece because it’s flawed?
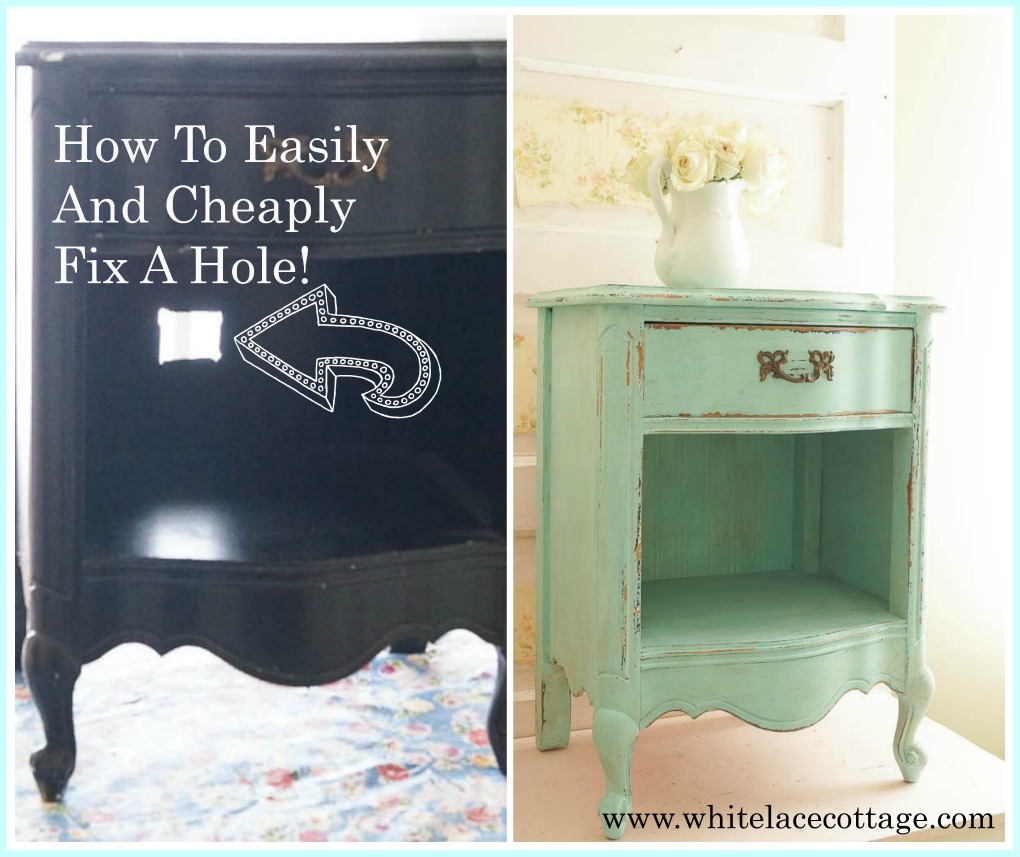
You can see how easy it was to transform this piece, here’s my latest video 🙂

Purchase Heirloom Traditions Paint HERE

Ha! I would have been the one sticking the plant in front of the hole. lolol! ,But you are so clever, Anne! That free little beauty turned out just perfectly…not to mention how gorgeous that color is. 🙂 Wish I lived closer, because I’d lug over all my shabby chic stuff to sell at your sale. It’s time for me to part with some of them. Have fun at your sale, and I know that it’ll be a big hit like last year! 🙂
xoxo laurie
Where is the sale going to be? My girlfriend and I would love a trip to sale.
Thanks
Susie
Green isn’t my favorite color but I love what you have done. It is perfection! You are so cute Anne and I am old enough to be your mother but,I get tickled at you and very proud at what you can accomplish! Bravo!!
I LOVE that precious table! I would probably have taken the long route of taking the back panel off, cutting a piece of would to fit and the whole nine boring yards. That beadboard made your table look cuter and more vintage than it ever could have hoped to even BEFORE it got the hole! The color is so beautiful and soothing, I thing it really lends itself to the beauty of a chippy paint finish. I’m determined, I’ll never pass up a flaw again. I may have to send you a pic for some inspiration, but I won’t pass it up!