Faux Tin Ceiling Tiles Kitchen Island
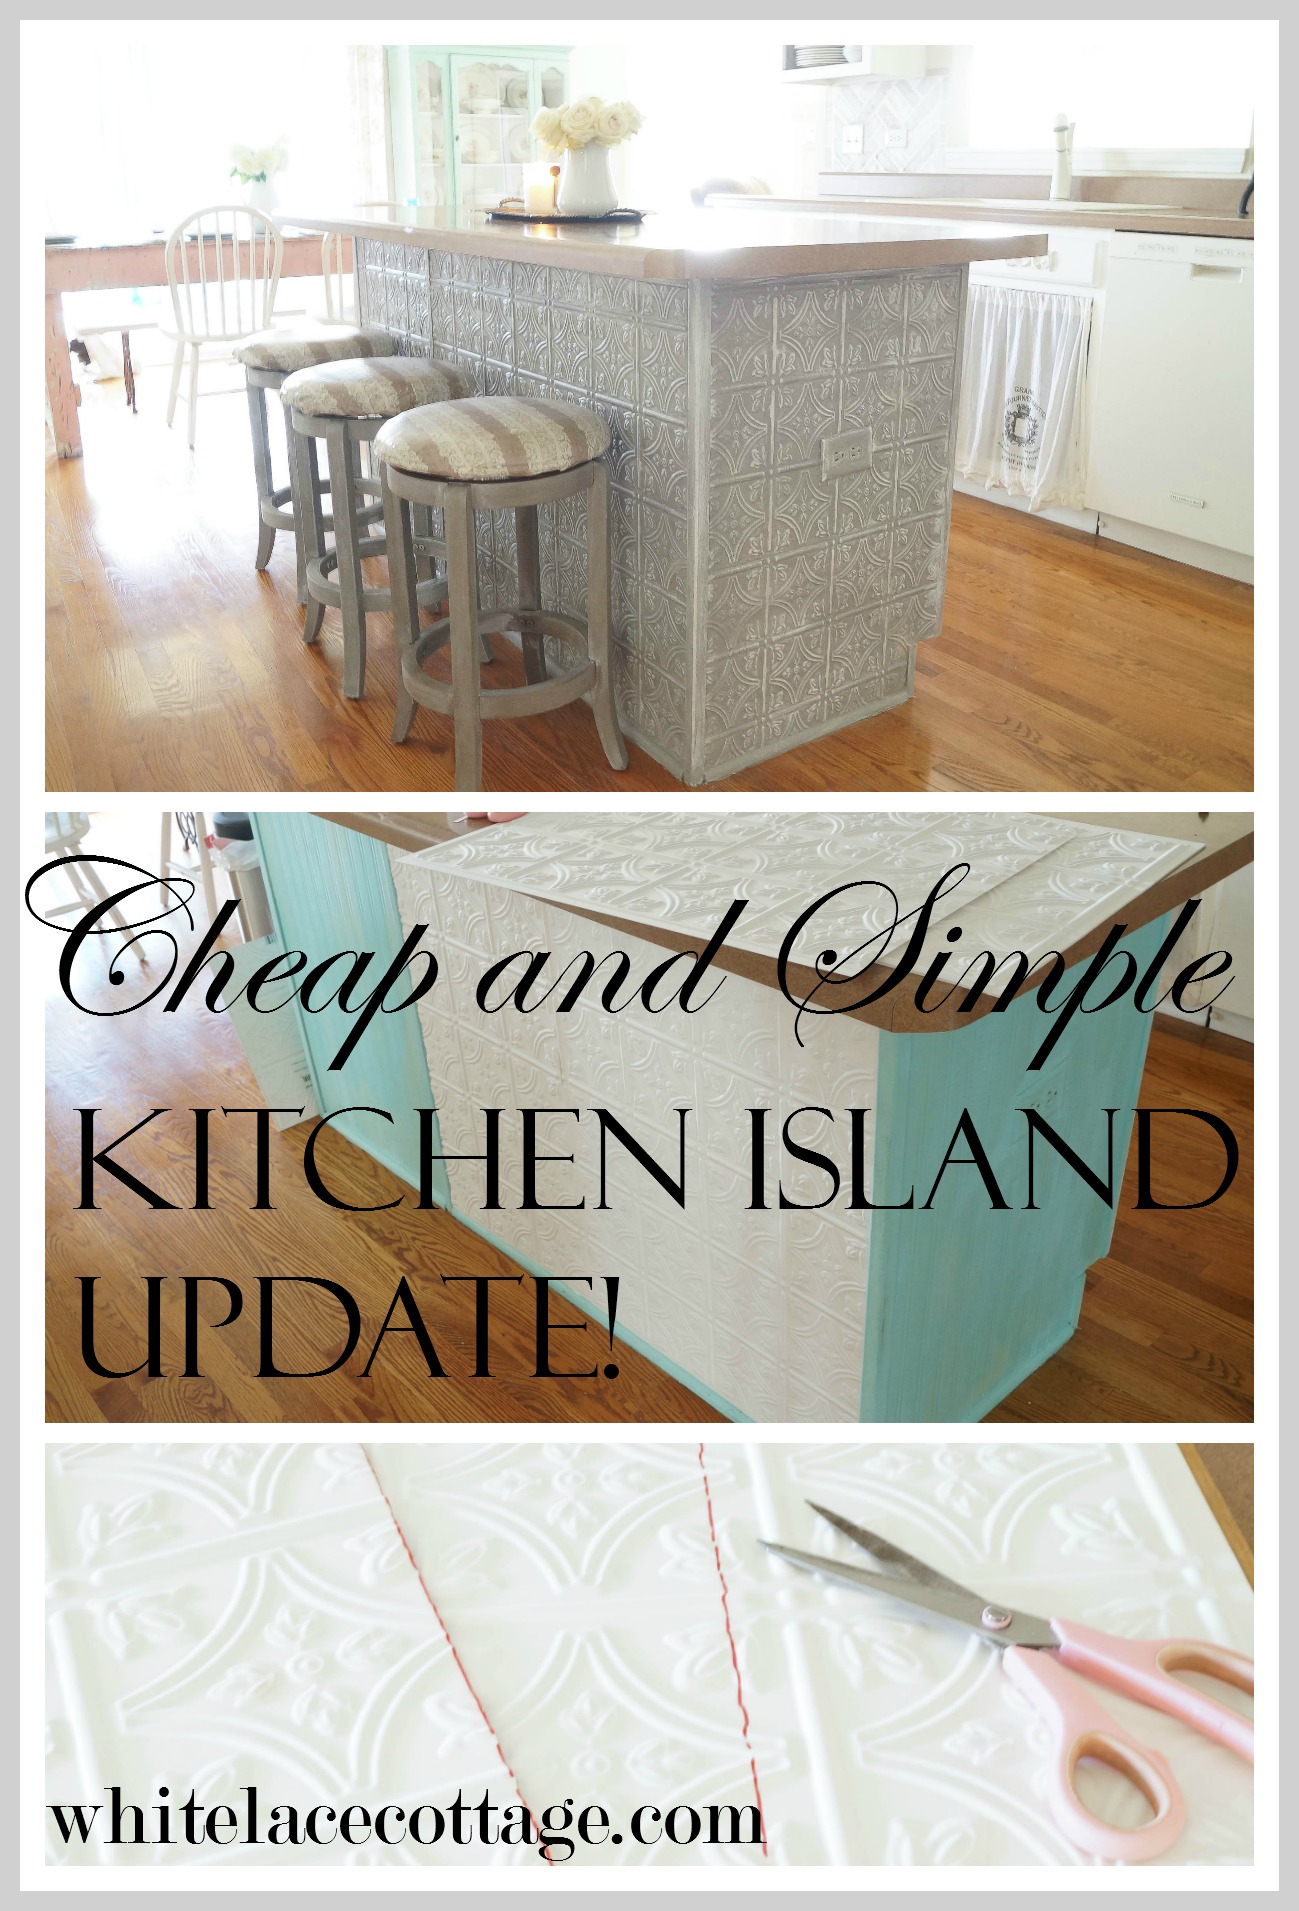
I had this idea of adding faux tin ceiling tiles to my kitchen island. Yes, I know you’re probably wondering how many times have I changed my kitchen island? If you’ve been following along, you know. If not then let me share. I think I’ve changed it at least five times over the past four years!
(This post contains affiliate links, please read disclosure policy)
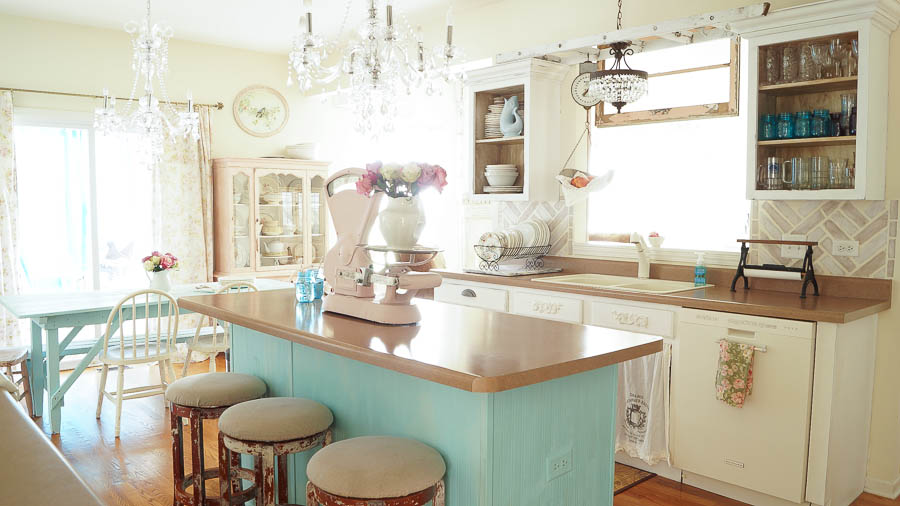
You haven’t seen many recent photos of my home, and there’s a reason for that. Since I sold much of what I had, including things that were on my walls, I’ve been slowly trying to put things back together, which is a little tricky since I’m working with much less. And I’ve also been patching up holes and painting a few of my rooms. I’m also changing my style slightly. I still love vintage style, but after decorating my home with the same style for over 4 years, I need a little change. I’m sure you’ve felt that way too with your own home before too. Change is a good thing, and it’s how I grow as a decorator.
Now back to my kitchen island. So why have I changed my kitchen island so many times? Well, the first color I chose was white. It was pretty, but a little too much white for my kitchen, and it didn’t stay clean. Then I changed it to a taupe color, I loved it, but I grew tired of it, then gave green a shot. But the green I chose was a little too intense for me. I decided to added beadboard wall paper, and painted it pink. I was hoping that the wallpaper would give it a little detail, but after adding it, the paper slowly started to rip and tear off. Especially at the end where are trash can is.
Are you still with me?
Then I decided to paint it yet another shade of green and I loved it. But now that we’re thinking of selling the the next couple of years, I thought it was time to repaint it. But instead of just repainting it, why not change it all together.
In case you’re wondering why I didn’t add real beadboard. The builder put in cheapo cabinets, even though we paid to upgrade our cabinets. The kitchen island surround is not wood, I’m not sure what it’s made up of, but it feels like cardboard. And you can’t nail into cardboard.
I was thinking of adding rustic raw planked wood that would be glued. But the more I thought about that idea, the more I thought that it wasn’t such a good idea. I was thinking if someone sat at the island their knees may get a sliver. And the cost of using that wood that changed my mind. Since we’re not planning on staying here for many more years, anything that I do to decorate must be in our budget.
I’ll be spending money on important things like flooring, and possibly new counters and a back splash. After searching the isles of our home improvement center I came across this stuff.
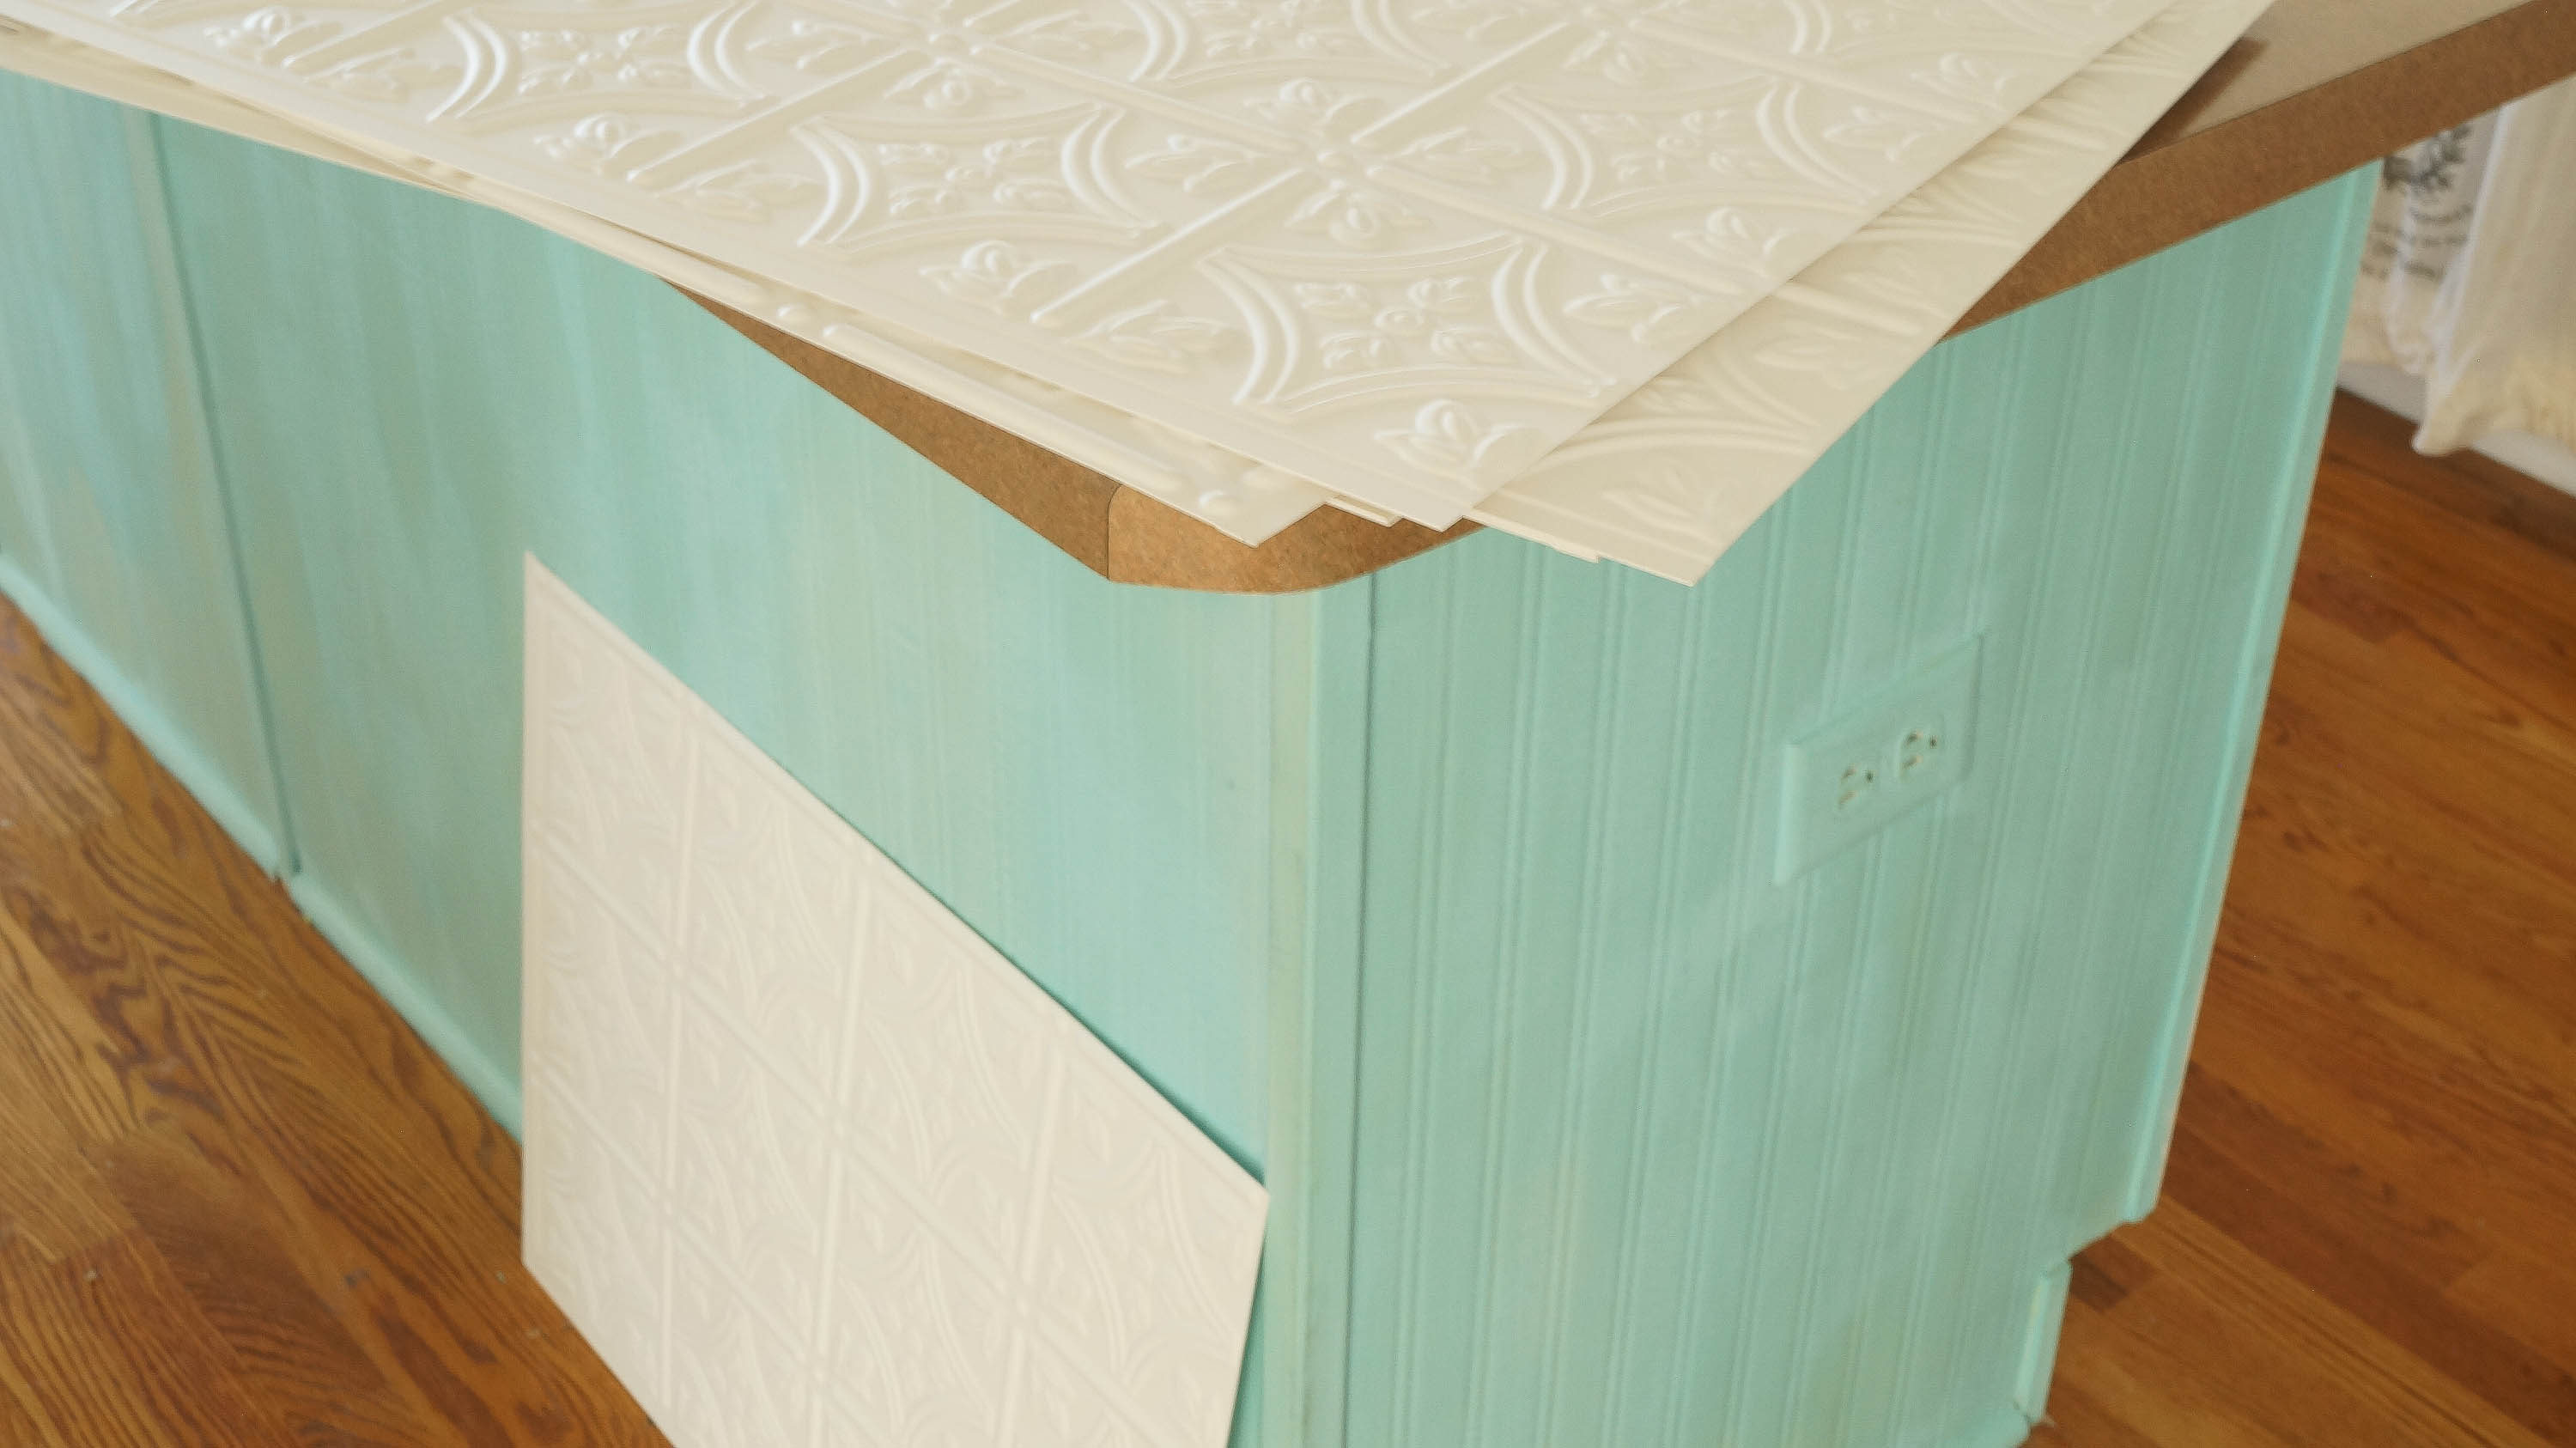
These are faux tin ceiling tiles. It looks just like those real old ceiling tiles, except it’s plastic, which is much easier to work with. This was super easy to do, but I did mess up and I’ll explain how.
Oh and BTW these faux ceiling tiles come in many different designs. I chose white, but they also have these in a faux metal finish. I purchased mine at Menards. But you can also purchase them on line. I’ll add the link in the “tools used section of this post” and again at the end in a shopping guide.
How To Install Faux Ceiling Tiles To A Kitchen Island
Tools Used:
Before I began to apply my faux tin ceiling tiles, I measured the areas that I wanted to cover with this faux tin ceiling tiles.
Oh before I go any further, I wanted to share this glue. I’ve used this on several projects and it works great, with a super grip! It’s called Power Grab.
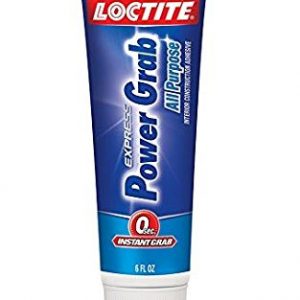
This glue is amazing, if you want a strong hold instantly. It’s not cheap, and one tube got coverage on 1 1/2 of these tiles. But it’s worth it! Just make sure that if you use this glue on any project, make sure you place your piece exactly where you want it, because once you apply pressure to it, you can’t remove it without making a mess. This is NOT a sponsored post. Everything that I’m using on this project was purchased by me. And I’m just sharing what I used, and why I love it 🙂
I decided to start on my largest section of my island first, I worked from the top to the bottom, then worked across. Before I started cutting my tiles, I placed my faux tin ceiling tile on my section. I needed help doing this. I lined it up and then decided if that was where I wanted my tile to start. Then measure your faux tin ceiling tile, before you cut your piece. Make sure to measure twice. This faux tile is a little pricey so you don’t want to mess up.
I then took my t-square and placed it on the top edge of my piece. Then using a marker, I made my line. You don’t have to use a marker, I just wanted you to be able to see the lines in my photo.
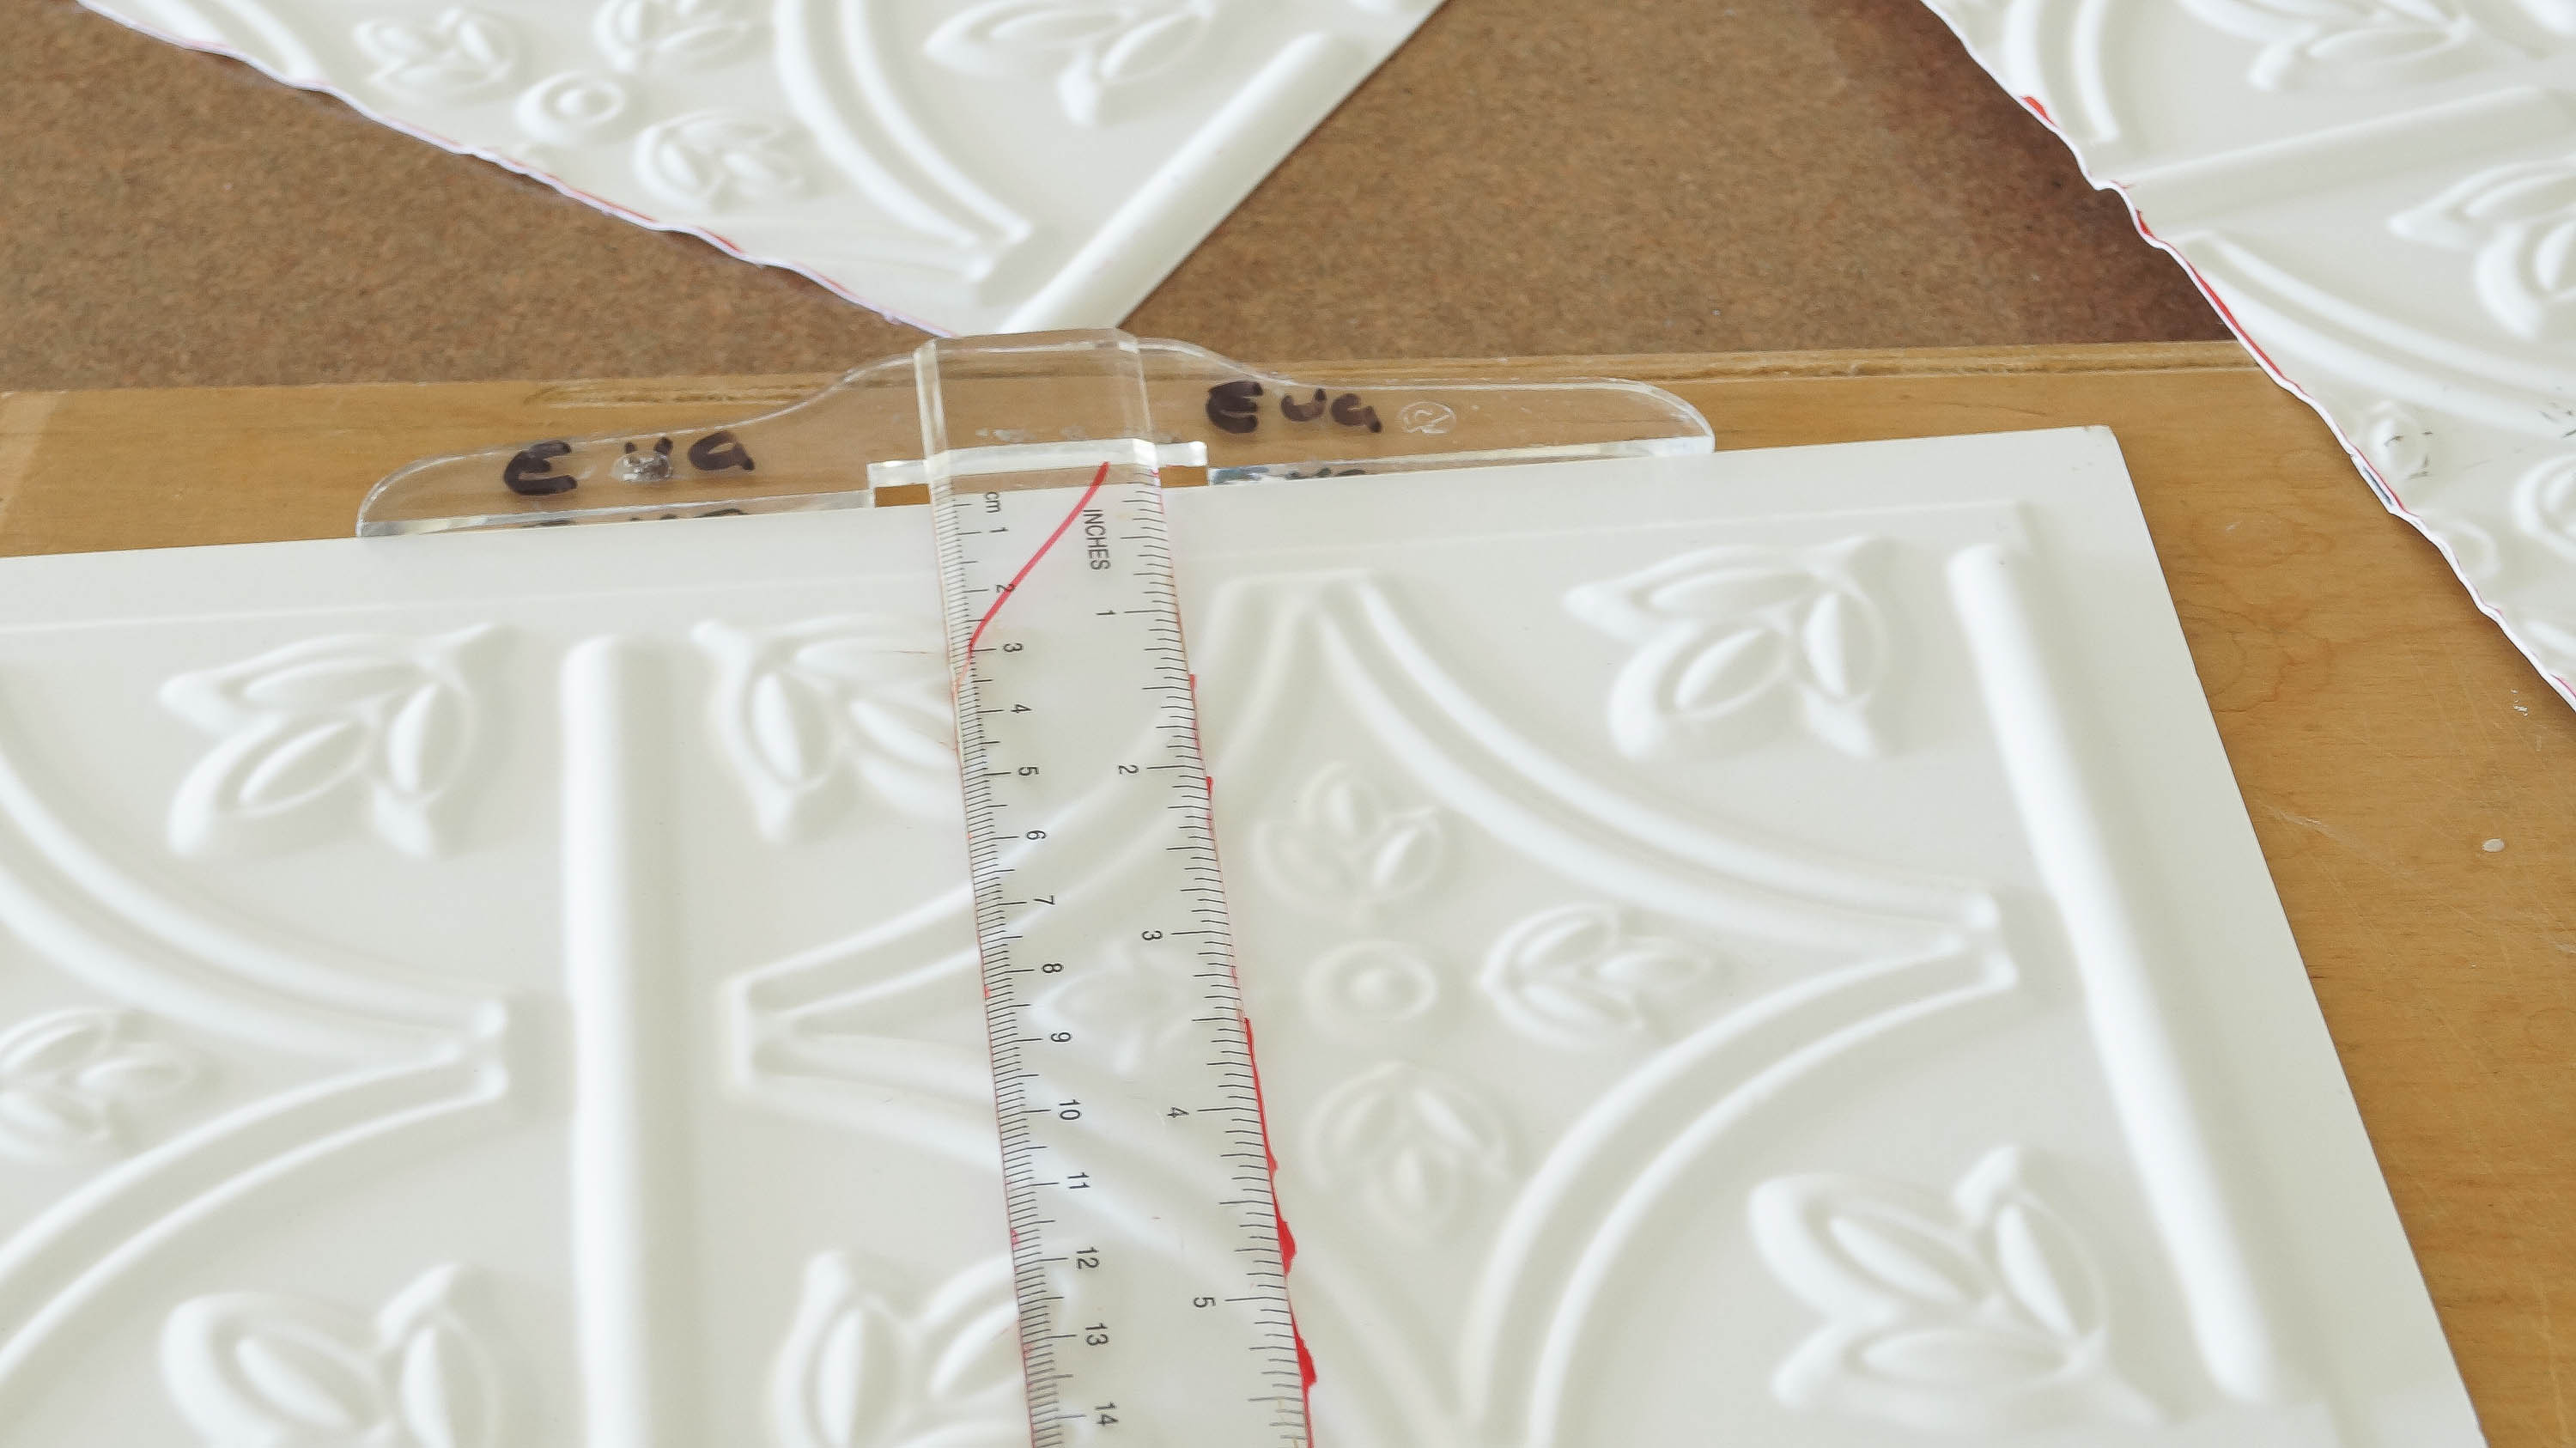
Using your scissors, start cutting a straight line. Make sure to use this T-square on all of your faux tin ceiling tiles. Take your time, you don’t have any room for errors on this project.
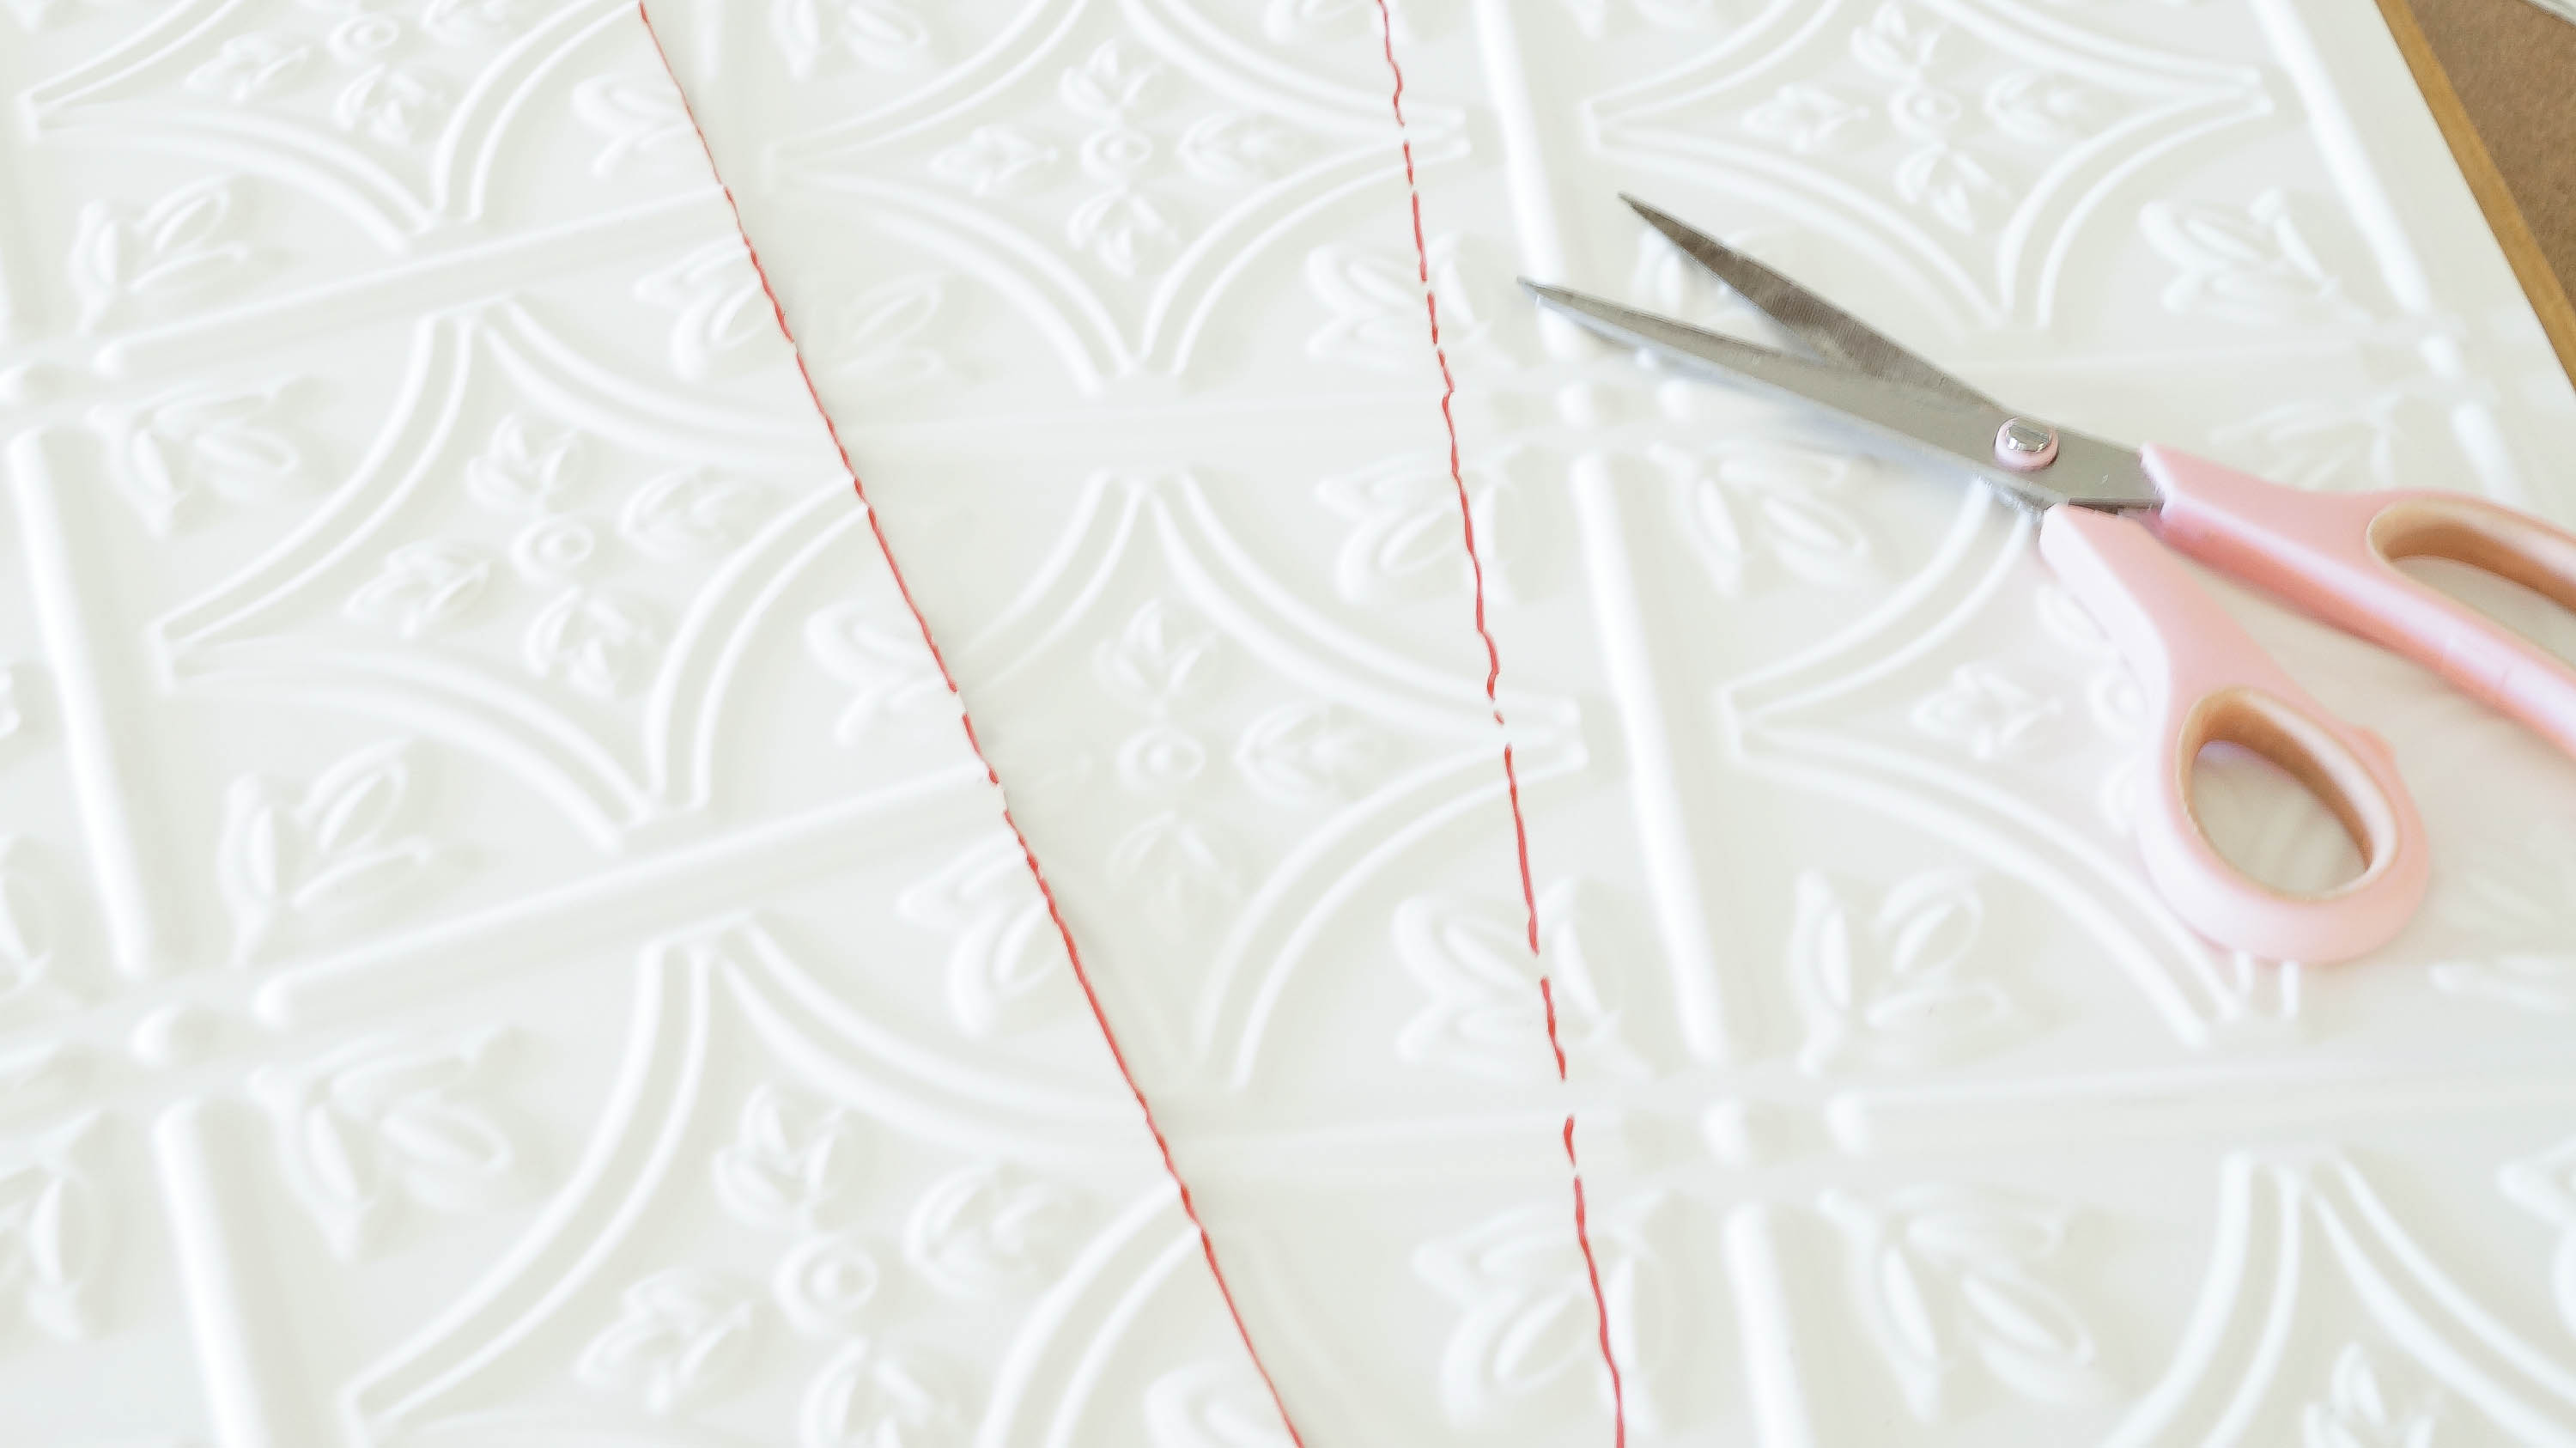
Before you add your glue, double check that your piece has been cut correctly on each faux tin ceiling tiles . If it looks good you can start adding the glue to the back of your tile. I applied glue around the perimeter, then I made an X.
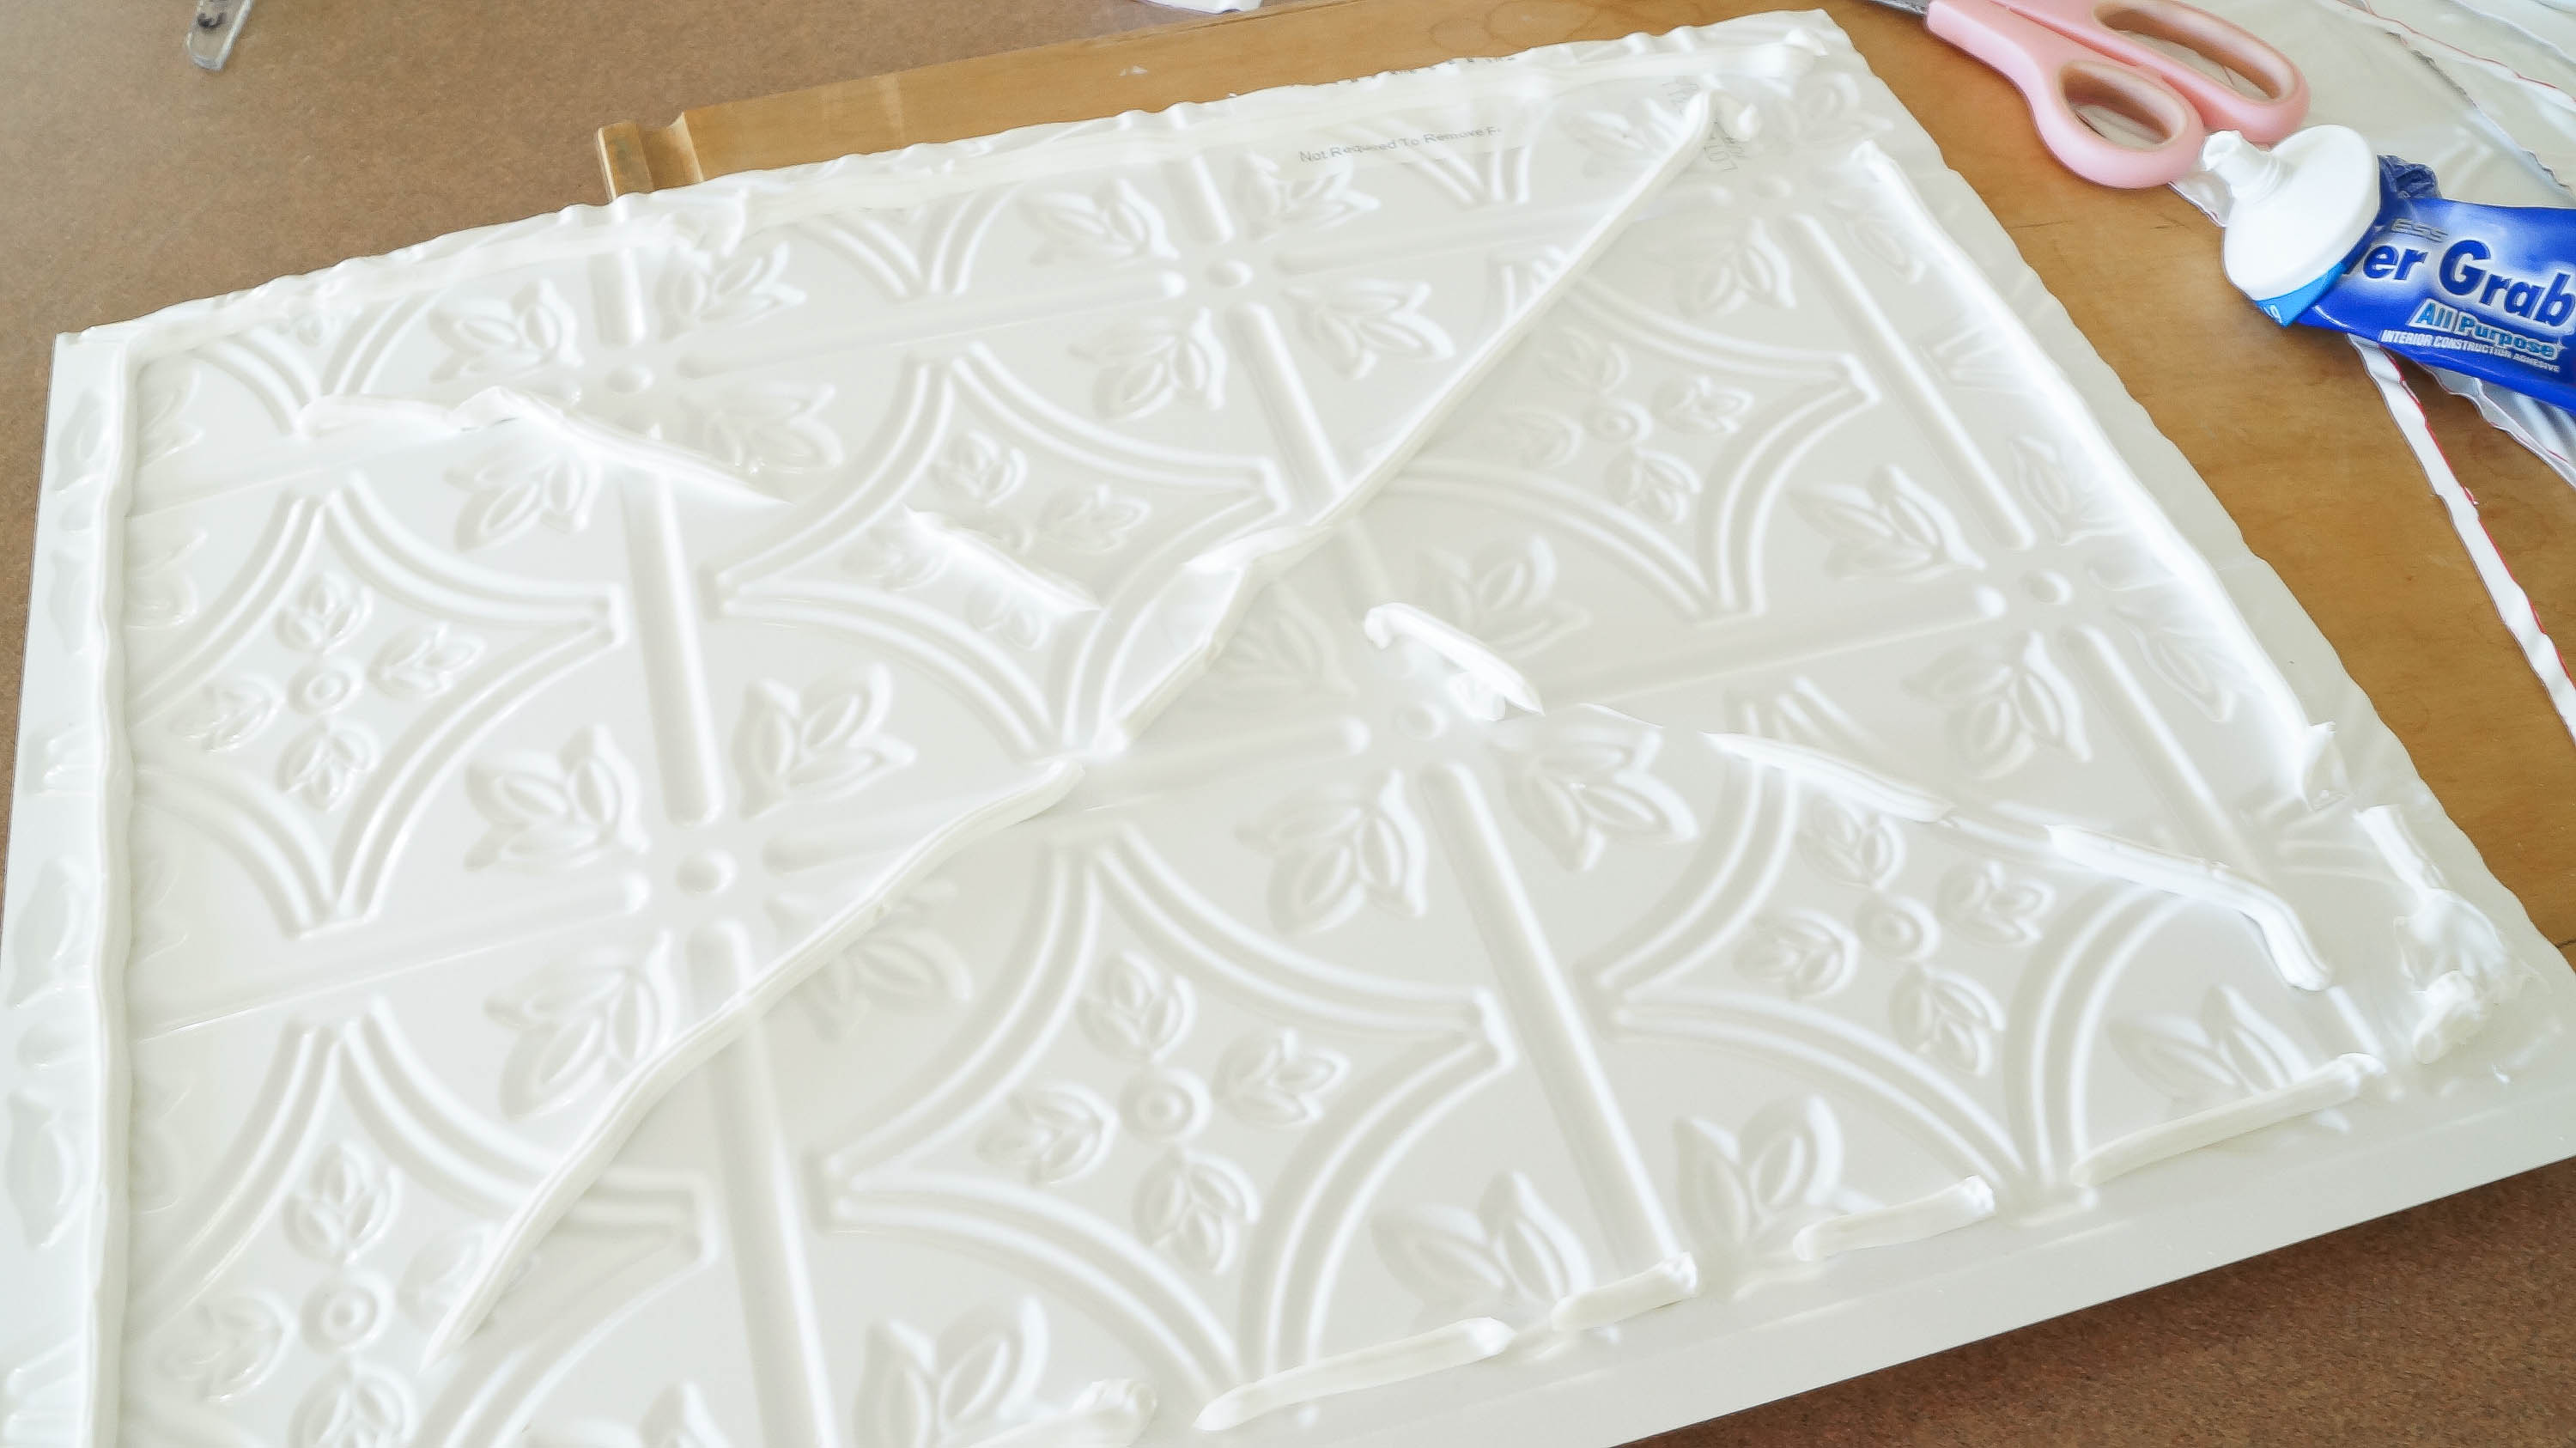
Again, before you place this on your piece, make sure you’re putting it on correctly. This glue dries instantly. Once your tile is on your piece, start pressing your tile to make sure the glue gets distributed evenly.Continue working on your piece until it’s completely done.
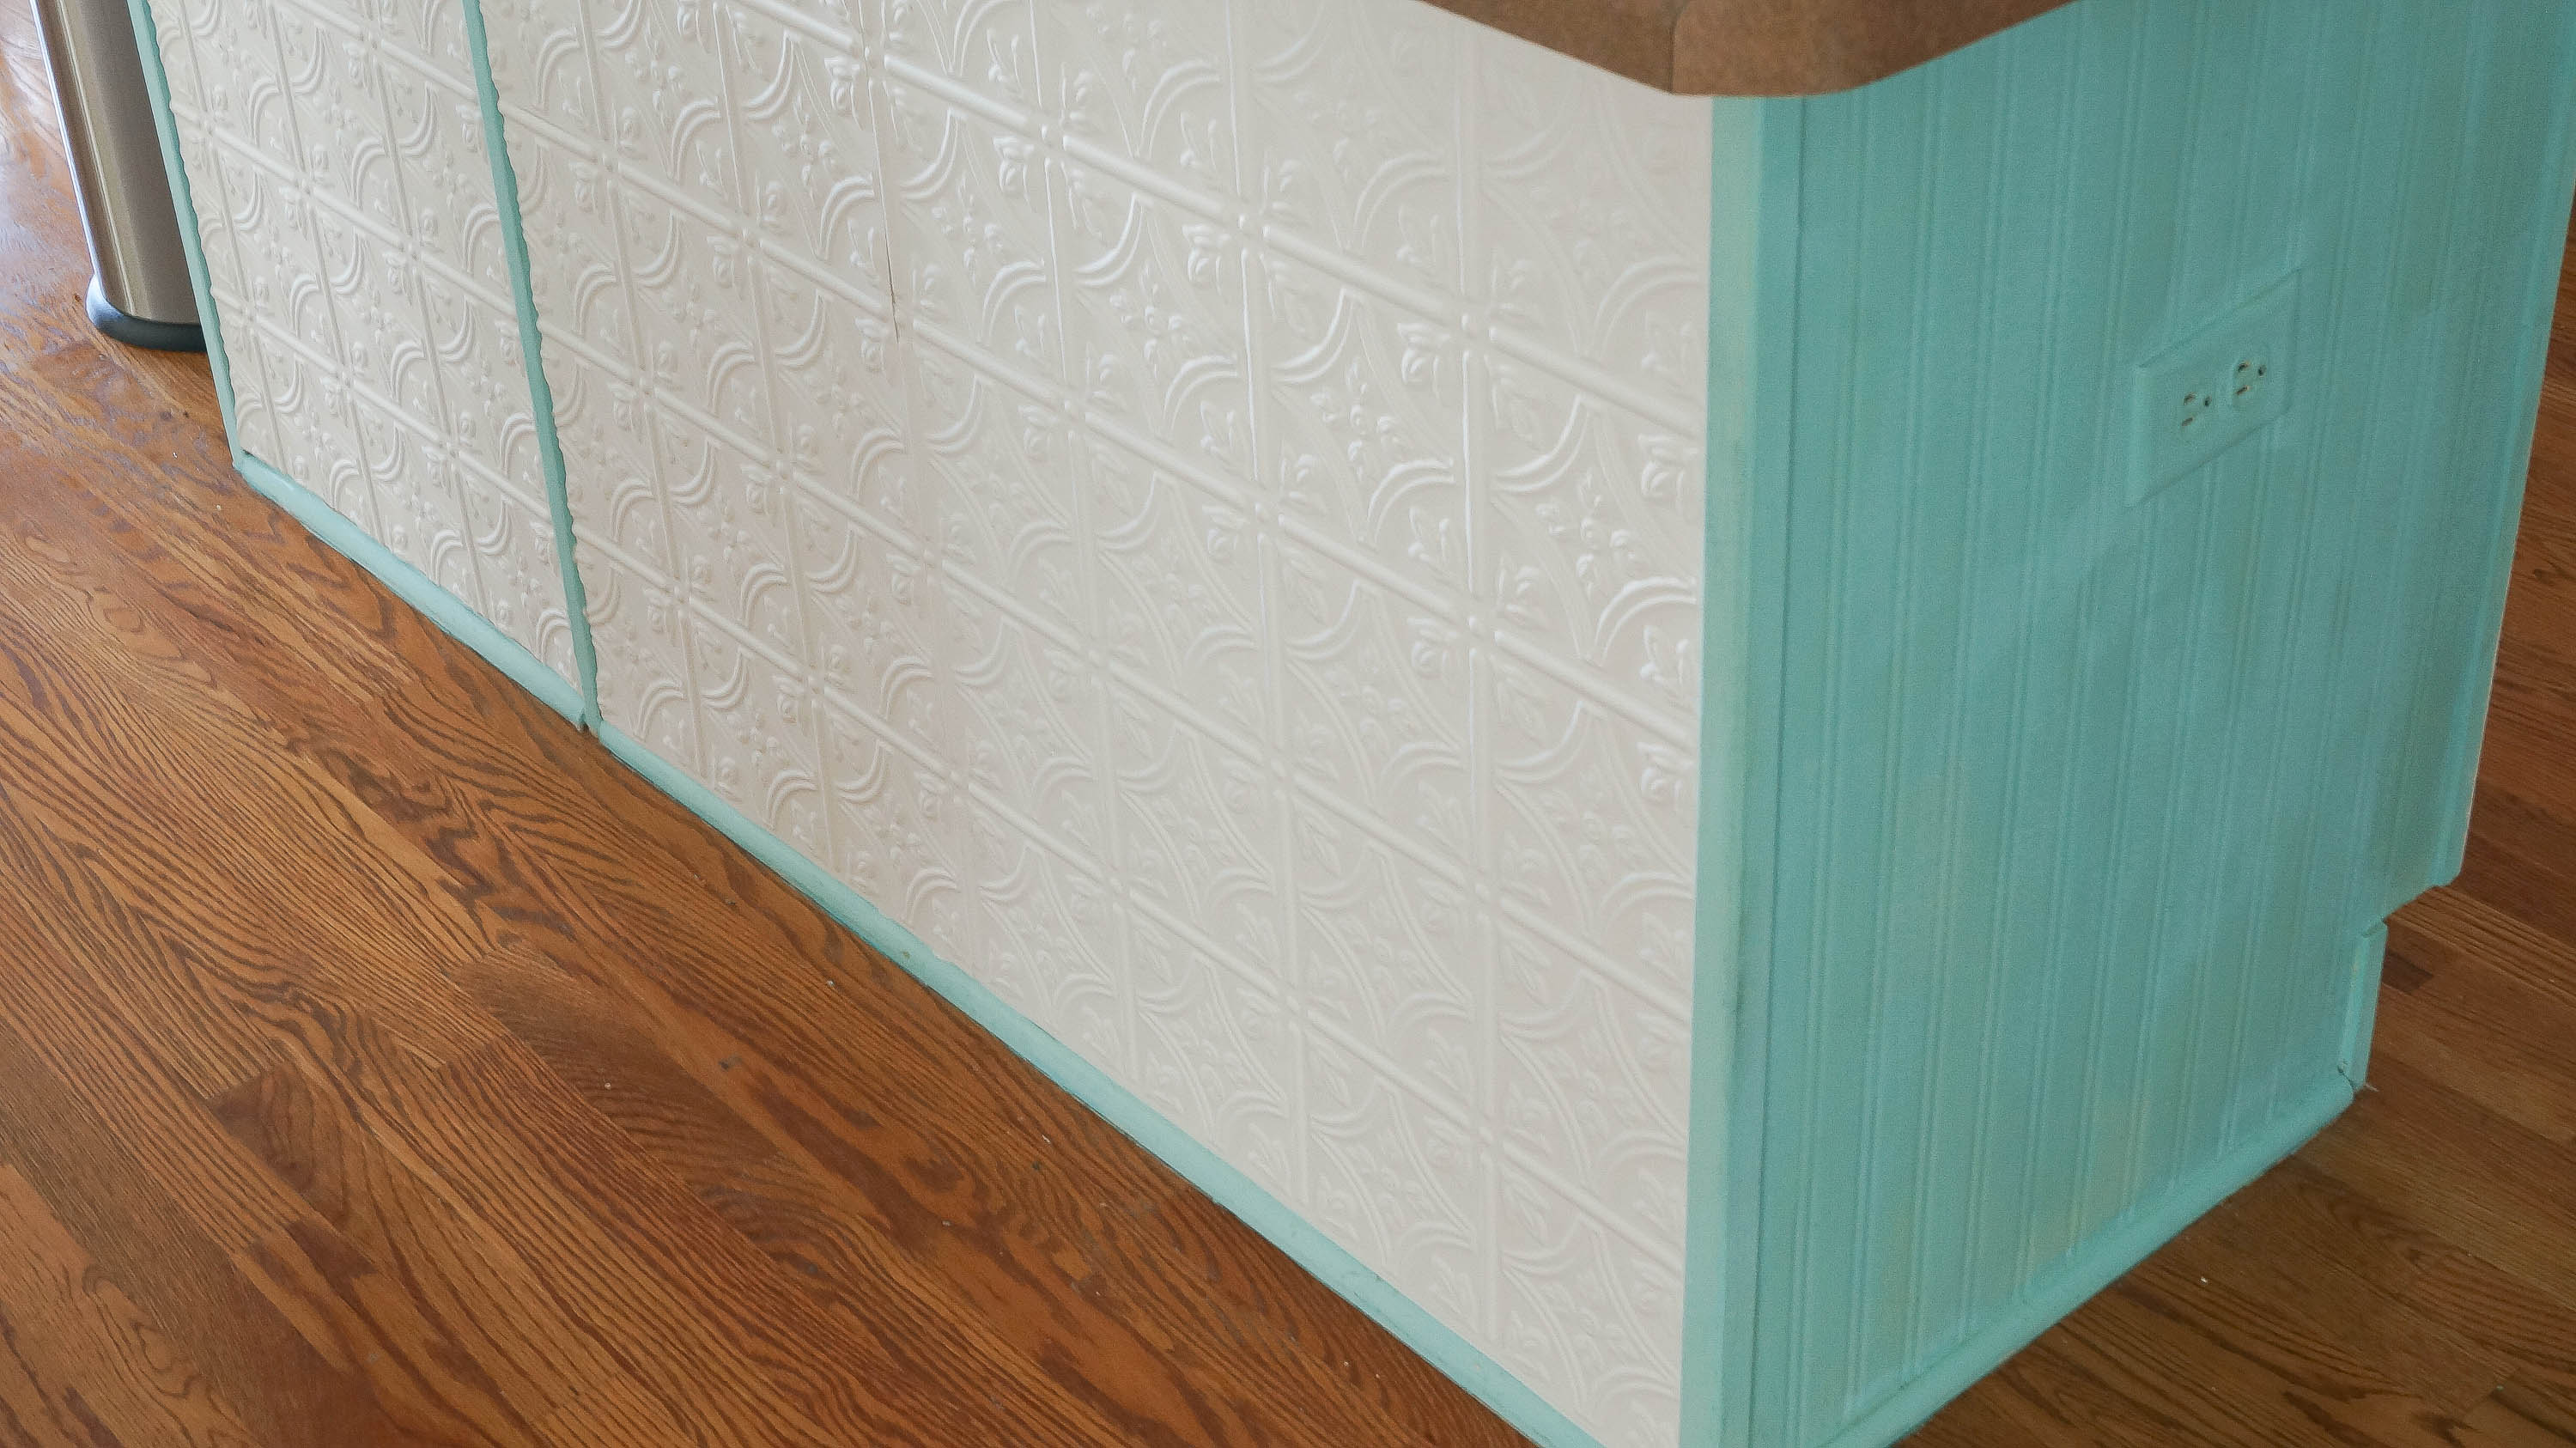
I made a big mistake when I did my island, and you can totally see it in photos. See how the ends are not even? The middle section should meet with the end of the kitchen island, but I totally messed up on the opposite end first, then I had to make sure that this end was the same. Because that glue is so strong, I couldn’t take it off without messing it up. I can live with this, but don’t make the same mistake I did.
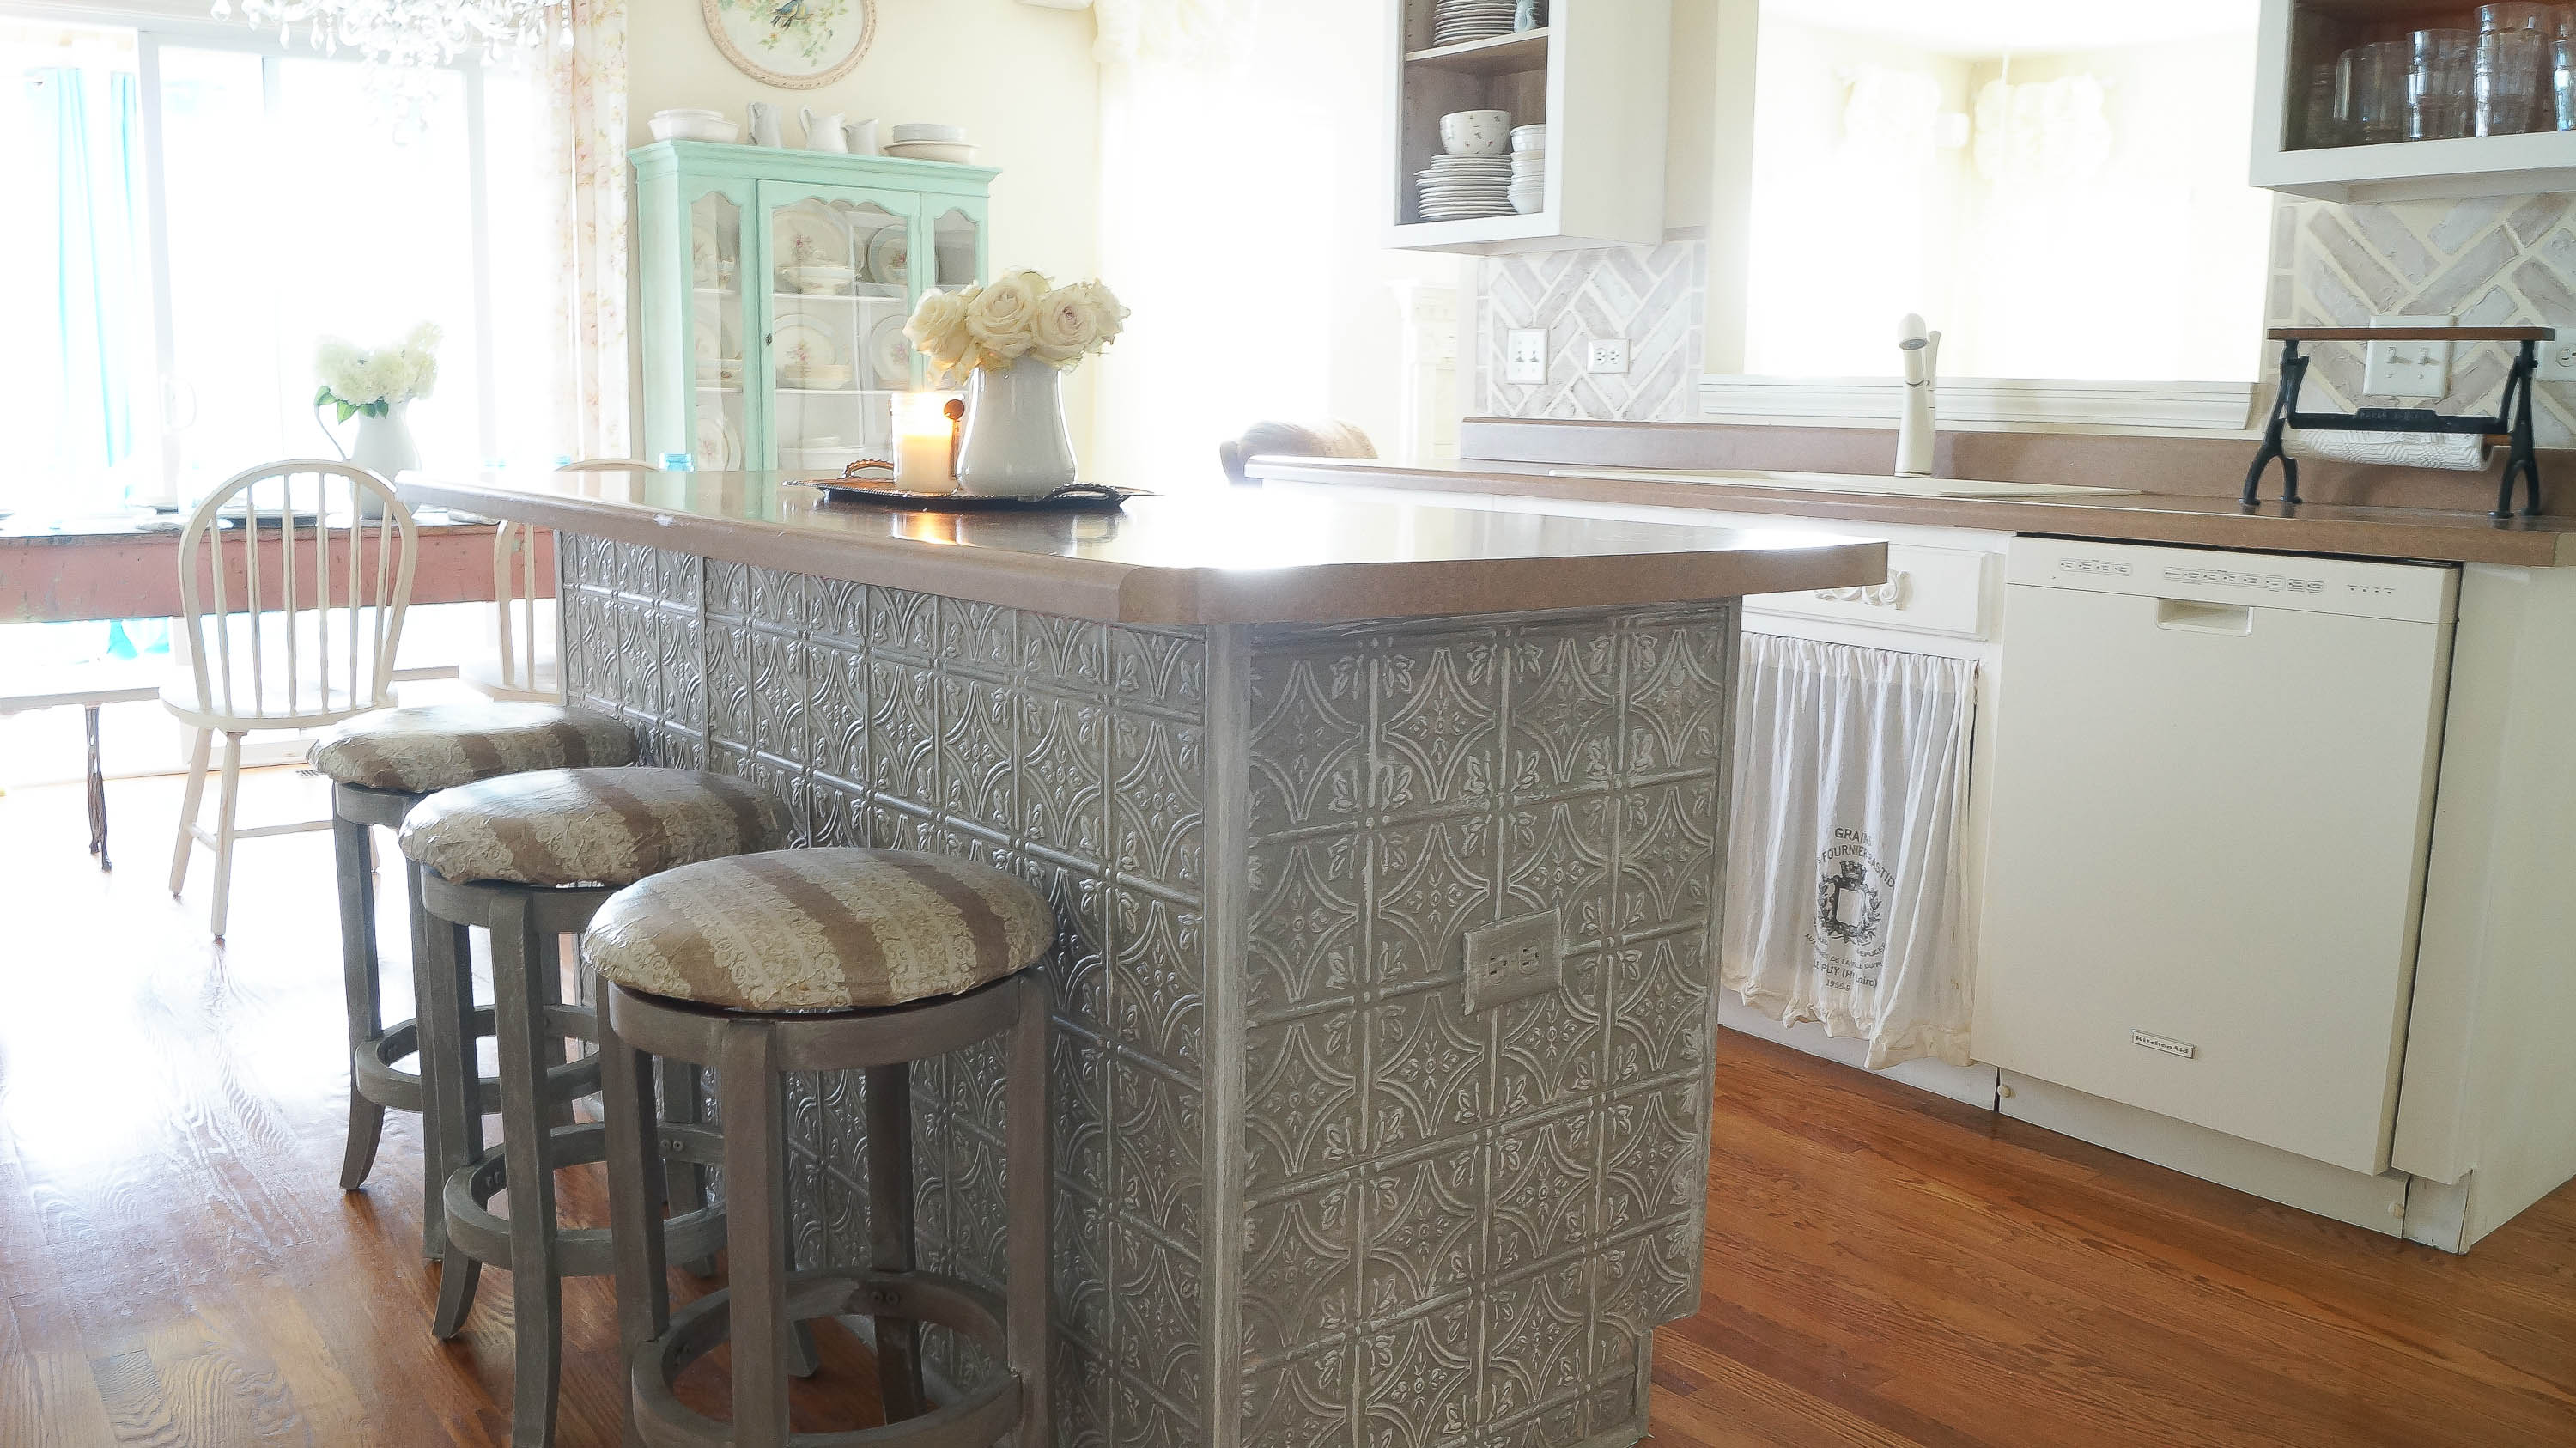
And do you want to know why I made this mistake? As I was working on my kitchen island, my husband was on the phone talking to a rep at Dell. We had to replace our laptop computer last November and it’s been a nightmare since day one! It’s been one issue after another. So, as I was working on one end of my kitchen island and listening to my husband speak, I wasn’t concentrating as I should have been and I totally messed up. So as you look at the large side compared to the end, you don’t see that even flow.
And remember when I said make sure you glue your piece just where you want it if you use this glue? Well, I couldn’t take that piece off once I placed it on it. So as they say, it is what it is. I still like the way it looks, but I wish I had gotten it straighter. Learn from my lesson. Make sure you’re working uninterrupted while your doing this project. It’s a very easy project, but take your time and do it right.
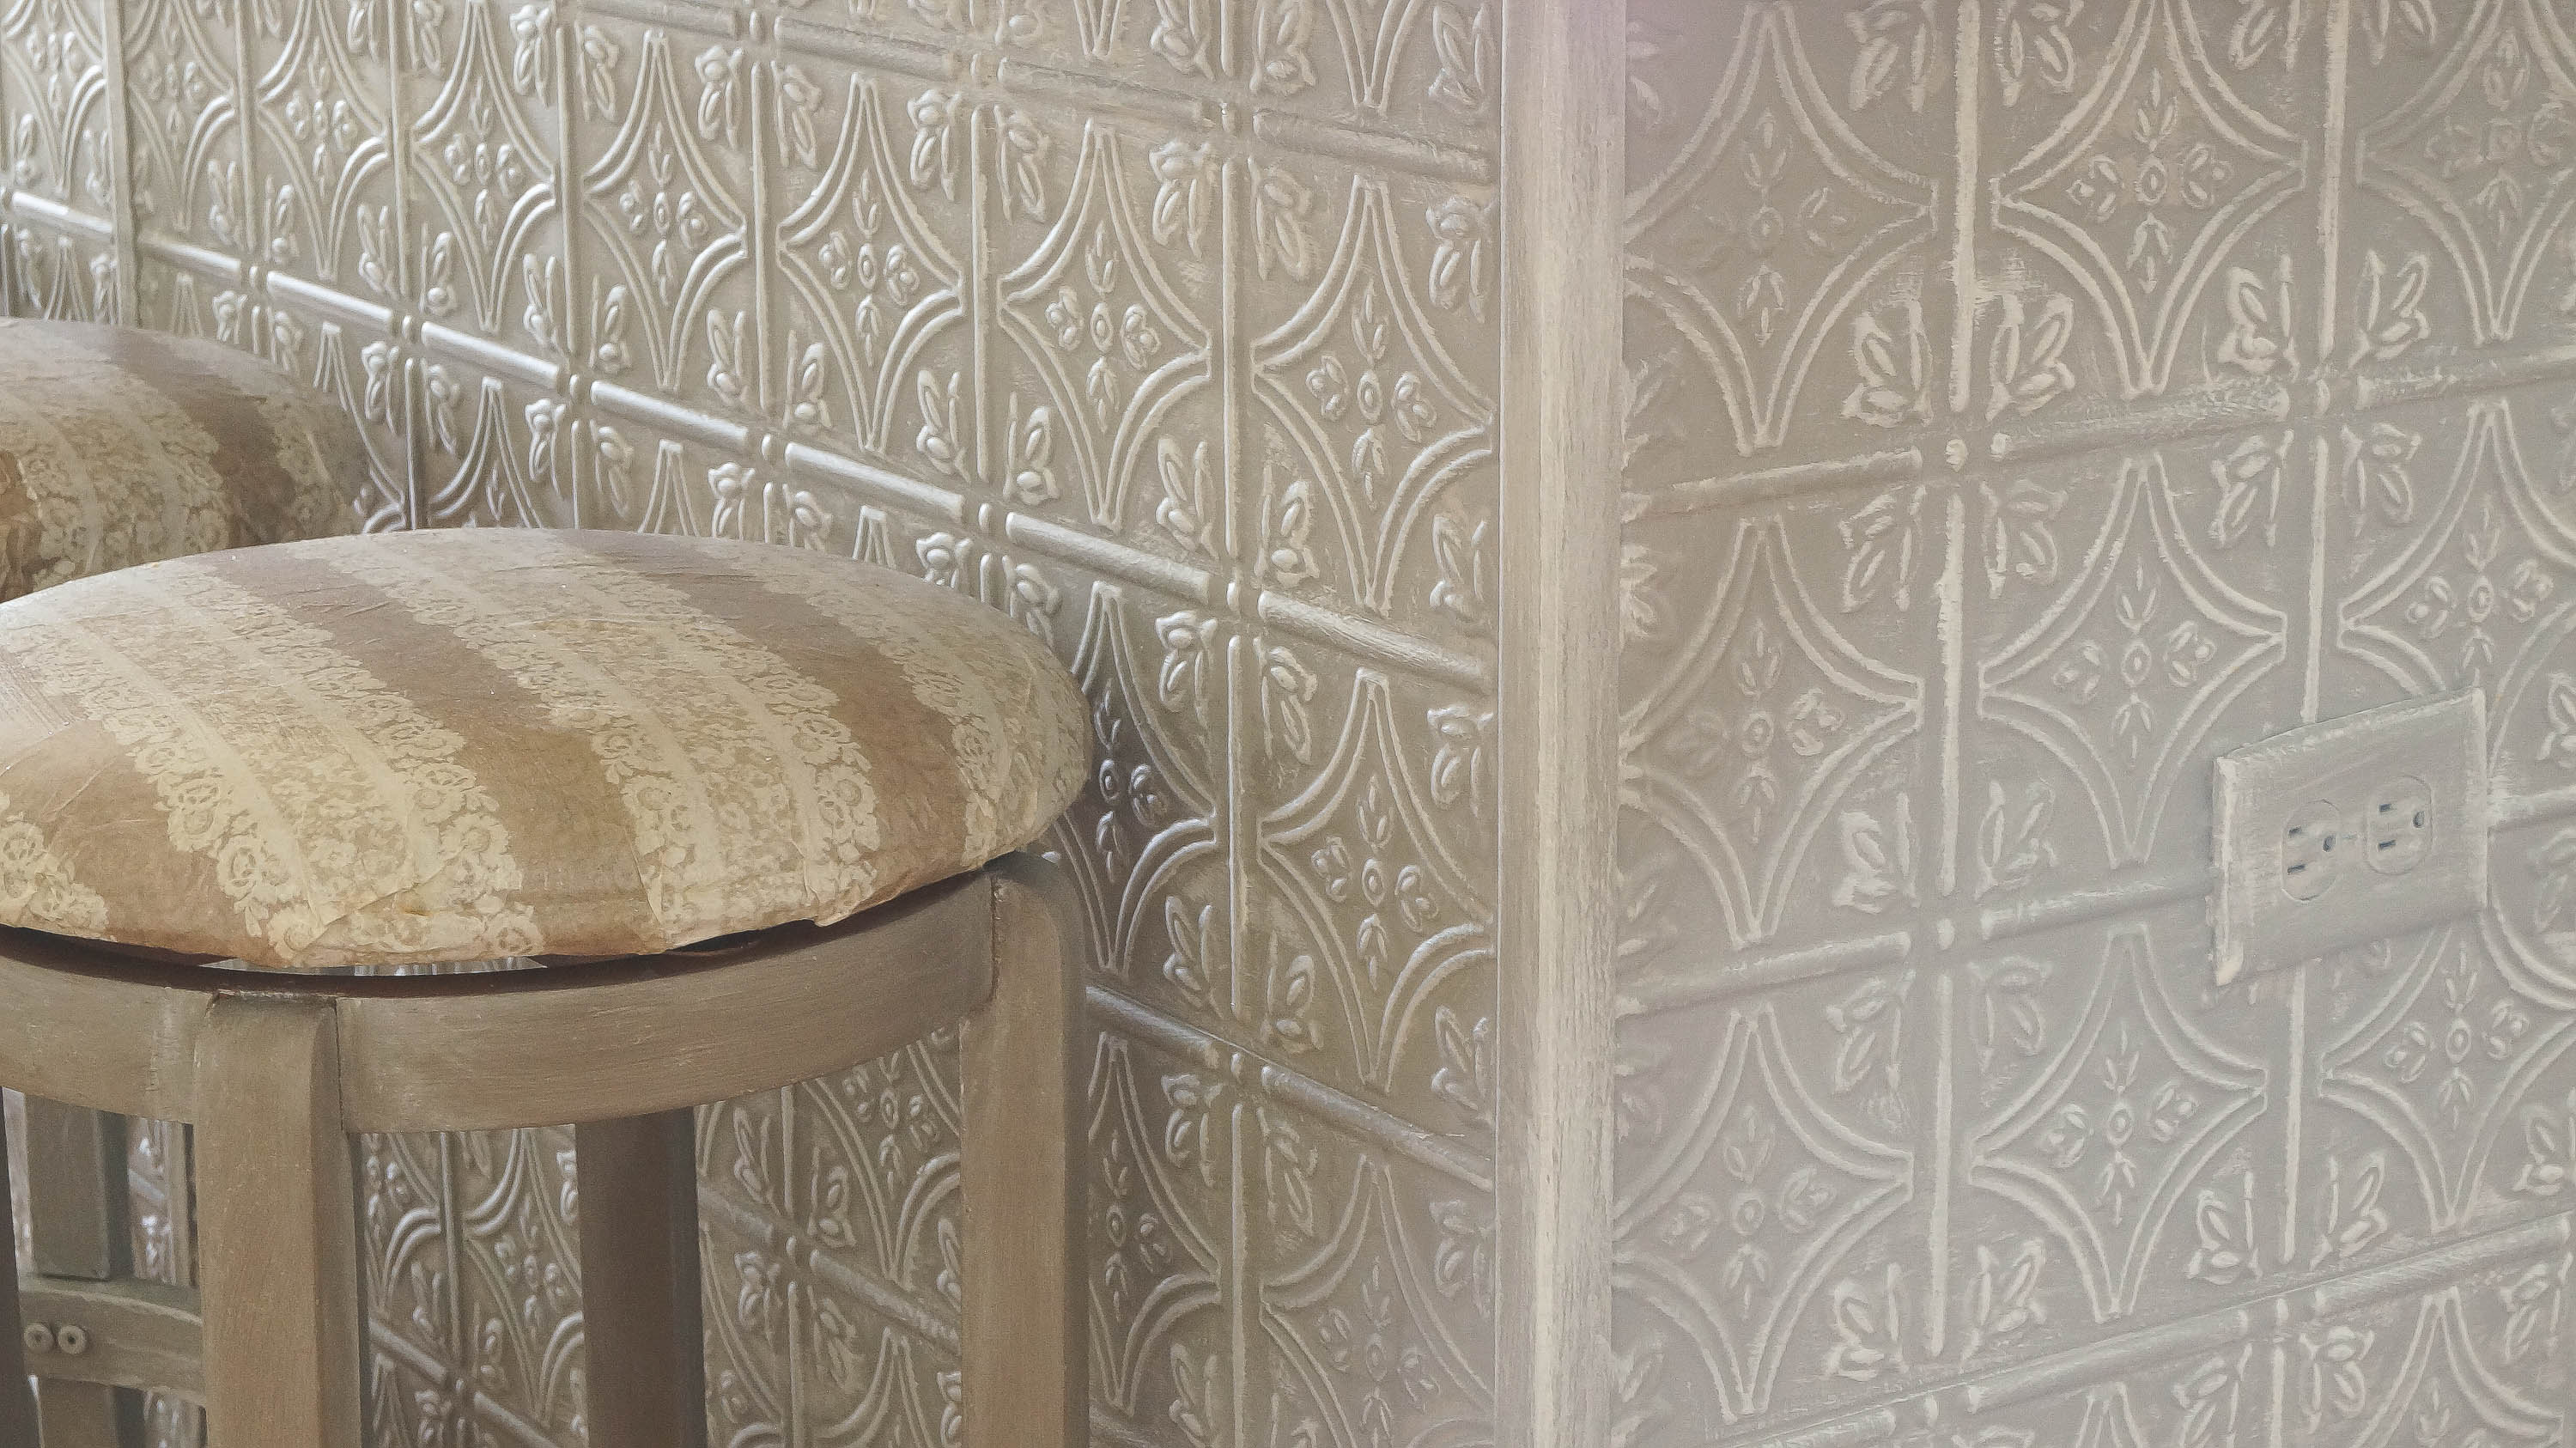
Once the glue was fully dry, I waited overnight before I started to paint it. I used a grey paint by Heirloom Traditions – Thunderous I applied two coats of paint. Once those two coats were completely dry, I used a watered down Heirloom Traditions White Lace, and I applied it using the dry brush method. I only wanted to highlight the details. Once that was completely dry, I added Heirloom Traditions Aqua clear in satin finish. Since this is a high traffic area, I applied two coats.
The kitchen island color needs to be a bit darker because it’s a high traffic area. Blue jean knees discolor it. I’ve tried a few lighter shades and each time it starts looking dirty. But adding that highlight brightens it up a bit.
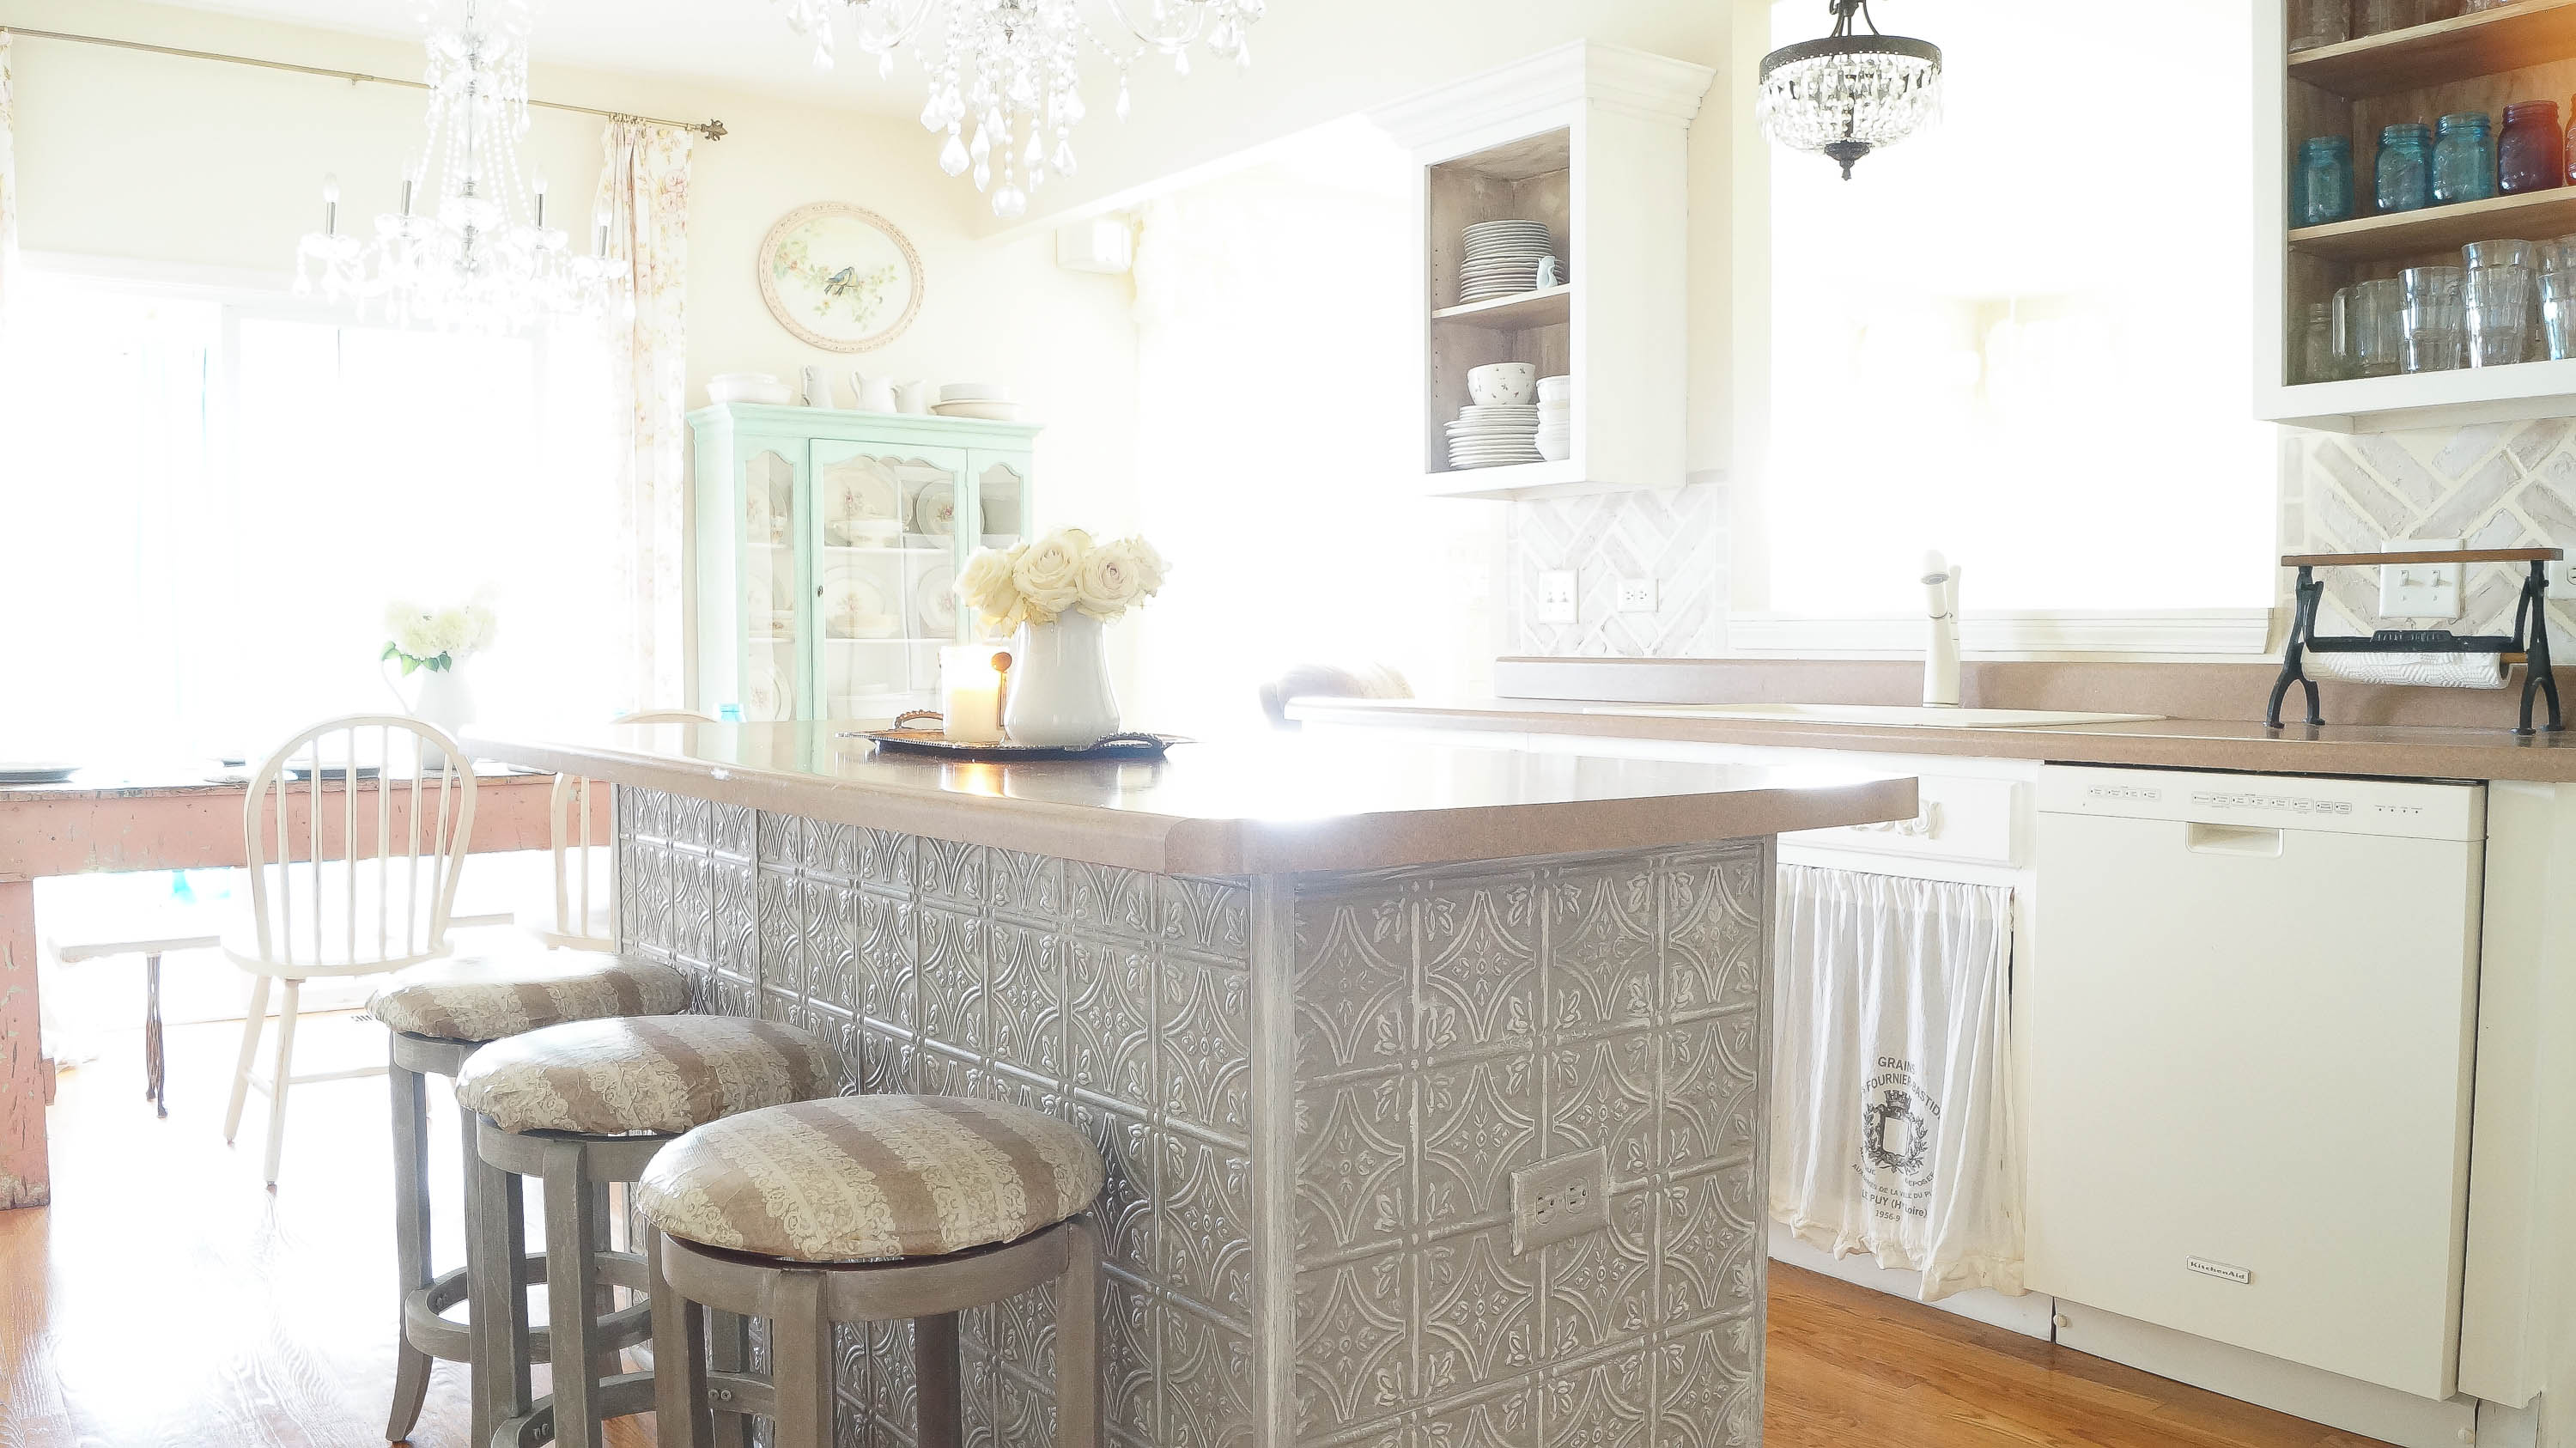
You can see by this photo that my kitchen is not yet complete. I have lots more to do. I’m saying goodbye to my large farmhouse table and making room for a smaller one. I’m also repainting my china cabinet again. Although I may just sell that as well, I haven’t decided yet. I have an old wood rack that would work perfectly in my kitchen. I haven’t decided what to do about my curtains yet.
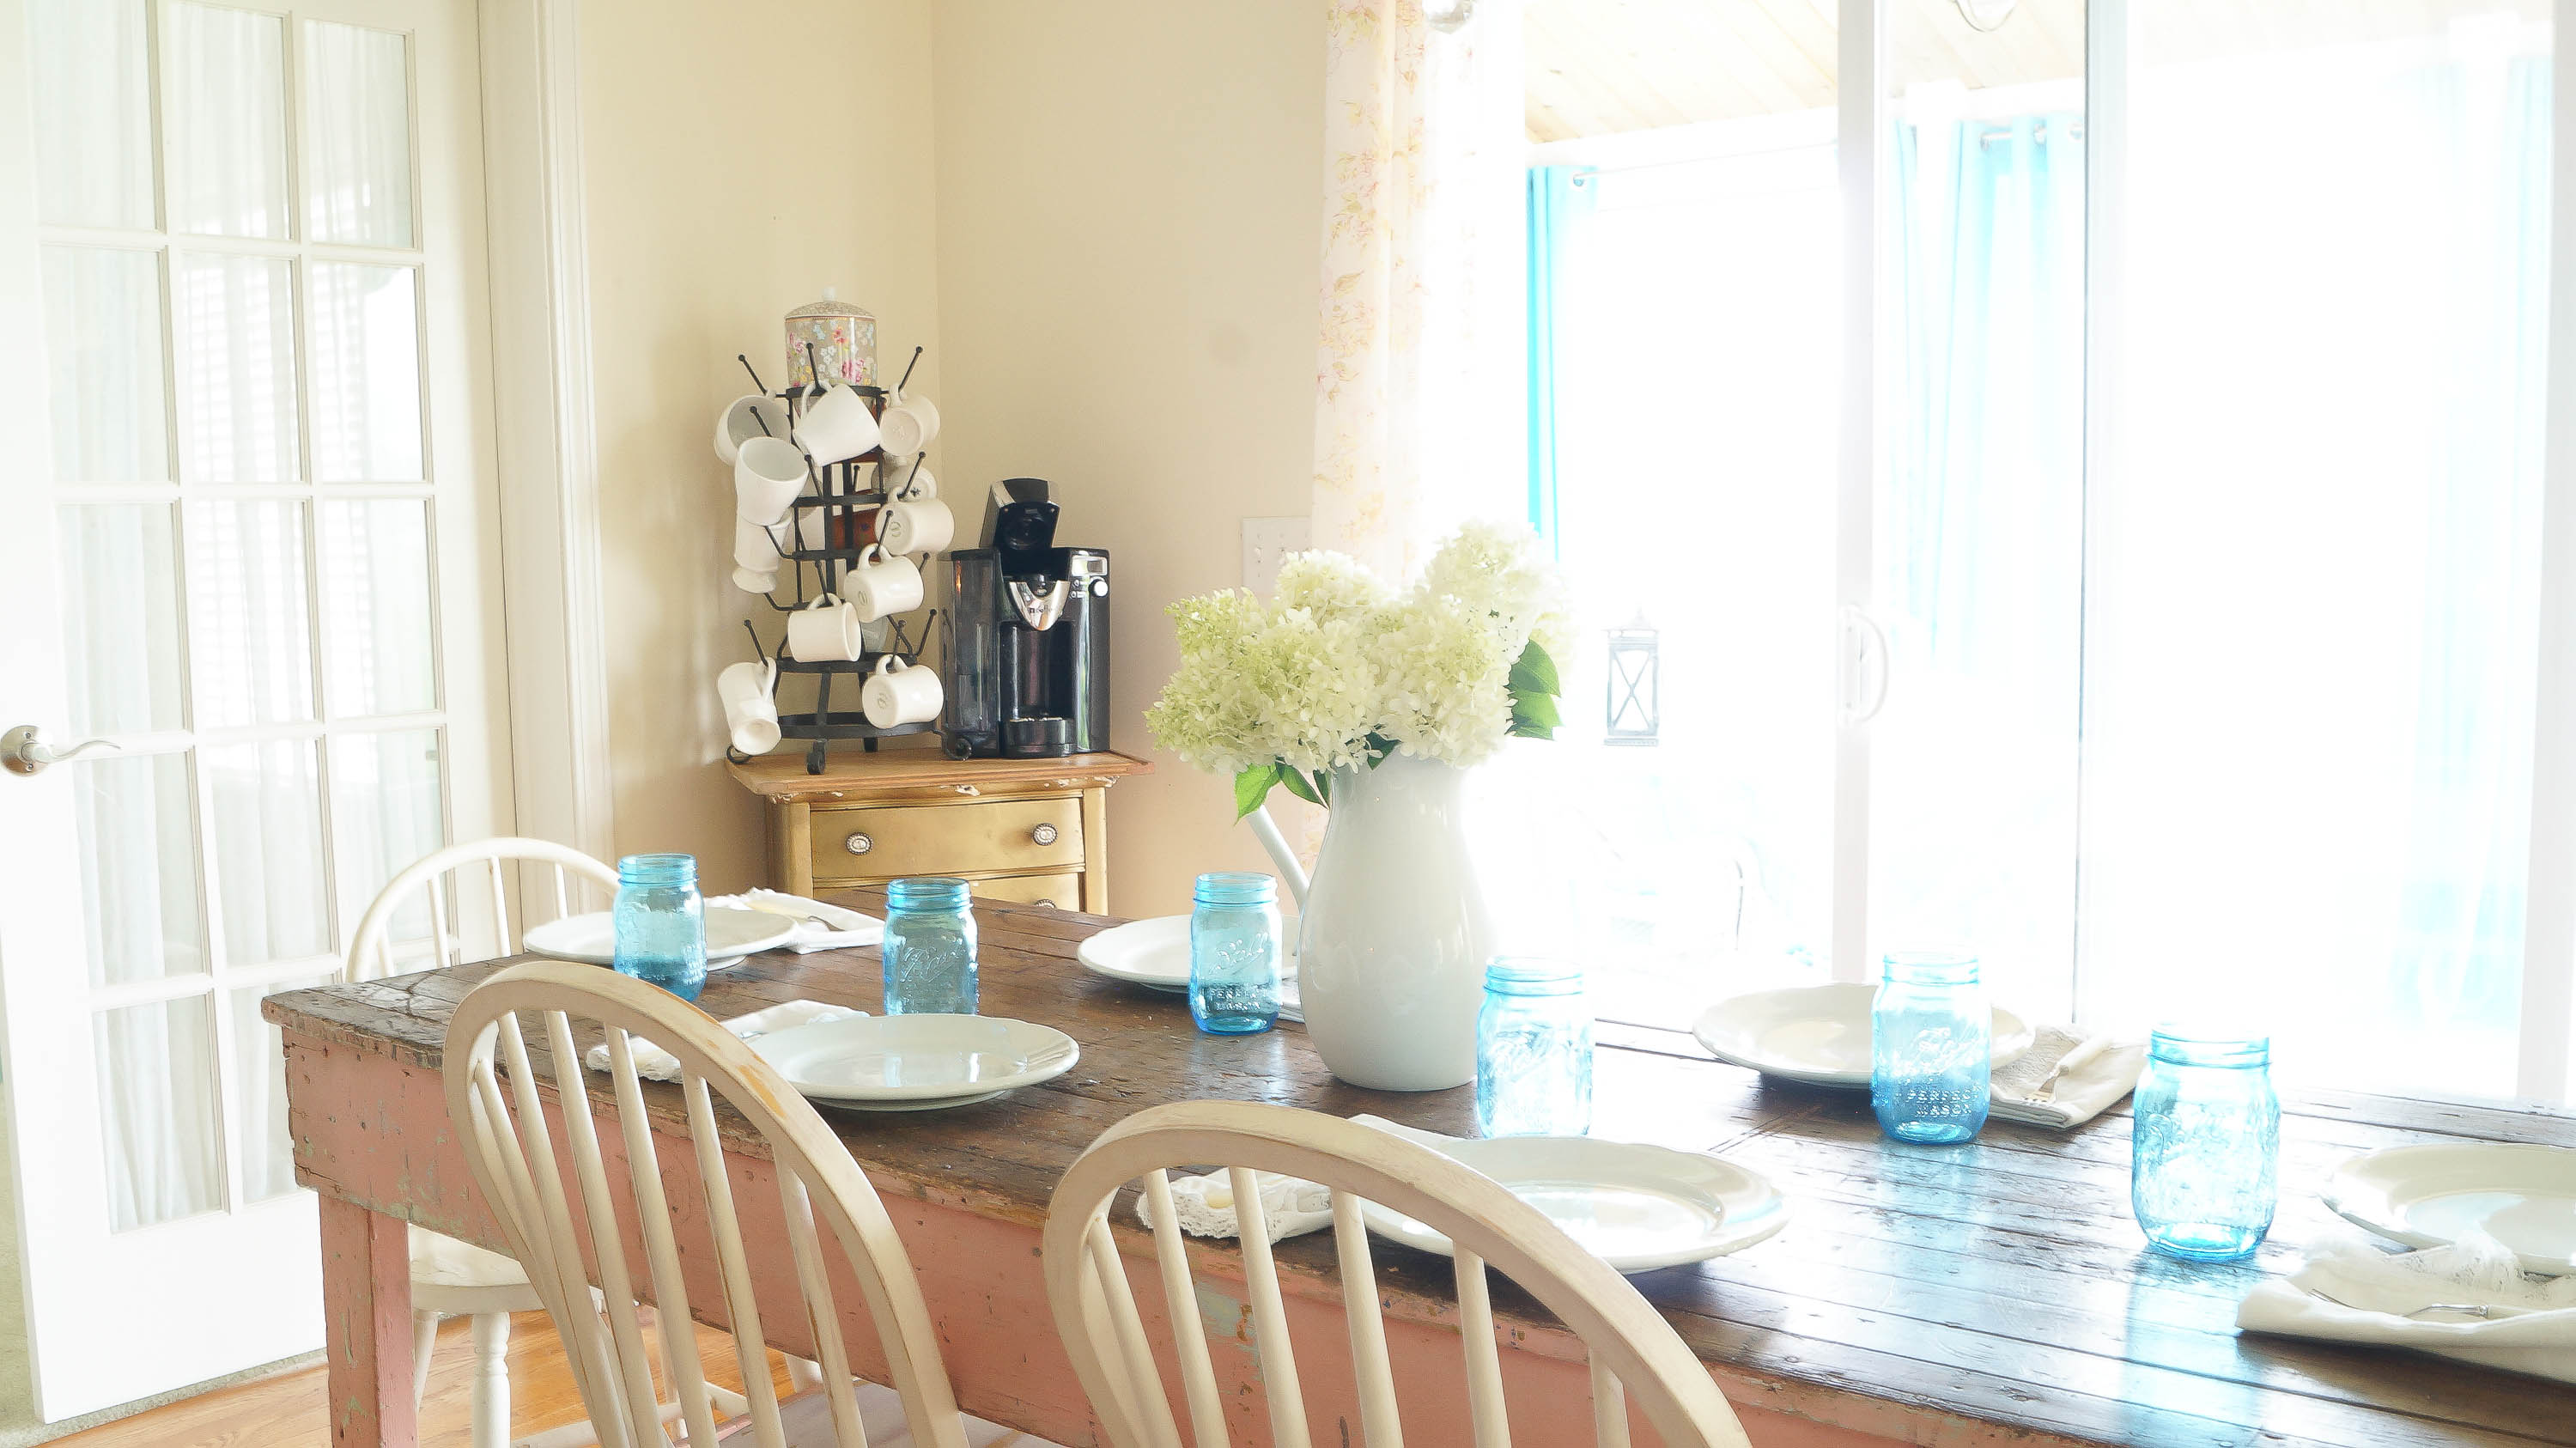
I added my gold table to my corner for my coffee station. And I’m thinking about putting my cabinet doors back on, and replacing the kitchen skirt with my doors too. Hoping to replace the counters, and add a new backsplash. But this will take a little time. It’s not going to be an overnight change. Budget is a big factor.
Are you currently changing your style, or changing up a room in your house?
Shopping Guide
** Be sure to use this coupon to save 10% off of your order of Heirloom Traditions paint, WHITELACE.