How To Make A Farmhouse Sign
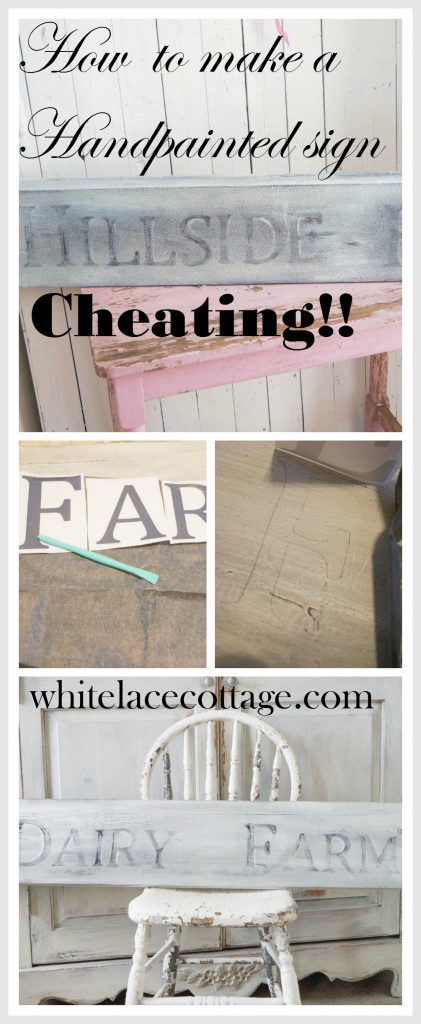
Four years ago I shared a post about a farmhouse sign that I made. This was during the early stages of my blog. And I cannot believe that I never shared the tutorial on how to create this sign. What in the world was I thinking not sharing a tutorial? HELLO!
This is an easy way to create a sign or if you wanted to add a font graphic to a piece of furniture, seriously the sky is the limit on this!
(This post contains affiliate links, see disclosure policy)
Recently I shared how to create this Modern Art you can see that tutorial HERE. It was super easy to do and was also a cheap way to make art. And you know I’m all about cheap! Yeah, my husband has told me that I’m a cheap date. Anywho……
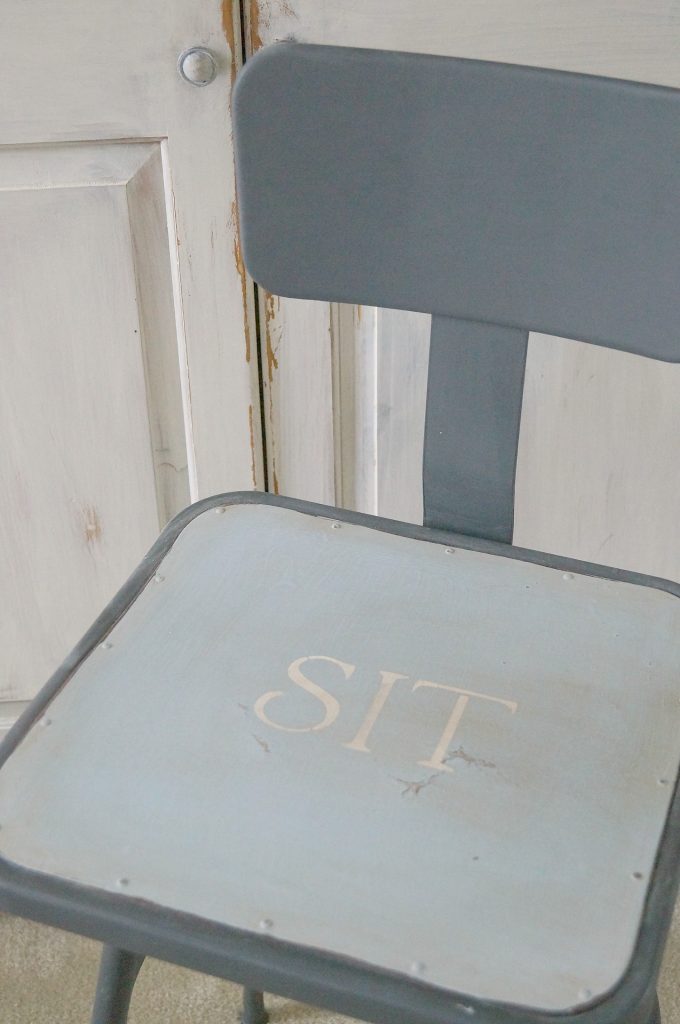
The piece of wood that I used for my project was just an old scrap of wood. As in a free piece that I found, yeah baby! Hey, if you don’t have an old piece of wood no problemo, why not add a fun graphic to the front of a dresser or a headboard or the seat of a chair? I created this around the same time that I created my sign. Again, I never shared this on a blog post. The photo is a little hazy, it’s not your eyes, it’s my photo.
*Tip*
If you wanted to make a vintage sign, but you can’t find an old piece of wood you can make one. I’ll be sharing a tutorial soon on a couple of methods of adding a natural patina to wood. But let’s get back the project.
Supplies Needed For This Project:
- Wood or piece of furniture for your transfer
- Tracing Paper (white or black depending on the background color of your paint)
- Tracing tool or pencil/pen
- Printable (Free for subscribers)
- Paint Heirloom Traditions * Use Coupon Code WHITELACE to receive 10% off of your order*
- Med grit sanding block
If you’re painting on an old piece of wood, a new piece, or even a piece of furniture paint your base coat on your piece first. Once it’s completely dry your ready to start your transfer.
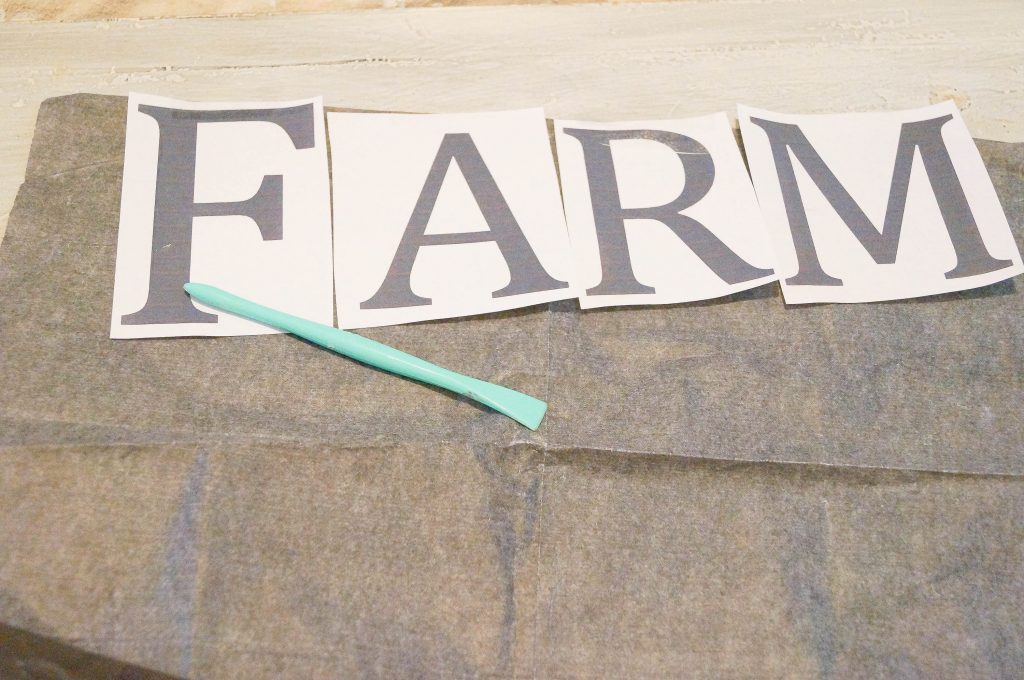
I created my font in word. Decide what size you would like your quote or sign to be. For me it’s trial and error, I can tell by looking at a piece how big or small it should be. But sometimes I need to print out a few to get just the right size.
Trim the excess paper off of your printable. Decide where you want your wording to start and end. I try to get mine as centered as I can. Take your printable font and lay in on your piece facing you. The take your tracing paper and carefully slip it under your printable without moving it.
This is where I will check and double check to make sure it’s still where I want it to be. If you make a mistake and it looks uneven, don’t panic. Tracing paper lines can be erased. If you’re not happy with the way you traced you can start over again.
I personally don’t like things perfect, so it it looks a little wonky I embrace it because I’m usually going for an aged look. Now, start tracing your letters. As you’re working take a peek to see if your pressing hard enough.
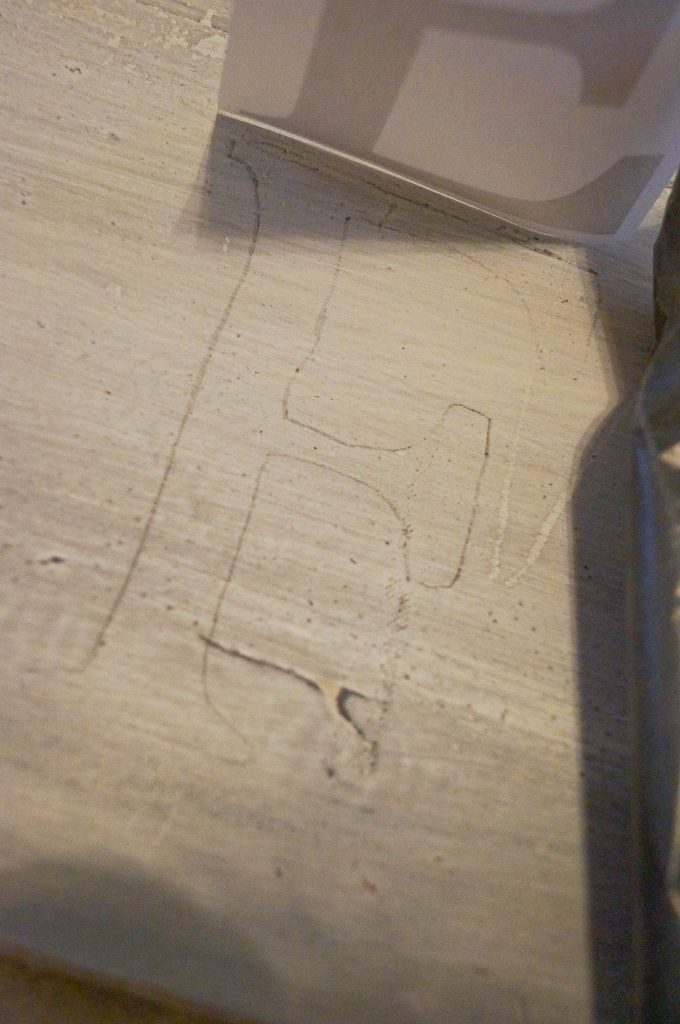
When you’re finished tracing the letters start painting them in. I used a black paint for all of my letters. To give it more dimension I used a liner paint brush and lightened the edges of my letters using white paint. You can also darken edges creating a shadow.
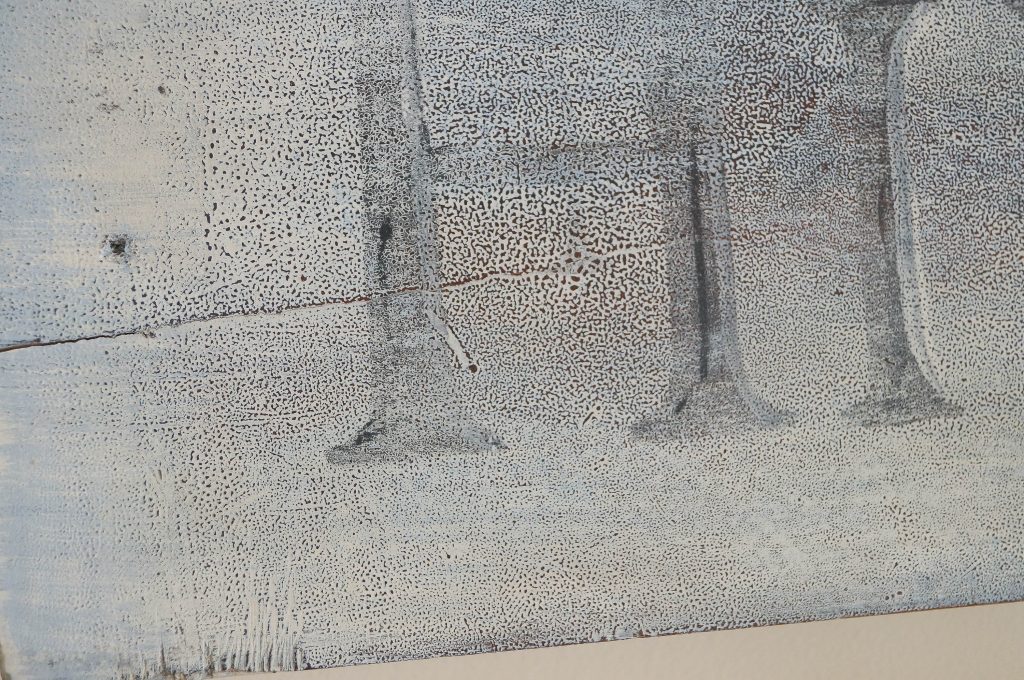
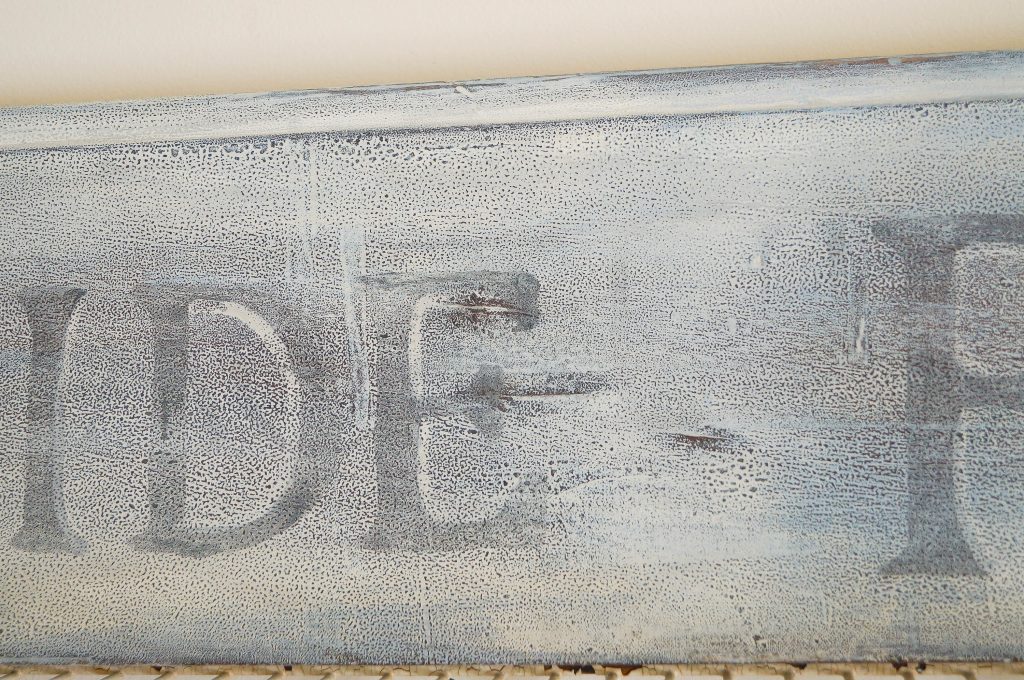
Since I wanted my sign to really look old, I wanted my words to look faded and worn out. So, I took a sanding block in medium and started sanding it down. Do this until you’re happy with the look. After cleaning the dust off I applied a coat of clear soft furniture wax. It gives it a nice hand buffed look and it brought out more of the imperfections in my wood.
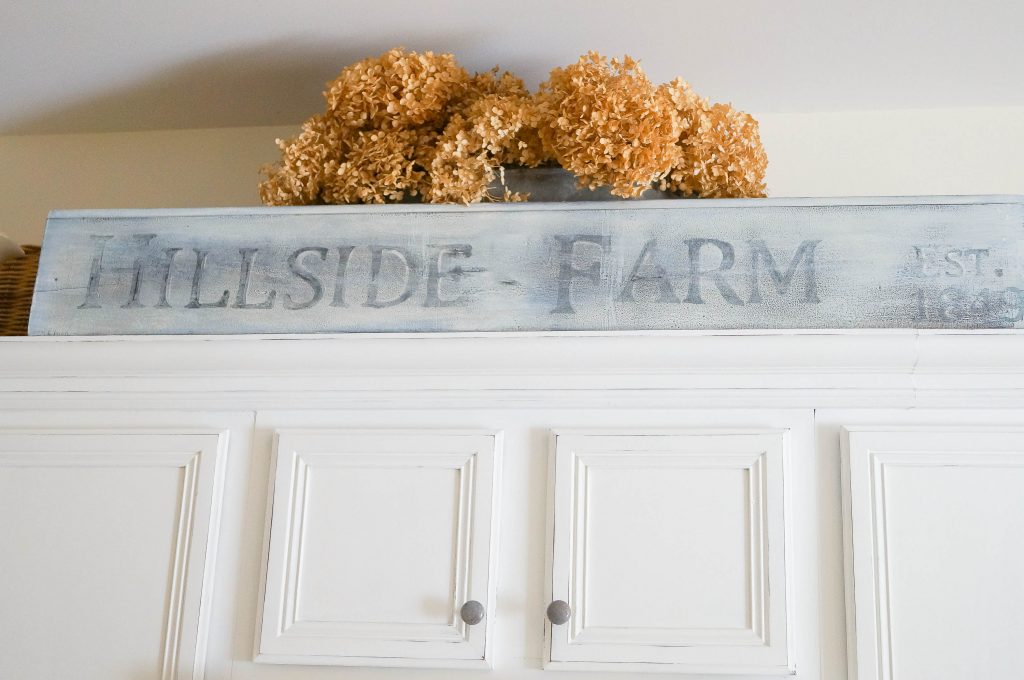
And here’s my finished signs. As I said this was done several years ago, and here’s a little peek at what my house used to look like.
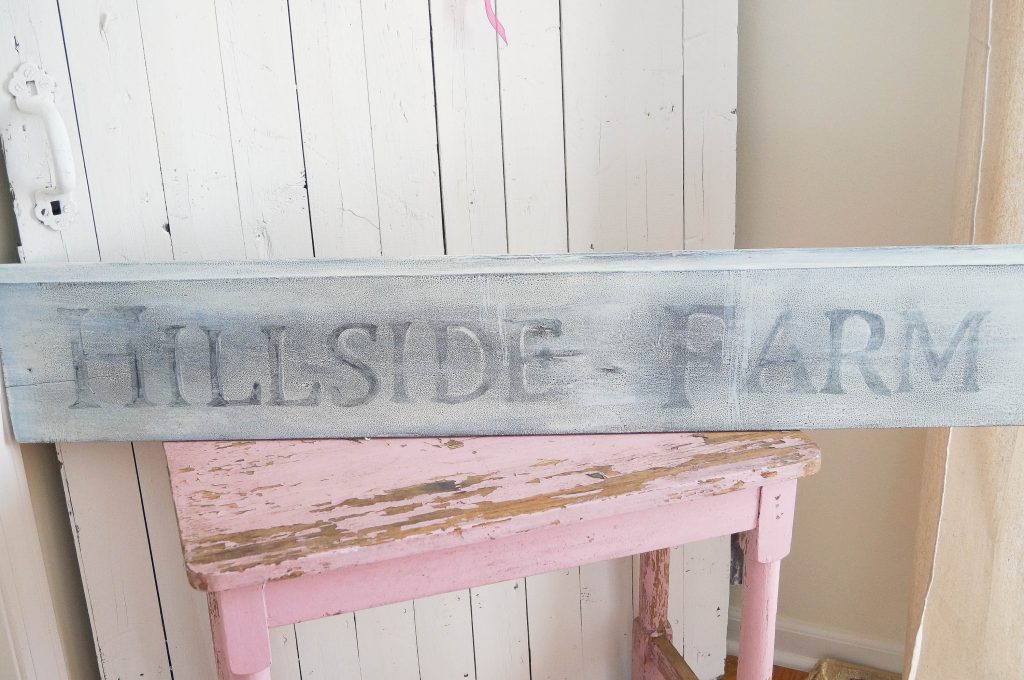
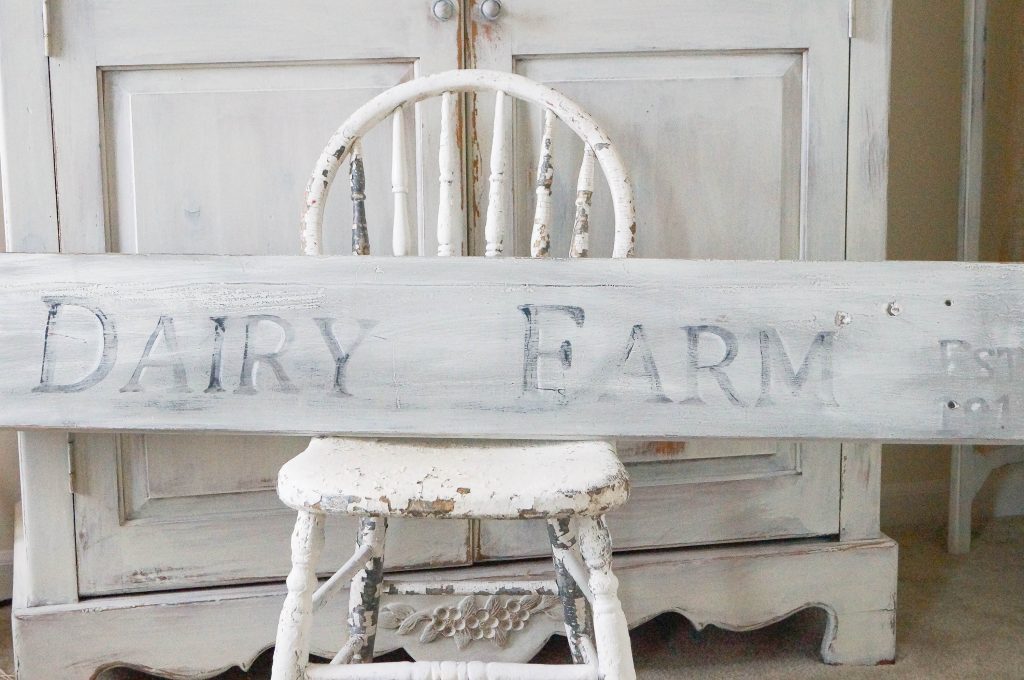
I created two fonts so if you are signed up to receive my newsletter you’ll be getting both of these PDF printables. I’m also including a few extra printable quotes for my subscribers too as a thank you for subscribing.
Are you ready to make a sign? If you have any questions on this tutorial or any other tutorials please leave me a comment below 🙂
Hi Anne!
I’ve tried several times to find the pdf printables & so far can’t find it~can you help? I’m in a crafting mood & looking forward
to starting a little project 🙂 Thank you!!!
Be Blessed~
Pam
Love this and thanks for the tips, PINNED!
Cindy
Love, love love this can’t wait to try my hand at it!! Thanks so much.
As much as my heart wants to learn my Cricut, my head is temporarily unable. THIS HOWEVER… so doable! Thanks from Cincinnati!