How To Easily Reupholster A French Chair
When I first started my blog one of my first projects was reupholstering a French chair. I got the guts to do it after reading Miss Mustard Seeds blog post on how she reupholstered her French chair. It looked easy to do so I went for it. The problem was that since I was new at blogging I never shared a step by step tutorial on how to do it. I really don’t know why I didn’t and always regretted not sharing it. Since I am changing things around my home I decided now is the time to share a step by step tutorial on how to reupholster a French chair. I promise that this is super easy to do.
Just keep in mind that if you are attempting to do this please don’t experiment on your Grandmothers heirloom chair. If you would like to try to reupholster a chair look for a cheap one at a thrift shop or garage sale. This style of chair is a great first project if you are wanting to try to reupholster. ( This post contains affiliate links. See disclosure policy)
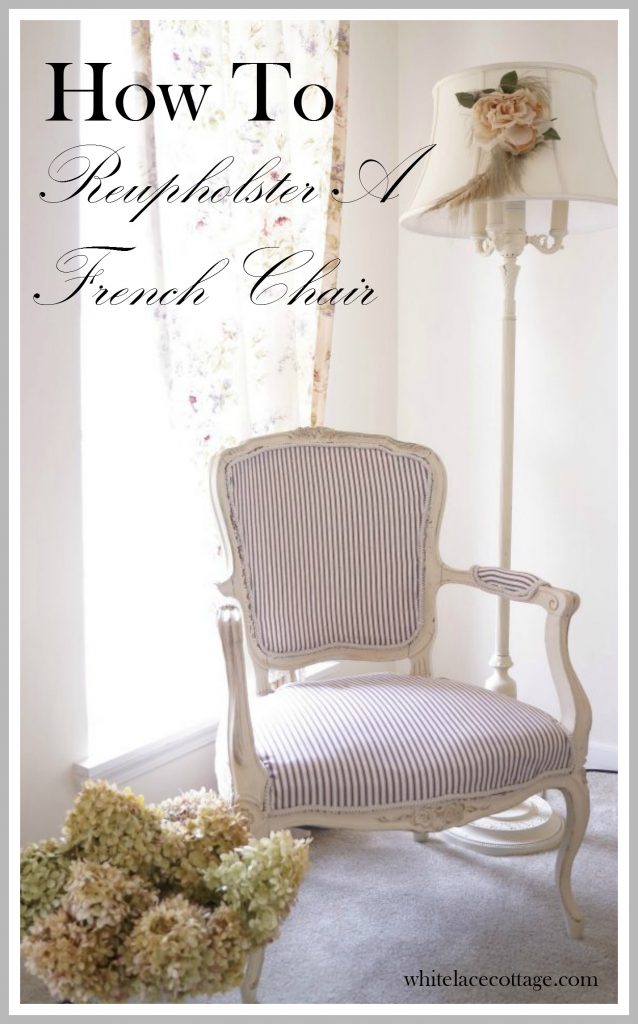
Supplies needed:
- French style chair
- Staple gun
- Fabric
- Trim
- Glue gun
- Scissors
At the end of this post I have a video that I created for my Youtube channel. It’s hard to take photos of each step as I was doing this.
Before you start taking your fabric off of your chair take a photo of it. As you are working you may forget exactly how it was originally. The photo will be a guide in case you get lost. Take all the nails or staples off of your piece. This will be the most time consuming part. Be careful if you have rusty old nails that are in the chair. I had many of those on my chair the first time I reupholstered it. Wear gloves and protective eye gear when taking your chair apart. Also, make sure you allow time for this project. You don’t want to rush it and not do a good job. Once the old fabric is off of your chair and it’s cleaned up it’s time to start to reupholster. Oh, one more thing. If you are thinking about painting your chair now is the time to do that before you start your project. Once the fabric is on you can still paint it, but you will have to be very careful not to get paint on the chair.
Size up your piece of fabric for your chair leaving it a little longer than you need. You can always trim the extra fabric off. If you are using a pattern as I am make sure to line it up so it’s centered properly on your chair. Starting in the center start stapling your fabric to your chair. Use the chair as your guide. Meaning that you should staple exactly where it was originally stapled. As you work on your chair keep checking to make sure that you are stapling where you should be.
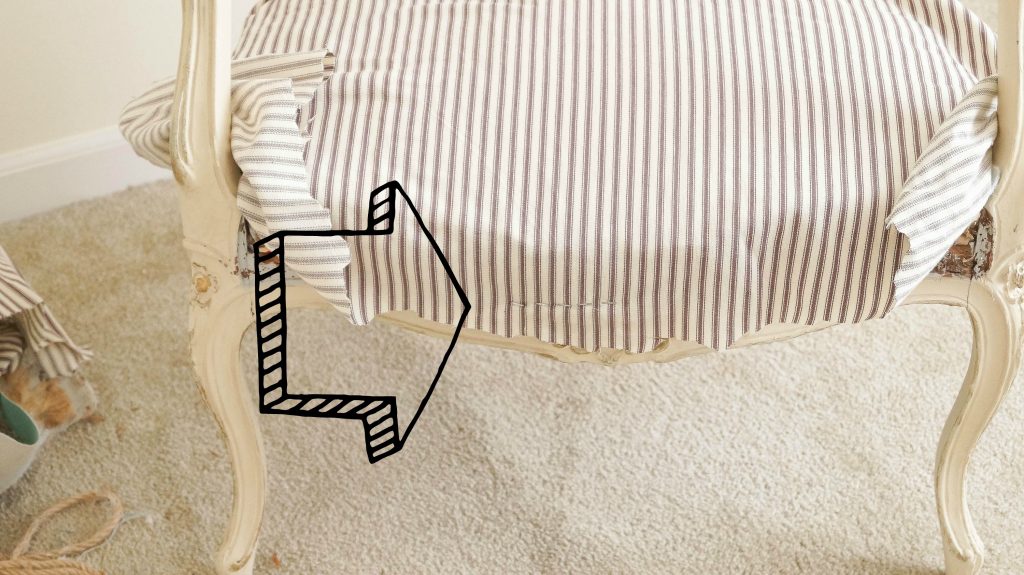
If you are working with a striped fabric as I am make sure not to pull it too hard. You want it to be tight but also straight. If you pull it too snug the stripes will look a little off.
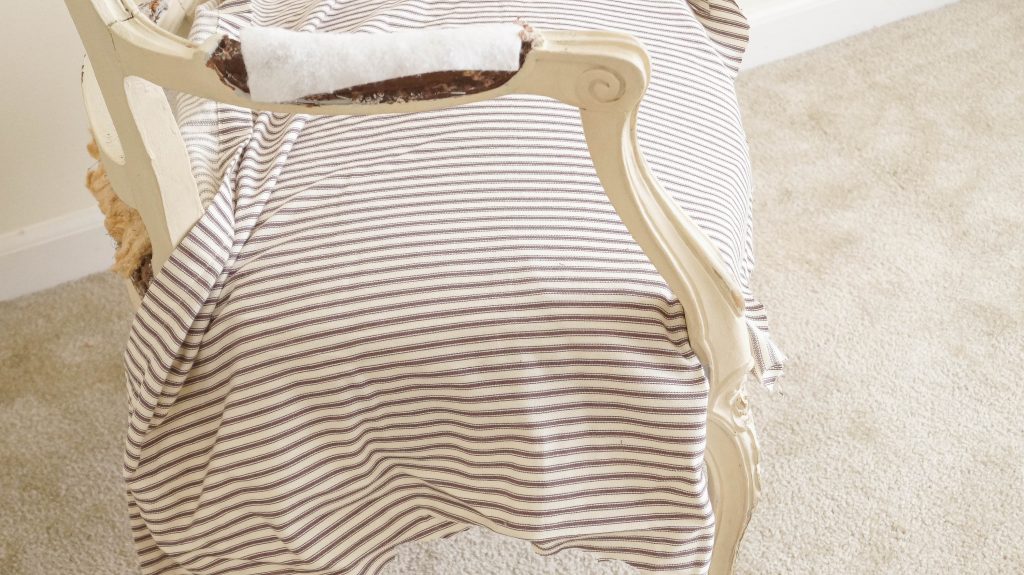
Once your seat is stapled you can trim off any excess fabric or continue working and cut it off at the end.
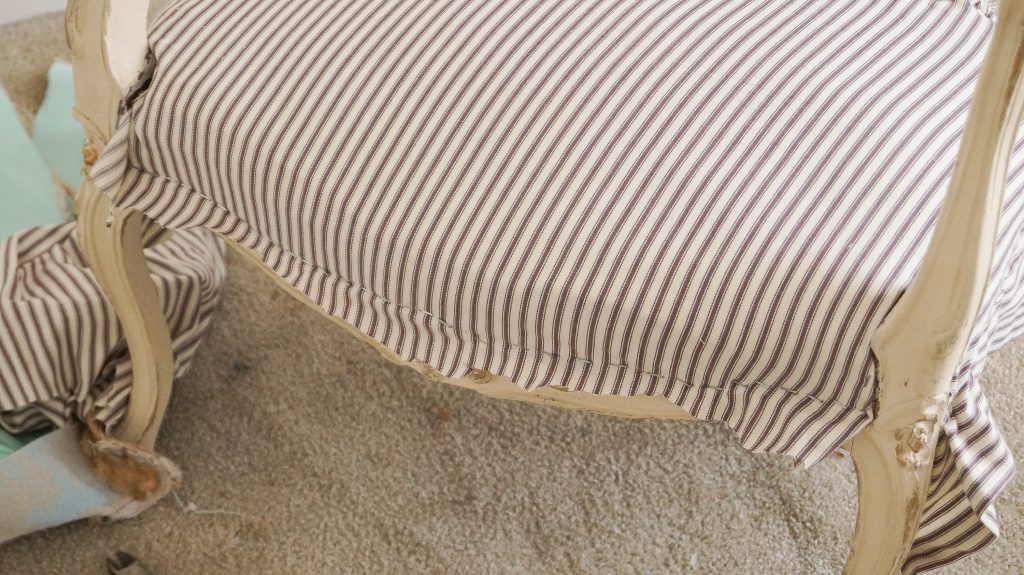
When you are ready to start to reupholster the back of your French chair you will need to do this in two steps. The first step is to add the fabric to the inside of the chair and staple it to the back. Make sure that the pretty side of the fabric is facing out.
When you’re done with the inside of the back of the chair start stapling the front of the chair and use the original outline of the chair as it was originally stapled. I know this sounds a little confusing but as you watch the video I promise that this will make more sense.
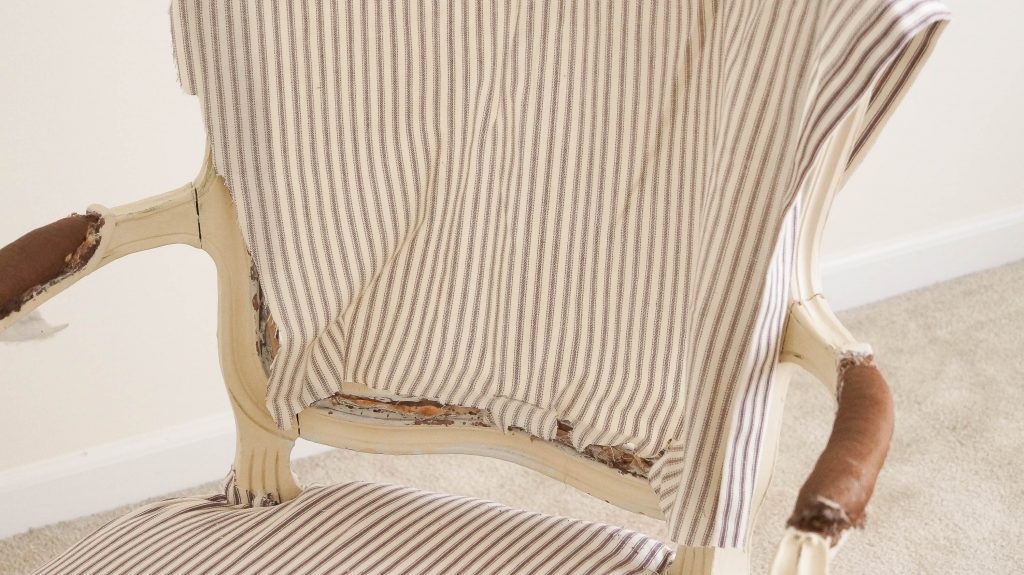
You can see in this photo that I’ve already reupholstered the inner part of the back of this chair.
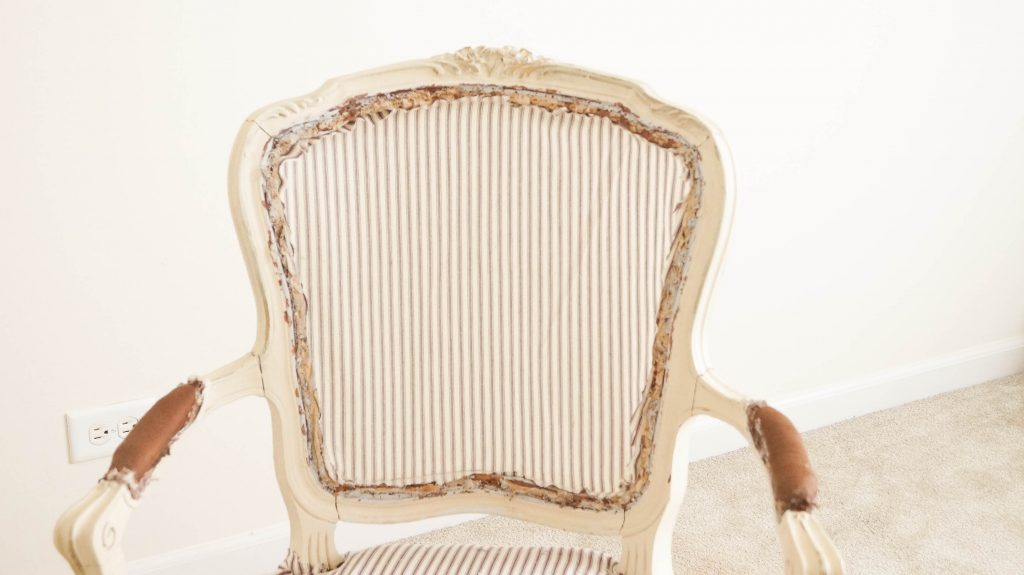
Now the front part of the chair has been stapled. You can cut any excess fabric off at this point or leave it until the end.
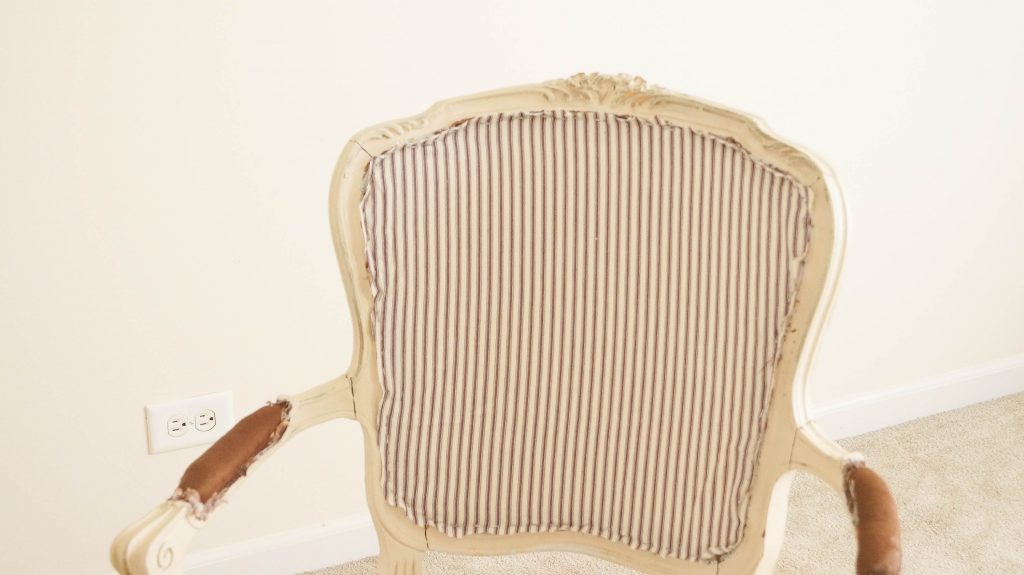
Continue working on your chair in the same manner doing the arms. Once you finish you are ready to start adding the trim. This will cover all of the ugly staples and make it look nice and neat. Using your glue gun add glue on the edging of your chair where the staples are and apply the trim. Keep working around your chair until it’s finished. That’s it you just refinished a chair! Make sure you watch my video because this will make much more sense as you can see me do this. I go into a little more explanation on things as well.
As I said in the video I’m going to have to paint this. You can see where it’s a little chippy along the edges. I like the chippy look but this looks sloppy and I will be fixing it.
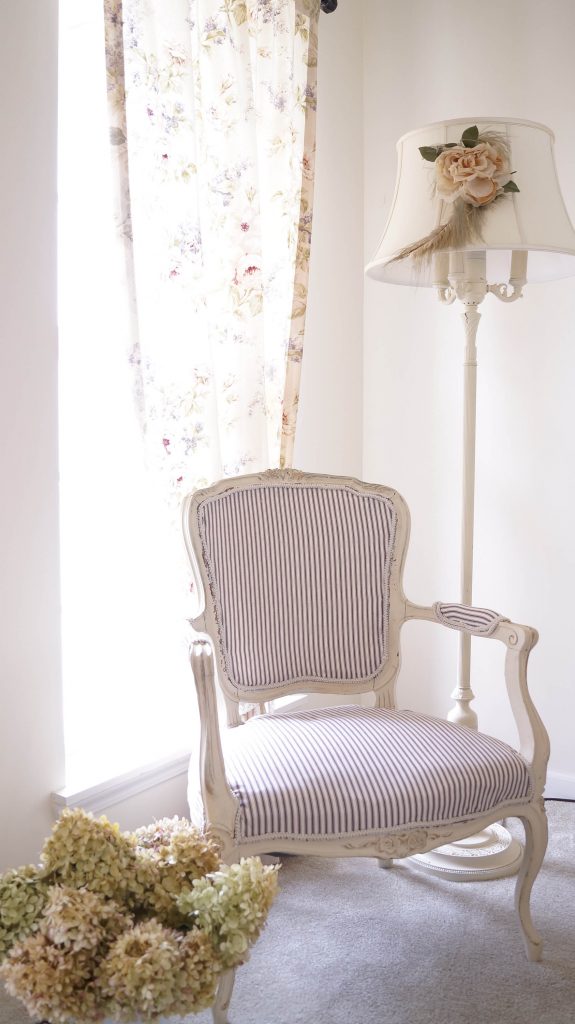
The chair looks so elegant and beautiful ♥