How To Reupholster A Bench Chair Or Stool
I get lots of questions on how to reupholster a bench, chair, or stool. Today I’m sharing one of the easiest ways to reupholster any of these. Very soon I will be sharing how to reupholster a French chair. That’s a little more involved but it can be easily achieved as well. I hope you follow me on my Youtube channel because I not only share project tutorials but painting tips along with makeup for mature women and more. Are you ready to get started? Well, let’s do this! (This post contains affiliate links, see disclosure policy)
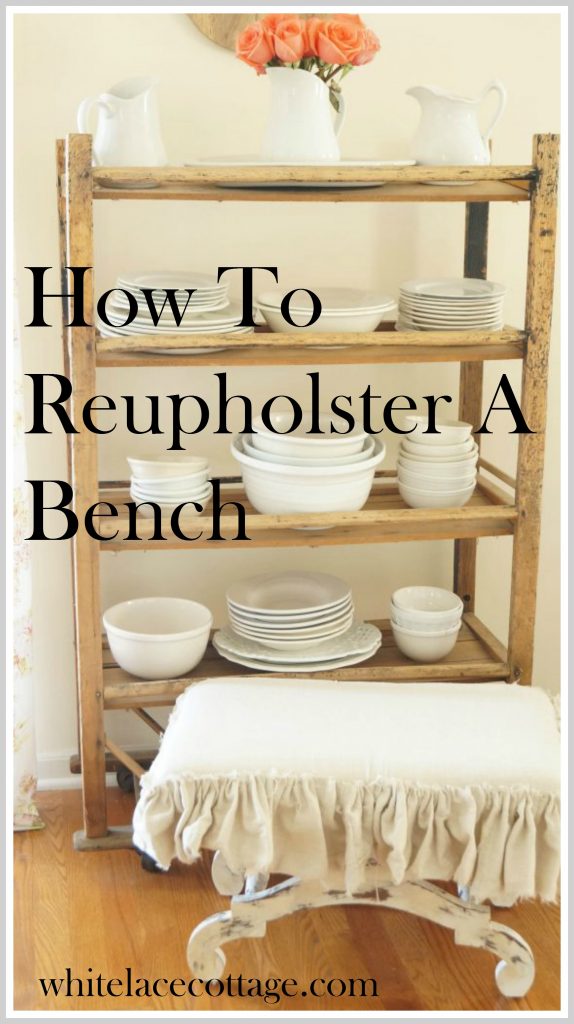
Reupholster A Bench
Before we get started let’s talk about the tools needed to reupholster this bench.
Tools Needed:
- Staple gun Arrow Fastener T50 Heavy Duty
- Fabric look for a heavy canvas or a material that’s meant for heavy duty wear. I used painters tarp.
- Trim
- Glue gun
Let’s begin by removing the fabric that’s already on your bench. You only have to do this if the fabric is in poor condition or the fabric that your replacing it with won’t be a distraction. What I mean is for example if you have a black fabric and you are replacing it with a light white fabric you’d want to remove the black fabric first or you will see it. If the fabric that’s underneath is in gross dirty condition I would take it off before adding a new fabric.
As you can see I am reupholstering my bench that I recovered using tissue paper. If you missed that post no worries you can read my post on this DIY Decoupage Fabric Bench . Since I couldn’t just rip this off , because I did try doing that. I ended up taking the original fabric off which was super easy to do.
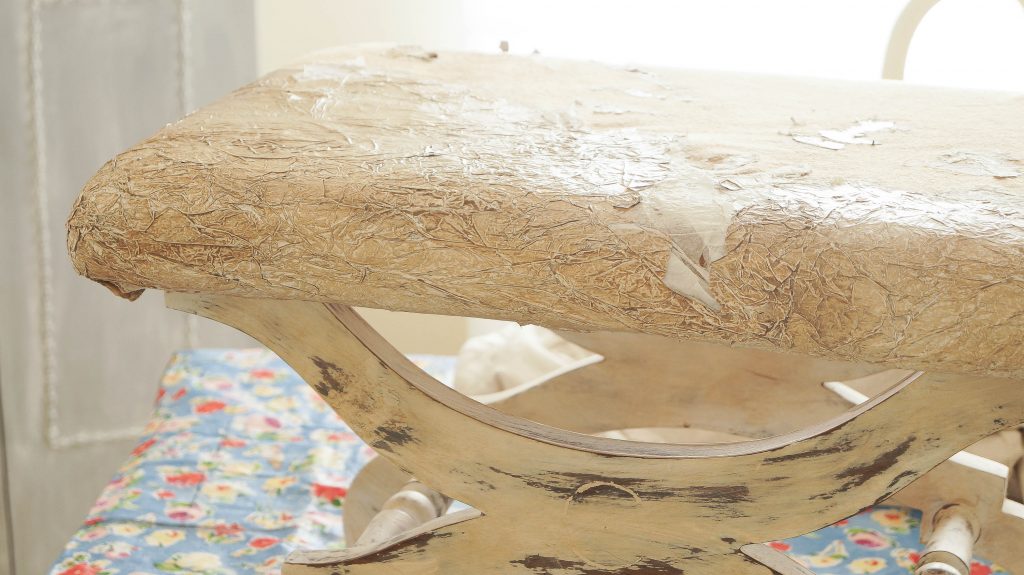
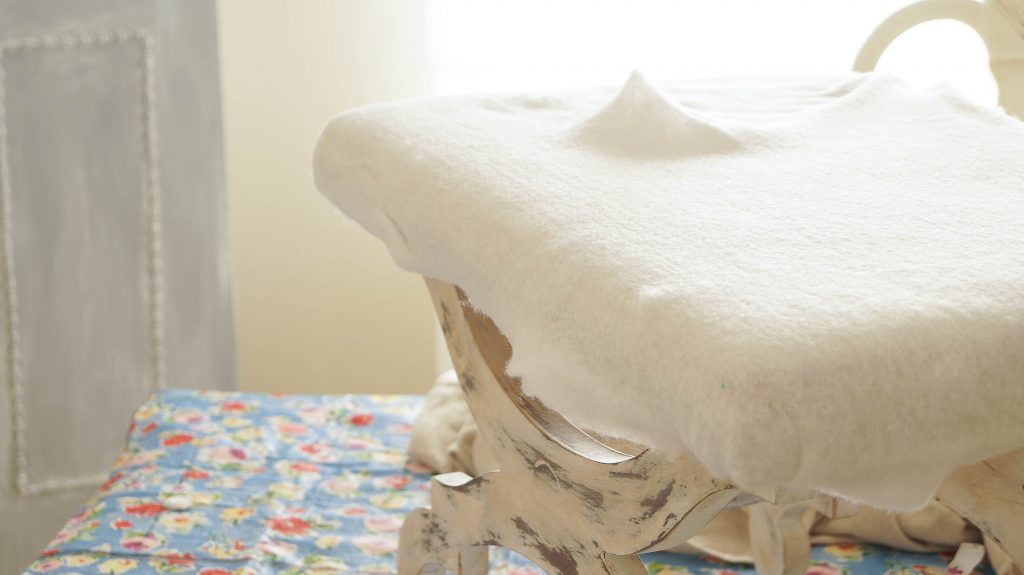
As you can see the quilt batting is still in very good condition as is the foam underneath it. If it wasn’t you would need to replace either or both.
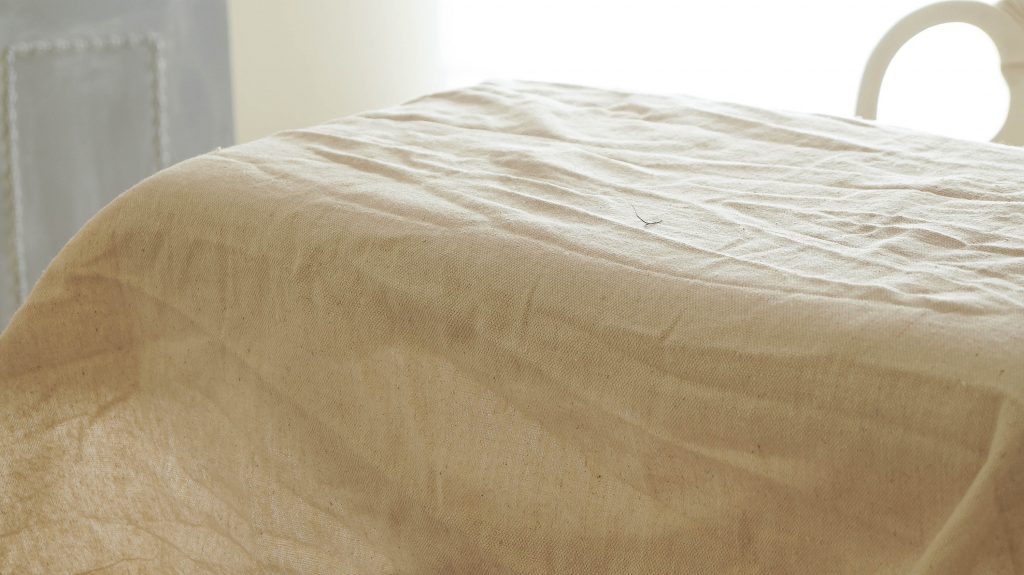
I cut a piece of fabric off from a scrap piece of painters tarp. It was slightly bigger than I needed. It’s always a good idea to use more than enough than to start your project and find you don’t have enough fabric to cover it.
Because I was able to access the underneath of my bench I didn’t have to take the seat off. But if you are working on a chair, bench, or stool and you can’t access the underneath of your piece than you will need to remove it. I flipped mine over and I was ready to start working.
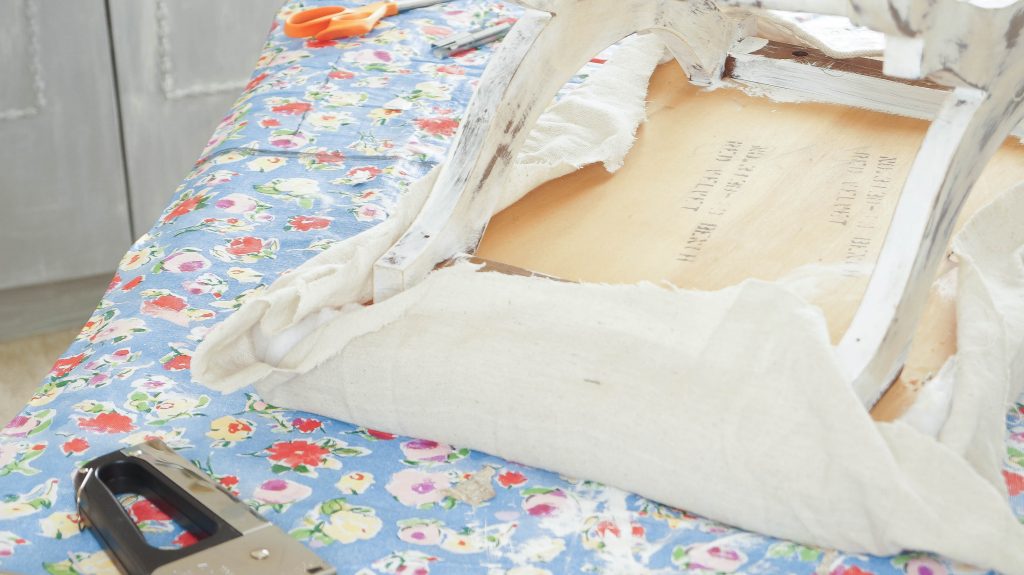
Make sure your fabric is nice and tight when you are working. You want an nice clean and smooth look. Start by pulling the middle section of your piece and stapling it. Do this on each side first.
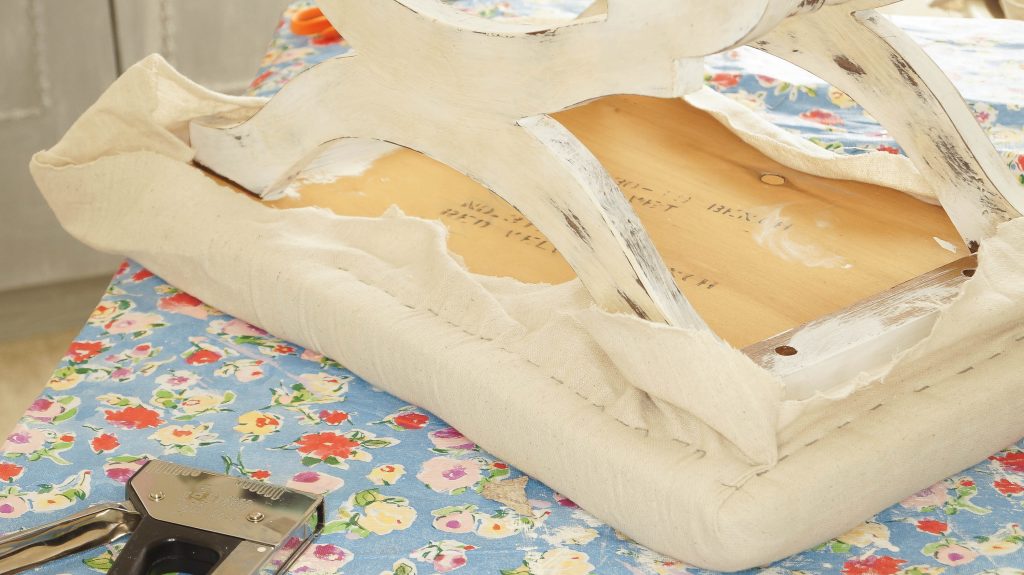
Now your ready to start stapling your bench. As you work pull the fabric so it’s nice and tight. The corners are very easy to do but a little tricky. It’s a little complicated to explain so I’ve added a video at the end of this post.
When I was finished stapling my bench I cut off all the excess fabric. Now it was time to start adding a trim. Because I’m thrifty I wanted to use what I already had. I cut up strips about 4 inches long wide, ripping them after I made a cut in the fabric. I was looking for a tattered look. Using my hot glue gun I added a little glue to my bench and placed the fabric on my bench cinching it as I went along. This created a ruffled look. I couldn’t take photos as I was working, but I did add this to the video below.
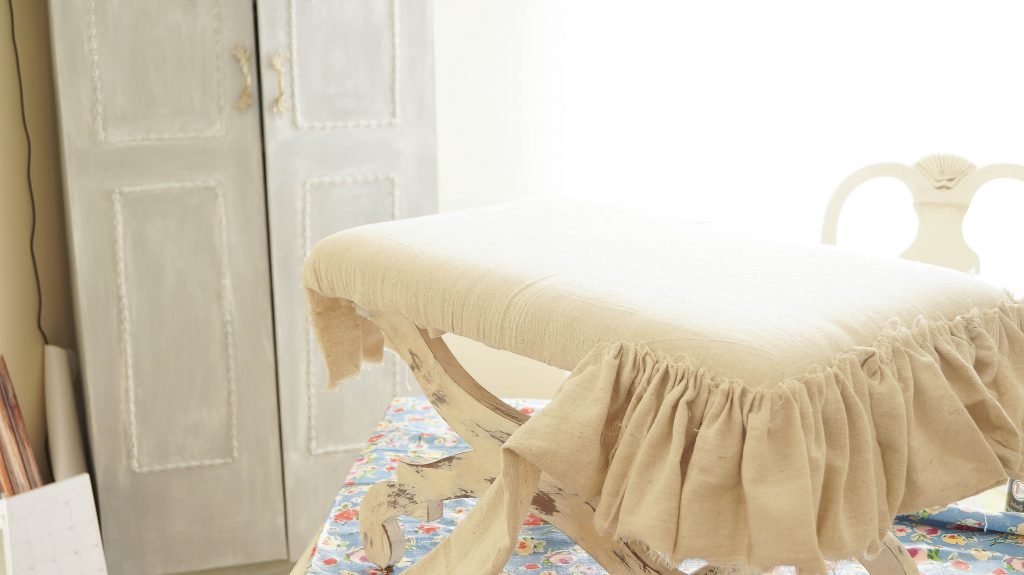
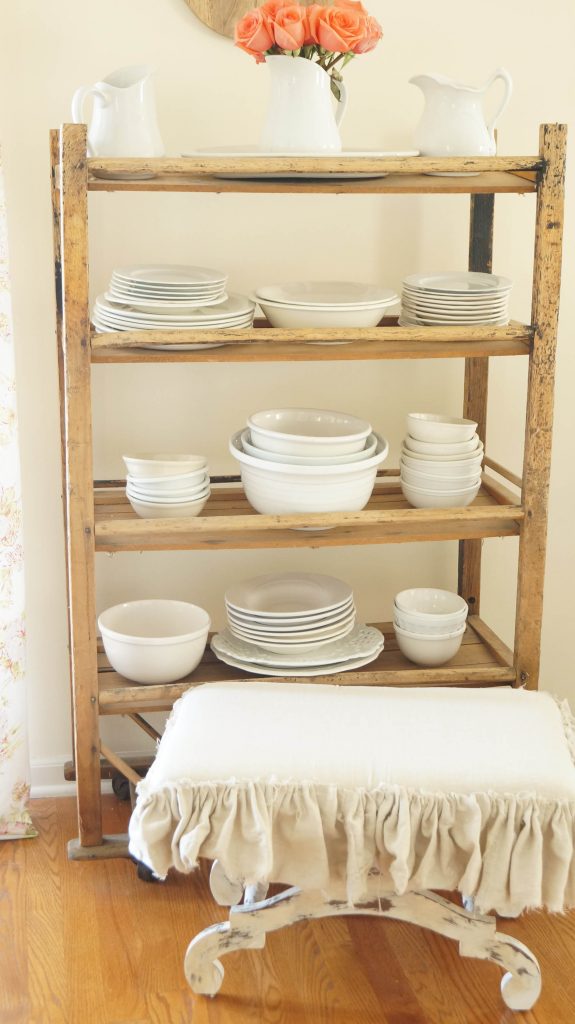
Here’s my finished bench. I know it looks a little longer on one side than the other, but it’s actually not. I was scrunching up the fabric as I was playing around with it and that’s why it looks a little longer one one side. I love working with this fabric. I’ve made no sew curtains with this and used it to reupholster a few other chairs. It’s so sturdy and yet easy to work with.
You can watch my full tutorial below. I will be sharing a tutorial on how to reupholster a large French chair. It’s not very hard to do. But may seem a little scary if you’ve never done it before. I will share a video tutorial so you can see me do it. If find that video tutorials are so much more informative than just typing it all out. Partly because I can’t always take photos while I’m doing it. I usually work on my projects when I’m home by myself. It’s the one time I have a quiet house with just me. Not that our house is noisy, but you know what I mean. I have very little distractions when it’s just me.
If there’s anything you’d like me to share please let me know in the comments below. I love getting ideas from you.
Really sweet!
Great job Anne, someday will make new cushion for bench hubs made me years ago. Have to be in right frame of mind to tackle job. Your example will be helpful when time comes.
On Thursday, last week, all of sudden decided was going to paint our portable kitchen island, not very big but then neither is our kitchen. Have wanted to paint it for long time but couldn’t decide what color. Maybe painting island will get me painting cupboards. All those doors are not part I relish. Wish I had sprayer.
Haven’t painted island yet but will start tomorrow, got paint last night at Walmart.
Have wonderful week.
Hi Anne,. I love watching your videos and the tips you provide. I can’t seem to get enough of them.. However I have noticed that the background music is too loud on some of them and it is difficult to hear what you are saying. Can you correct this? For instance, this does take place on your video “How to reupholster your bench”.
Thank you and please continue to inspire us in your unique ways.
Kathleen
Great tutorial! I will be saving this one for future reference. Pinned and sharing. Thanks for linking up at Family Joy Blog Link-up Party this week!
I love that you used a tarp as the fabric!
Blessings, Leigh