Installing Peel And Stick Stone Aspect Tiles
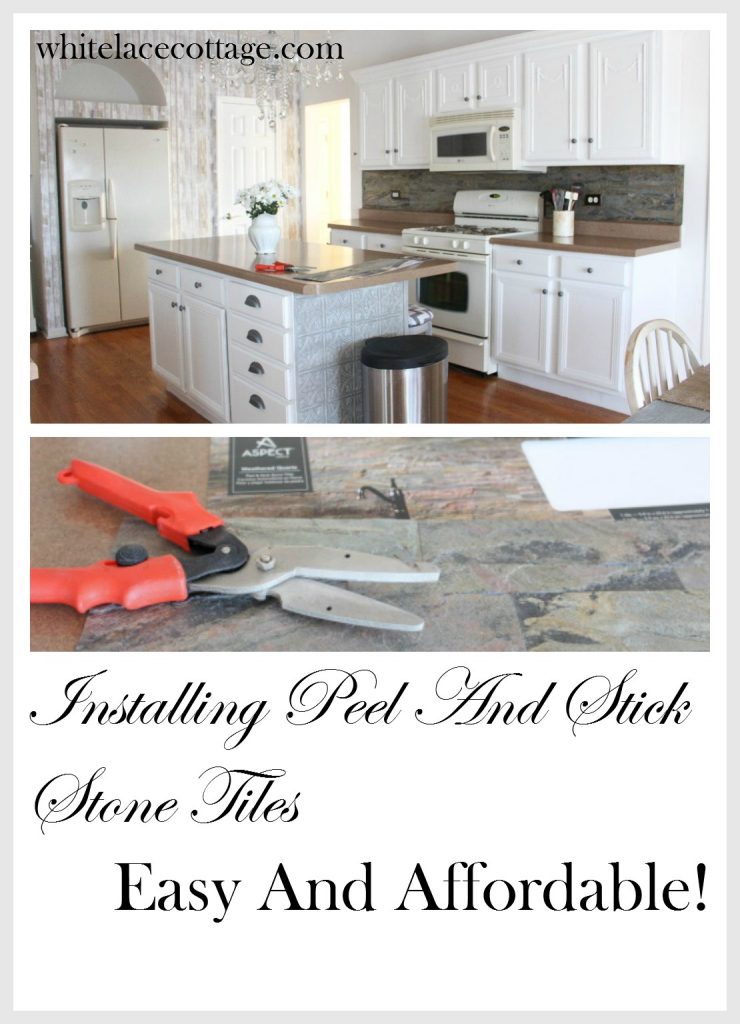
I’ve been busy in my kitchen installing peel and stick stone tiles. I’m sure your wondering what are peel and stick tiles and do they look real. Well these peel and stick stone tiles from Aspect are the real deal. They are made from real stone not fake plastic but real stone. They come in 5.9 in x 23.6 inch sheets. If you’re thinking about adding a kitchen back splash this product will work perfectly and they are easy to install. Even if you’re not a DIYer you can easily install these. (This is a sponsored post please see disclosure policy)
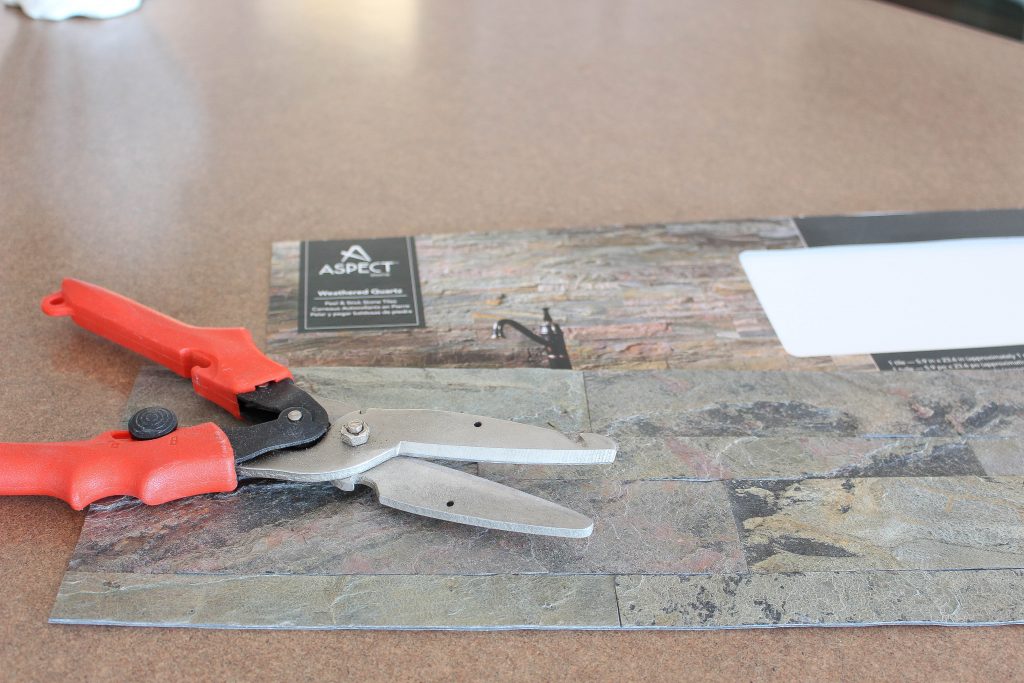
I love the look of stone but you can also choose glass or metal tiles as well. I’m going to share how simple this was to do. For this project you don’t need expensive tools. I used tin cutters but you can cut these tiles with a saw.
Supplies Needed:
- Aspect peel and stick tiles
- Tin snippers
- Table saw if you prefer
- Power Grab adhesive ( not necessary but you can use this if you want an extra bond)
Before you start your project give your surface a fresh coat of paint and let it dry for several days. You want a nice clean surface to work on. I applied my tiles to a flat painted surface. These will stick to a semi-gloss wall but my personal opinion is that I would use an extra adhesive as I mentioned above in the supplies if you are working with a semi-gloss painted wall.
Lay your tiles out to decide how you want to hang these. I really didn’t have a huge choice in my kitchen because I have very little space and I also have lots of outlets. I didn’t get fancy with my layout. I started from the bottom of my wall as I was installing the peel and stick tiles. I did not place the peel and stick tiles on my counter backsplash. The reason that I didn’t is because I am planning on updating my counters and I didn’t want the tiles to get messed up. If you are not planning on changing out your counters then make sure that you place the tiles on and evenly with your counter backsplash. I have a fix for this that I shared in my video.
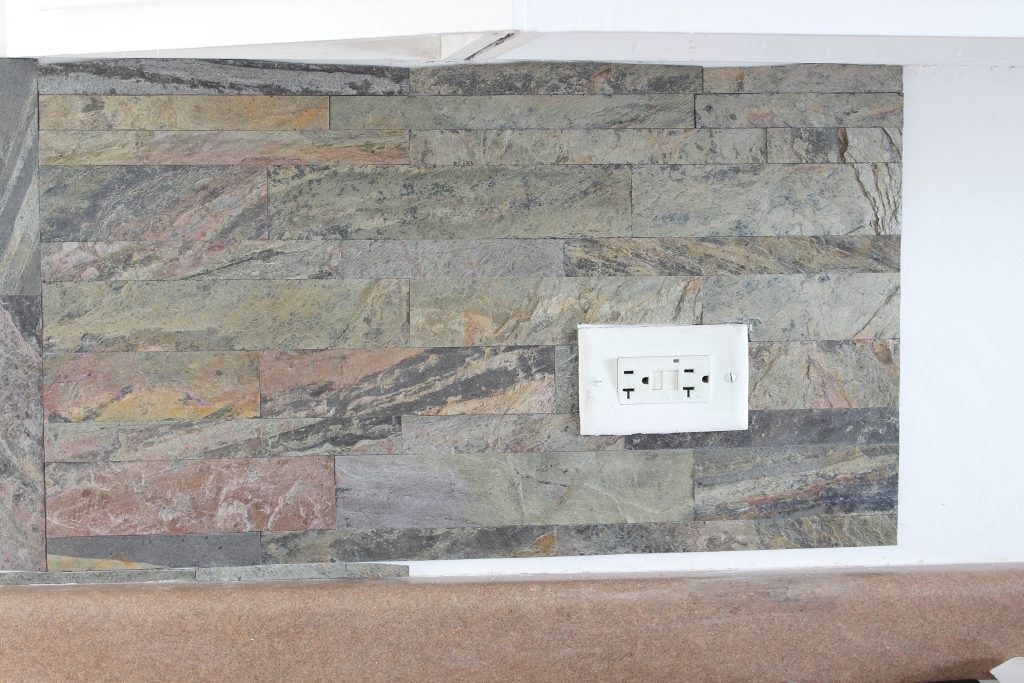
Installing peel and stick stone tiles was super easy. It’s as easy as it sounds. You simply peel and stick them. Any sections that need to be cut can be done using tin snipers or a table saw. The hardest part for me was cutting around the outlets because I have so many. I don’t know why the builder put in so many. We don’t use all of these on a regular basis. It really was overkill. When you are figuring out how much to cut around the outlet take your time. Measure and remeasure. I shared how I measured mine in my video.
One more tip make sure before you start your project as you are ordering your tiles decide where you want your tiles to end. My cabinets and counters are not even. So I decided to take the tiles out to the end of my counters. You can add a decorative trim at the ends. But I decided to use the tiles and create my own edge. On each end I added a row of tiles vertically. This capped off the ends of my wall. It looks neat and finished. I also shared how I did this in my video. Make sure to watch it at the end of this post.
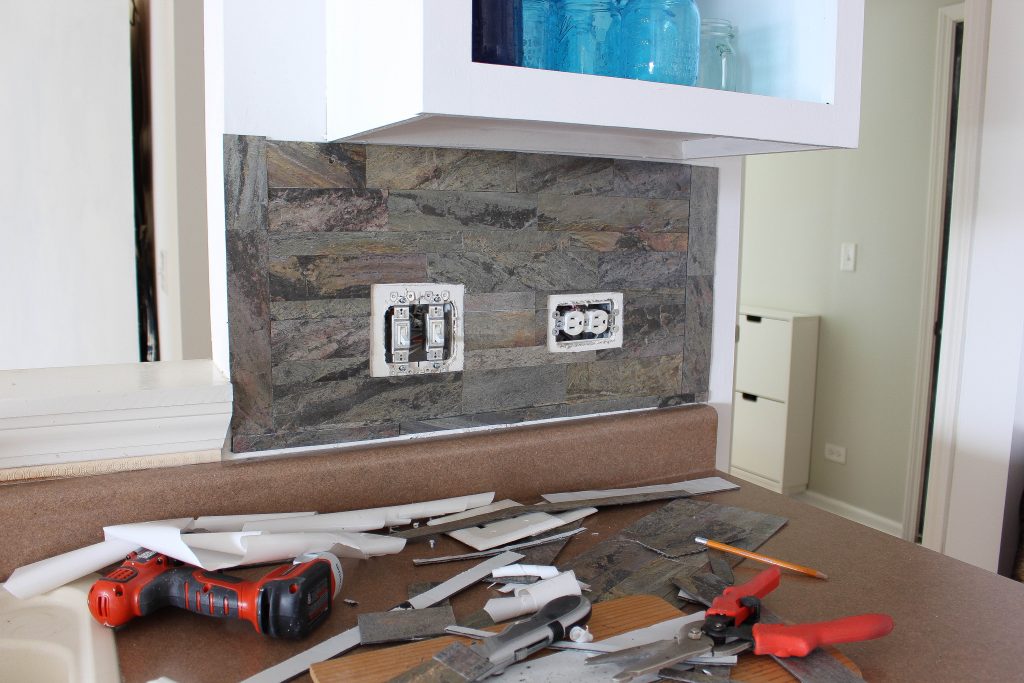
To finish my walls I had a few gaps at the bottom and top. I added caulk to clean it all up. Let talk a look at what my kitchen looked like before and after this project.
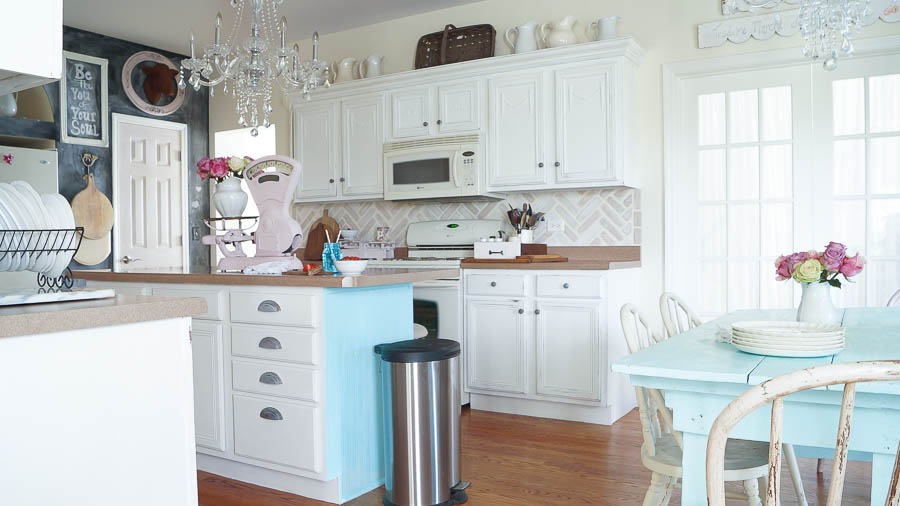
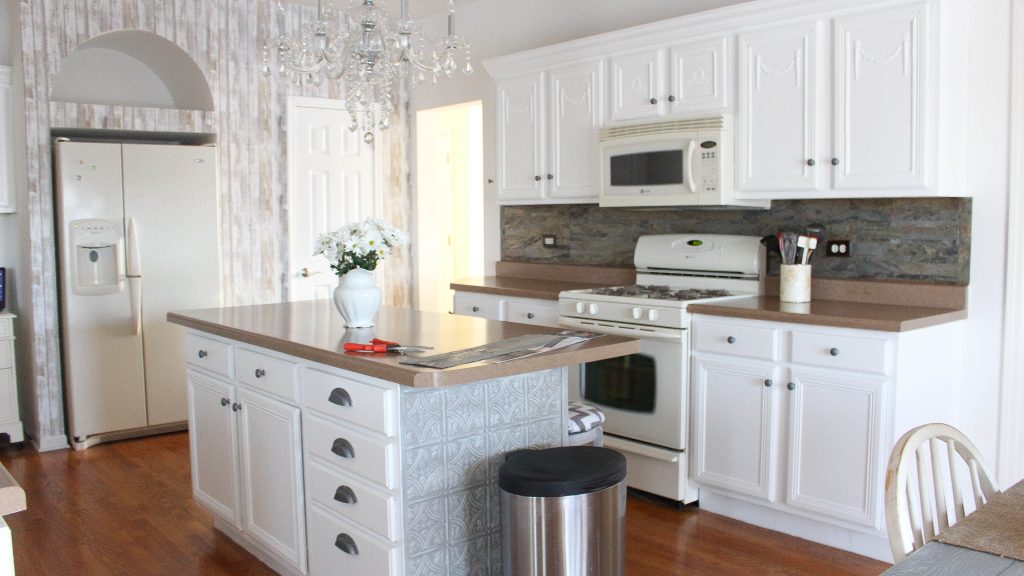
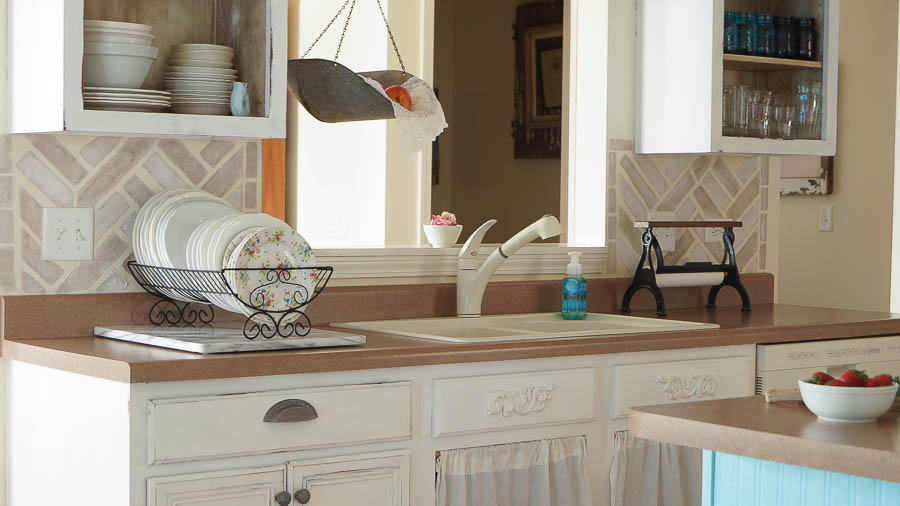
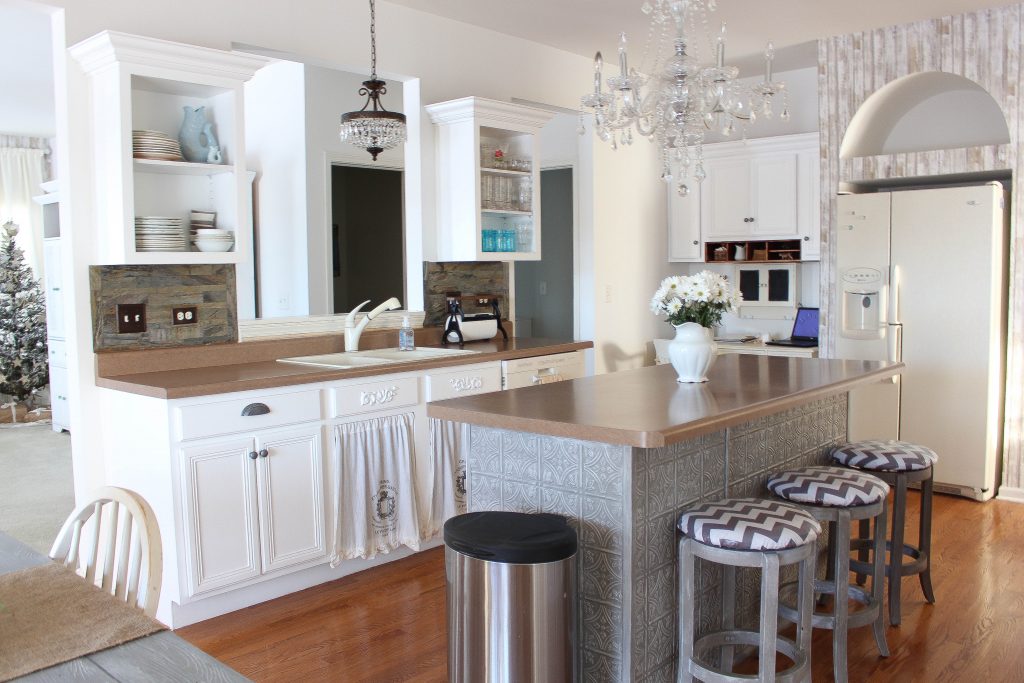
I love the look of these stone tiles in my kitchen. The darker color is a nice contrast to my cabinets and walls. They are stone but have a weathered wood look when I’m looking at them from a distance. It goes perfectly with my new wallpaper I added recently. Make sure you read more about my peel and stick wallpaper project.
These stone tiles from Aspect are very forgiving. I was able to layer these at the bottom and they look natural. These are not all flat. Some of the tiles are bumped out to give it an authentic 3-d look. Just as it would look if you used individual stone tiles. I think these would look amazing on a kitchen island surround too!
I have much more to share in my kitchen, family room and our bedroom. Lots of little changes going on in all of these rooms. But it shows how you can transform a room on a budget. You also don’t have to be a professional to do these projects. Watch the video below for a step by step tutorial.
Resources:
It looks sooooo fabulous, Anne! So clean and modern, yet cozy and rustic! Always love watching you create these lovely spaces in your home, and your videos are always so helpful! 🙂 May have to look in to this product!
xoxo laurie
This looks fantastic! What is the name of the color/design from Aspect did you use?