Create A Crackled Distressed Look Using Elmer’s Glue
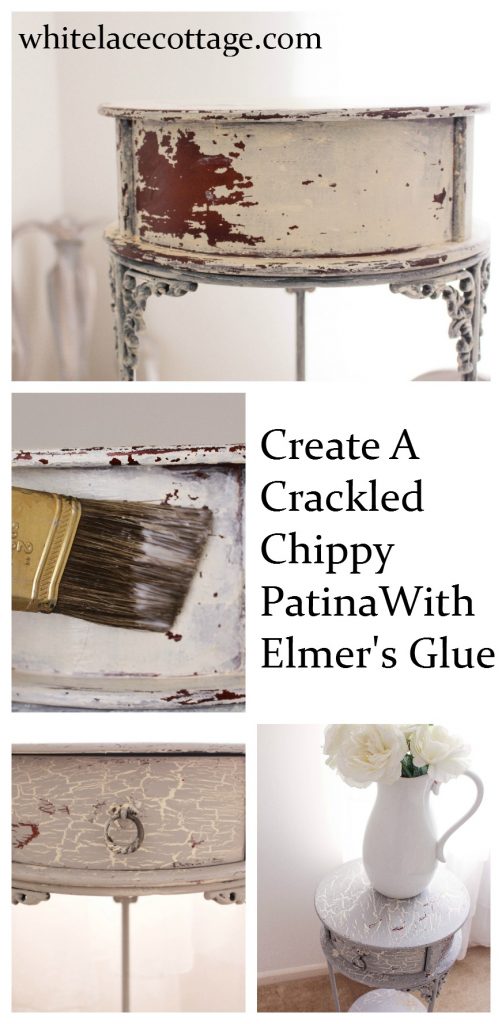
One of the easiest ways to create a crackled distressed look is by using Elmer’s glue. I’ve used this technique many times to create an aged patina. It’s super affordable and goof proof. One thing you need to remember when you create a crackled distressed patina or any aged patina is that you have to go with it. Don’t try to create something perfect. If you are afraid to try this on a piece of furniture than get some scrap wood or a cheapo piece of furniture from a garage sale or a thrift store and practice. You’ll get the feel of how much glue to use, how thick to put it on and how much paint to use. You can also try layering using different paint colors so I always recommend practicing first.
(This post contains affiliate links. Please see disclosure policy)
Before I share how to create a crackled distressed look let’s talk about practicing first. Don’t try this technique if you’re unsure of whether you will like it or not. Get an old piece of furniture or wood and practice on it. I’m never afraid to try new techniques and I just go with it. For example I created a layered look on a mantel a few years ago. I painted it using milk paint. After I painted it most of the paint chipped off. Instead of panicking I just went with it. I applied a coat of chalk paint right on the top of the chippy milk paint and the results are pure chippy perfection. You can read more about that here.
So let’s get started. Here’s the supplies you will need for this project.
- Elmer’s glue
- Chalk based paint
- Foam brush or old brush for the glue
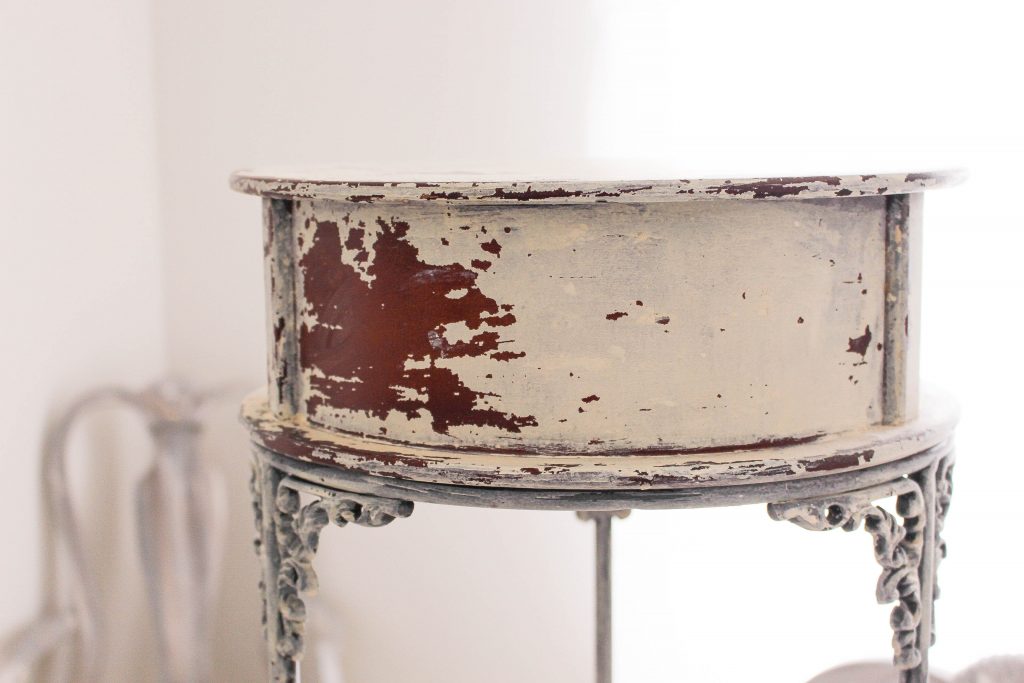
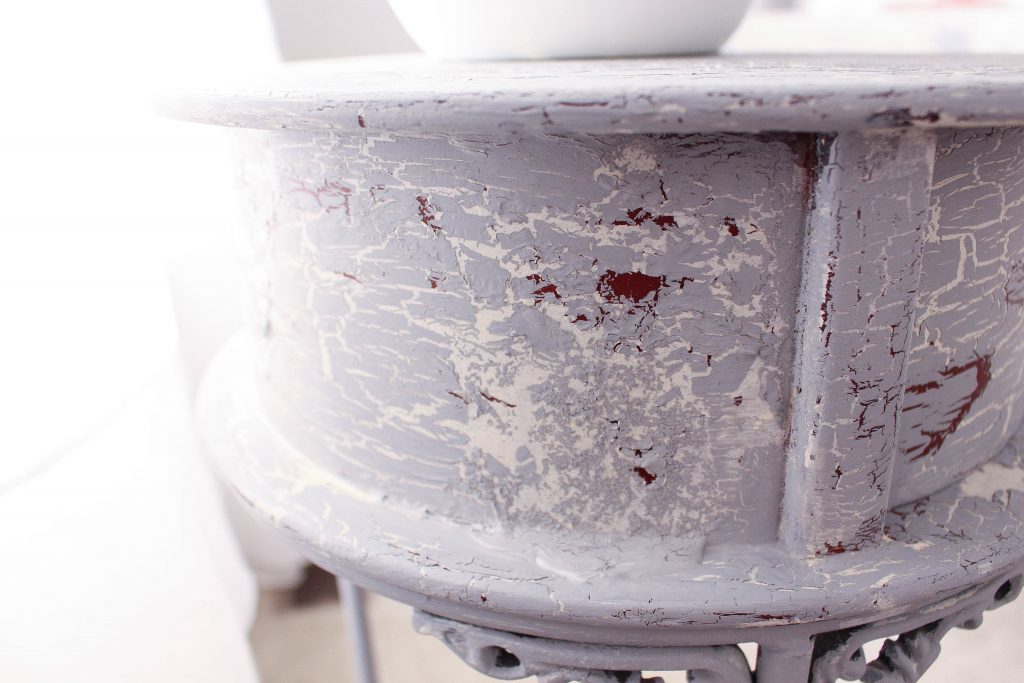
I’m going to share what I did to create a crackled distressed patina . I painted my table with milk paint several years ago. The color is ironstone from Miss Mustard Seed. I decided to paint right over the milk paint. Since the milk paint was my base I didn’t need to base coat my piece. If you are starting out with your piece and you want a similar look you can paint your piece using milk paint. Here’s the secret to getting a cheat way create a chippy distressed look using milk paint. Don’t use a bonding agent and paint on a surface that’s slick. This is always a gamble because you never really know what will happen. But for me that’s part of the fun. When I painted on this piece using the milk paint it started chipping naturally without sanding it off. This doesn’t always work so you never know. It’s always a risk. Sometimes it can chip off too much. Just know that before trying this.
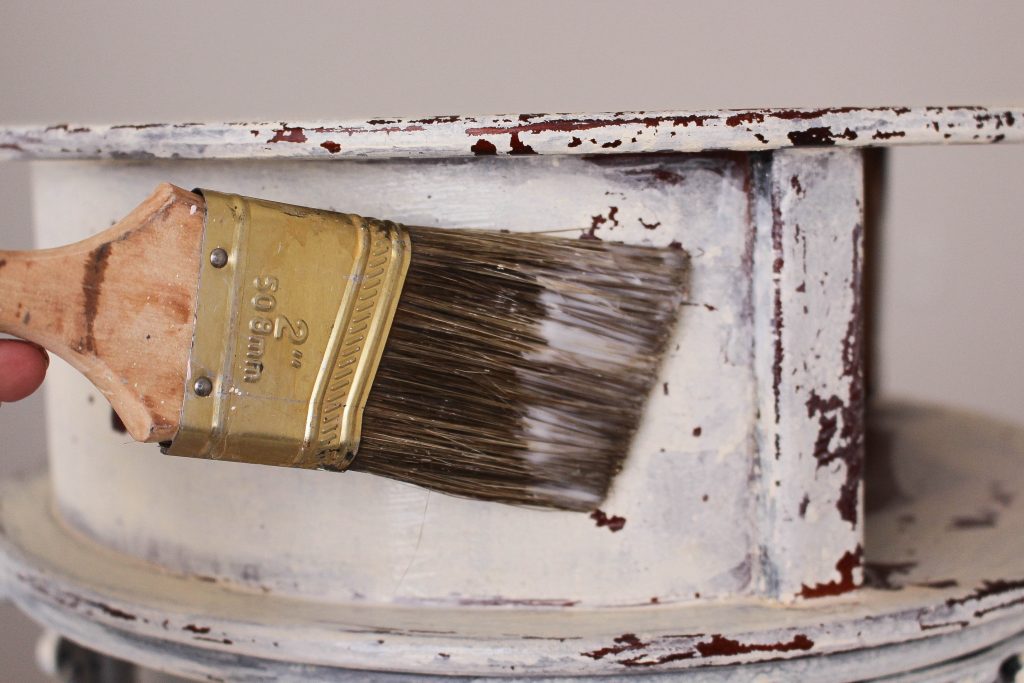
So let’s get back to the tutorial. After your milk paint is fully dried wipe off any loose pieces of chippy paint. Then apply a coat of Elmer’s glue to your piece. Make sure to protect your floor first before applying the glue. Especially if you are doing this on a large piece of furniture. This will drip whether you apply it thick or thin. And don’t worry about the drips just go with it.
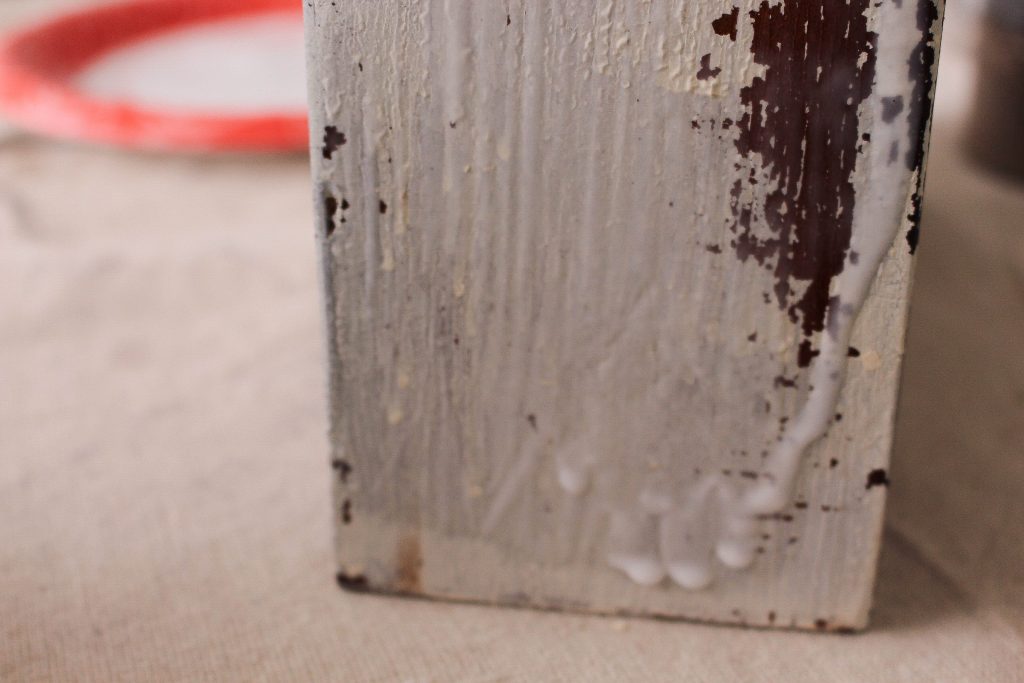 If you apply the glue thick you will have a thick crackle finish if you apply it thin you will have a thin crackle finish. Let the glue dry only until it’s still tacky. Don’t let the glue completely dry. Next paint a coat of chalk based paint. Be very gentle and don’t push or pull on the brush. It’s kind of like painting your nails. When you put the second coat of nail polish on the polish is still wet, so you use a lighter hand. It’s the same with this technique. As it’s drying you will start to see it crackle. I think the milk paint made mine peel up a little and I really love that look.
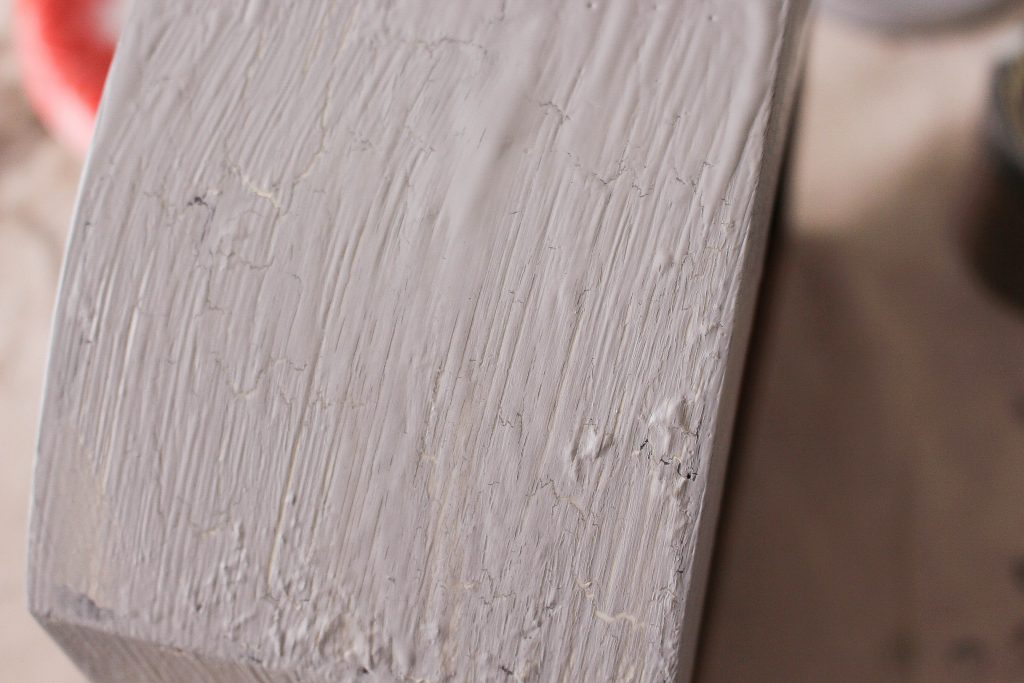
No Milk Paint
You don’t have to use this technique with milk paint. I just think that it gave it more texture because it peeled up a bit. So if you’re starting a piece paint it using chalk paint. Let it fully dry then apply a coat of glue then another coat of paint once the glue is tacky. You can use two different colors of paint as well. One color for the base and another color for the final top coat. You can also seal it once it’s completely dry. But the paint that I used does not require a top coat as it’s in the formula. Yep that’s right no primer or top coat is needed which I love.
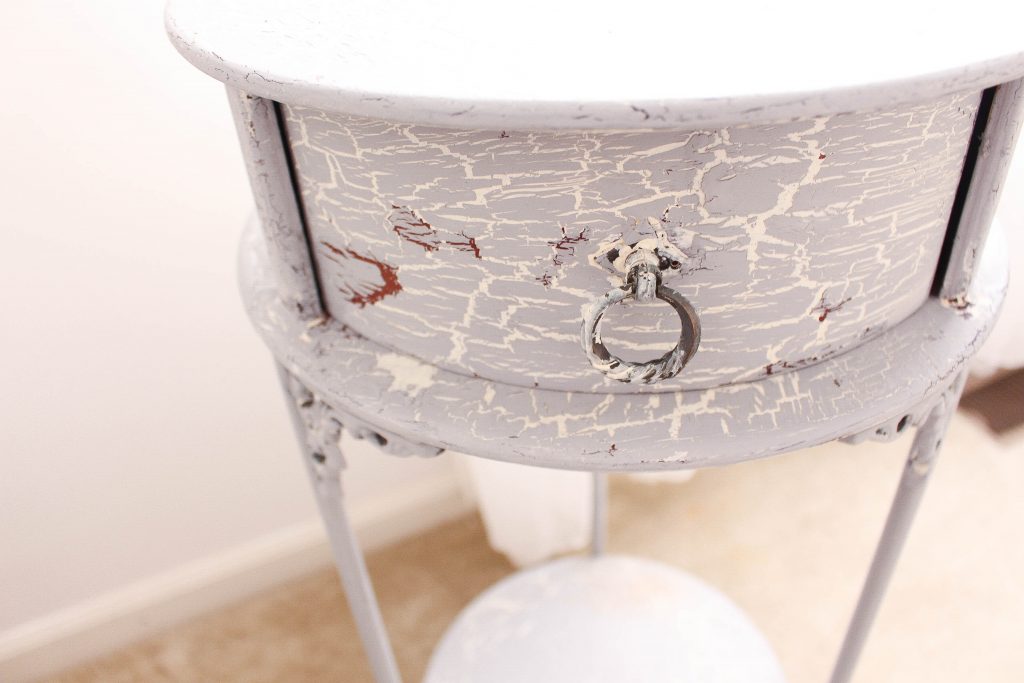
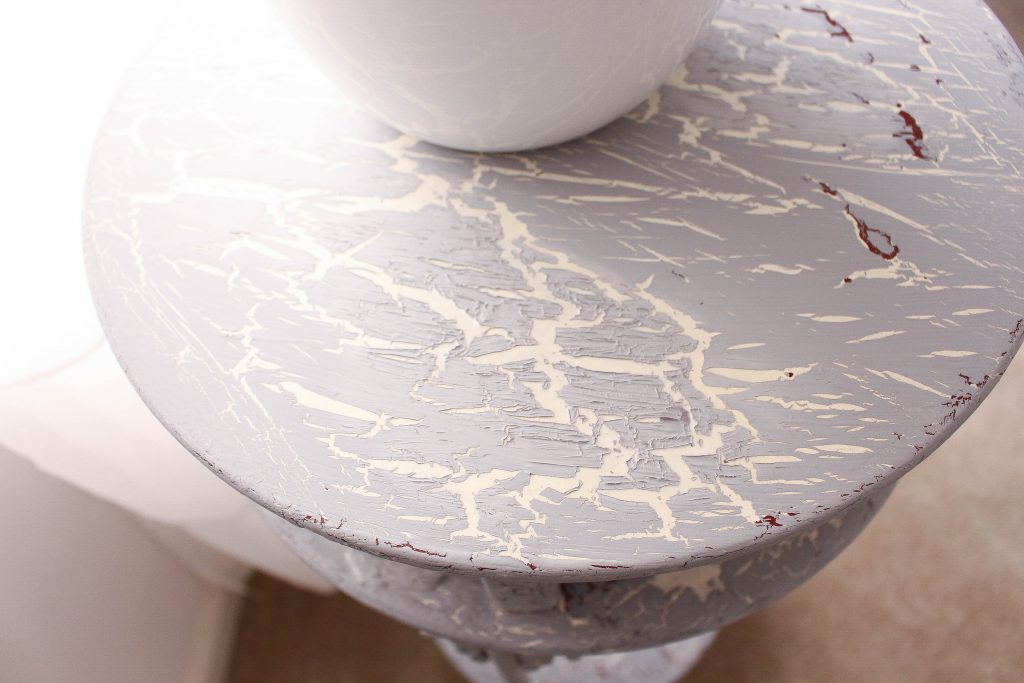
I haven’t added my dark wax yet. I just have a small section that I started to apply wax. I did this because I was also sharing this tutorial for a video that I shared on my YouTube channel. The added wax will give this look more of an aged patina that resembles tobacco stains.
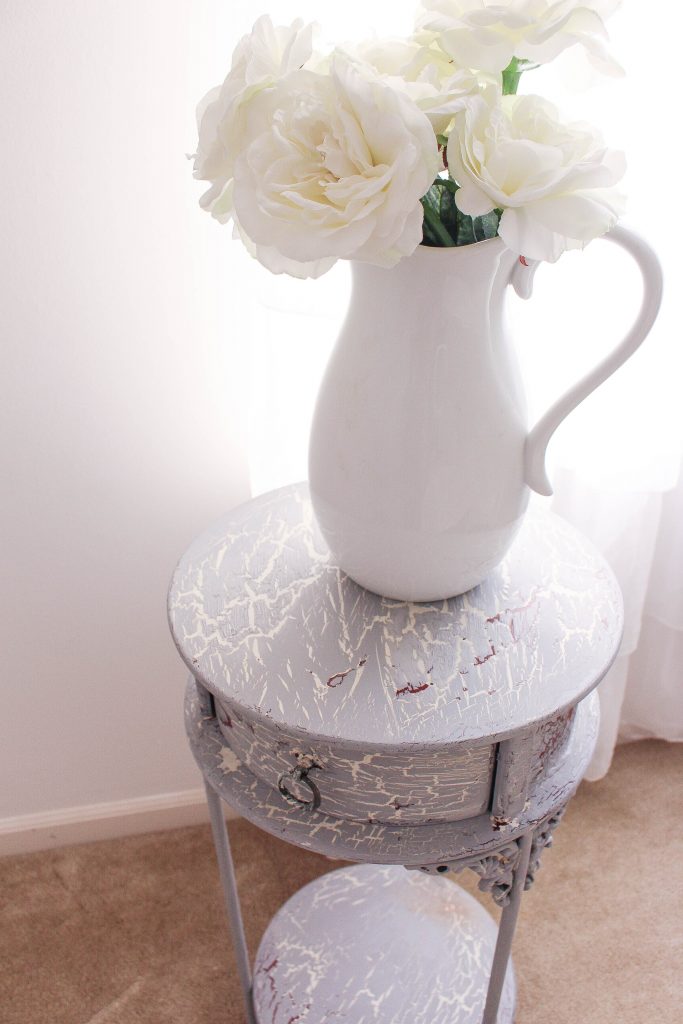
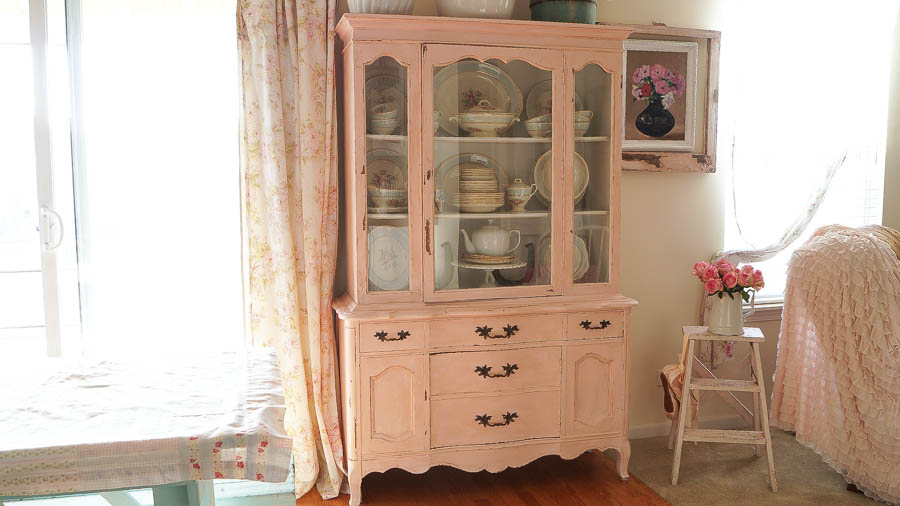
You don’t have to add the wax if you don’t want that look. Do what makes you happy. This is such and easy technique and I think painting over the milk paint is one of the best results I’ve gotten so far. I used this technique a few years ago on my dining hutch that I used to have in my kitchen. The drips and imperfections created amazing texture in my piece resembling real authentic looking aged patina.
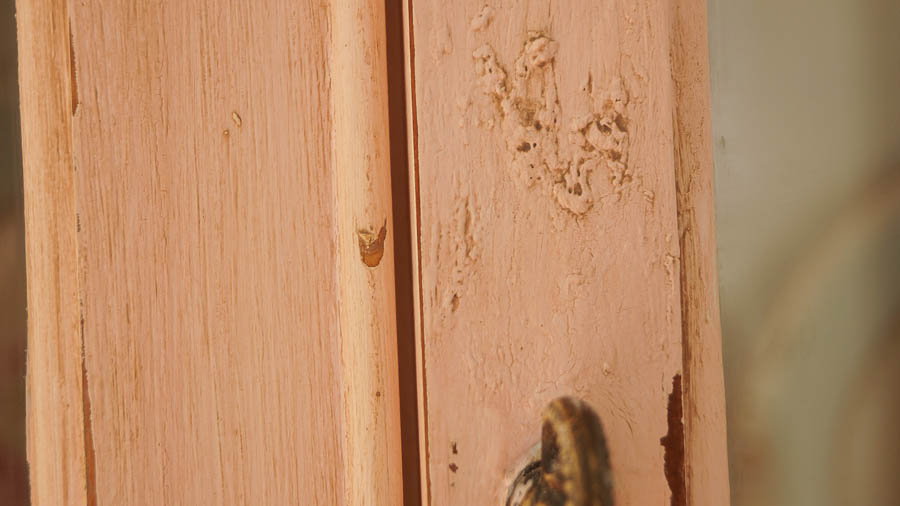
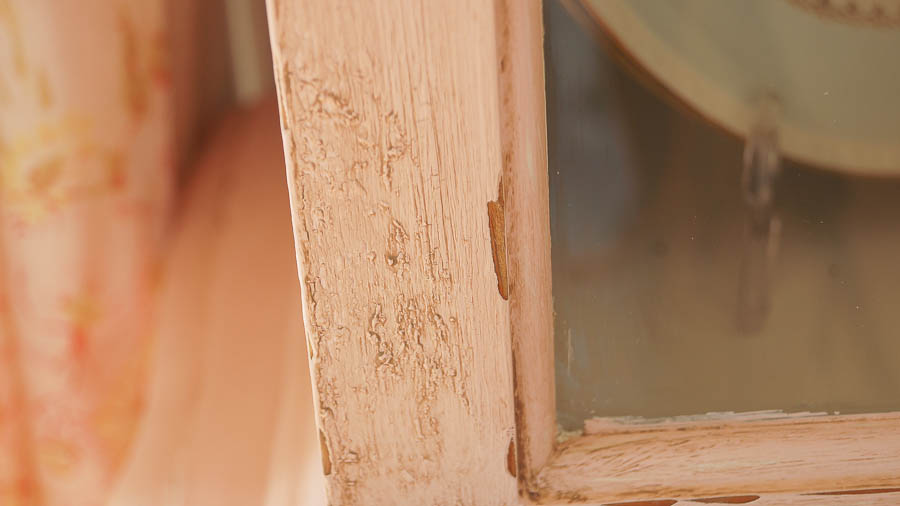
You can see how the dark wax really brought out the details with the glue crackle finish. It’s very layered. Some of these were drips and it’s why I say don’t worry about the drips. It gives a piece more character and interest. You can see below how some of the paint slid a bit. That’s why adding the dark wax will also create more attention to these imperfections making it look more authentic.
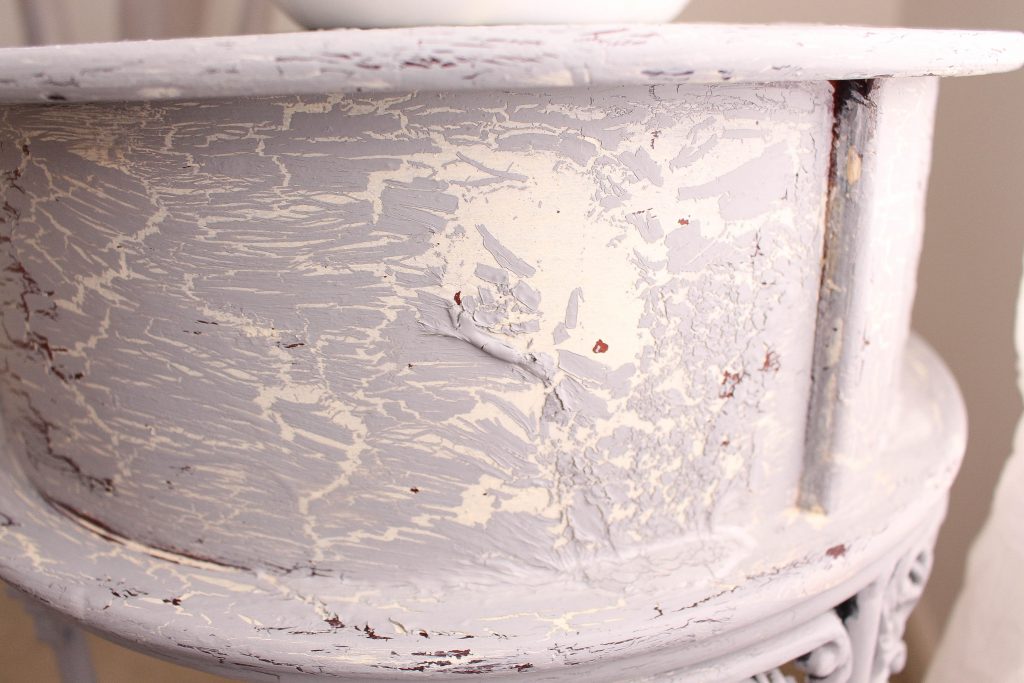
So what do you think? Are you ready to try this technique? Let me know in the comments if you’ve tried this technique and what the results were.
Been really busy huh? Redoing previous re-do’s or different pieces acquired? Great job with glue and chalk paint effects. Not my favorite, am a hard to convince person I guess, but know most people in Midwest and east coast like those looks.
Maybe is western thing? When have tried to sell pieces with distressing too many people here don’t seem to care for heavily distressed let alone mild distressing., maybe it’s just Grand Junction. Hard to say. So many people not up on trends/styles, some never heard/seen of them. To each his own.
You did great job achieving crackle/chippy patina. Will you be selling those pieces? Lot of times trying new techniques turn out to be happy accidents.
Been working on craft room again, hubs made two shelves from old computer desk for walls so could get more up off floor, is a small room. Been working on making new seasonal art for living room and bunch of other little projects. Still have top shelf of corner shelves to go thru. Today took all paints off bookcase to weed thru for old stuff and badly needed organization, phew did that feel good when done. Hadn’t planned to do that but was in room transferring things from closet to shelves, before I knew it – had tackled book case. Hopefully will start on sewing room next week.
Thursday taking ride to Vernal, UT to Miracle Ear store for hearing test and talk about getting hearing aids. If nothing else will have nice ride. Grand Junction Miracle Ear store been closed, closest one in Vernal, UT. Incredible there isn’t a store related to Miracle Ear Foundation closer or at least in CO closer to us.
Hope all well with you and yours, have wonderful week.