Decoupage A Kitchen Stool
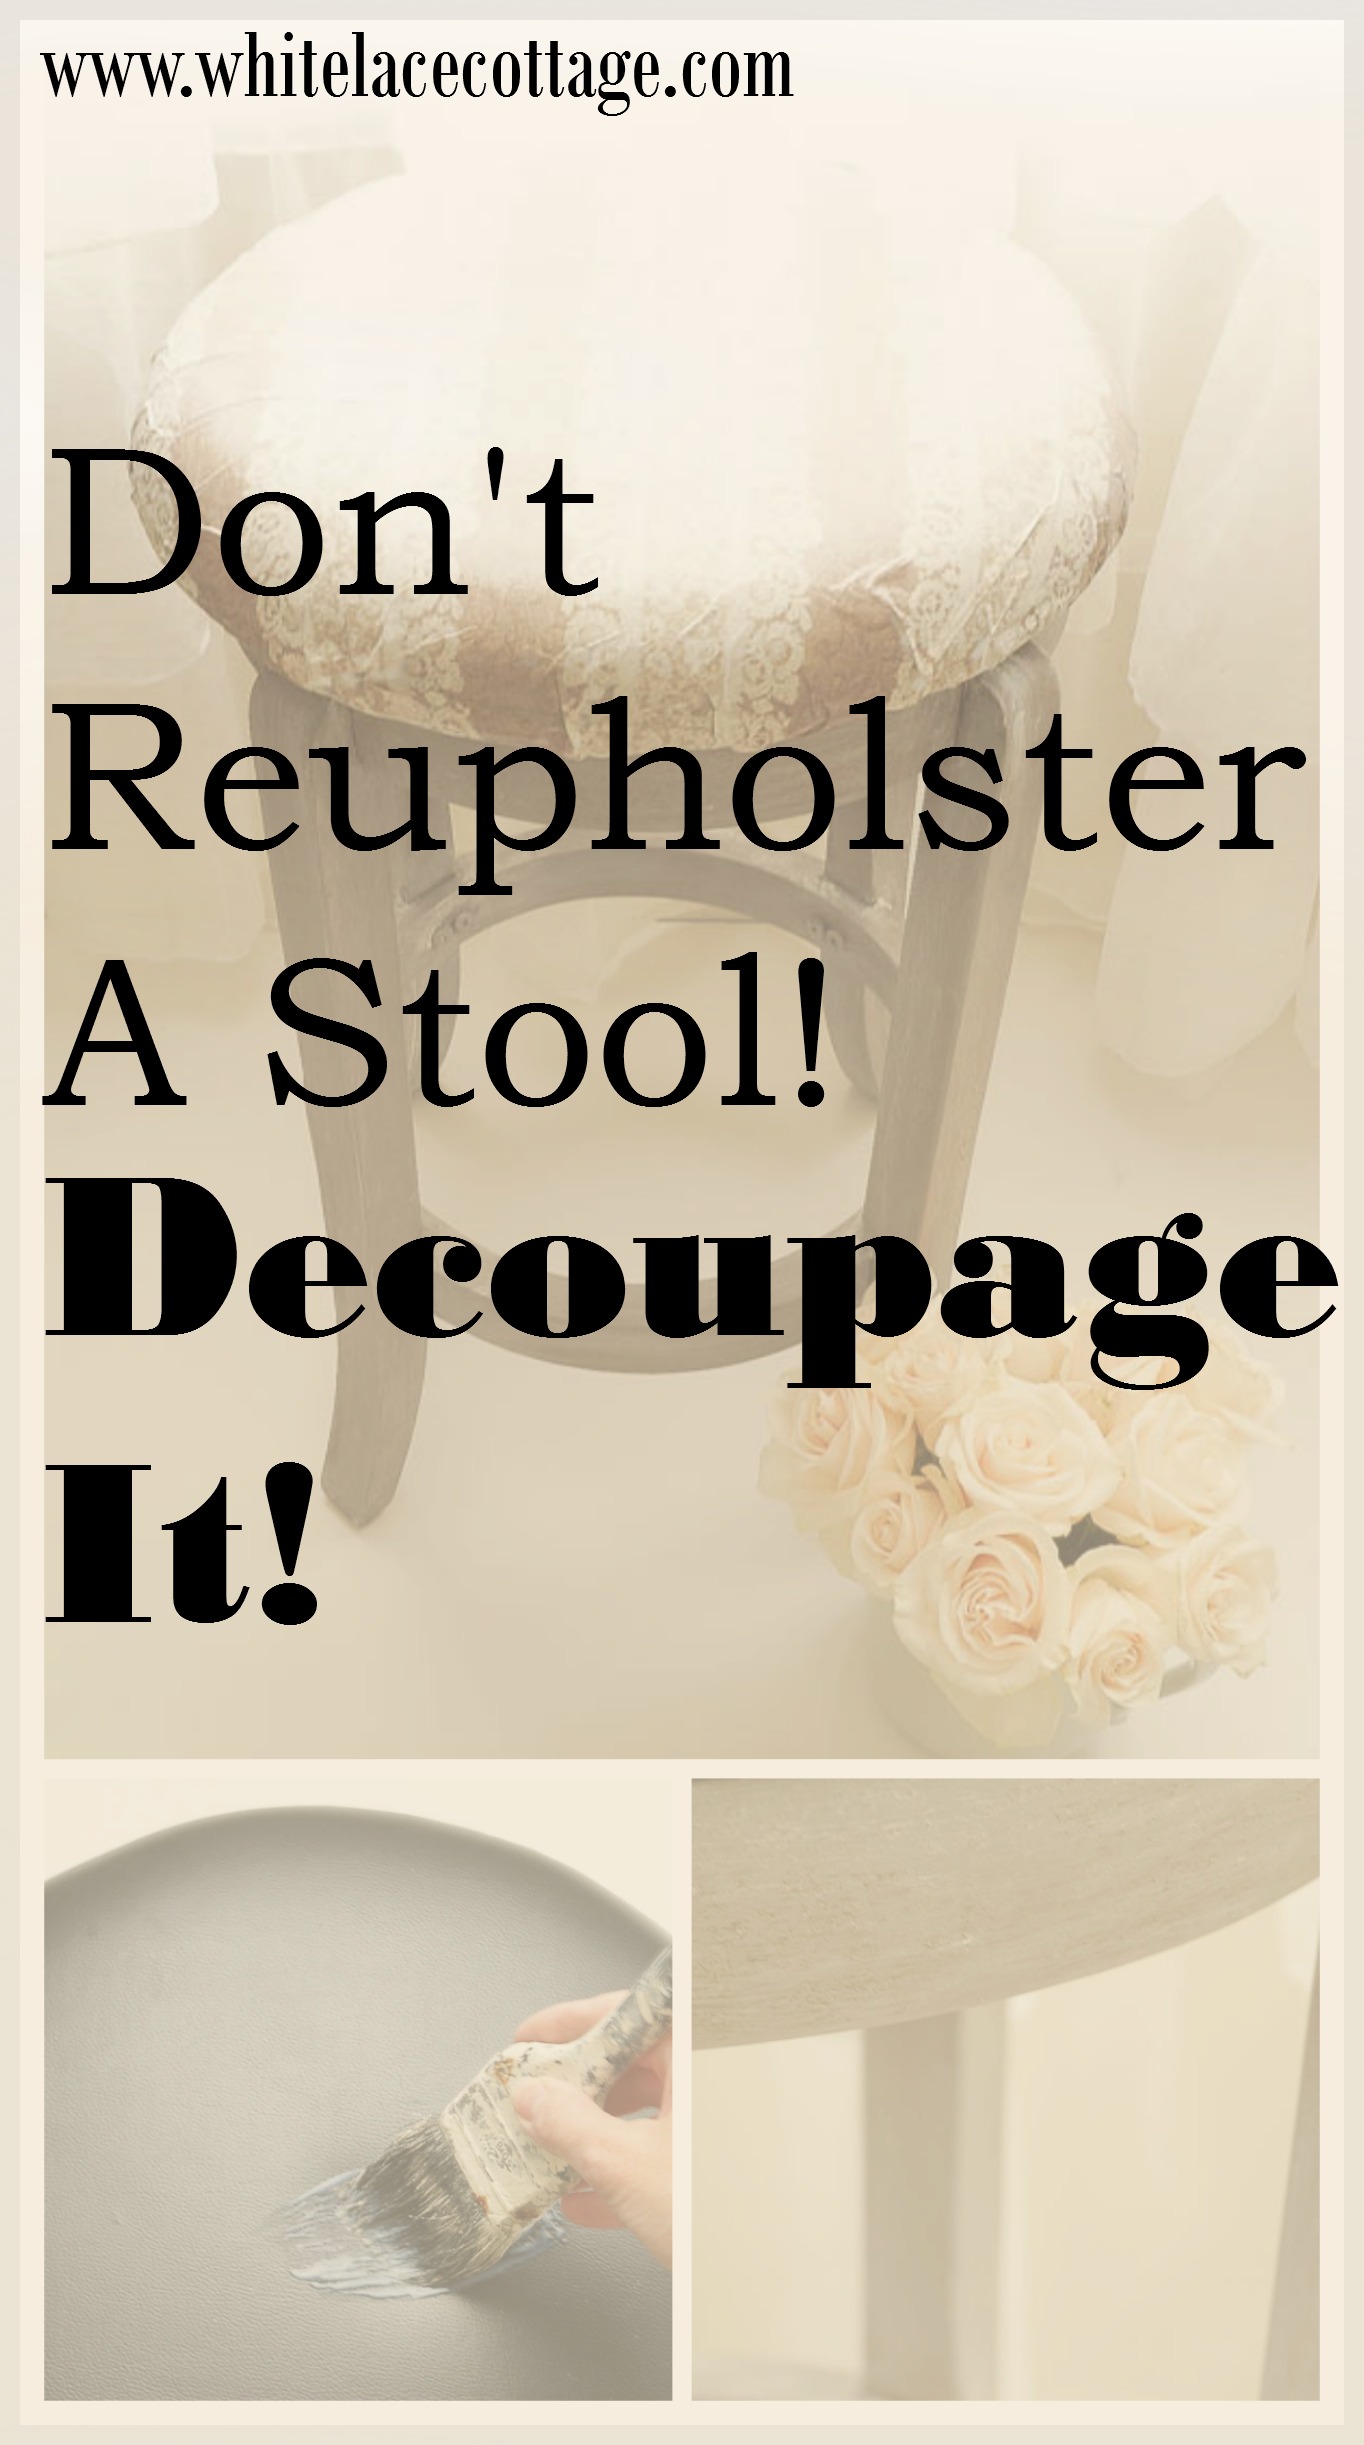
Well after three years of the same old look on my kitchen stools, I decided to make a change to the look of my kitchen stools and decoupage them. Before I decided that I wanted to decoupage them I had a few ideas in mind. One idea was to add glitter to the tops of the stools, sort of like the old 1950’s dinner look. You know me and my bling. I’ve seen that done by mixing decoupage glue and glitter and the results are fabulous! But as I was getting ready to do that I had a light bulb moment. I seriously did, and this is how my brain works. And the thought process….what if I took tissue paper and decoupage it to the stool. Bingo, I think we have a winner!
Well, guess what, that’s what I’m going to share today. How to decoupage a leather stool.
(This post contains affiliate links, please read disclosure policy)
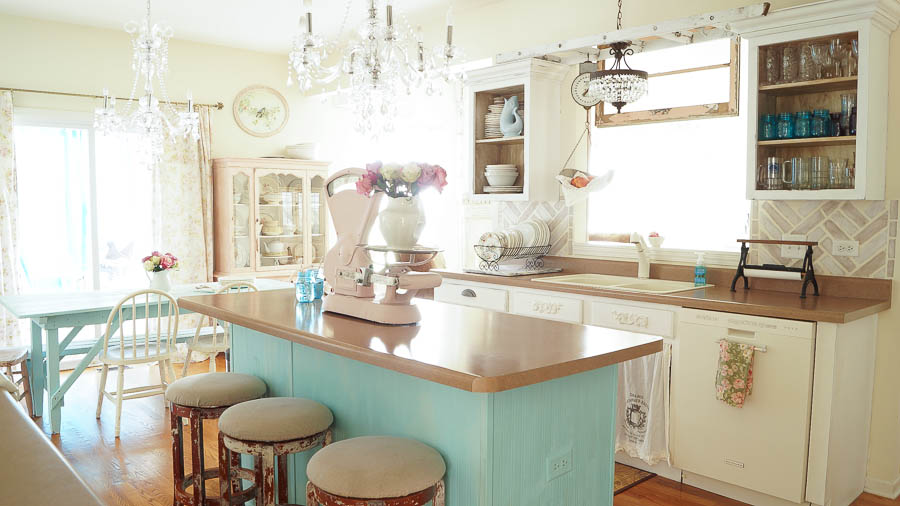
Originally these stools had a leather top, but you can see from my kitchen photo that they have fabric added. Yeah, that fabric was one of the changes to these stools. So the first thing that I needed to do was to remove the stool from the base, and take the fabric off.
And let me tell ya, that was a tedious job. I have to give myself a pat on the back for the superb job that I did on reupholstering these stools. Because it was not a fun process. I was just about to open a bottle of wine to help me with this joyous event, then things started to get better. Pulling the staples out was getting easier. Well that was a relief!
Okay are you ready get started? Let’s do this!
How To Decoupage A Stool
Supplies Used:
- Decoupage glue, I used 1Gel decoupage from Heirloom Traditions paint
- You can also use Mod Podge if you’re unable to purchase 1 Gel Mod Podge
- Tissue Paper mine was purchased from Hobby Lobby. It was found in the party supply and is number 785477 Brother Sister brand.
- Scissors
- Foam brush or roller
- White Lime Wax
- Mocha Paint Heirloom Traditions
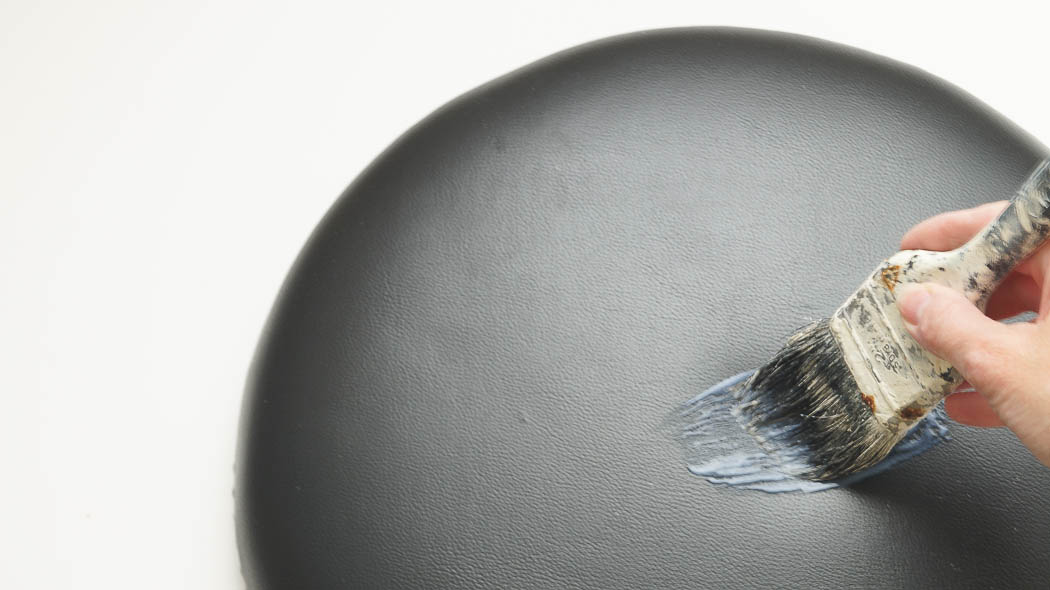
- Apply the decoupage glue to the top and sides of your stool using a foam brush or roller. Don’t do what I did and use a regular old paint brush to apply the decoupage glue, I ended up getting loose hairs from the brush in my glue. But I didn’t have a foam brush on hand, so I used what I had. Which by the way, you know how impatient that I am. Instead of waiting to get the correct job, I started using the wrong brush. Don’t do that.
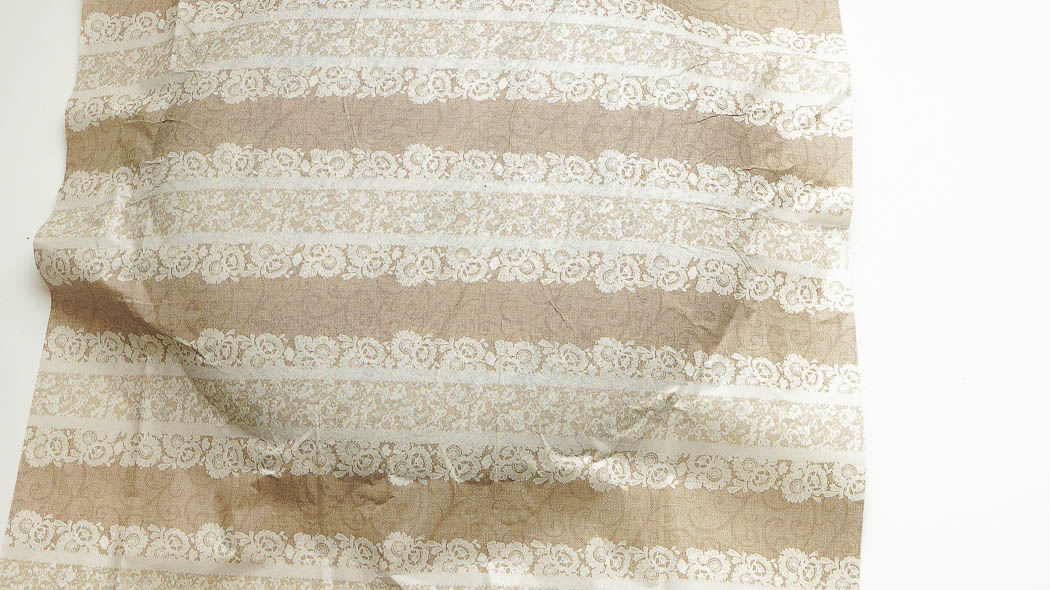
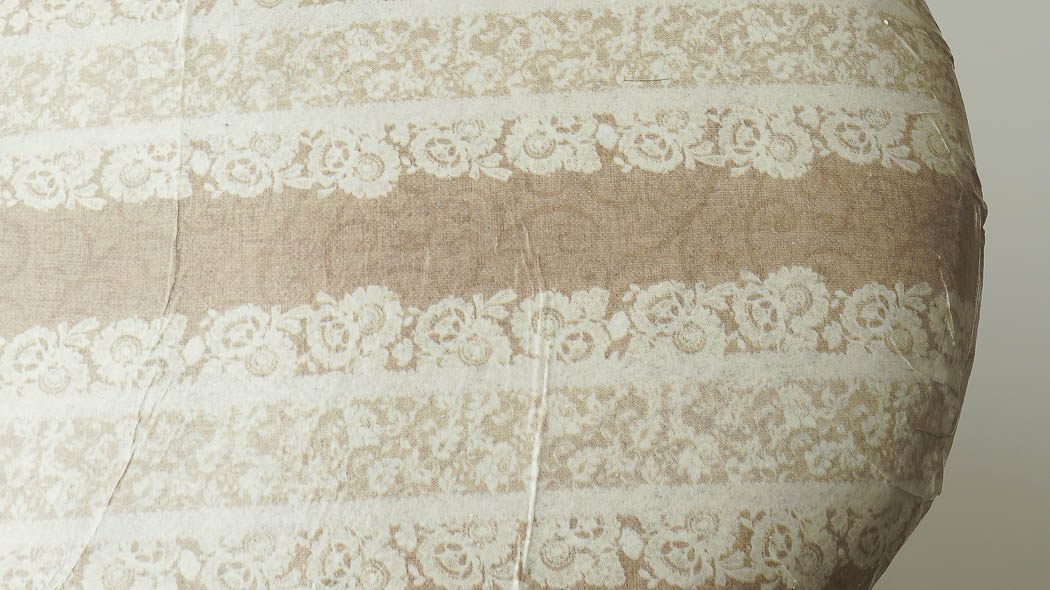
- Take your tissue paper and apply it to your stool over your decoupage glue. Make sure you apply your tissue paper gently. This is where it can get messy and rip if your not careful. And you don’t want that to happen. Oh and don’t worry if it wrinkles a little, I think it looks better with a few wrinkles. I try reaffirm myself with my wrinkles, no use in trying to smooth them out. Ah, I got a little off topic. Next, flip the stool cushion over and apply more decoupage glue and paste it down to the underneath side of your stool cushion.
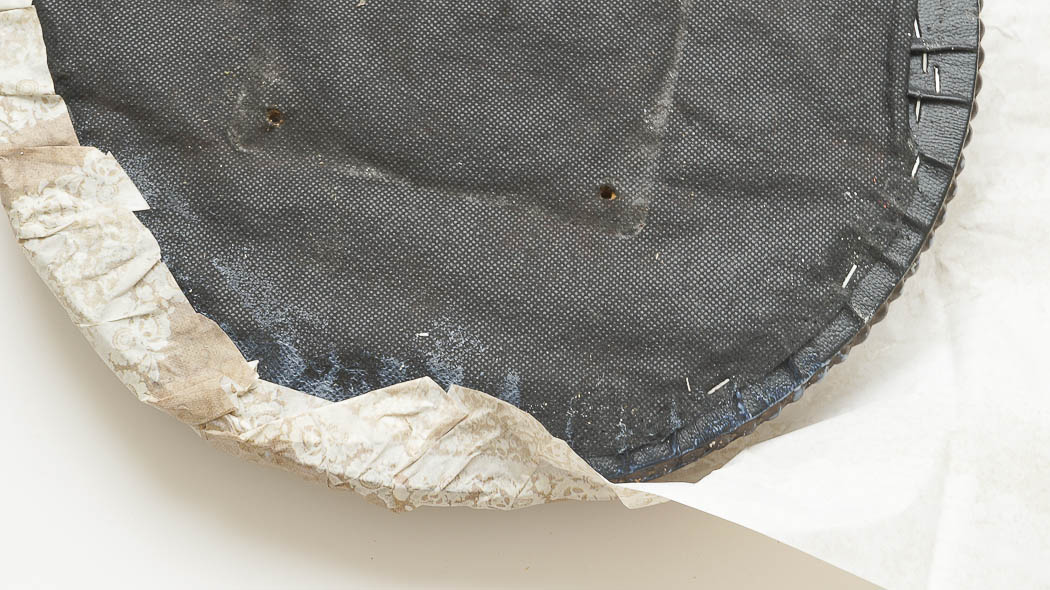
- Once your tissue paper is applied, start applying a coat of decoupage glue on top of your stool. When this is completely dry, repeat this step 3-4 times. Making sure that it’s fully dry before you apply the next coat.
While my final coat was drying, I started painting the legs of my chair. I used Heirloom Traditions Mocha right on top of the chippy milk paint that I had on this stool originally. I applied two coats of paint.
When the paint was completely dry, I added a coat of White Lime wax from Heirloom Traditions Paint. I love using White Lime wax, it highlights imperfections like nobody’s business. And I have to admit I love the name, White Lime. It reminds me of a Margarita 😉
White Lime wax gave my piece a white washed aged look, which I absolutely love! And guess what? That milk paint that was on this originally, well that White Lime Wax helped to show off those imperfections, which you all know I love.
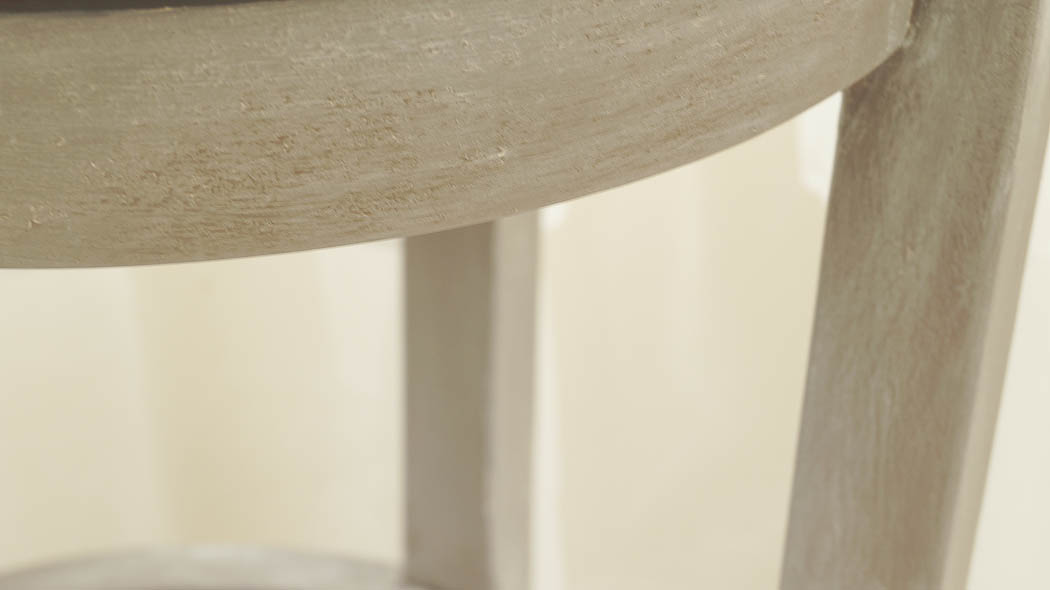
I promise that this is an super easy and fun way to update stools if you don’t want to reupholster them. I love the design on this paper, and I’ll give you a little hint about my next kitchen project. I’m going to use this paper on another project in my kitchen.
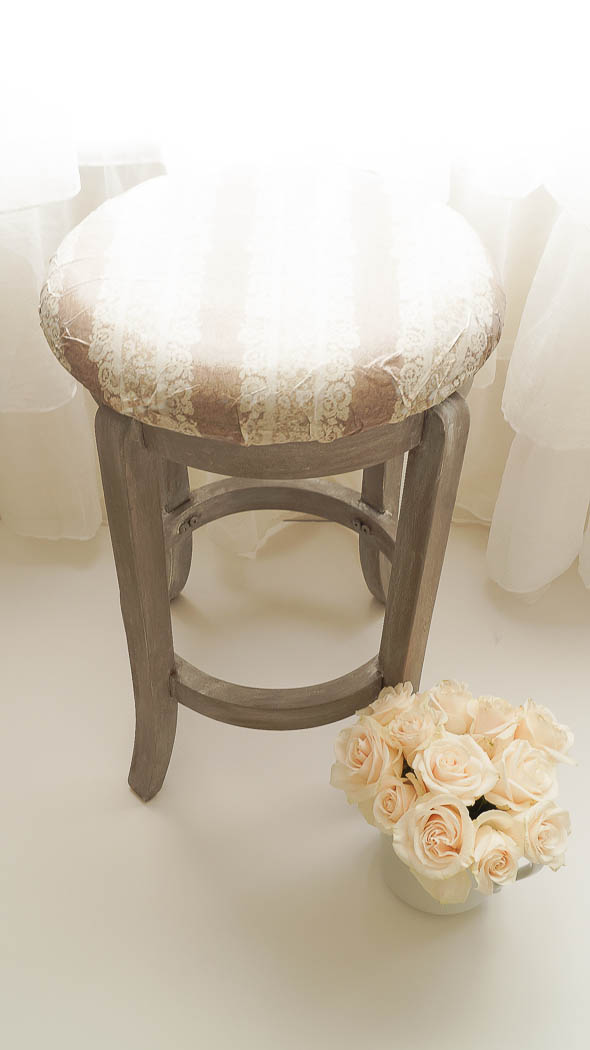
Since I have more projects to do in my kitchen, and these really don’t match my kitchen right now, I’m just sharing a solo photo of the stool. Once things are more pulled together in my kitchen I’ll share what these look like in my room.
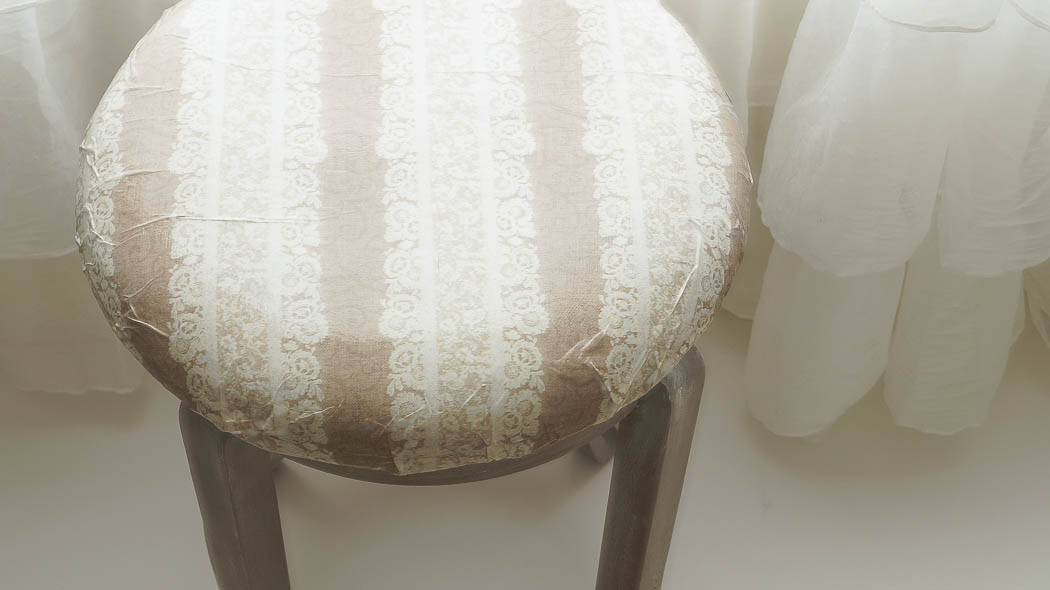
I love the color of these stools and I love this paper. It’s not your typical thin tissue paper, this paper is thicker than most tissue paper and perfect for this project.
If you think you know what I’m going to do for my next project leave me a comment. And as always if you have any question about this project, any other project I’ve shared, a painting question, what my favorite color is…whatever, please leave me a comment. I always respond to comments and questions directly to your email 🙂
Shipping Guide:
**Use coupon code WHITELACE at checkout to receive 10% off of your order**
Darn you girl! You are so stinkin’ creative, you make my brain hurt!! 🙂 I love the stools!!! The paper you chose, The marvelous way you painted out rhe base and legs, looks so chic! I have a couple of questions, if you will indulge me…. Is the gel1 decoupage thicker than most other decoupage products I might find at Michaels or Hobby Lobby?
I have hated my dining room chairs since the day they were delivered. My chairs have a matte dark cherry finish. What in your opinion would be the best way to distress them a bit and lighten them up? At this point, I dislike them so much, if I mess them up, I will still like them better than the way they are now. Oh, the chairs are a a very plain, straight back chair with 4 straight, 1.5″ slats running from top of chair back to seat. If you have an idea, I would appreciate it, if you don’t, that’s okay too. Thanks for the treat of sharing your stools!
Are you going to apply same tissue paper to your cupboard doors inset? That’s only guess could come up with. Love paper pattern, you are such a rascal, never know what you’ll come up with. Or maybe use it on island, this guess came in head getting ready to post comment. Have great rest of weekend.
One layer of tissue paper and 3-4 layers of glue? Did I understand that part correctly?