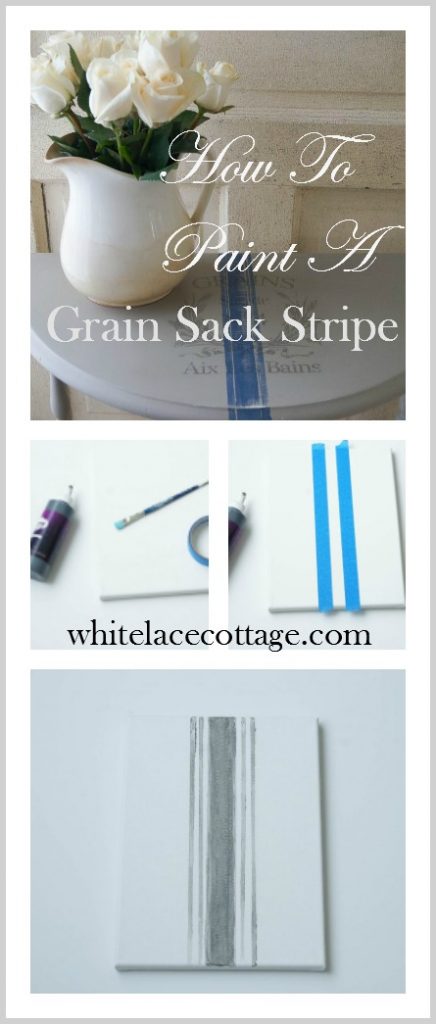
How To Paint A Grain Sack Stripe
Several years ago I shared how I painted a grain sack stripe on a table I was working on. And silly me, I didn’t share the tutorial. Recently I shared my Farmhouse sign, you can read about that HERE. That sign was another project that in my earlier years of blogging I neglected to share how I actually created it. I seriously cannot believe that I never shared a tutorial on how to paint a grain sack stripe. Well, if you’ve been following me from the beginning, I apologize.
(This post contains affiliate links, please see disclosure policy)
Supplies Needed :
- Painters tape
- Paint
- Brush (small foam or craft brush)
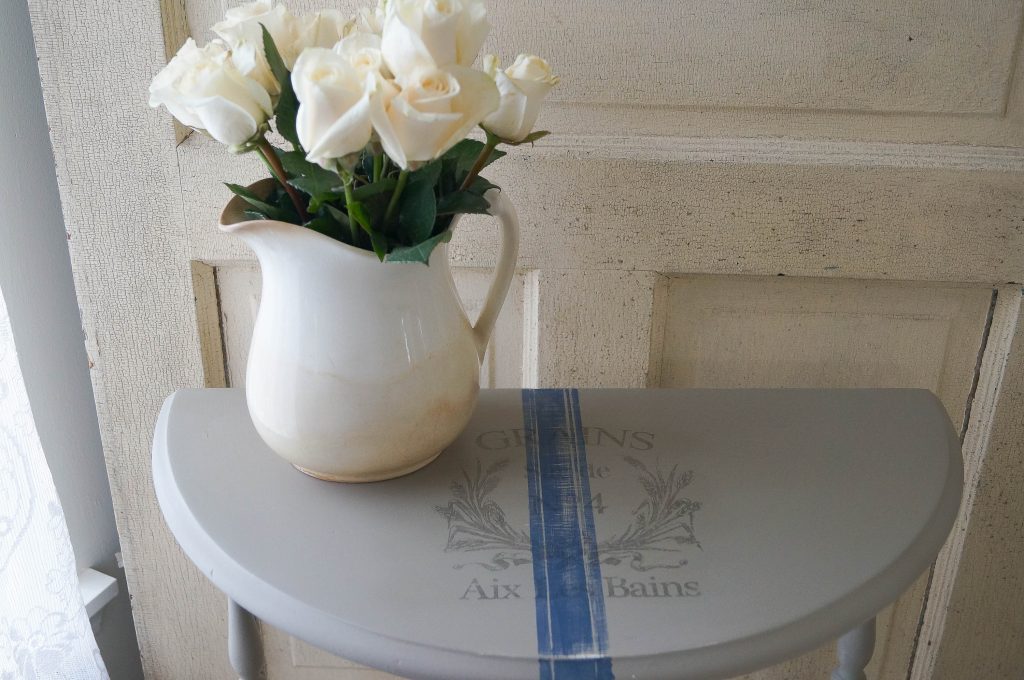
We’re first going to start with the center stripe. Decide where you would like your stripe to be. Center it to the middle of your piece. Using painters tape, create a stripe about 1- 1 1/2 inches wide. Then paint your stripe. When that stripe is completely dry you’re ready to create your next stripe. Place your painters tape on top of the stripe you just created. But don’t place it on the edge of that stripe. Bring it out a little further. Add another piece of painters tape across from the piece you just added to your painted piece. You want to create another stripe. And that little space in between those two piece of tape is going to be your next stripe. You can make these thick or thin it depends on how authentic you’d like it too look.
You can do a search on grain sack fabric and you’ll see a few different styles of stripes. There isn’t just one way of doing this.
Here’s a visual for you to see another example. Since I don’t have a piece of furniture to share an example of this technique on , I decided to show you using this canvas.

I used Heirloom Traditions Aurora Gel Concrete Jungle, painters tape, craft brush and a paint canvas. First I created my stripes using painters tape.
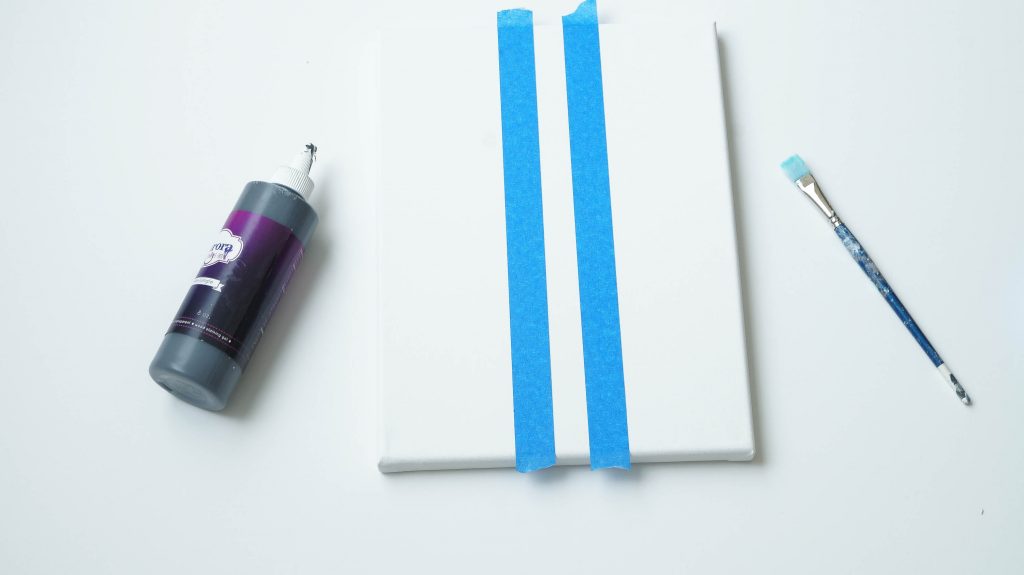
After you apply your painters tape, it’s time to paint our stripe.
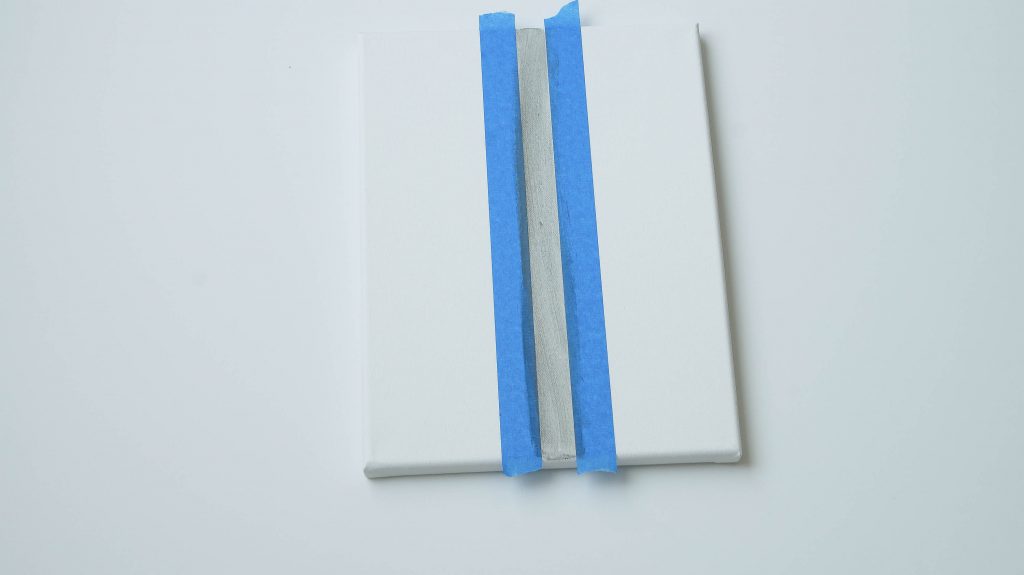
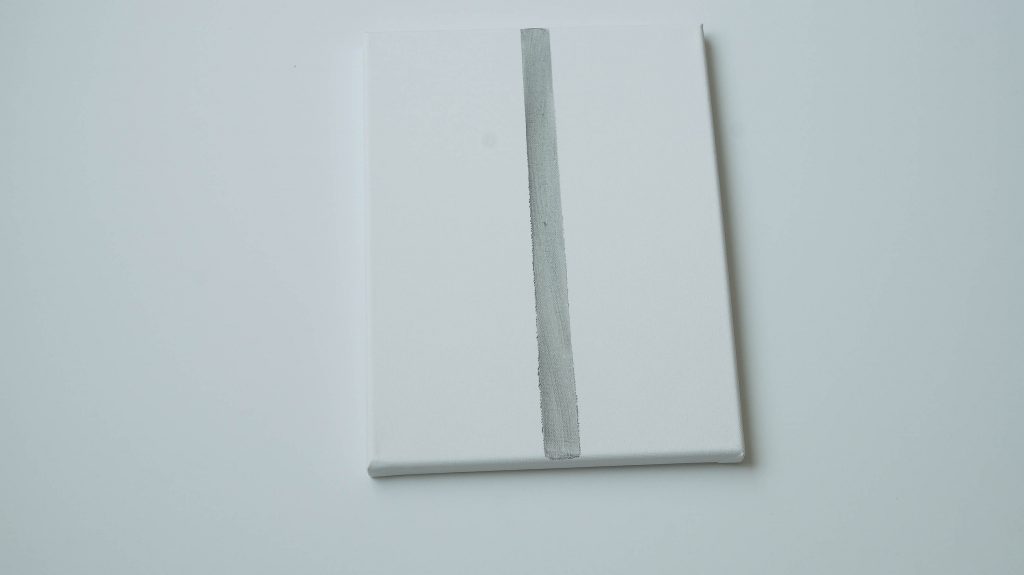
When your stripe is dry it’s time to create our next stripe. Apply the tape slightly over the edge of your center stripe on both sides, then add a piece of painters tape across from each piece, creating a center stripe. Then paint those stripes in using your craft brush.
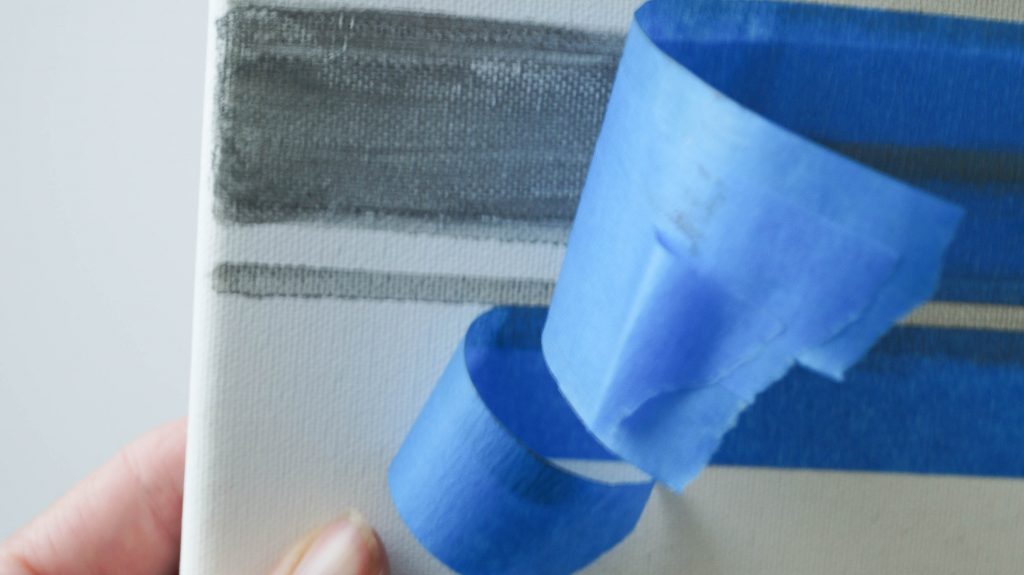
See how I’ve created that next stripe? Don’t worry about it bleeding a little, that’s happening because I’m using a stain on a canvas.
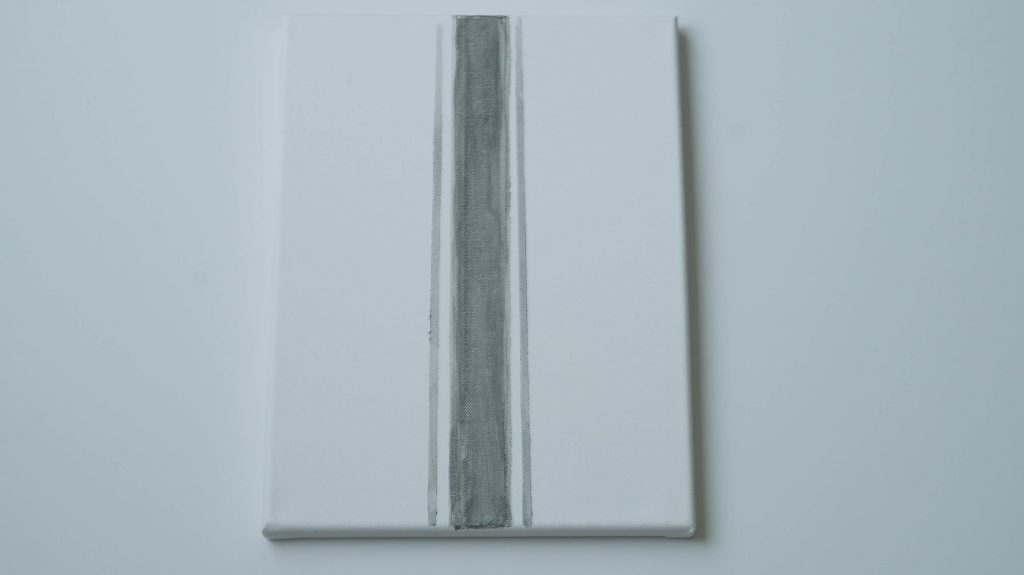 You can leave this as it is or add another stripe. I decided to add one more stripe. To create this last stripe we’re going to add tape on the outside of our last stripe and across from it on both sides. Then paint in the center of that stripe.

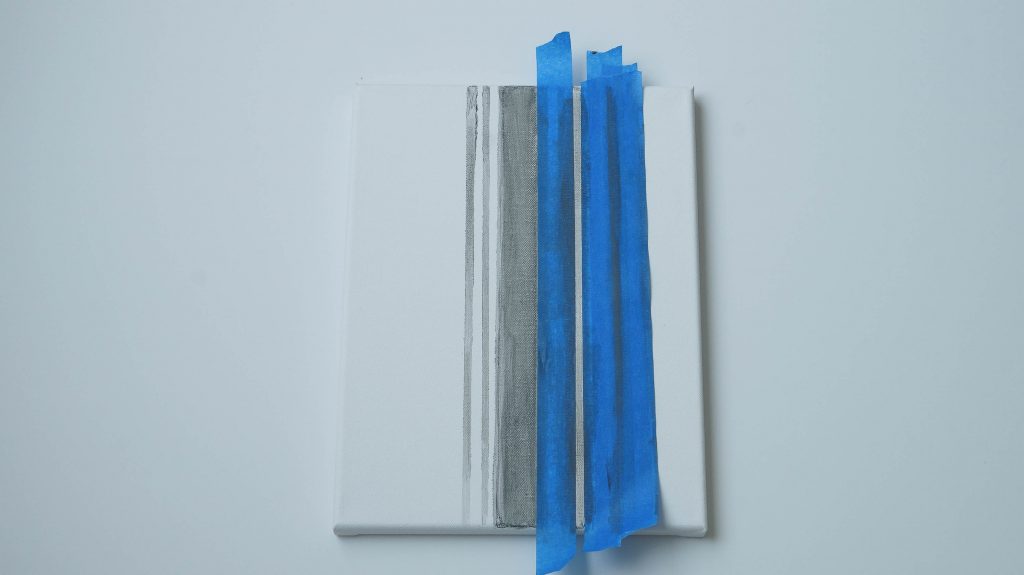
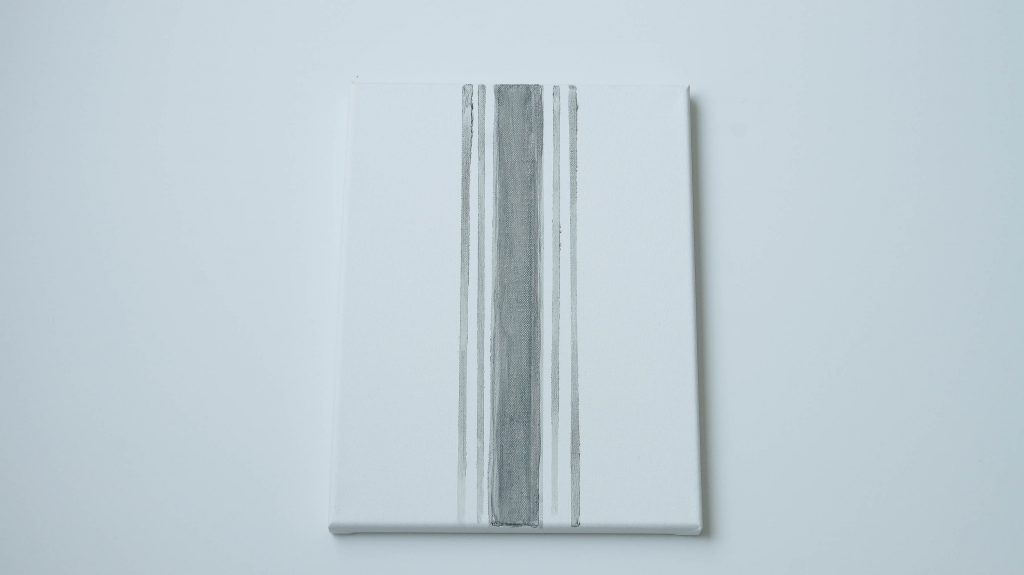
It’s really easy to create a grain sack stripe. But you really have to think about what you’re doing as your doing it.
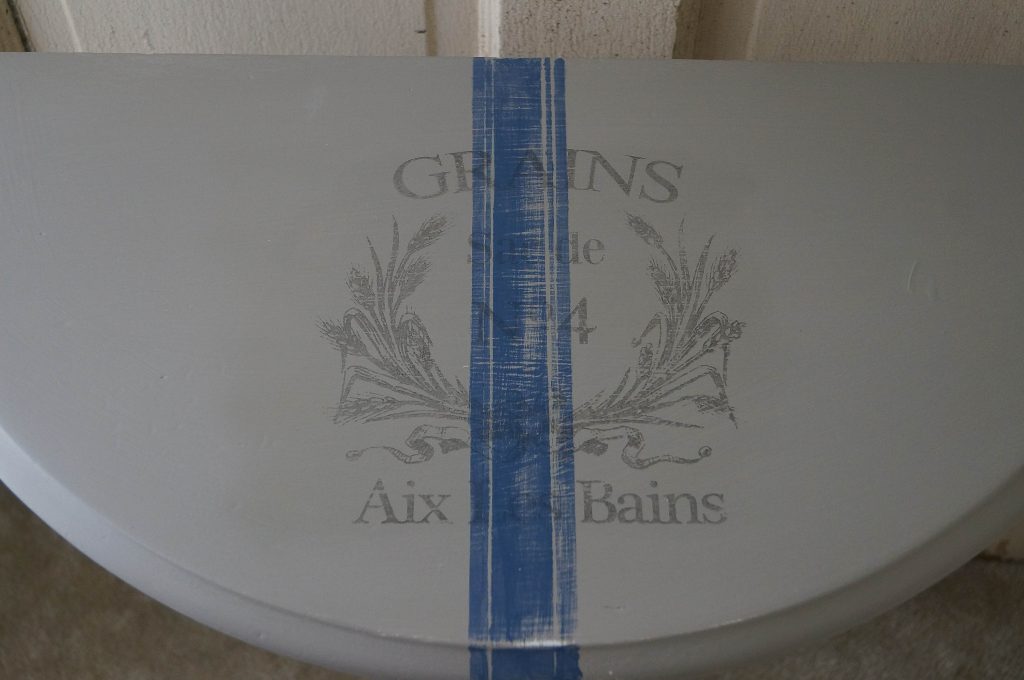
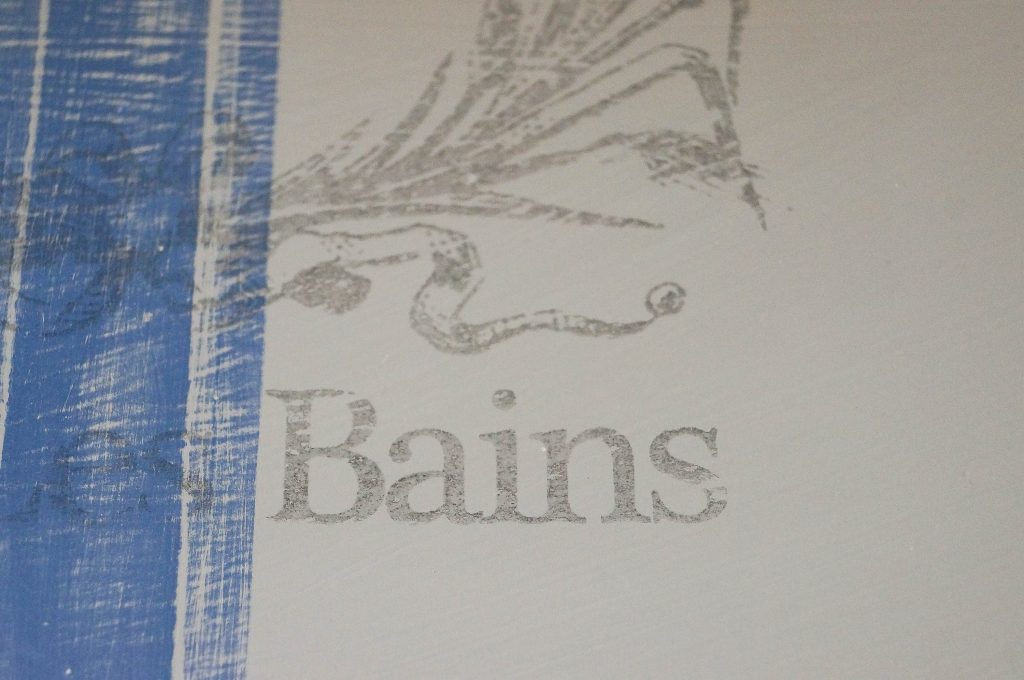
On my table I decided to sand it down just a tad, because you know I prefer that worn down look on my pieces. And for fun I added this French Graphic that I found on the Graphics Fairy. You can find it HERE.
Here are similar paint colors that can be used on this piece. Since I no longer use the paint used on this piece and am no longer a fan of it for several reasons I’d rather not share what I used but paints that are better in quality and color 🙂 Hope this tutorial on how to paint a grain sack stripe helps. It’s a little hard to explain in words. If you’d like to see a short video on this, I can create one. Just let me know in the comments.
Paints:
All paints are available through Heirloom Traditions
Use coupon code WHITELACE to receive 10% anything you order from Heirloom Traditons
Thank you for sharing this, Anne. I’m the type of person who has to have something spelled out for me, so I appreciate your efforts to create an easy to follow tutorial. The ticking stripes are just so much fun and it’s a look I’d like to create in a future project.
To save on my ink printed all this out in grayscale, ink has to last me longer these days. Have different printer, ink is much more expensive, OUCH. Since I print whole lot more than hubs I get to carry ink burden, he bought an HP XL black and mine was color at $70..
This is great tutorial, will help when I finally do some grain sack stripes, soon I hope. Would like to make some on an end table out in shed for few months or so.. Then want to make new table runner in little different style. Your little demi-lune table is really cute with stripes and graphic on it. Have great week
That looks fabulous, now racking my brain on what I can try this on, takes me a bit but it will come in handy. I just finished a painted mirror and used your vinegar aging technique and it turned out great and so easy. Thank You so much!
Anne! You girl! How could you forget to post this or think we wouldn’t be interested?!?! I LOVE this and I’ve got the perfect little round table sitting down in my storage room to paint this on!!! It wasn’t 2 months ago, that my husband and I were trying to “arrange” my storage room and he suggested I get rid of that little table, telling me it had been there for at least 5 years and I hadn’t touched it!! There is an area right inside the opening into our den that is begging for something like this! I CANNOT wait to show your post to the hubs! He’ll feel much better about that little table he wanted to orphan. In the future, post every project, please. You never know how many of us might be storing the perfect orphan for your creativity!
Now really, you thought we wouldn’t be interested? What’s up with that, love this and the graphic is a favorite
Cindy