How To Paint Furniture Basic Tips To Get You Started
One of the cheapest ways to update a furniture is to paint it. This will freak some of you out. Painting can be very scary for some that have never even painted a wall. I’m sure you’re thinking what if I mess up? What if the paint doesn’t stick? Well today I’m going to share how to paint furniture with basic tips to get you started. I promise that it’s super easy to do. (see disclosure policy)

Furniture
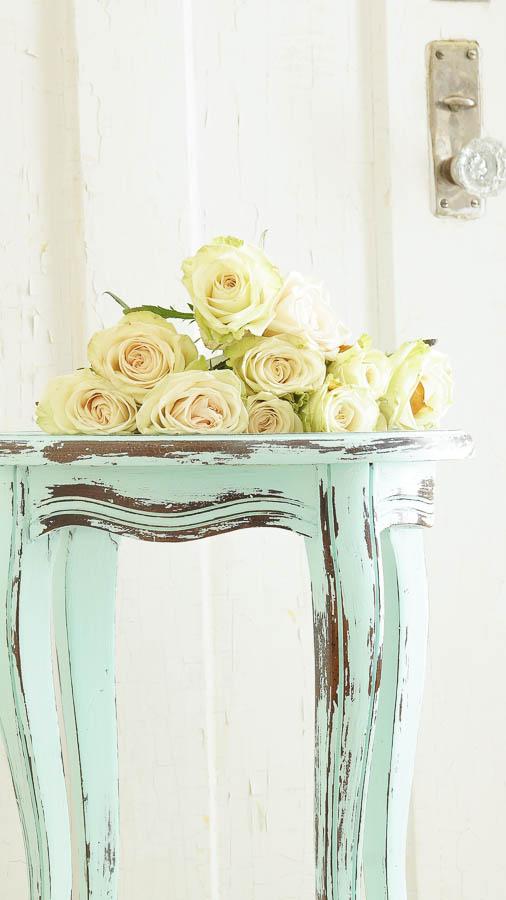
Before we start getting into how to paint furniture lets talk a little about furniture. When you decide you would like to paint furniture you have to look at the quality of the piece. Is it in good shape? Does it have flaws that may make it difficult to paint? Always paint pieces of furniture that are in good condition. If it’s not the paint isn’t going to magically fix it. For example if it has veneer that’s cracked or peeling I would pass on painting that piece. If your piece of furniture has already been painted with paint what condition is that in and what look are you going for? If you want a smooth finish and your furniture piece has chippy paint, unless you want to strip that paint off I would pass. But if you want a shabby chippy look than you can totally paint right on top of that shabby chippy paint.
Clean It First
Always make sure that before you paint furniture that you take the time to clean your piece well before painting it. You may not think it had dirt or grease but chances are it does. Cleaning your furniture well before painting it will assure that the paint will adhere. Using the paint that I’m sharing today I don’t have to use a primer or sand before painting. In fact with the new line of paint that they just introduced I don’t have to seal it either. It’s a great option if you’re like me and you like instant gratification in finishing a project in a day.
Tools
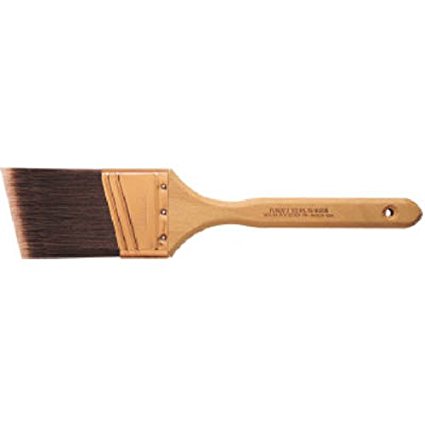
I’m going to share my favorite must have tools when I paint furniture . My favorite brush is from Purdy. I love using there angled sash brush as it’s easy to get into corners and all the detailed areas on a piece. Another tool that I discovered recently is this True Applicator. It will give you a super smooth finish without streaks. It also makes painting spindles on a chair very easy and without those brush marks.
Click here to purchase—>Purdy Brush
Let’s Paint
I’m going to get very basic here. The reason that I’m doing this is because I have met so many people that have absolutely no idea of how to paint furniture . The idea of painting a piece sort of freaks them out. So forgive me if I seem to be sharing something that’s really basic. But I really hope to help anyone that’s scared to death.

Stir It First
Once you open your can of paint make sure you stir it good first. Get a painting stick and really stir it well. Paint settles as it sits on a shelf and that will effect the quality and how it will go on and react to your piece of furniture.
Let’s Do This!
Dip your brush into the paint. Wipe off some of the paint on one side of your brush. Start applying the paint to your piece in long even strokes horizontally. By painting this way you will get a smoother more even look. Once you paint don’t keep painting over your piece. Your brush will start picking up that paint and it won’t dry. Make sure to get into all the details. Let your piece completely dry before you go on to your next coat. You will need to paint 2-3 coats of paint if you want a solid fully covered look. If you are thinking of distressing your piece you will only want to apply 1-2 coats of paint.
*Use This Tip*
As you are waiting for your paint to dry on your piece of furniture you don’t want your paint brush getting hard as the paint dries. Take your paint brush and put it in a sealed plastic bag. This will prevent the brush from drying out.
When It’s Finished
If you would like to distress your piece this is the time to do it. Since the paint that I’m sharing doesn’t need to be sealed once the paint is dry you are finished. If you are using a paint similar to the paint I’m using which is a chalk type paint you can apply a furniture wax or a water based sealer.
One More Thing
This is a tip I always share because it’s something that can happen when painting older pieces of furniture. So here’s the scenario. You start painting your piece and you notice a dark splotch stain that looks like a water spot. You get confused and think…hmmm… maybe I need to go a little heavier on that section. But that second coat of paint isn’t working and that splotch is getting bigger. Don’t panic! Put your paint brush down and let that paint dry. Go to your local home improvement center and purchase a can of shellac. This stuff is really stinky so read the label about using safety as far as using it in a well ventilated area. Once your paint dries apply 2-3 coats of this right over your paint. Let each coat dry in between. Then once that is dry you can now reapply your paint. You won’t see that splotch. This can happen with older paints. I’ve been told it’s a reaction with the lead that’s in the old paint or varnish with the paint you’re applying.
And that’s it! Painting furniture is super easy to do. If you’re still a little intimidated before you attempt painting a piece of furniture practice on scrap pieces of wood or get cheap pieces of furniture found at thrift stores or garage sales and practice.
I hope that this article was helpful to you. Please let me know in the comments if you’ve ever painted furniture before and if you have tips to share that I didn’t mention please share that as well.
Beautiful color and what a change.
I am inspired to try this with my daughter on my grandmother’s chest. Over the years it has been beat up. I have ordered the paint you recommend. I wanted to confirm, no sanding needed. Just clean and paint- then we are going to distress. Thank you.
Where can I get information on distressing with vinegar?
Thanks so much