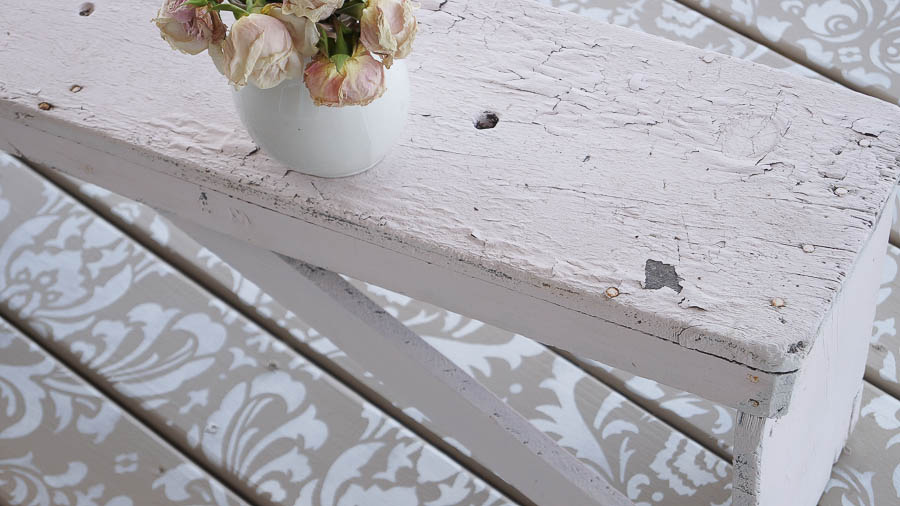
Stencil Painted Deck Floor Cutting Edge Stencils
Stencil painted deck floor is a beautiful, and easy way to add style to an outdoor space. After looking at inspiration on Pinterest I decided to add a stencil to my wood deck floor in our screened in porch.
Painting a deck and using Cutting Edge Stencils is a great way to customize your floor.
(This is a sponsored post and contains affliate links, please read disclosure policy)
Let’s go back to a year a year ago, when I shared my screened in porch.
When I revealed my room I also shared that I was unable to paint our deck floor, I was told the wood needed many months to dry out before painting them, and that turned into a year. If I didn’t wait until the wood dried out, the paint wood have peeled off, so I waited and I waited.
The floor was pretty ugly so I covered it up, using rugs. But I couldn’t leave these out all of the time, because when it rained I didn’t want the rugs to get ruined.
When I did finally paint the deck floor, I painted it the ivory white color I have on the post walls in our screened porch.
Over the winter months I was trying to figure out what to do, when the idea of adding a stencil to the floors came to mind. I wanted my stencil on the floor too look like a pretty rug.
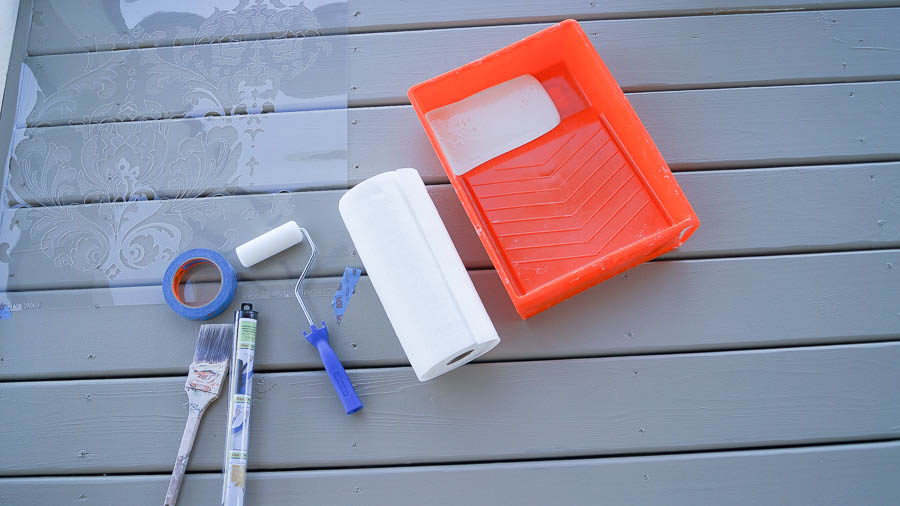
Here are the supplies needed:
– Stencil from Cutting Edge Stencils
– Acrylic paint
– Paper towels
– Foam roller brush
– Stencil brush
– Painters tape
– (not needed for this project, my paint brush, wall level)
I used my paint brush to wipe the dripping paint from the paint can.
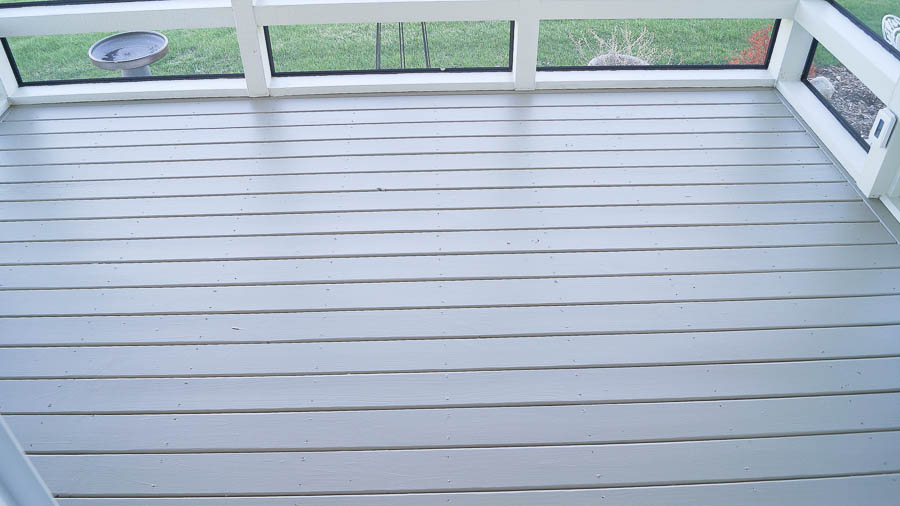
Since I wanted the stencil to look like a pretty rug, I decided on a damask pattern stencil, It’s called Anna. First I painted my wood deck with Glidden porch and floor paint in a satin finish.
I loved using this paint last fall when we painted the first coat and decided to use it again, I got great coverage with just one coat, but added two coats since this will be high traffic.
The base color is a custom color, I basically was matching my siding. I was thinking of using different color instead of a neutral color. But I decided to keep my floor neutral and add color in different ways to my room.
After my floor was fully dried ( I waited 24 hours) it was time to stencil my floor. Adding a stencil to my floor was a little challenging, my floors are not even because of the screw holes. I’m not that ambitious that I wanted to cover each of the screw holes with wood putty, and then sand each one.
Yeah….no that was not going to happen.
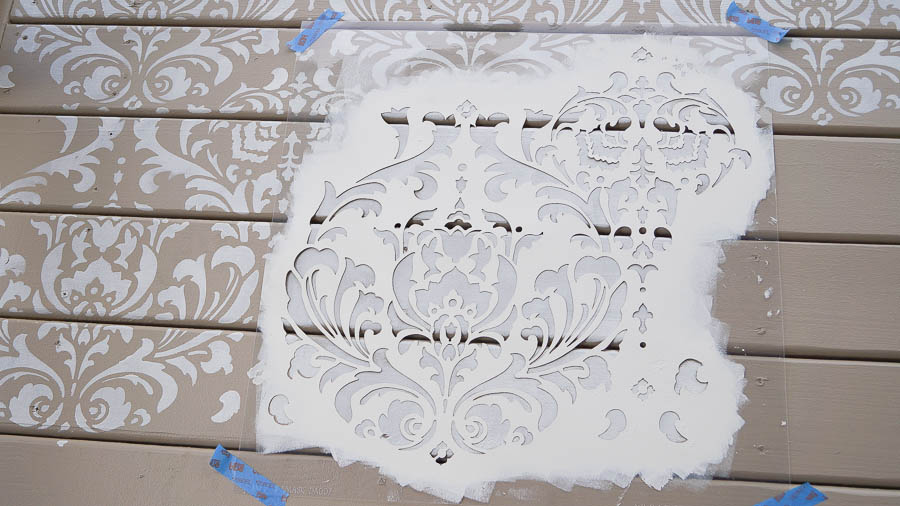
So in the process this was not always completely flat as a wall would be. Each time I finished applying paint to my stencil I had to wipe the back off because of bleed through. As I said this is because the surface was uneven. I also didn’t follow directions, big surprise huh?
When you use these stencils they recommend using an acrylic paint. Why, because using an acrylic paint will help prevent bleed through, because it’s a flat paint.
Since this was going outside, and will be walked on….a lot, I decided to use my porch and floor paint that I used on my posts. Using this porch paint caused some bleed through issues. But, if I had used acrylic paint I would have had to used a sealer on top, being that this is outdoors. I wanted to cut corners and so I didn’t use acrylic paint.
Other than my obstacle of the unevenness of the surface this was a very easy project. I started on the left side of my room. Placed my stencil down, taped it and began.
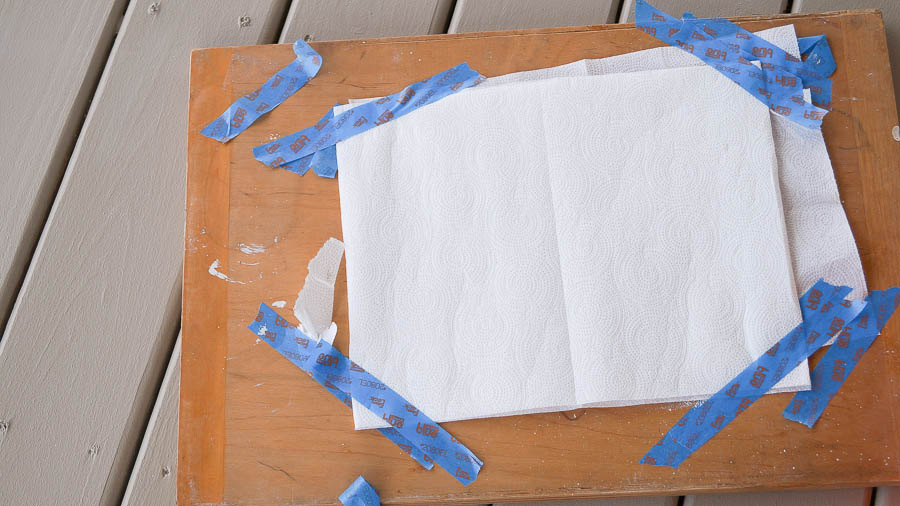
Before you apply your roller to your stencil, first roll your paint roller into your paint. Then take your roller and blot off most of your paint. Since it was windy the day I did this, I taped paper towels onto an old board I have.
When applying paint with your roller to your stencil, use a firm but not too firm pressure. Again, you don’t want bleed through. I kept working from left to right until I got to the bottom of my room.
I needed to remember to leave room so I could get out of the room. This messed things up just a bit, and my last stencil ended up being uneven because I did not end in a corner. But honestly you can’t even see it unless you really look for it.
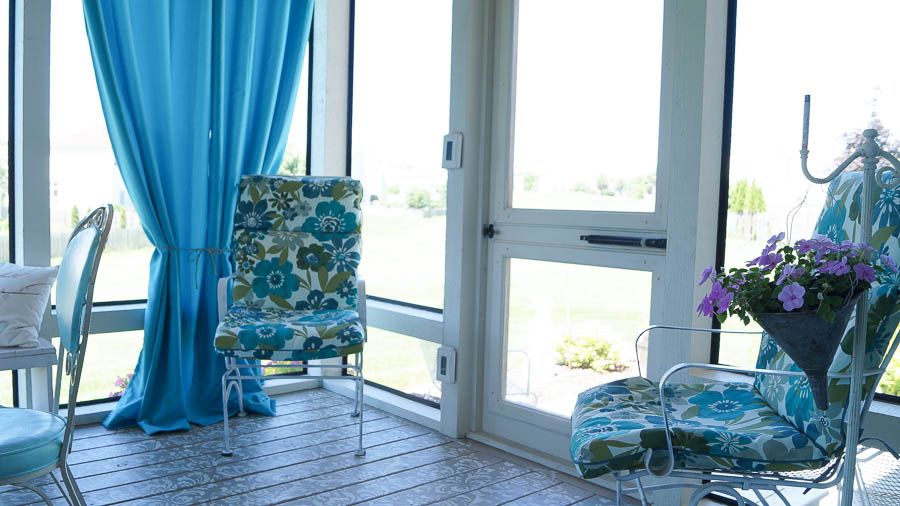
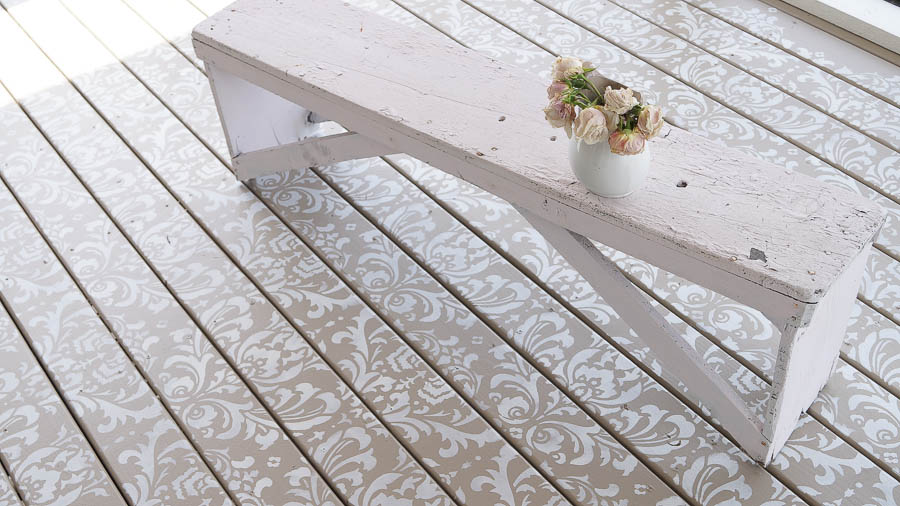
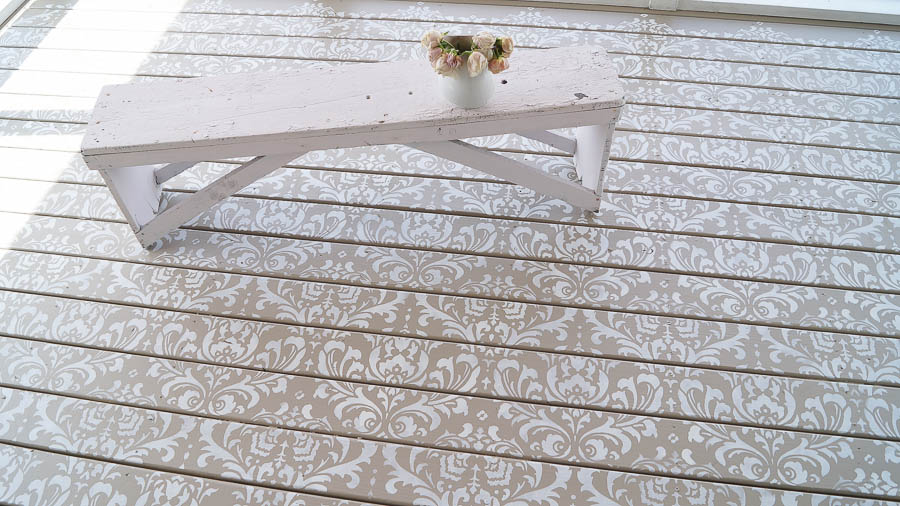
And here it is all finished. I love the look and feel of our room. Originally I was going to do a checkerboard pattern on my floor. But this damask stencil is more me 🙂
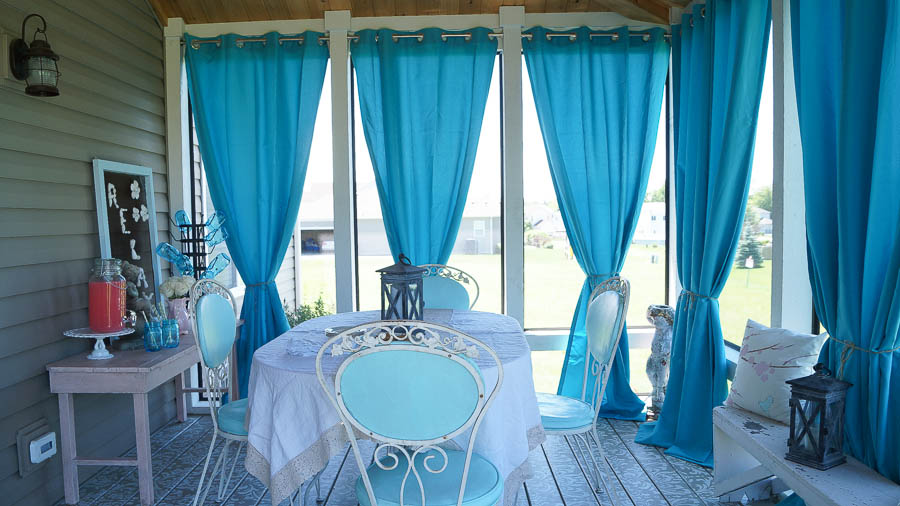
A big thank you to Cutting Edge Stencils for supplying me with the stencil and all that was needed to complete this project.
.
