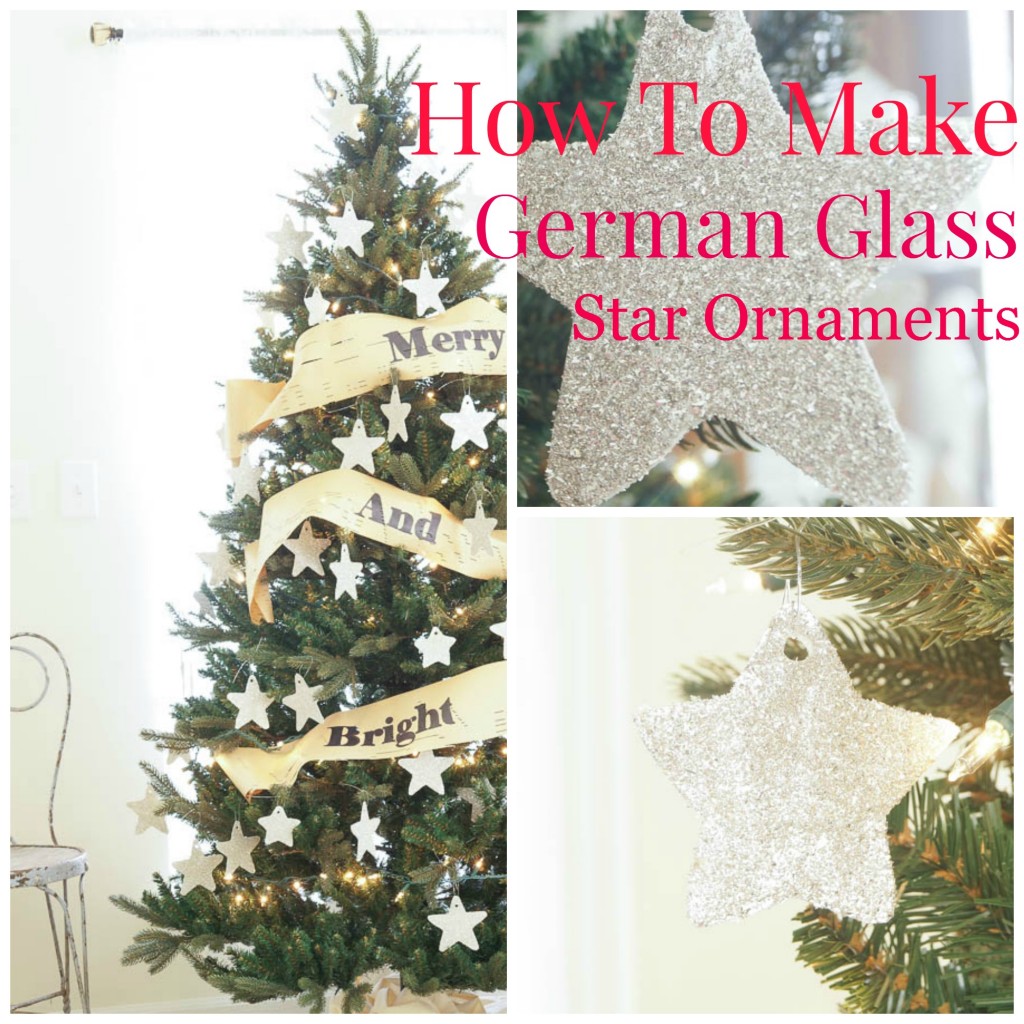
This past summer I purchased a few containers of Miss Mustard Seed’s German glass glitter from Decor Steals,and I decided to use German glass to make my star ornaments for my tree.
Last year my tree had lots of red and berries,but I wanted to try something different.
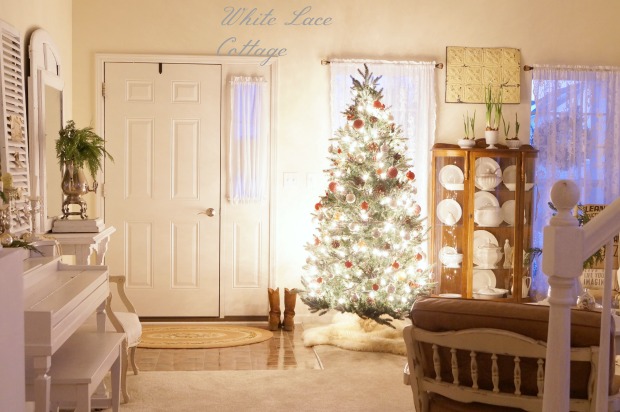
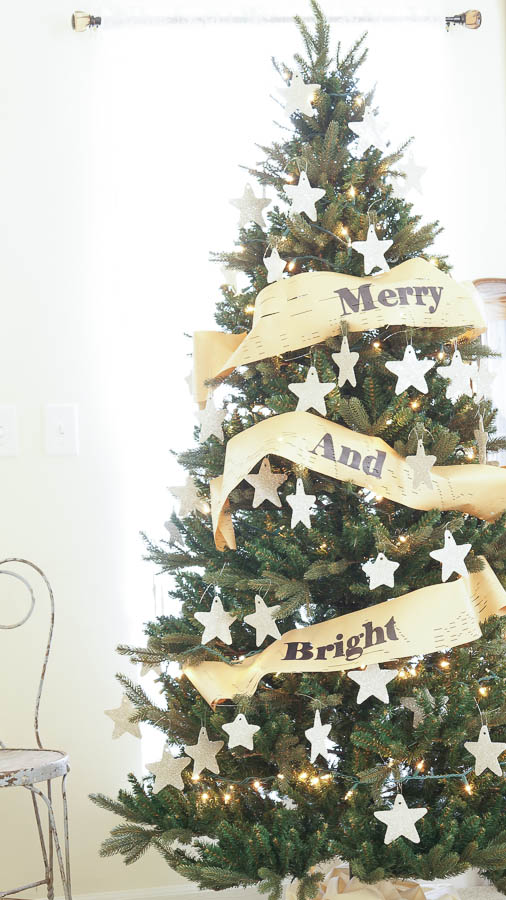
I am not finished with my tree just yet but here is a sneak peek.
These star ornaments add lots of sparkle to my tree.
I was very ambitious this year,because I made about 80 of these ornaments…yes I did.
I envisioned a tree full of stars 🙂
If you would like to make these, just make a few and add other ornaments.
Unless you feel like being as ambitious as I am.
As I said I am not done with this tree yet,I will be adding other ornaments that I am not making too.
So let me share how I made these.
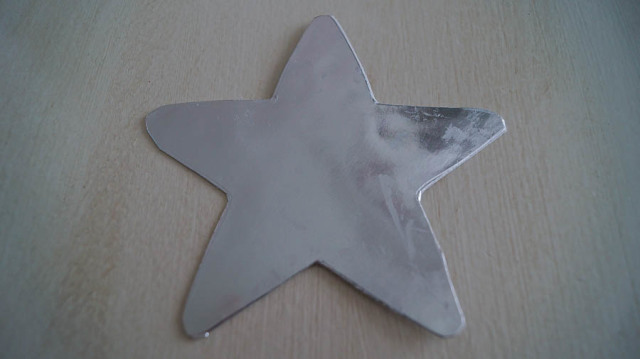
First I went out and bought silver poster board at a craft store.
Why?
Well if you chose white or another color you will see this as the glass glitter will not cover it 100%.
I bought several of these because one side is silver and the other is white,to make these you will need to sandwich the stars together.
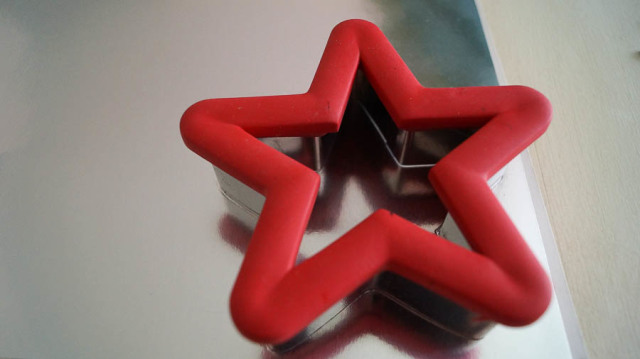
For the star shape I used a cookie cutter I already had.
If you don’t have a star shape you could find a one in a book or search on line,copy and trace it for a template.
First fold your poster board in half,because you will sandwich these you want them to be the exact size.
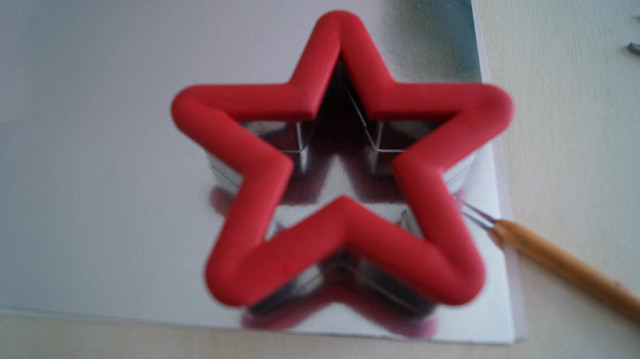
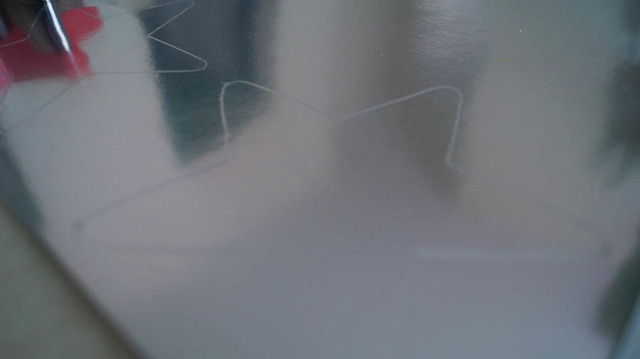
To trace my star I used stylus ,that way you don’t have to worry about seeing your pen line because it’s sort of invisible.
Try to make sure your stars are pretty close together,you don’t want to waste cardboard with blank spots.
As you can see by using the stylus the shape is visible enough to work with.
After you fill up your poster board with star shapes cut these out,and keep both front and side shapes together.
Now we are ready to start gluing.
I used a good paste to glue these together,the key is not to use a glue with too much water because the stars will start to curl.
And don’t worry if a little glue gets on the star,you will be adding more glue and glitter so it’s okay if you do.
Paste these together and press hard,this does take some time to do so be patient.
I waited for these to try over night before going on to the next step.
And I have to admit I am proud of myself because I am not patient,and once I start a project I like to keep going.
So the next day I punched a hole at the top of each star so I could add invisible wire to hang.
Then I got out my German glass glitter and started sprinkling this on the stars.
Again I used a paste as this works much better,and I would also suggest a brush on paste like Aleene’s brush on tacky glue which is sort of a paste.
Remember to do one side at a time.
This was the first time I have ever worked with German glass glitter and it will not be my last.
It sparkles like nobody’s business.
But this is a little expensive so keep that in mind.
I ran out of glitter and had to purchase more,then I ran out again.
So I ended up using silver glitter that I already had to finish 6 of these,and you can see the difference.
They just don’t sparkle like the German glass does.
I am making a star garland with some of the stars I made too!
This is turning out to be a handmade Christmas for me this year,and it’s been fun.
It’s been a challenge since I don’t consider myself crafty.
And as you can see by the photo I also added a paper garland.
I will be sharing the tutorial on that soon!
Next…..the tree skirt…and yes I am making it…no sew…and it involves lace!
And of course more non-homemade ornaments will be added!
Here it is …. my unfinished tree…..but I am making progress!
Joining:



Great idea Ann! I love how yours turned out!
Your tree looks fab, Anne.
Very pretty Anne. Your tree looks so pretty already.
Kris
Thank you Kris! Just adding a few more touches 🙂
Very pretty, creative and unique! Agree with ‘Kris’ that your tree already looks so pretty. -Brenda-
P.S: Regarding the glue you used, one that I like to use for crafts is Elmer’s Glue-All (bonds strong) as it also dries clear and can be purchased in pen-like, plastic capped cartridges which is perfect for fine-line application control which I discovered out of necessity can be refilled with a twist of its top. They are cardboard packaged often in a number of three. Will also add, upon first use don’t forget to remove the little (blue?) plunger or you may think they don’t work and ensure you purchase one of their squirt bottles of glue which makes the refill process much easier.
Thank you Mrsben! Great tip!
Anne,
What a great idea!
Your tree is lovely already, I can’t wait to see it when it’s finished. And I can’t believe you made 80 of those!!
Thank you Karen….I know it doesn’t look like I made that many,but shows you how many you need to make it look fully decorated.Although I am adding a another ornament to fill in some of the spaces.
does German glass glitter come off when you touch it? that is why i do not like other glitters. you could use paper clips or clothes pins at the end of the stars so the will not curl. love the tree so far and can not wait to see it done.
No I am not noticing the glitter coming off as I touch it Angela.It might depend on what glue you use.And always shake off the excess when it’s dry.
Sorry, this has nothing to do with your star ornaments (although I do love them and will have to try the German glitter). I had a question about the chair that is showing its back and is right by the stairway. I wondered if you had painted it white or whether it had come that way?. And what was used for the fabric for the cushions? The chair looks identical to a pair we have and I’ve wanted to redo the pillows and was curious what yours had on them. Ours are a pecan finish but I love the distressed white of yours!
Hi Jill my chair was painted with Annie Sloan Old Orche.And still has the original pleather,no fabric.